
The Beam Lamp
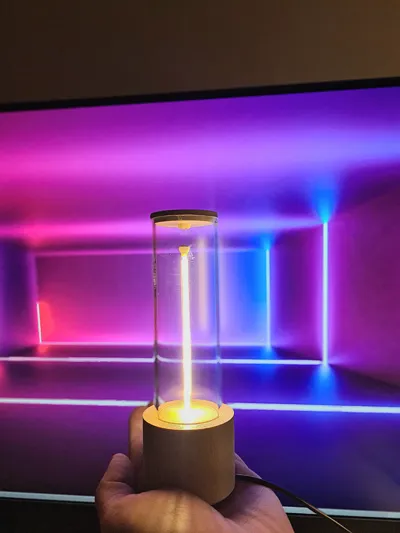
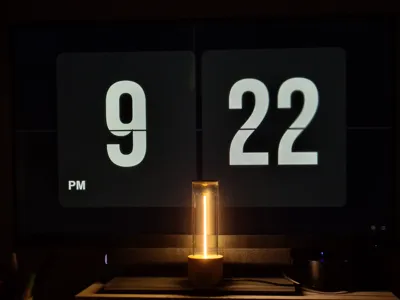
Print Profile(1)

Bill of Materials


Description
- Description:
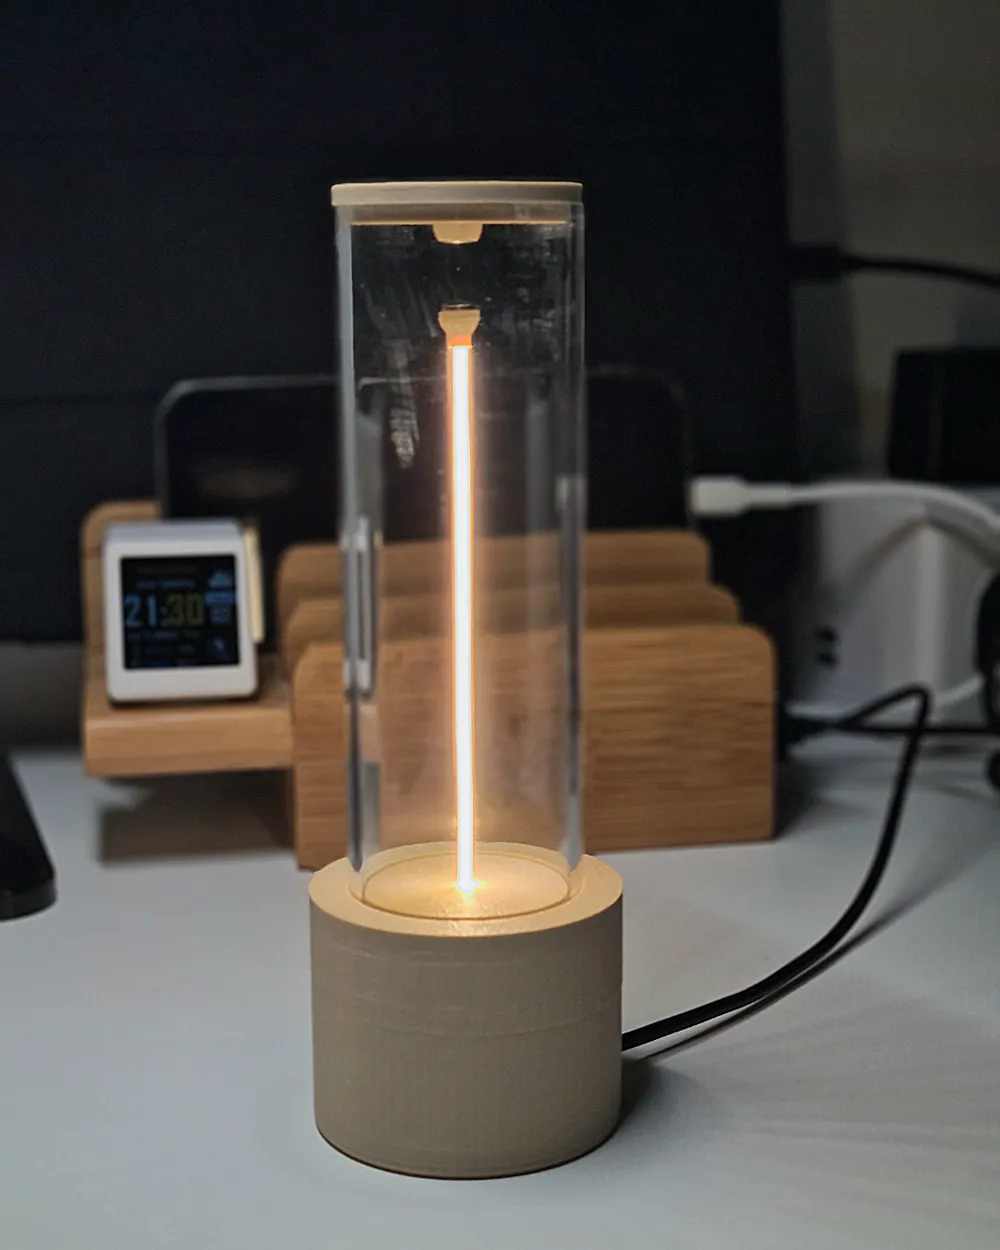

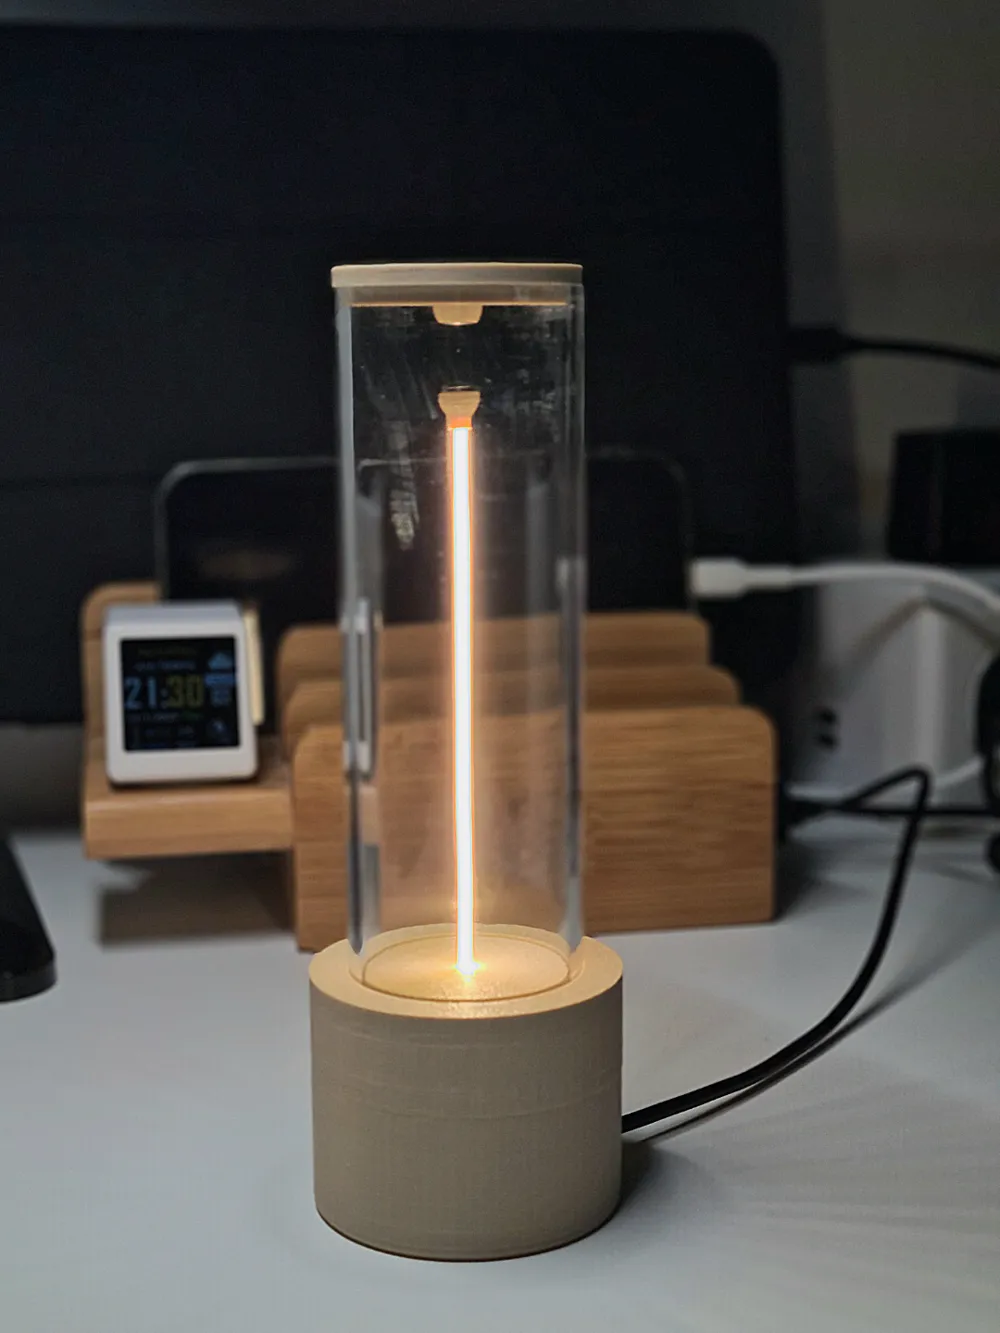
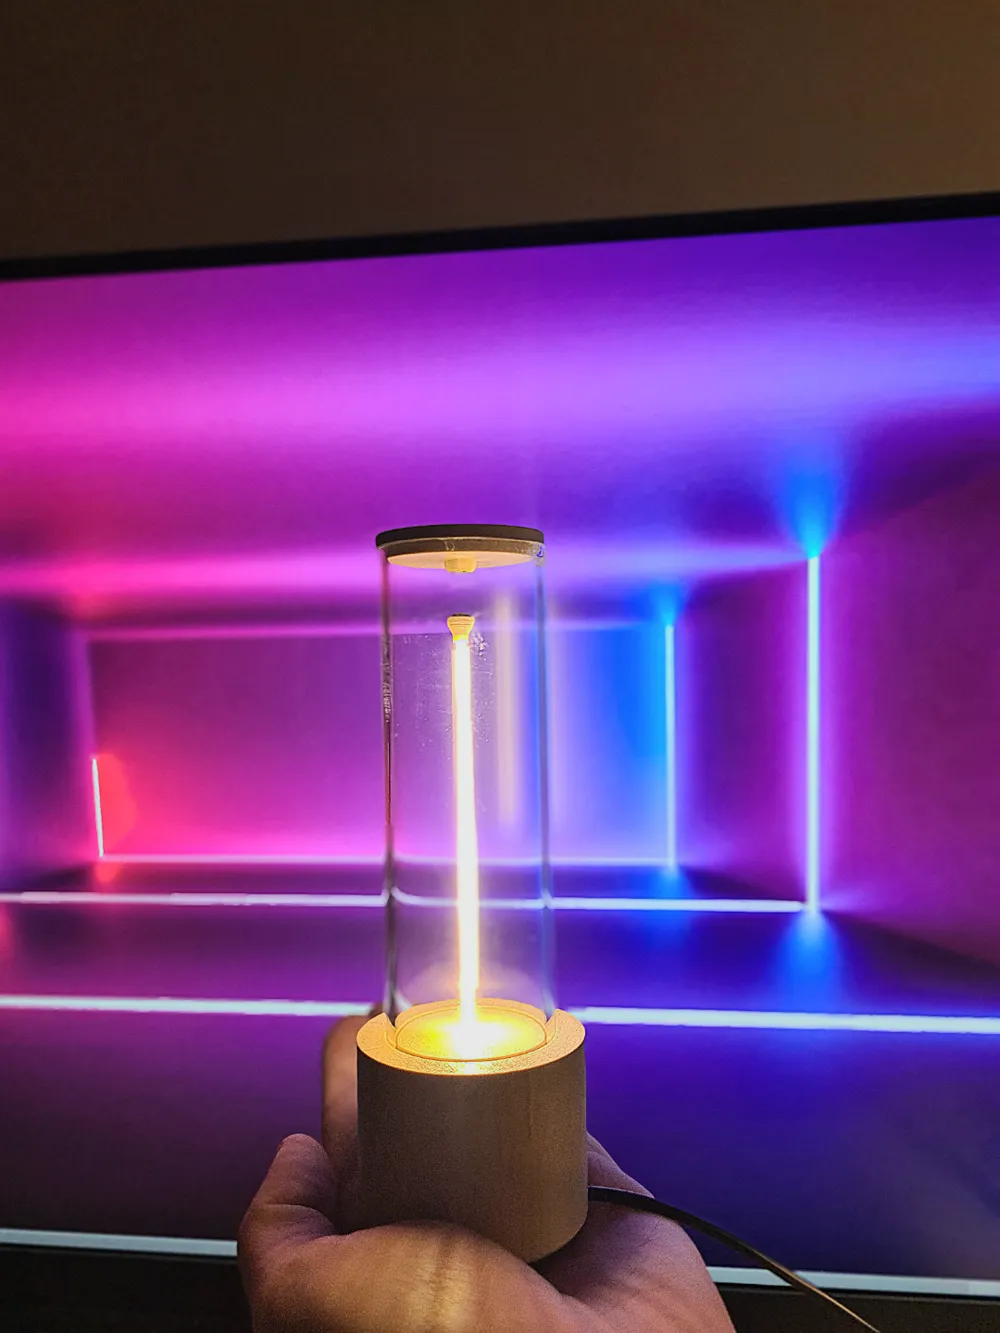
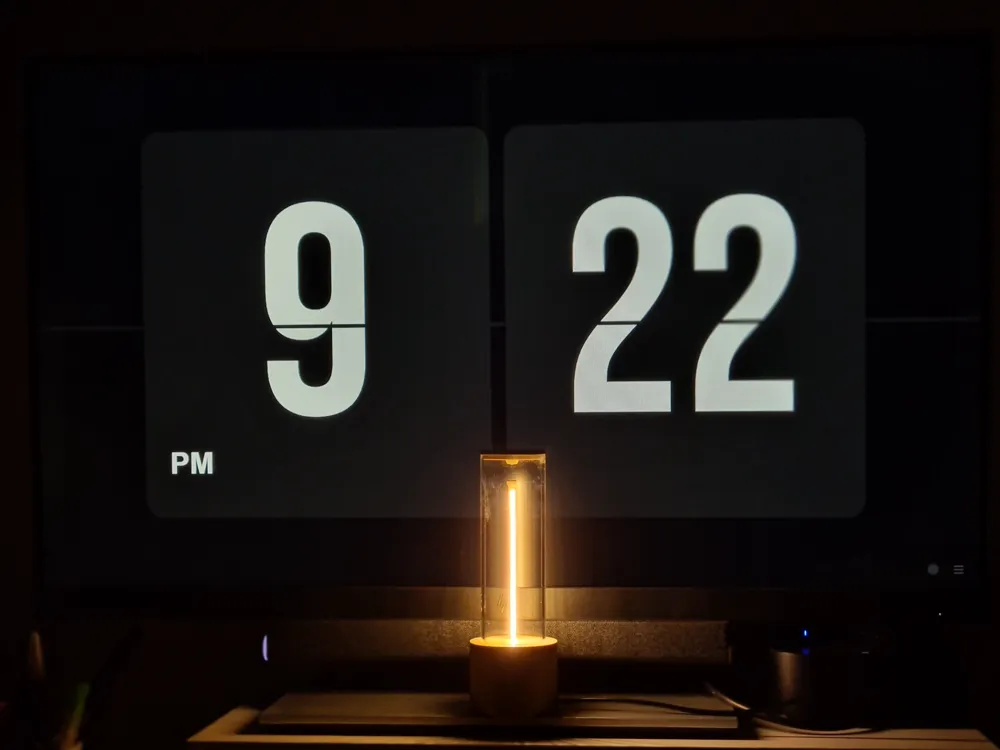
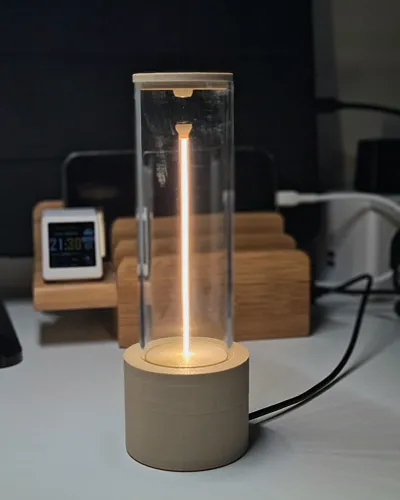
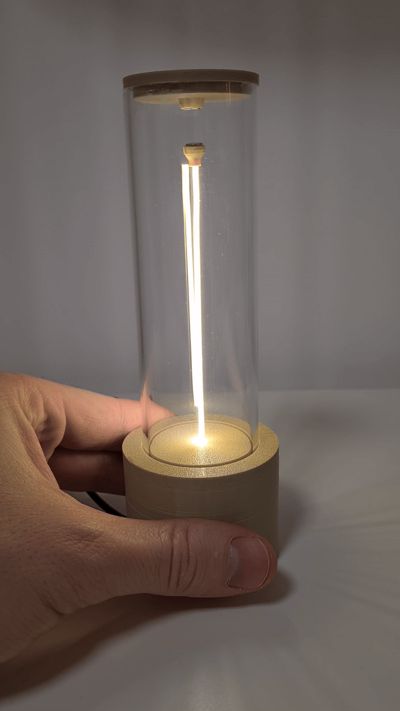
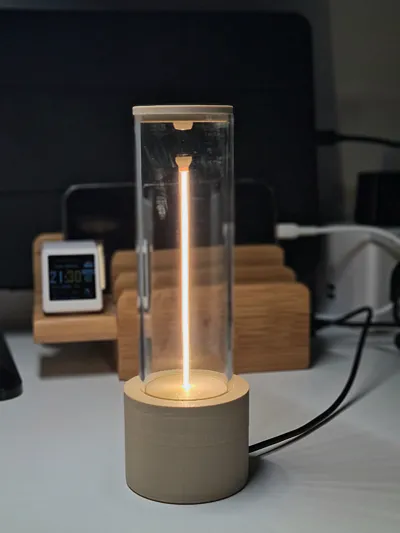
This lamp is a unique and modern design created through a meticulous process involving significant effort and multiple prototypes to achieve the final result. The lamp features a COB LED strip as its primary light source, a USB-A power cable connector for ease of use, and small yet powerful 5x2mm neodymium magnets for structural integrity and functionality.
Assembly Instructions:
- Prepare the Power Cable
Begin by removing the white connector from the USB A cable. Strip the insulation from the two wires to expose the red (positive) and black (negative) leads. Thread the Cable Through the Base
Insert the USB cable through the 3mm hole in the lamp's stand. This ensures that the cable is neatly secured within the lamp's structure. This is a tight fit and could be difficult to insert. Use any tools you like to archive.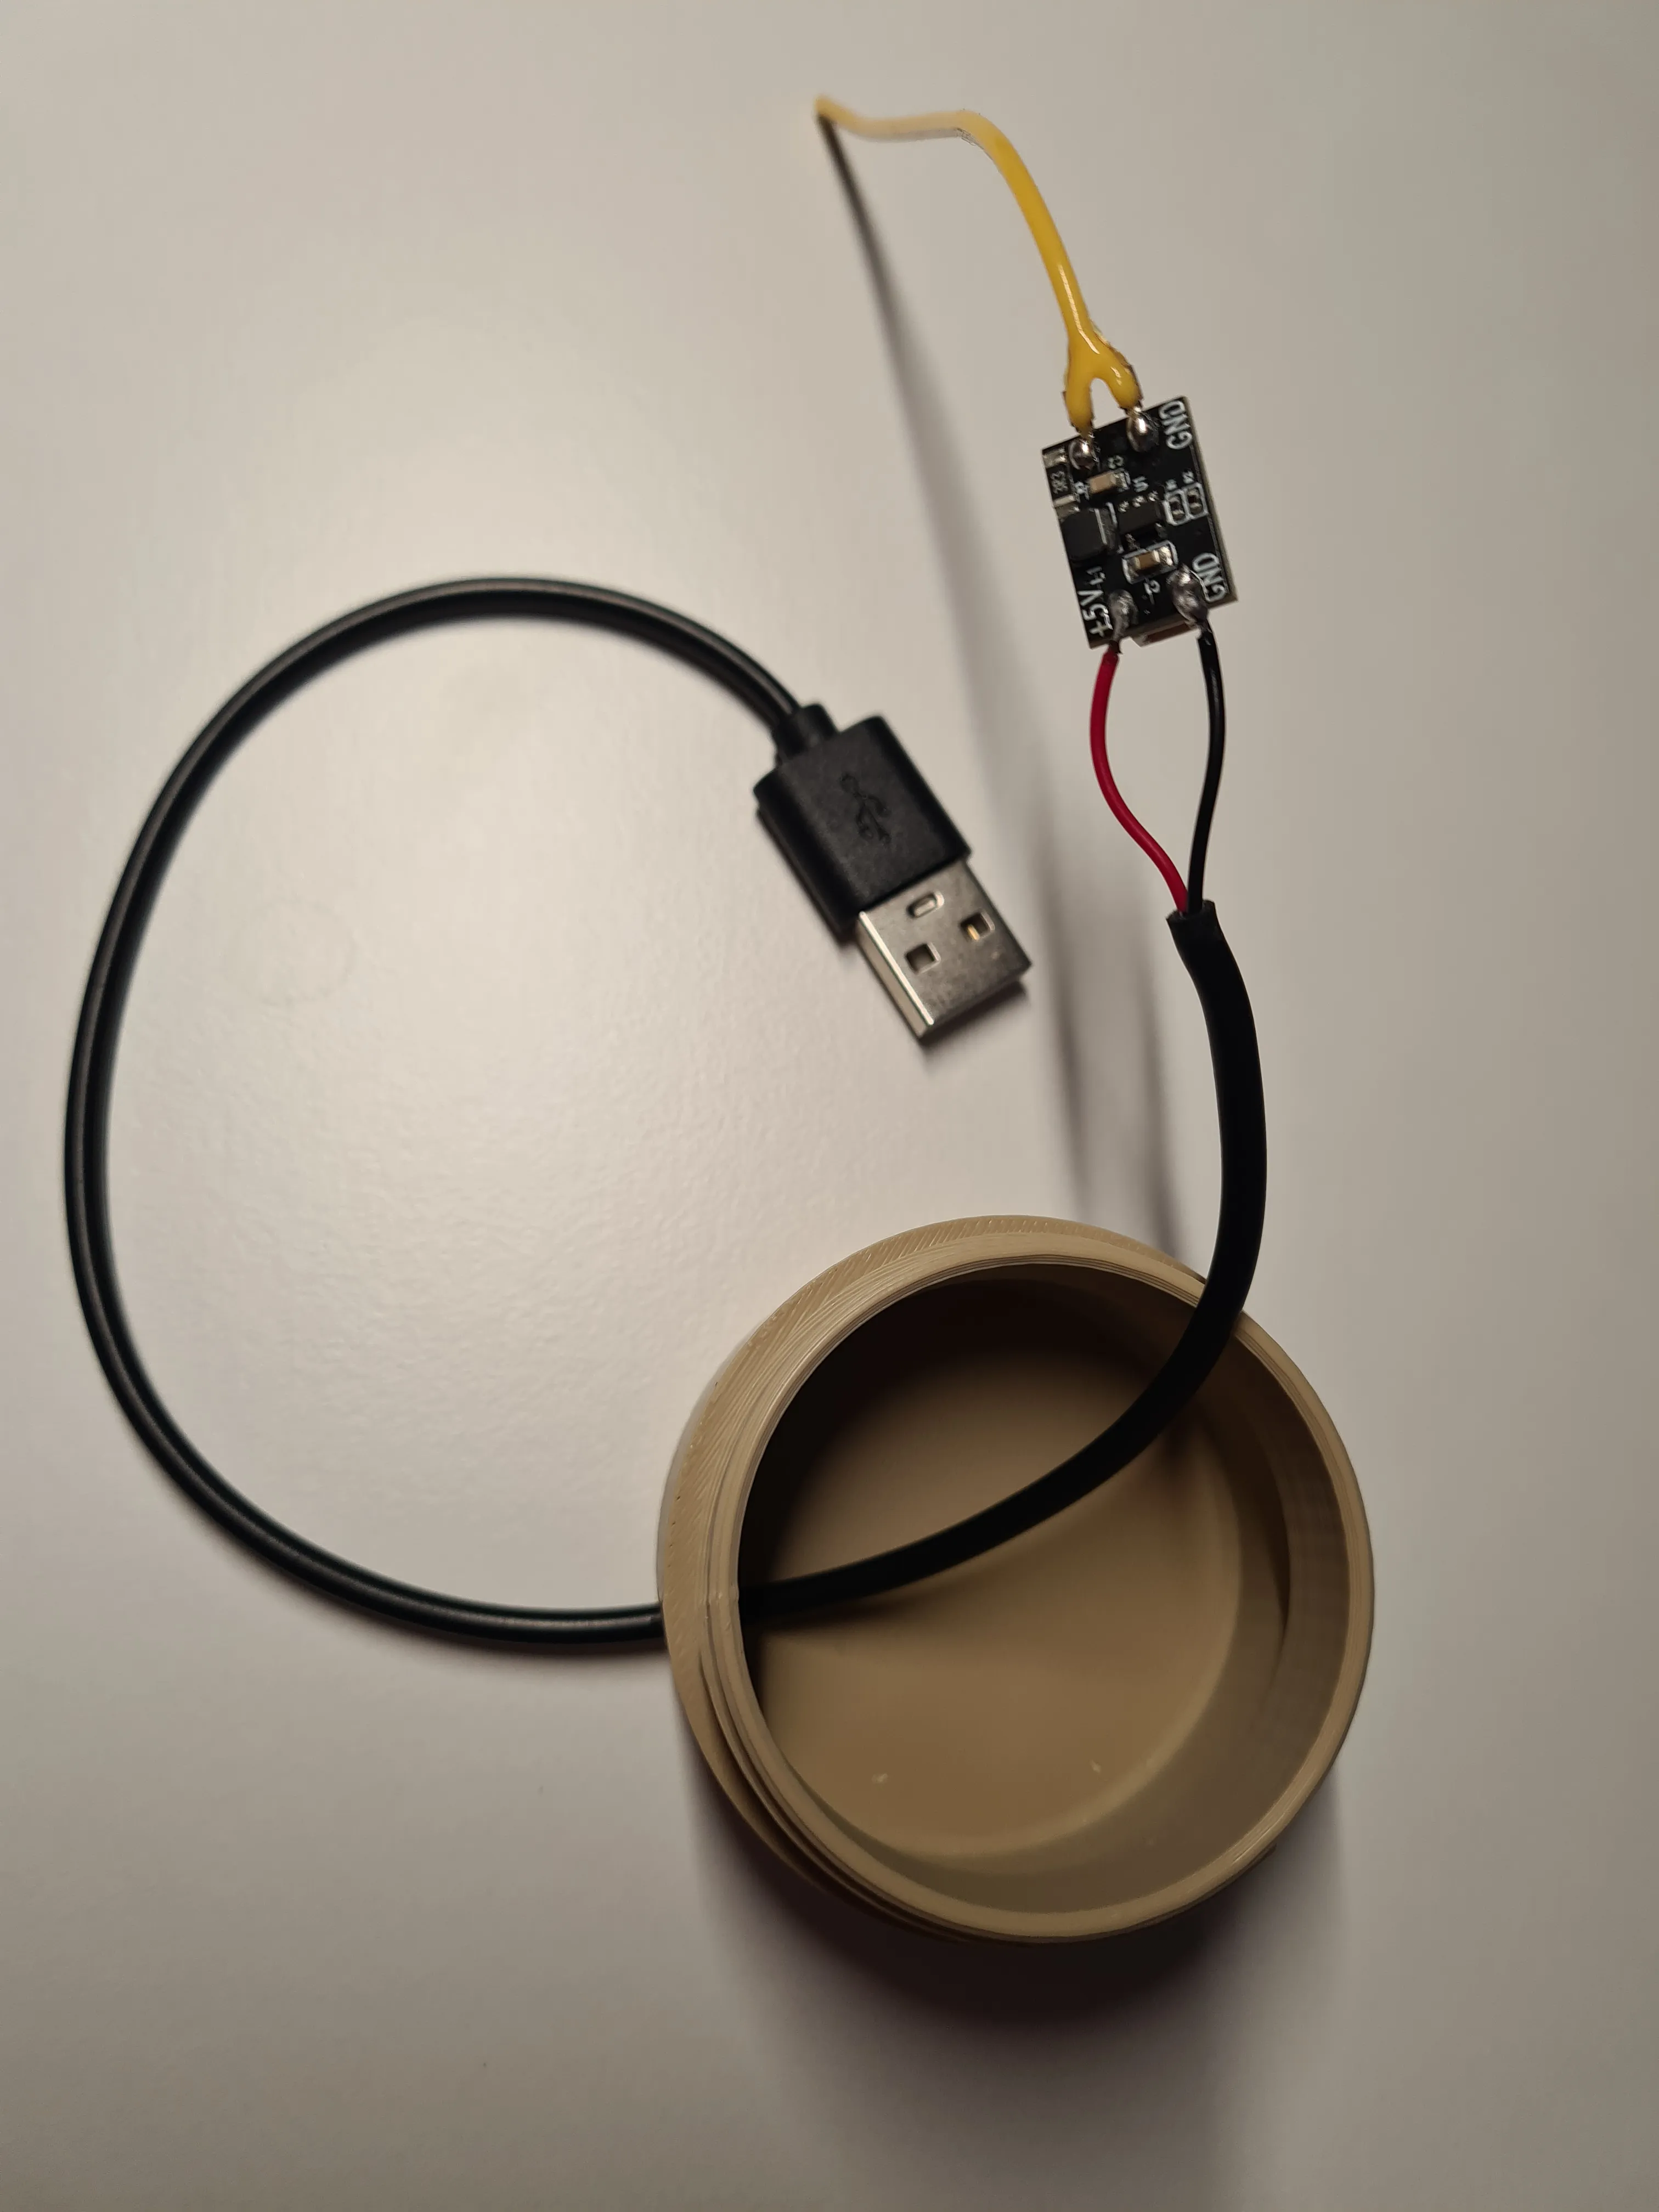
- Solder the Wires
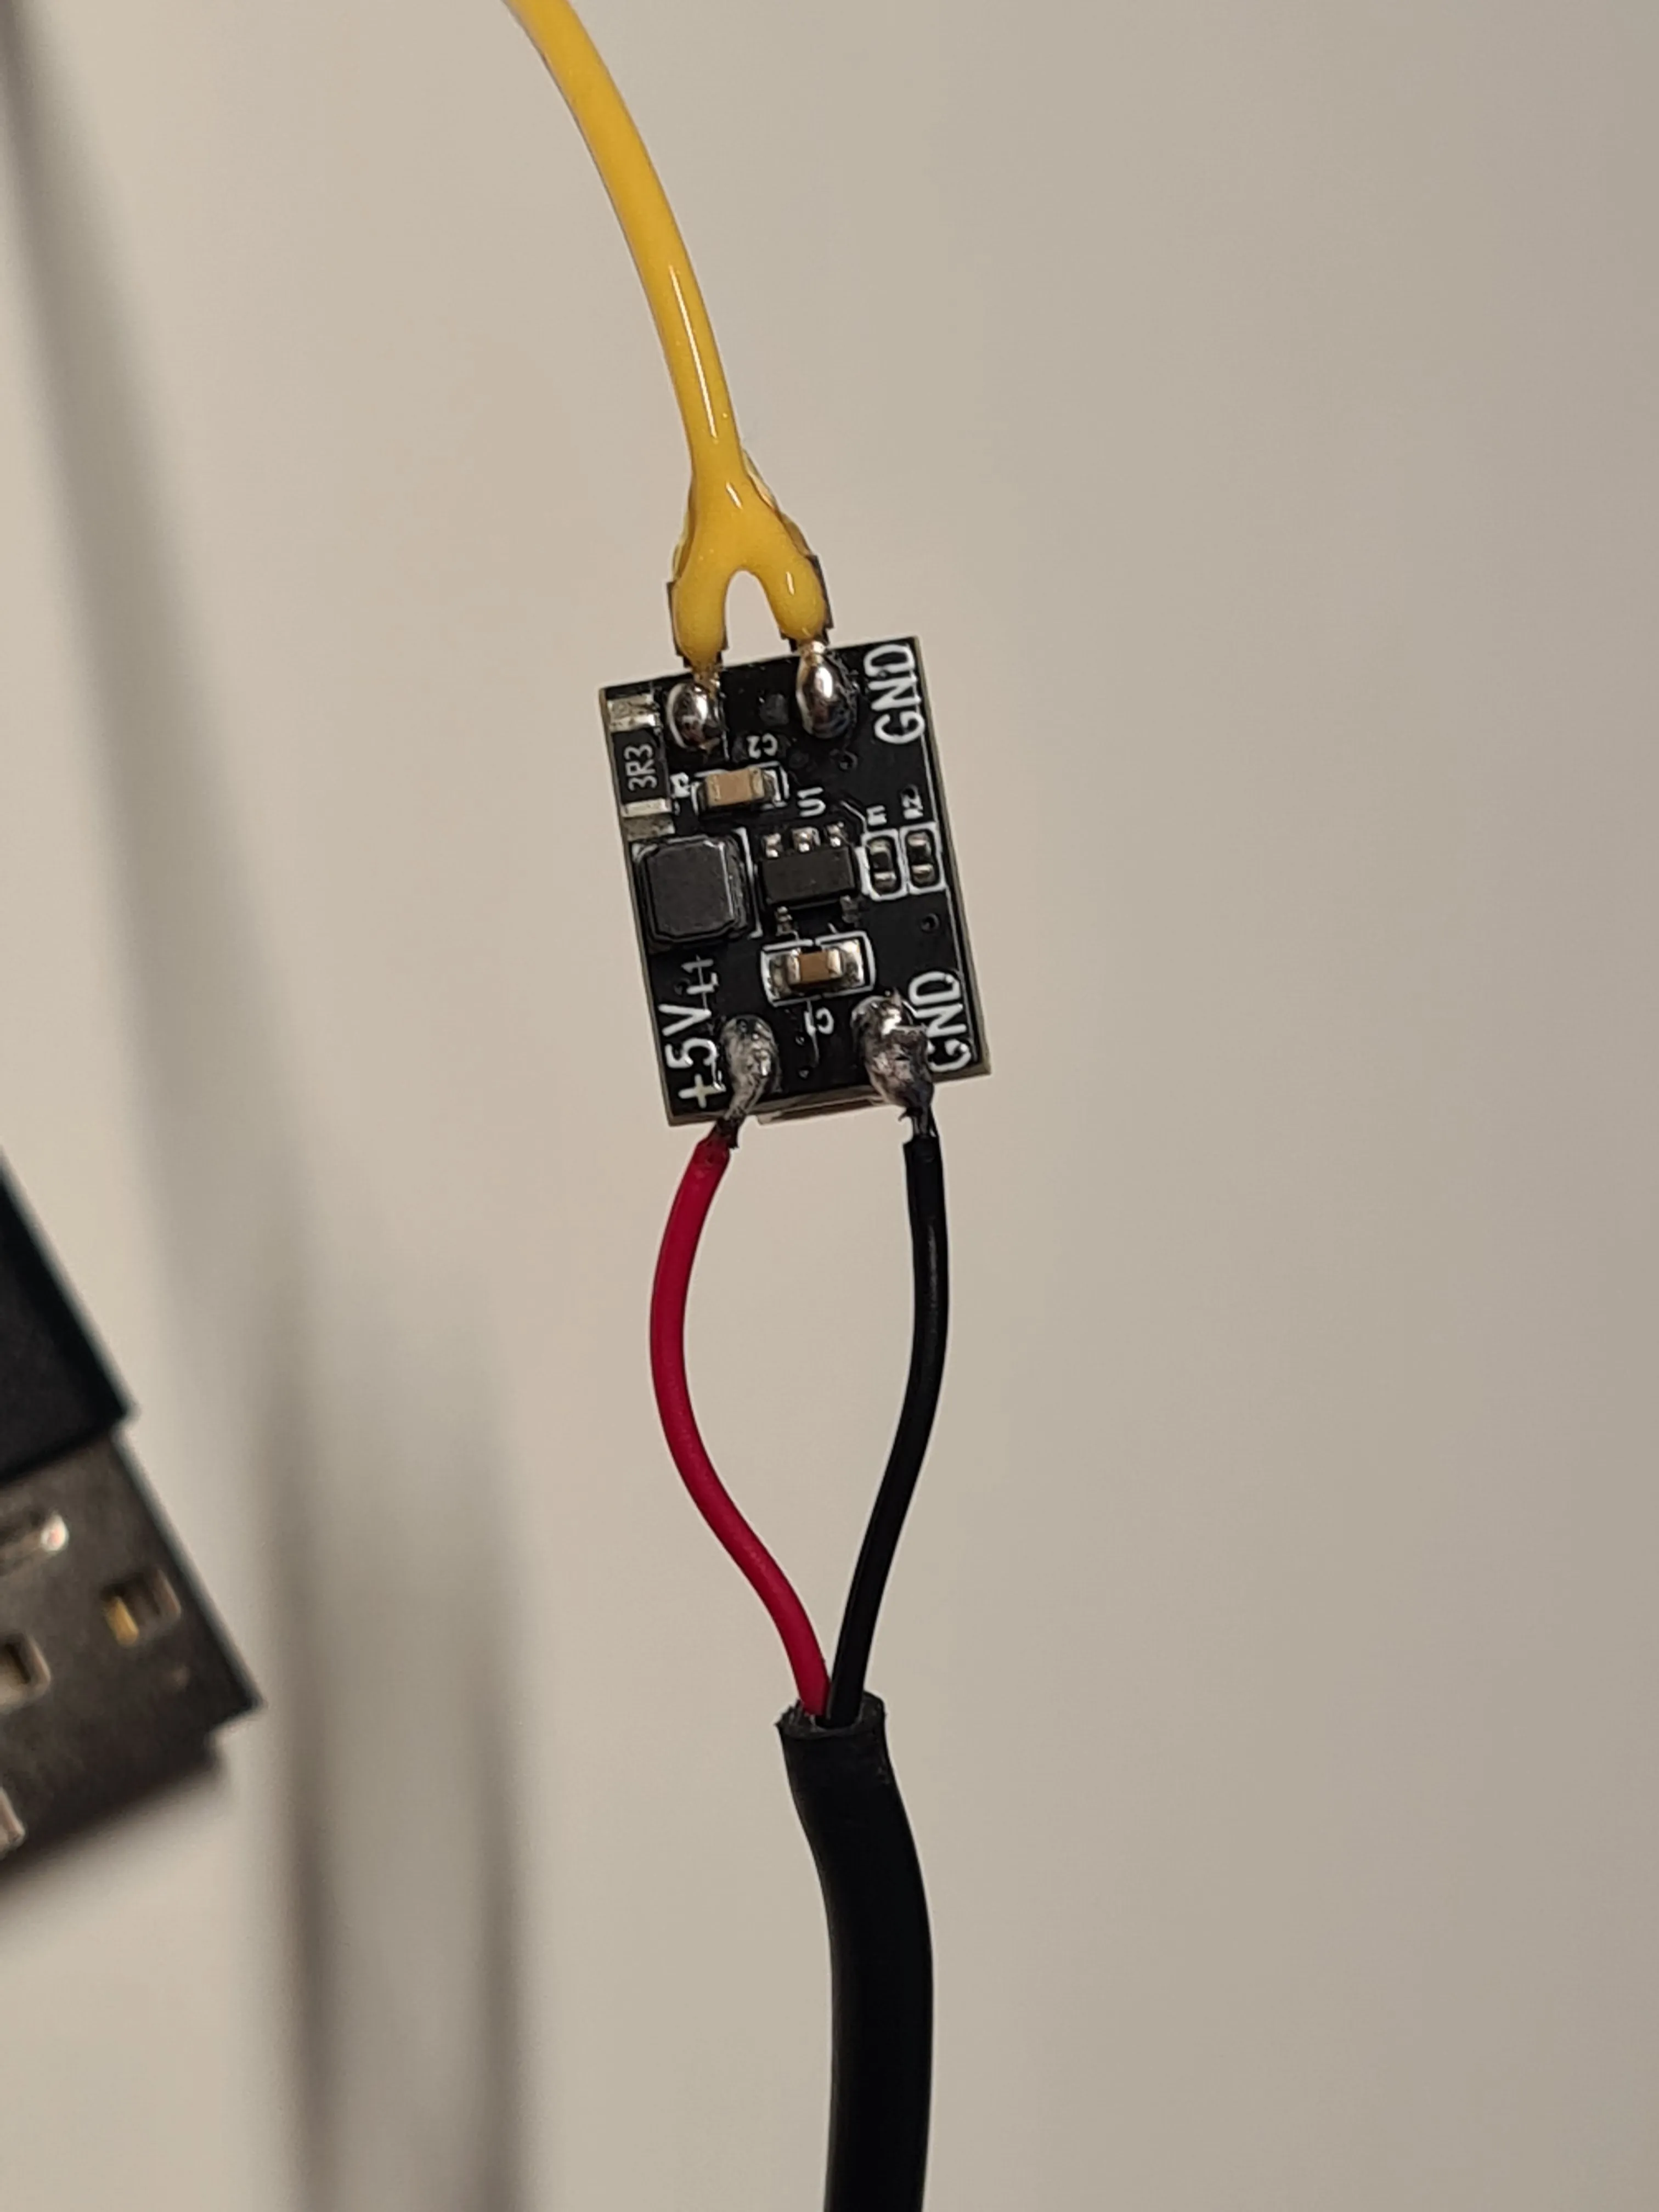
- Solder the red (positive) wire to the "+5V" terminal on the circuit board.
Solder the black (negative) wire to the "GND" terminal on the circuit board.
- Install the LED Strip
Feed the COB LED strip through the threaded cap. Once positioned, securely screw the cap into place to hold the LED strip steady. - Attach the LED Strip to the Internal Structure
Insert the COB LED strip into the smallest printed part of the lamp's structure. Place one 5x2mm neodymium magnet on the opposite side. - Insert Magnets in the Top Section
Add two 5x2mm neodymium magnets to the topmost part of the lamp. These magnets will attract the COB ligth strip from down beneath. Make sure the magnets from the topmost part and the small part attract! - Secure the Acrylic Cylinder
The acrylic cylinder fits snugly into the lamp's base. For additional stability, a small drop of super glue can be applied to the top closure cap.
Boost Me (for free)
I have put a lot of effort into this project. Please consider a boost if you like the project! :)
License

You shall not share, sub-license, sell, rent, host, transfer, or distribute in any way the digital or 3D printed versions of this object, nor any other derivative work of this object in its digital or physical format (including - but not limited to - remixes of this object, and hosting on other digital platforms). The objects may not be used without permission in any way whatsoever in which you charge money, or collect fees.


Comment & Rating (1)