
Big Tree Tech HDMI5 Desktop Stand
Print Profile(1)

Bill of Materials



- BIQU HDMI5 Screen x 1: https://biqu.equipment/products/bigtreetech-hdmi5-v1-0-hdmi7-v1-0
- 180° USB C Connector x 1: https://www.amazon.com.au/dp/B0BRFZHJVW
- 180° HDMI Connector x 1: https://www.amazon.com.au/dp/B0C1RZ5HZL
- SMALLRIG D to A HDMI Cable Ultra Thin HDMI Cord 100cm x 1: https://www.amazon.com.au/dp/B0DCZCGX36
Description
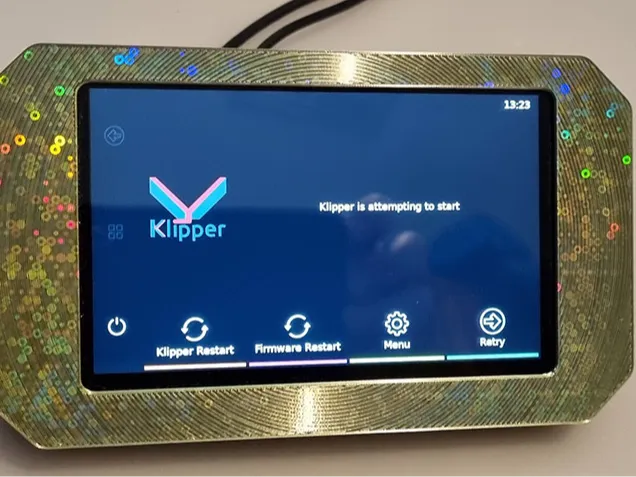
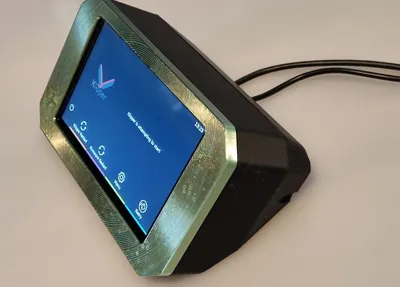
I find myself needing a temporary screen for lots of what will become headless Raspberry Pi / NUC / SBC use quite often and rather dislike laying the fragile screen on it's back for temporary work.
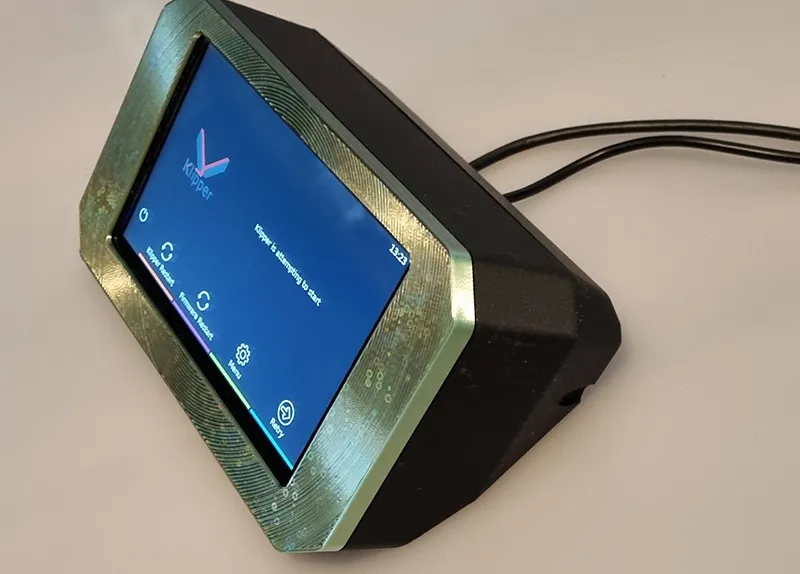
Thus a desktop case is born!
Fits the Big Tree Tech HDMI5 screen: https://biqu.equipment/products/bigtreetech-hdmi5-v1-0-hdmi7-v1-0
Annoyingly all the connectors poke out the side on the older v1.1 screen I have so I used 180° U connectors to flip them around the back. My case was designed with pretty tight clearances for these: https://www.amazon.com.au/dp/B0C1RZ5HZL & https://www.amazon.com.au/dp/B0BRFZHJVW
Newer v1.2 screens may not need these. You still might need 90° cables or adaptors though depending on the size the cable heads versus the internal dimensions of my case.
Most HDMI cables are pretty thick and heavy and tend to drift the screen around. The lightest, most flexible option I could reliably find was from SMALLRIG: https://www.amazon.com.au/dp/B0DCZCGX36
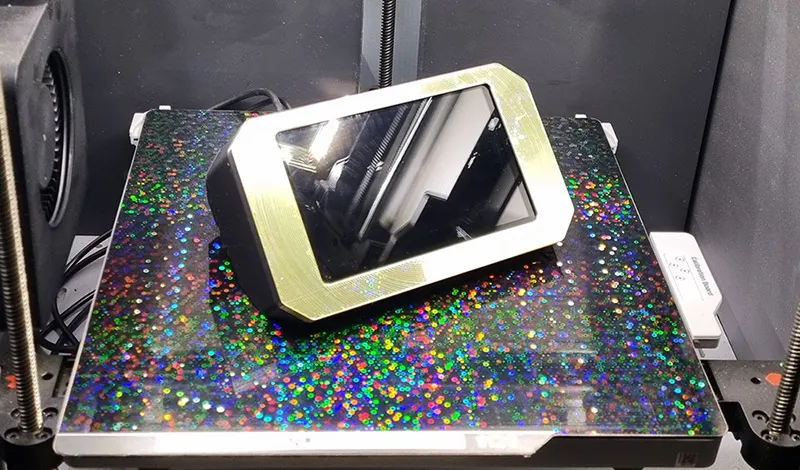
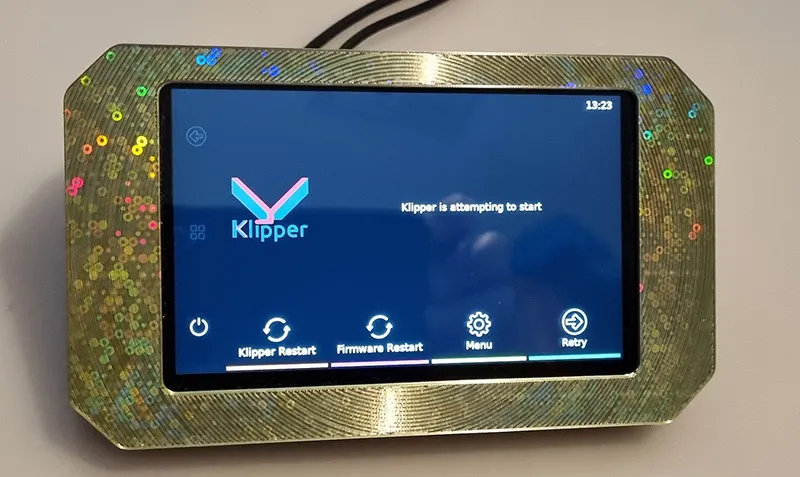
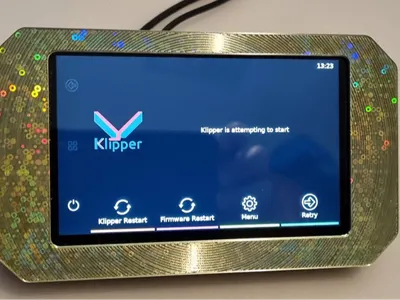
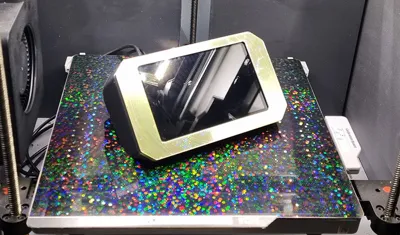
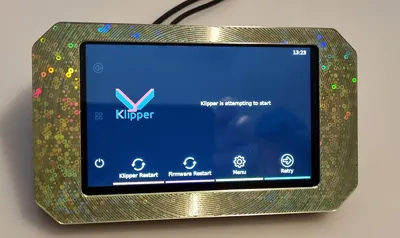
I printed my case fascia on a hologram plate with tri-silk filament using Archimedean chords for the bottom surface for extra prettyness. You might want to stick with textured PEI unless you're sure of plate adhesion & print parameters for these shenanigans.
License

You shall not share, sub-license, sell, rent, host, transfer, or distribute in any way the digital or 3D printed versions of this object, nor any other derivative work of this object in its digital or physical format (including - but not limited to - remixes of this object, and hosting on other digital platforms). The objects may not be used without permission in any way whatsoever in which you charge money, or collect fees.


Comment & Rating (2)