
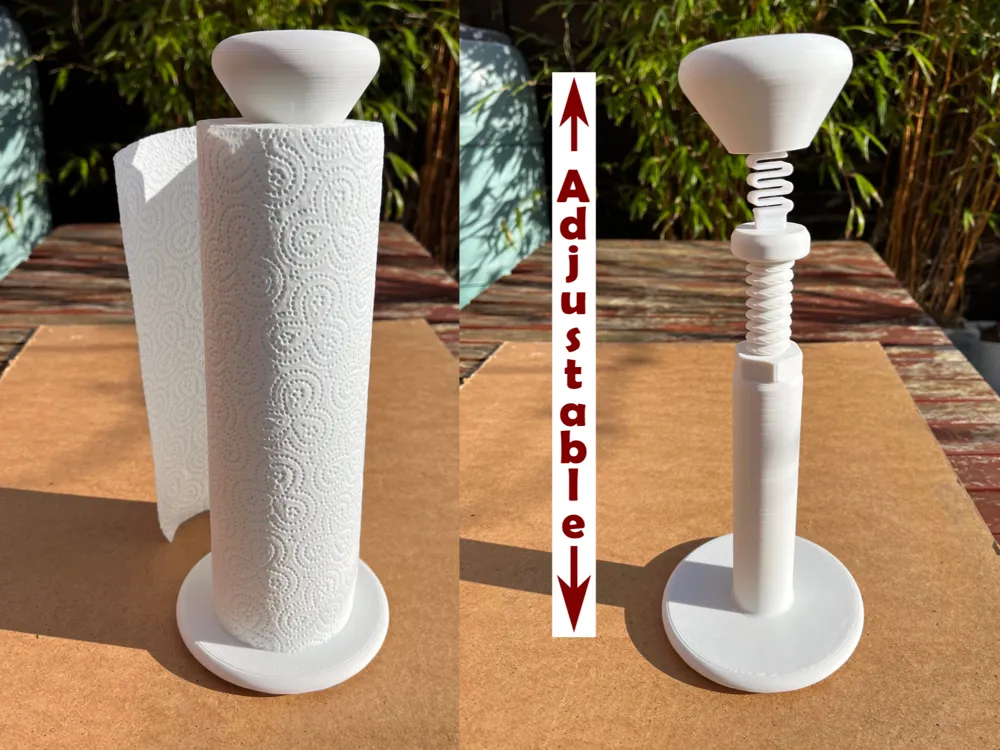
All roll sizes push to tear paper towel holder
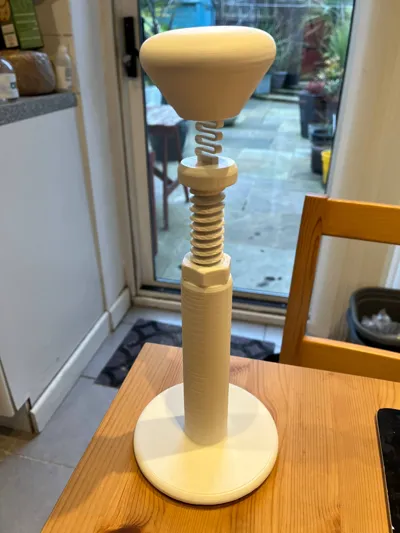
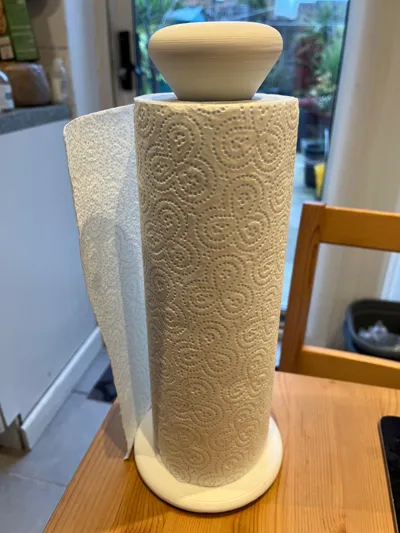
Print Profile(3)


Description
Note: An updated version of this model is available.
After discovering that paper towels also come in a shorter format, I redesigned the model to include this additional size. The updated version (v2) now supports paper towel heights ranging from 175 mm to 280 mm, which covers the most common household kitchen sizes.
The current version shown on this page supports paper towel heights from 225 mm to 350 mm, typically used in industrial or commercial environments.
Printing
I printed it in PLA.
The spring could be printed in PETG (as it’s a more springy material), but the PLA I use works well so far.
Assembly
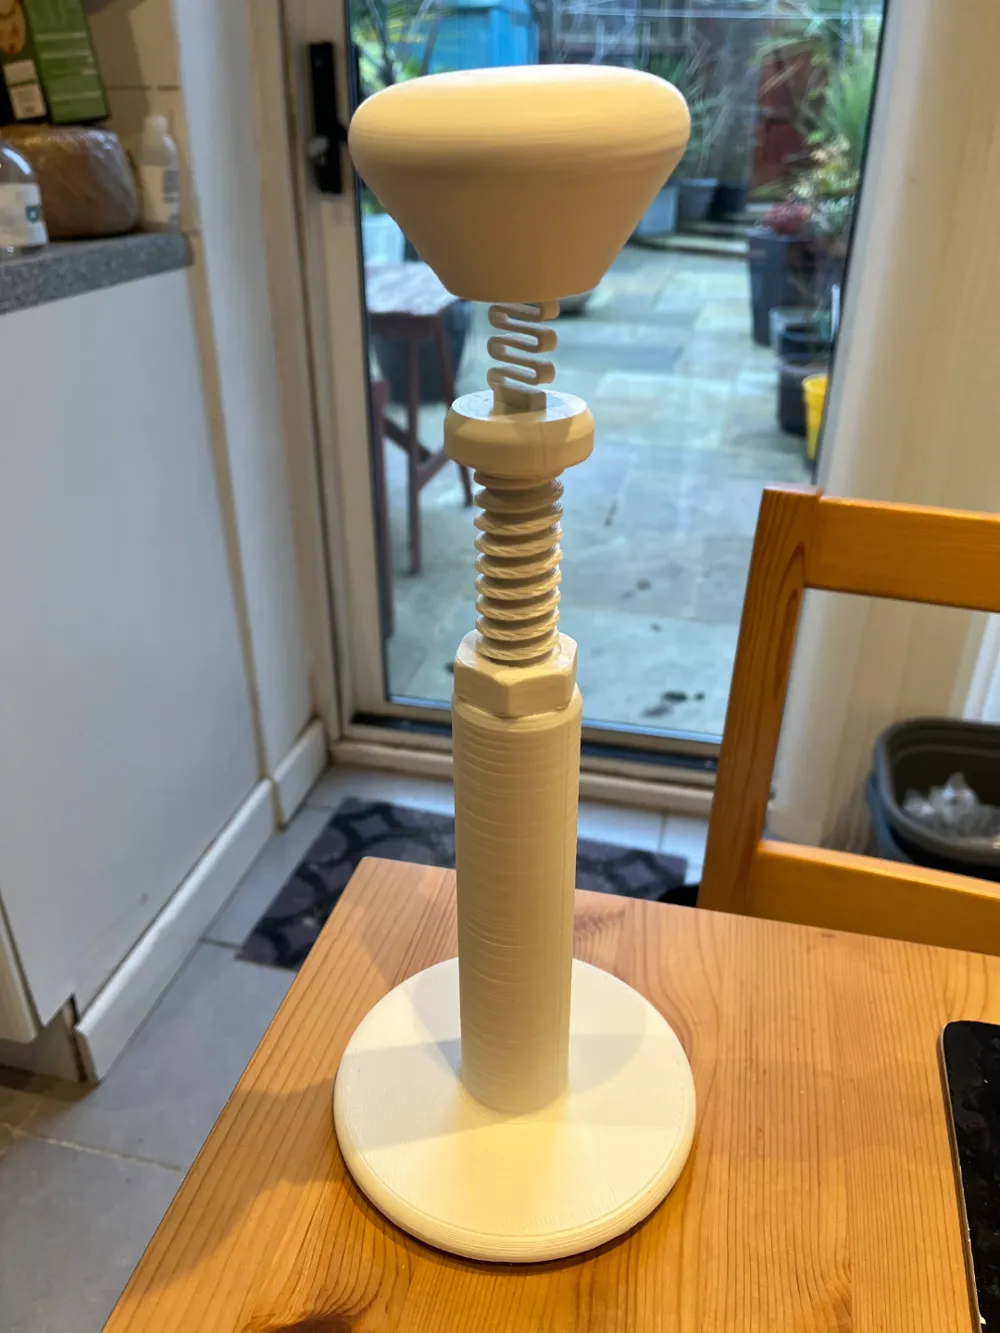
- Screw the nut onto the rod (till the top).
- Screw the rod (with the nut attached) into the base. It may be a little bit tight the first time, but it’ll be fine afterwards.
- Put the spring on the top of the rod, to be fairly tight (check orientation).
- Test the fitting of the knob onto the spring to be a little loose, so you can remove it easy when replacing the paper roll. Sand it gently if necessary.
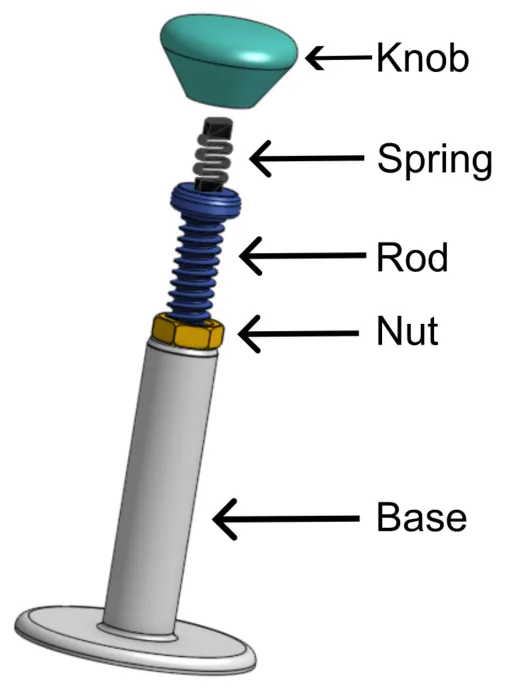
Adding/changing and adjusting the height for the paper roll
- Remove the knob.
- Unscrew (but not remove) the rod from the base.
- Loose/unscrew the nut (towards the top).
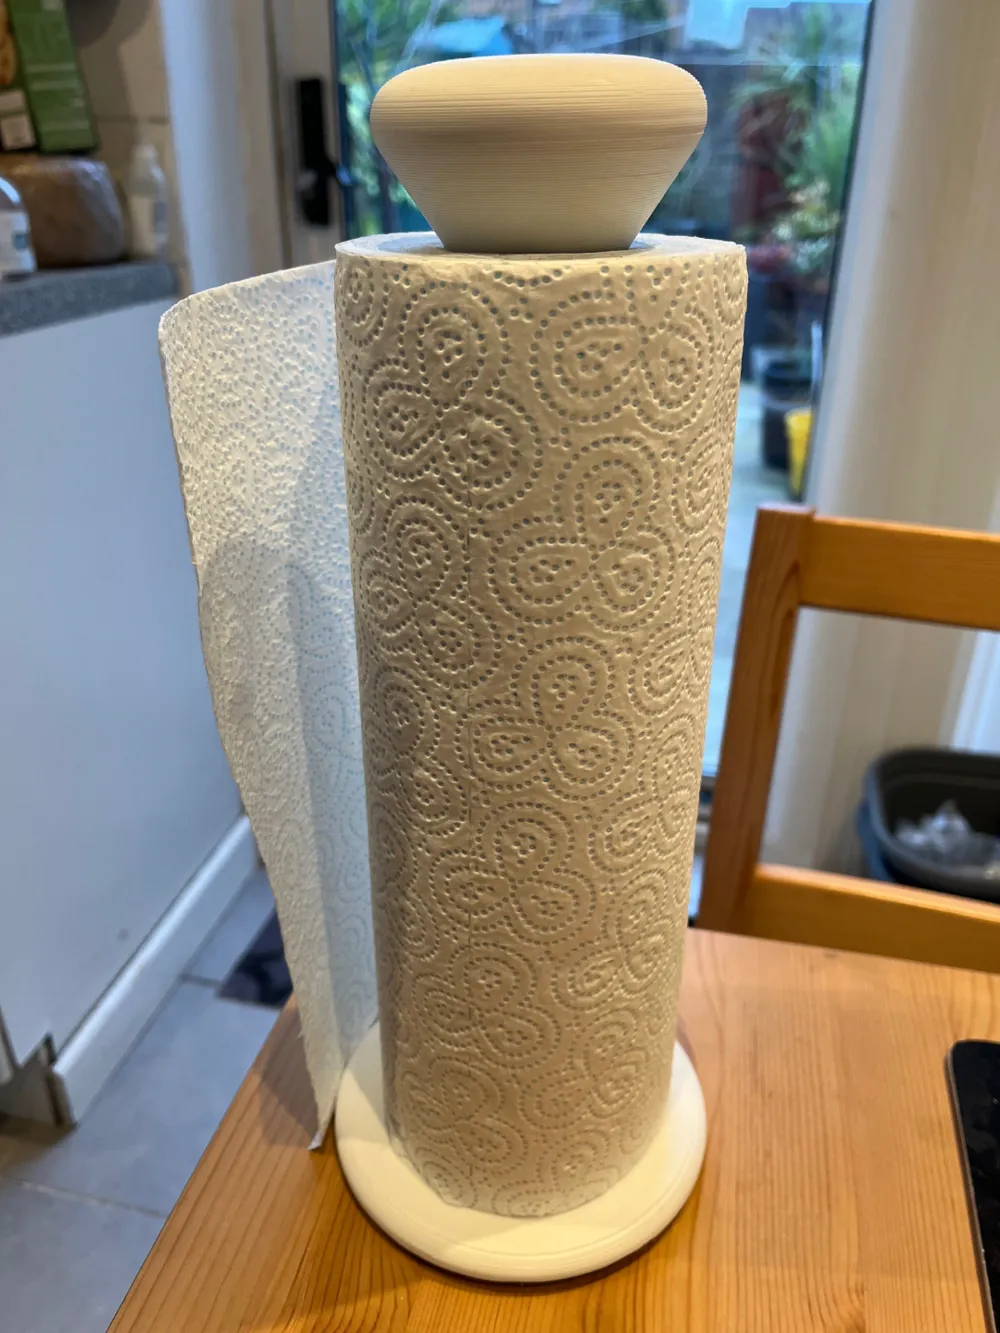
- Add a paper roll.
- Put the knob back on top and screw in the rod using the knob as handle (gently not to break the spring).
- When the bottom of the knob just touches the top of the paper roll (it goes a little bit inside the roll hole), then that height is the one we need.
- Remove the knob and the paper roll.
- Hold the top of the rod with one hand, so it doesn’t turn and change the adjustment we’ve found. Then screw the nut tight to the top of the base with the other hand/fingers (not any tools). That makes everything solid together.
- Put the paper roll and knob back. All done!
The instructions above may appear cumbersome, but if you do it once it’ll be easy to understand. Of course, if you are using the same paper size every time you don’t need to do any adjustments anymore.
Optionally, you may also put some rubber feet under the base. I made some shallow grooves at the bottom of the base for the positioning.
Enjoy!
License

You shall not share, sub-license, sell, rent, host, transfer, or distribute in any way the digital or 3D printed versions of this object, nor any other derivative work of this object in its digital or physical format (including - but not limited to - remixes of this object, and hosting on other digital platforms). The objects may not be used without permission in any way whatsoever in which you charge money, or collect fees.


Comment & Rating (46)