Search models, users, collections, and posts

Makita Table Clock Kit 011


Print Profile(1)

0.2mm layer, 2 walls, 15% infill
Designer
4.7 h
1 plate
Open in Bambu Studio
Boost
34
62
2
1
46
13
Released
Bill of Materials
Maker's Supply Kits and Parts
Select all
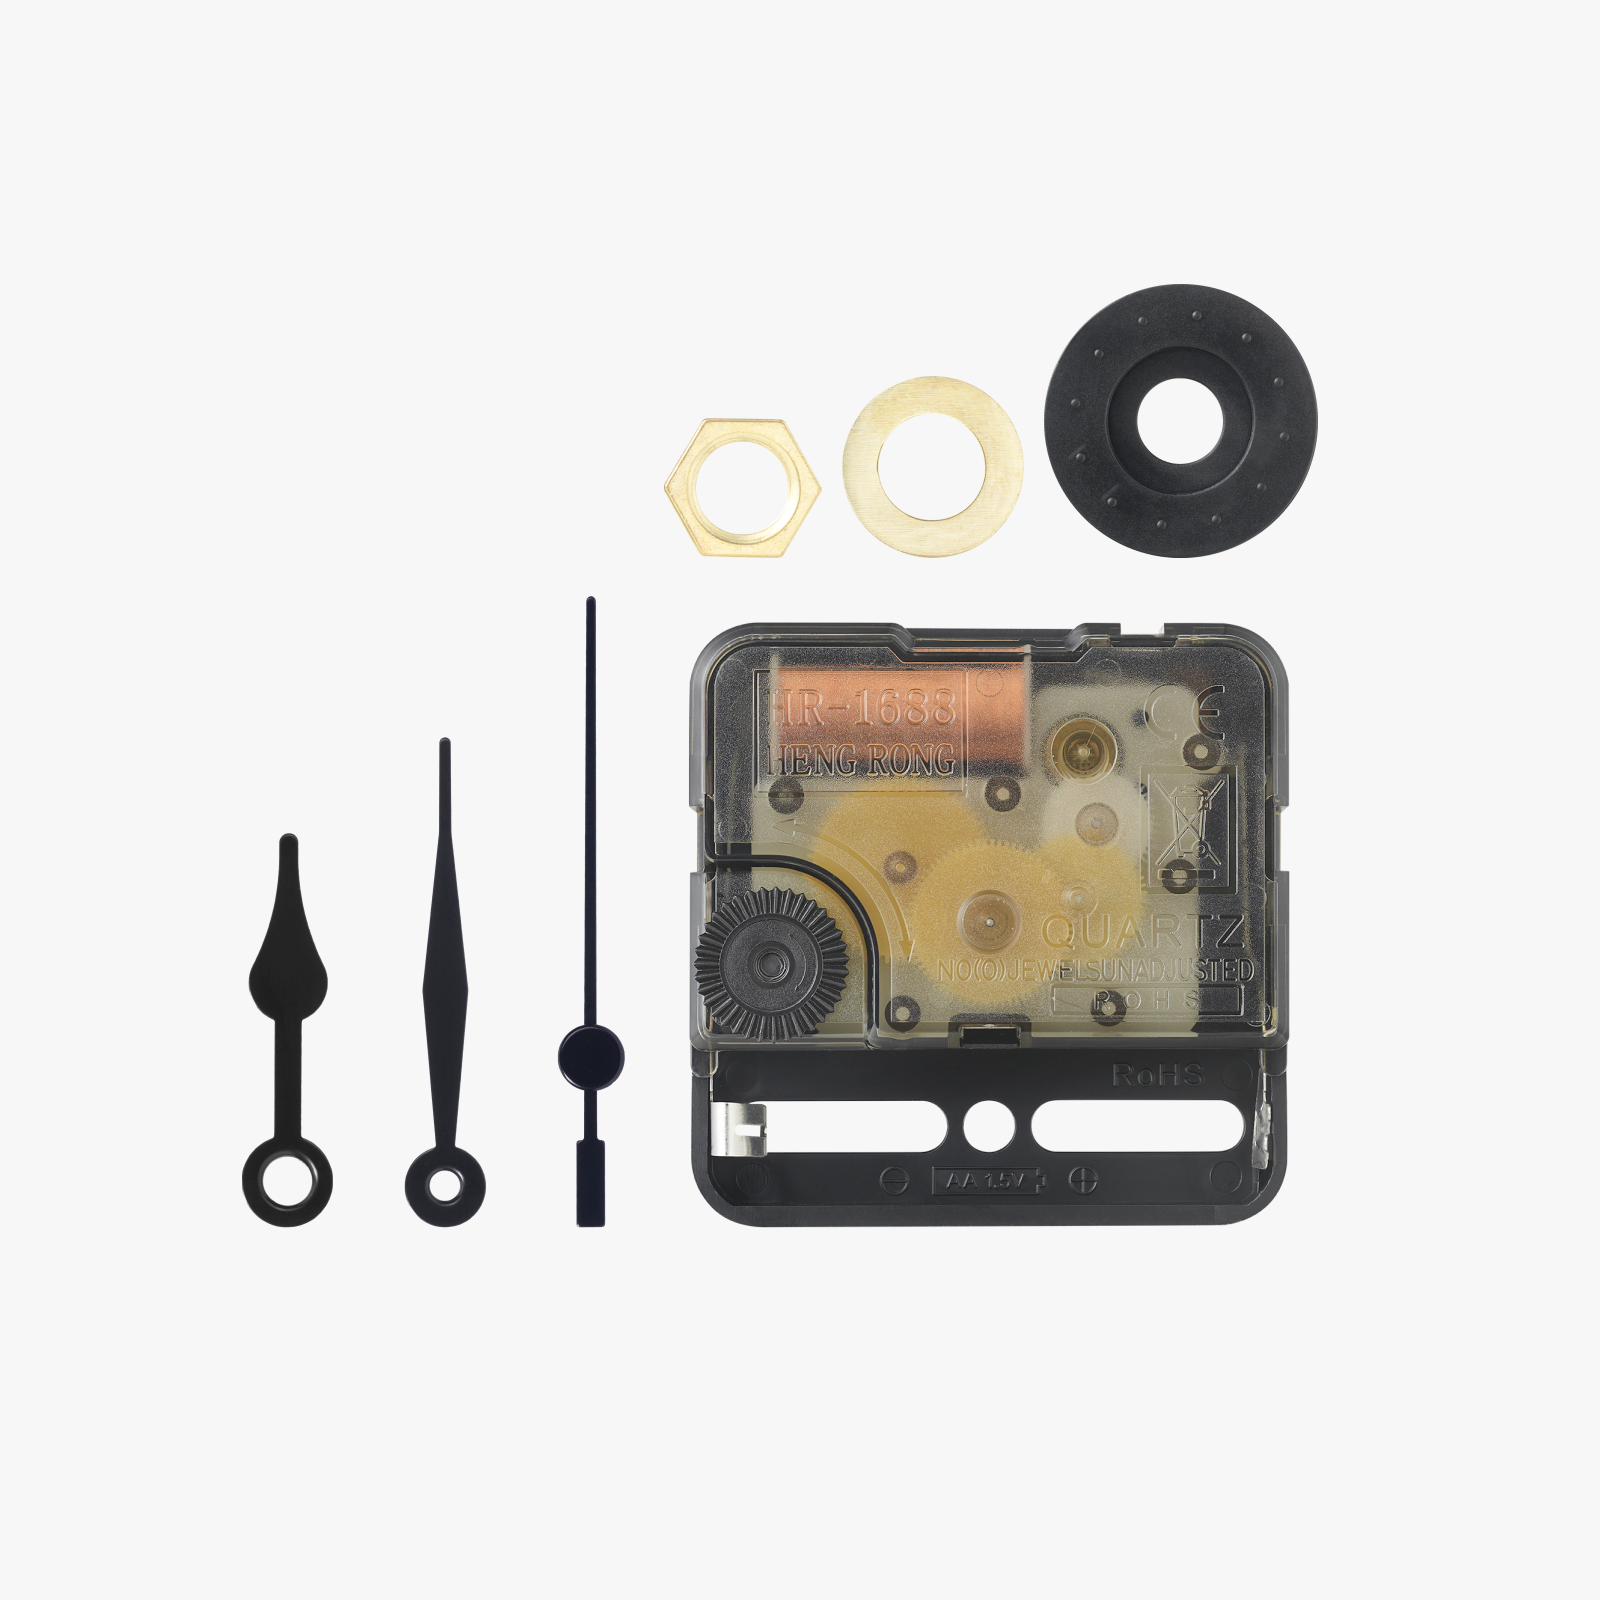




Description
Content has been automatically translated.
A new model of my table clock.
Instructions
- Choose one of my clock designs
- Color the clock to your liking
- Print the clock
- Remove the print from the print bed
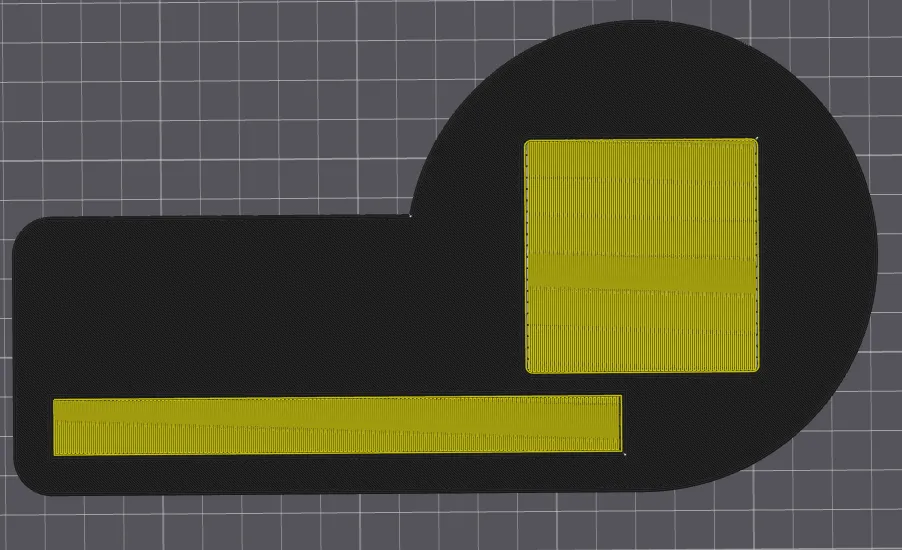
- Remove the support structure (marked in yellow) from the clock and the hour hand using a tool (I use a small screwdriver)
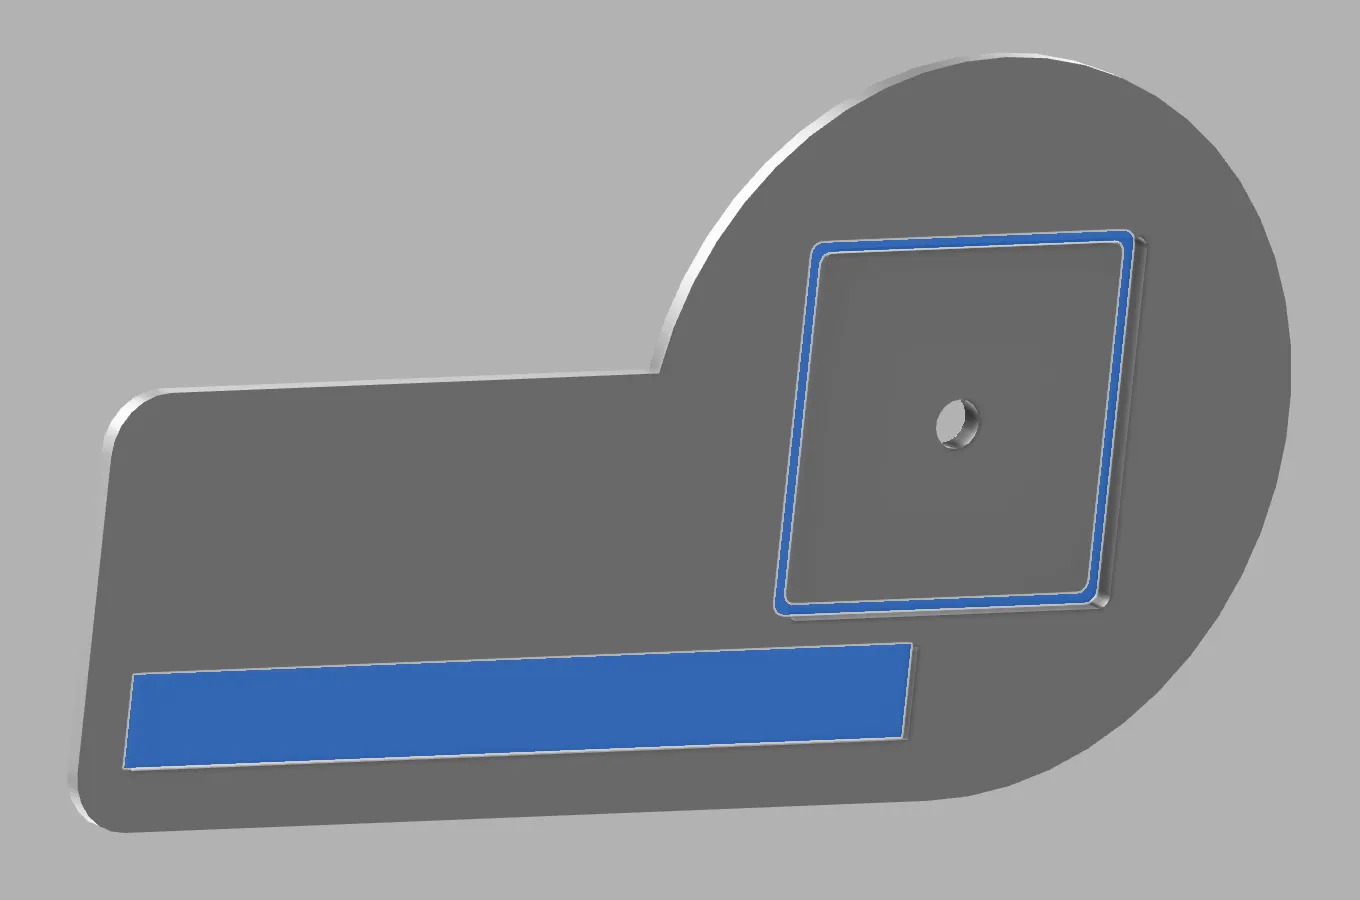
- Apply super glue to the surfaces marked in blue.
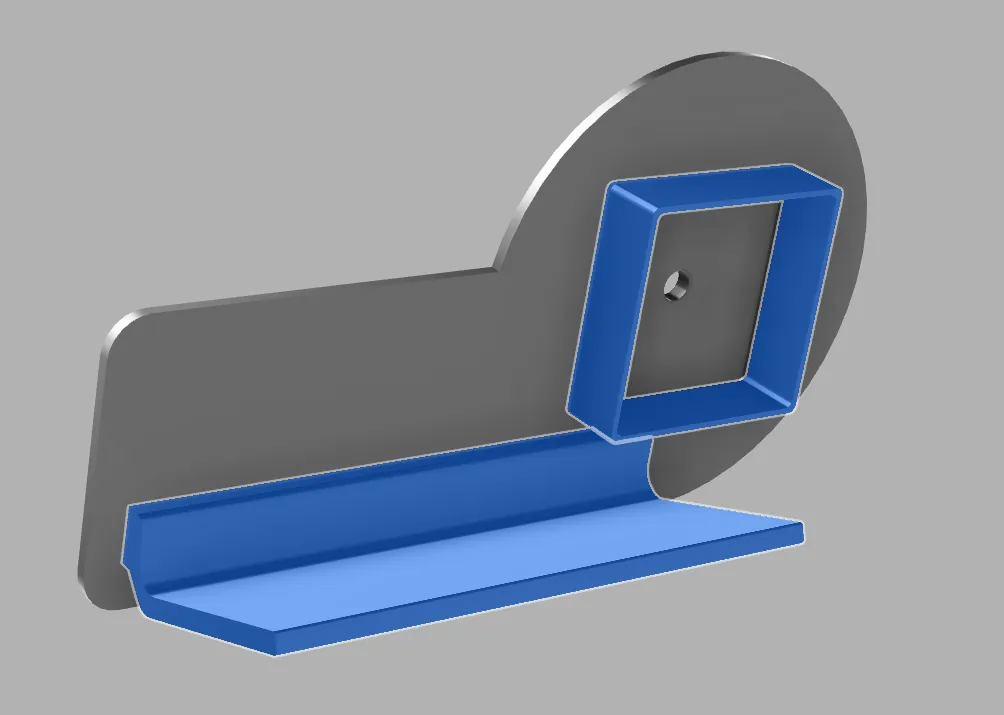
- Glue the support and clockwork surround to the clock.
- After the glue has dried, assemble the clockwork without the rubber washer
- Insert the battery and set the time.
- Attach the clockwork cover.
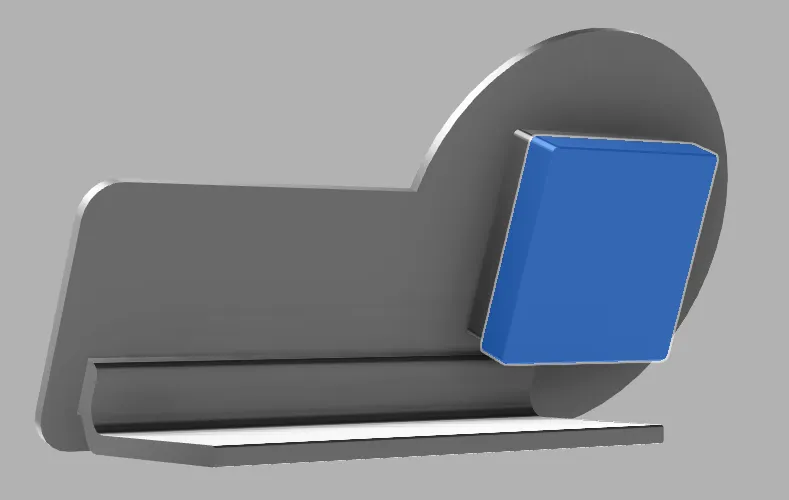
- Attach the hands to the clockwork
- Finished and enjoy.
License

This user content is licensed under a Standard Digital File License.
You shall not share, sub-license, sell, rent, host, transfer, or distribute in any way the digital or 3D printed versions of this object, nor any other derivative work of this object in its digital or physical format (including - but not limited to - remixes of this object, and hosting on other digital platforms). The objects may not be used without permission in any way whatsoever in which you charge money, or collect fees.


Comment & Rating (2)