
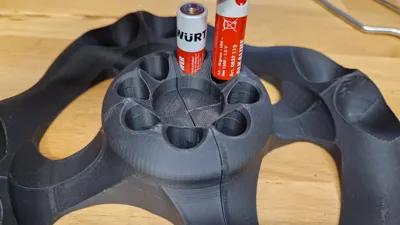
Gamepad Quad Stand(Xbox360+.step)+ Battery storage
Print Profile(3)


Description
Ger:
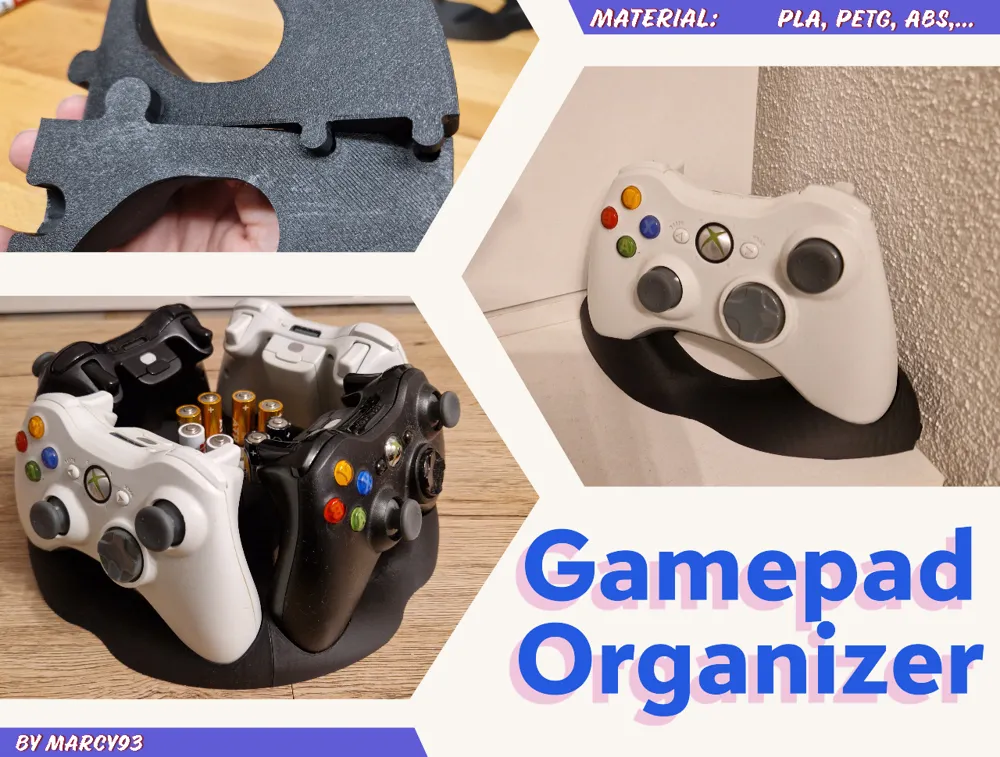
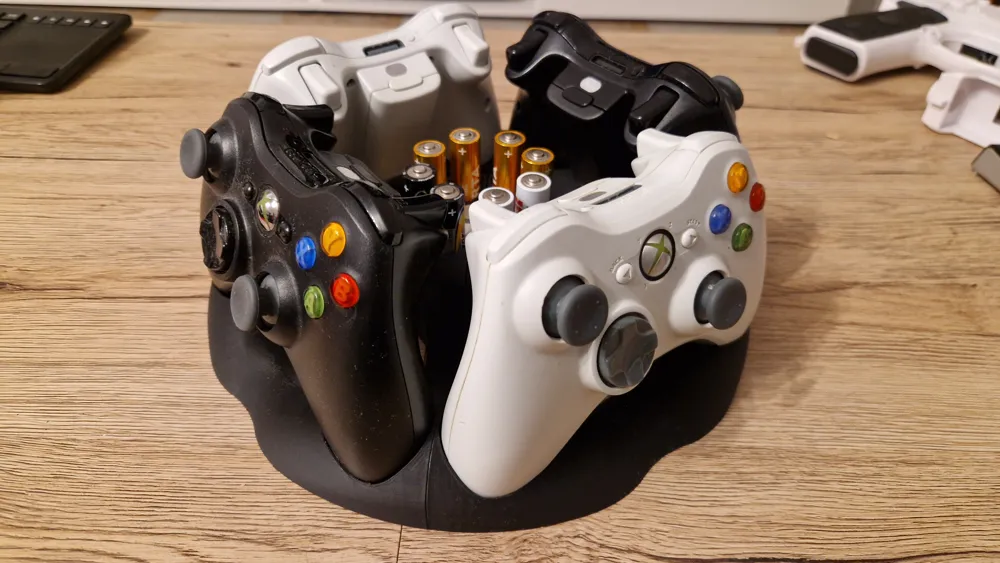
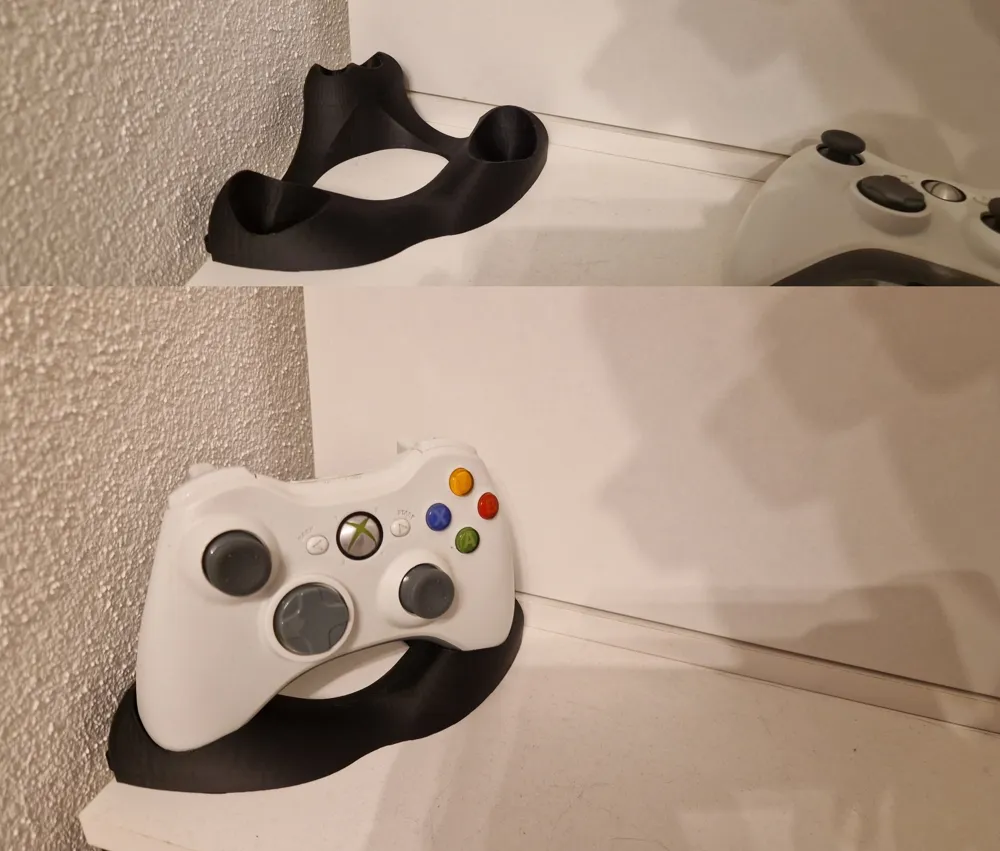
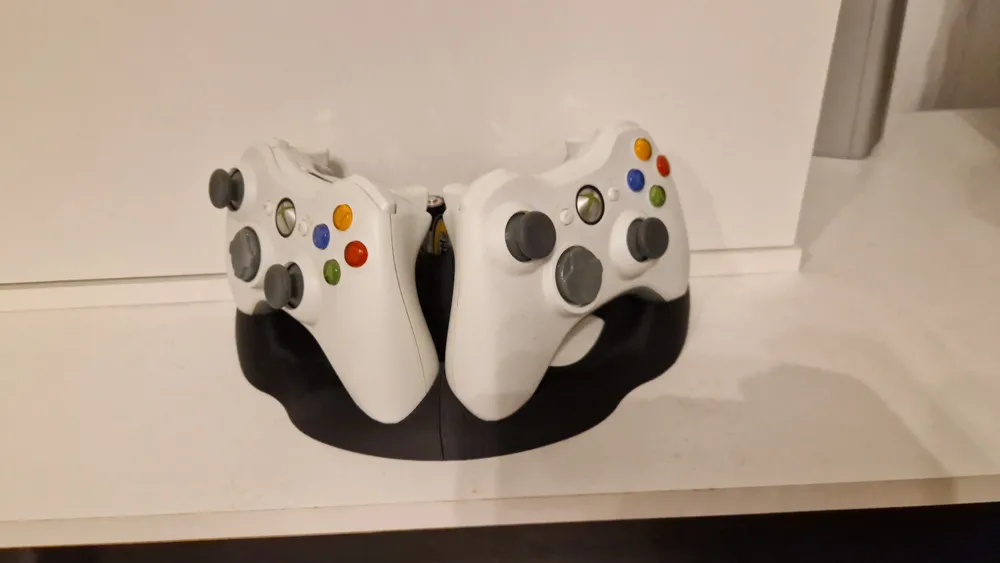
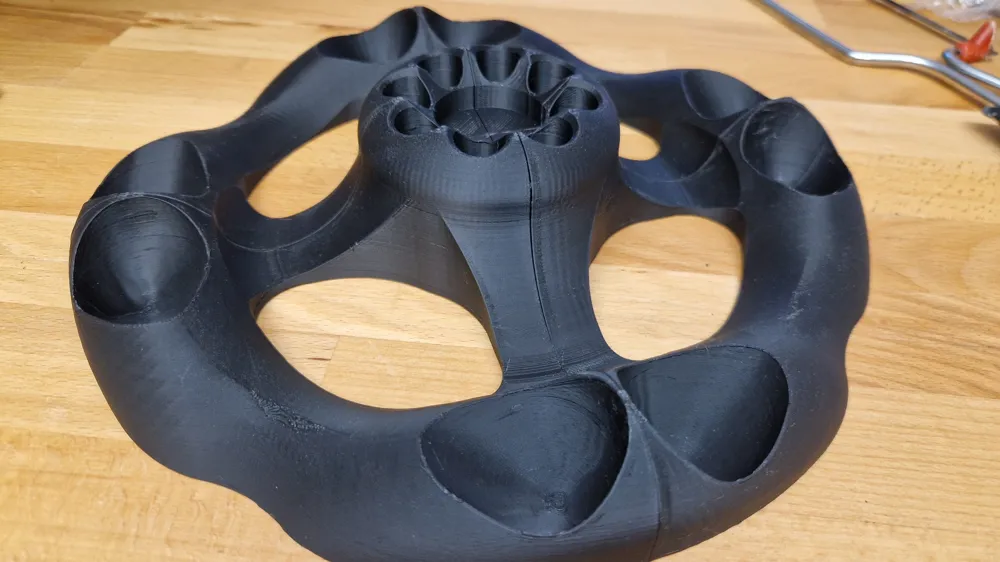
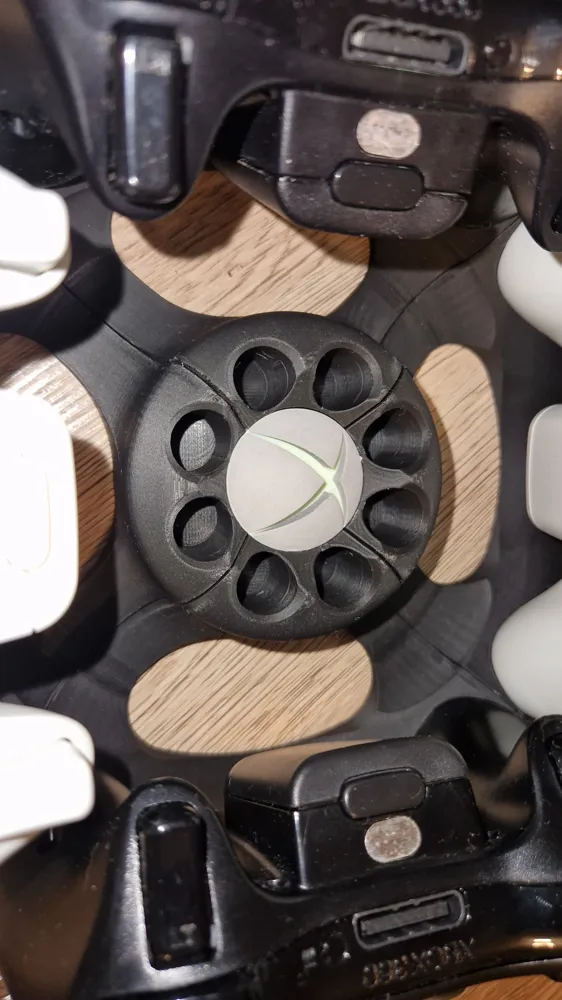
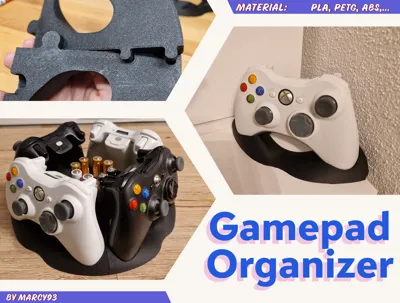
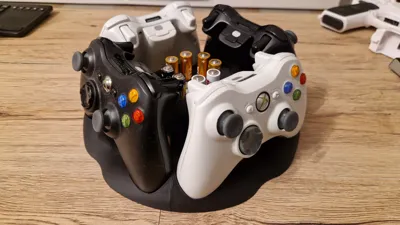
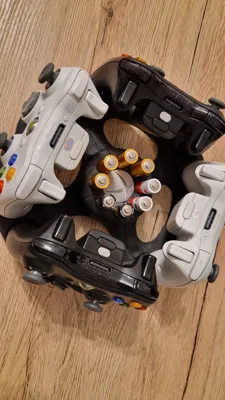
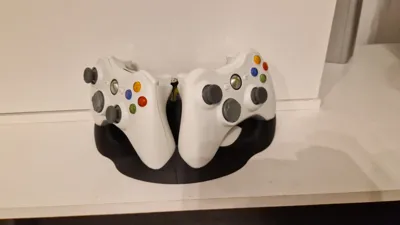
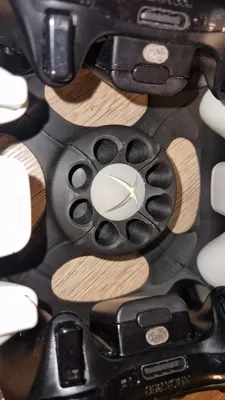
A stand for the space-saving storage and display of gamepads
Specifically, an XBOX-360 controller
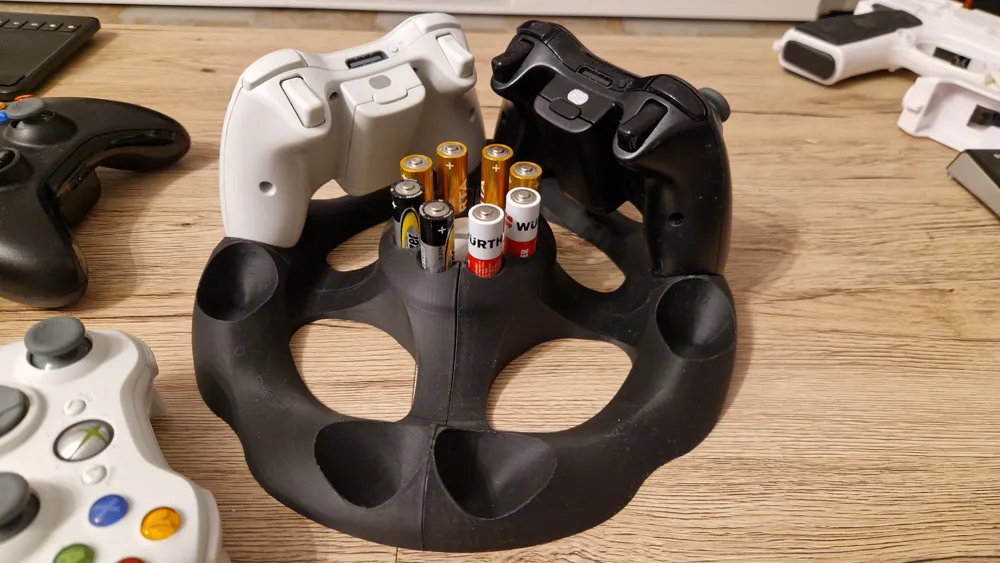
(Model without controller holder, available for download for custom creations or other gamepad models)
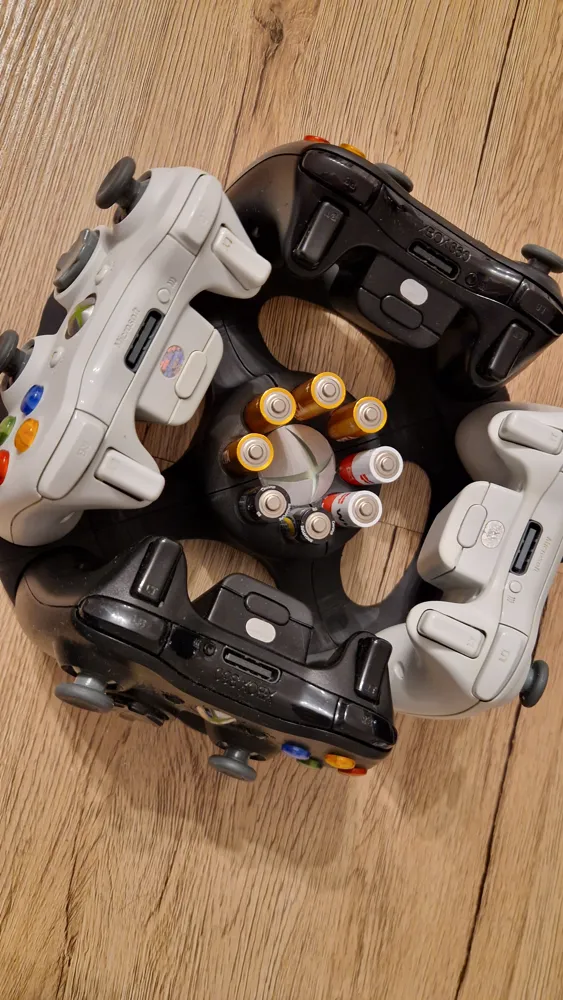
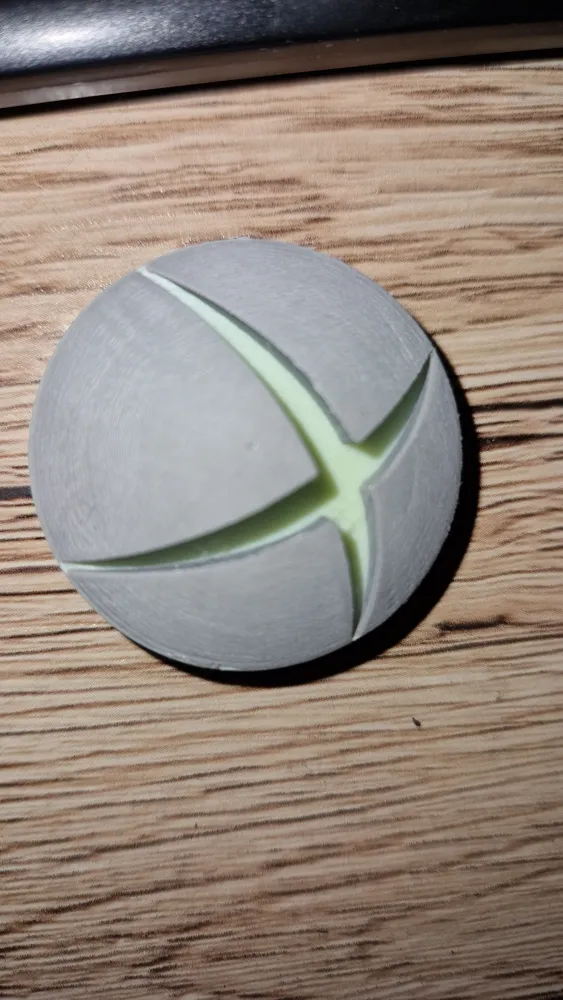
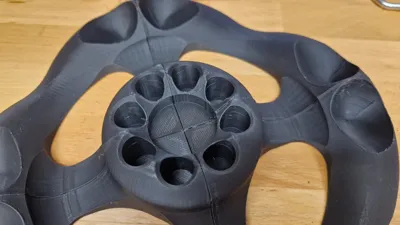
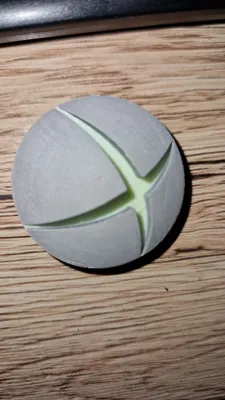
The central logo is hand-pressed and can be replaced with a custom design
Variants:
Monolithic = Requires a minimum print bed of 250mm
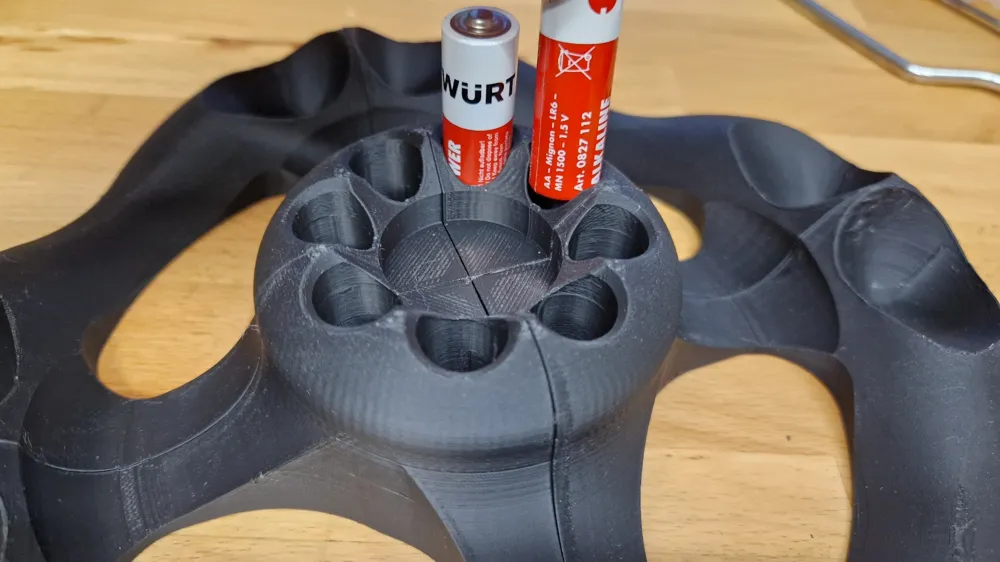
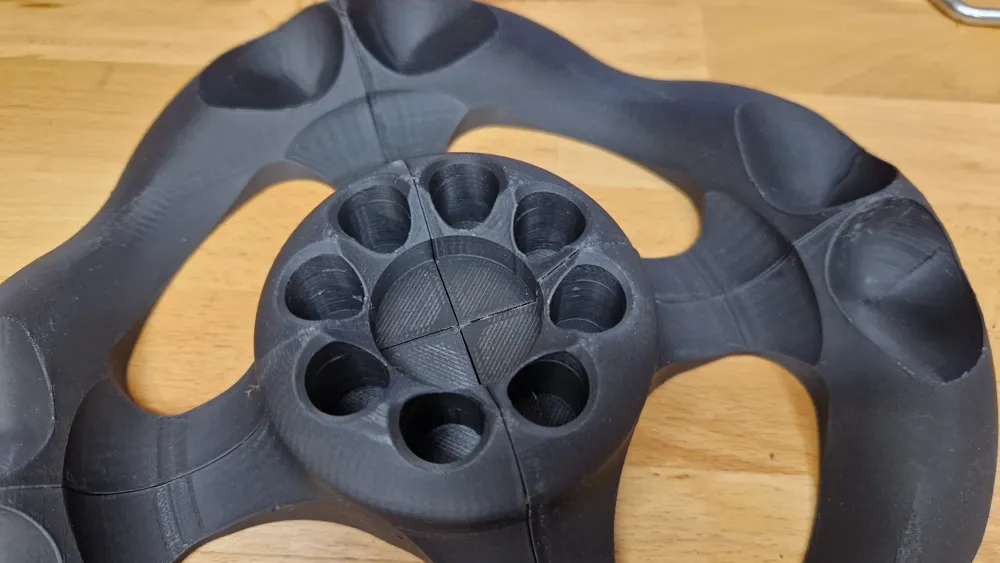
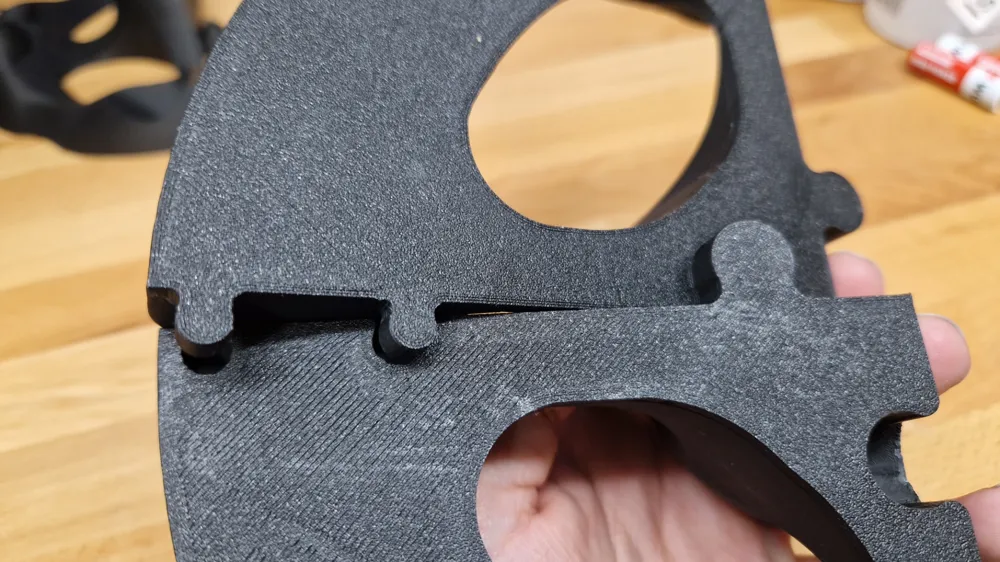
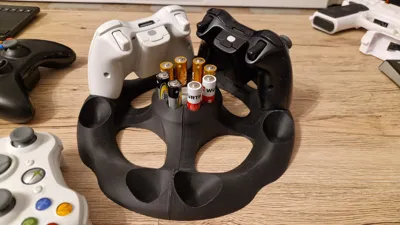
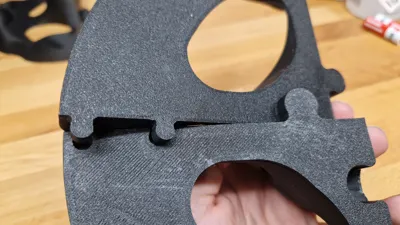
Quadripartite = Twist-lock assembly, no adhesive required (assembly instructions below)
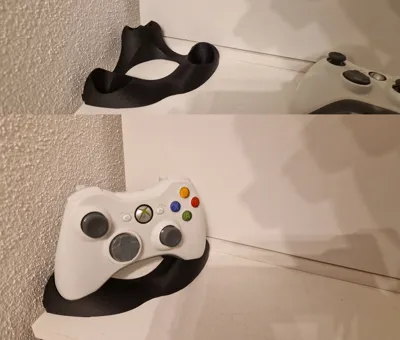
Single Version = Corner stand for a single controller
Blank = For custom creations or controllers from other manufacturers
Logo = xbox
Quadripartite Assembly:
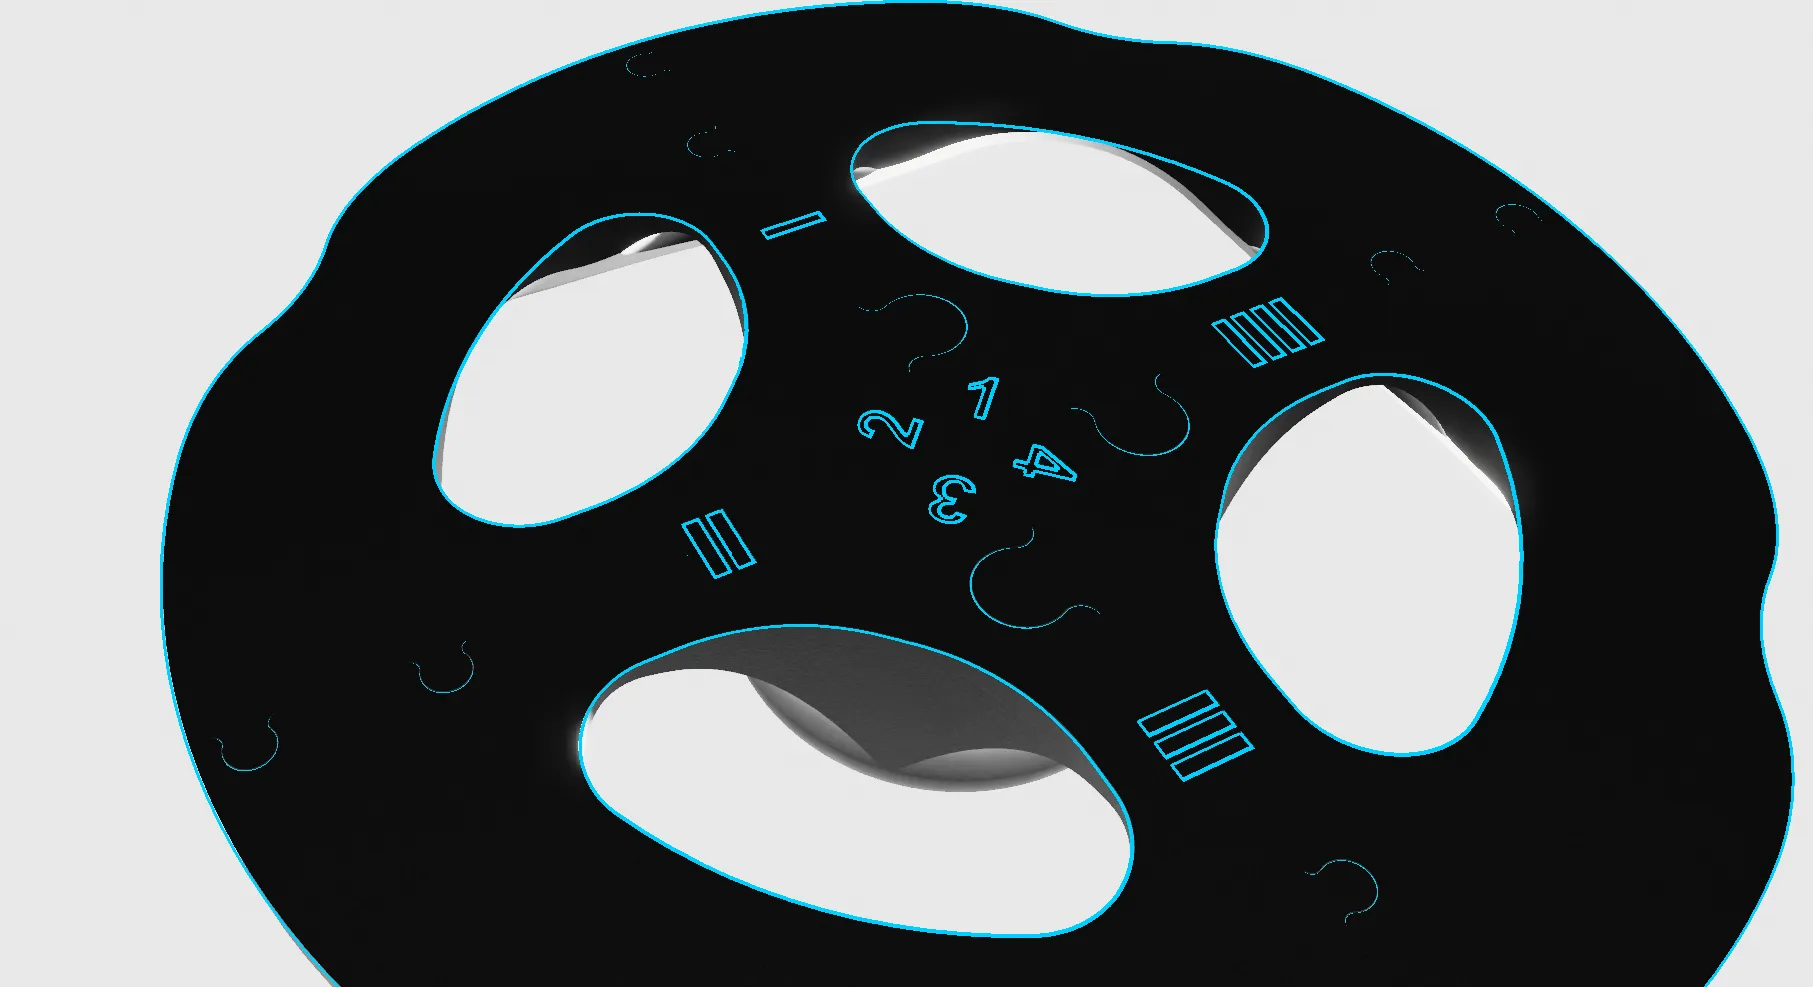
Parts are labeled 1-2-3-4 with central alignment marks for easy assembly
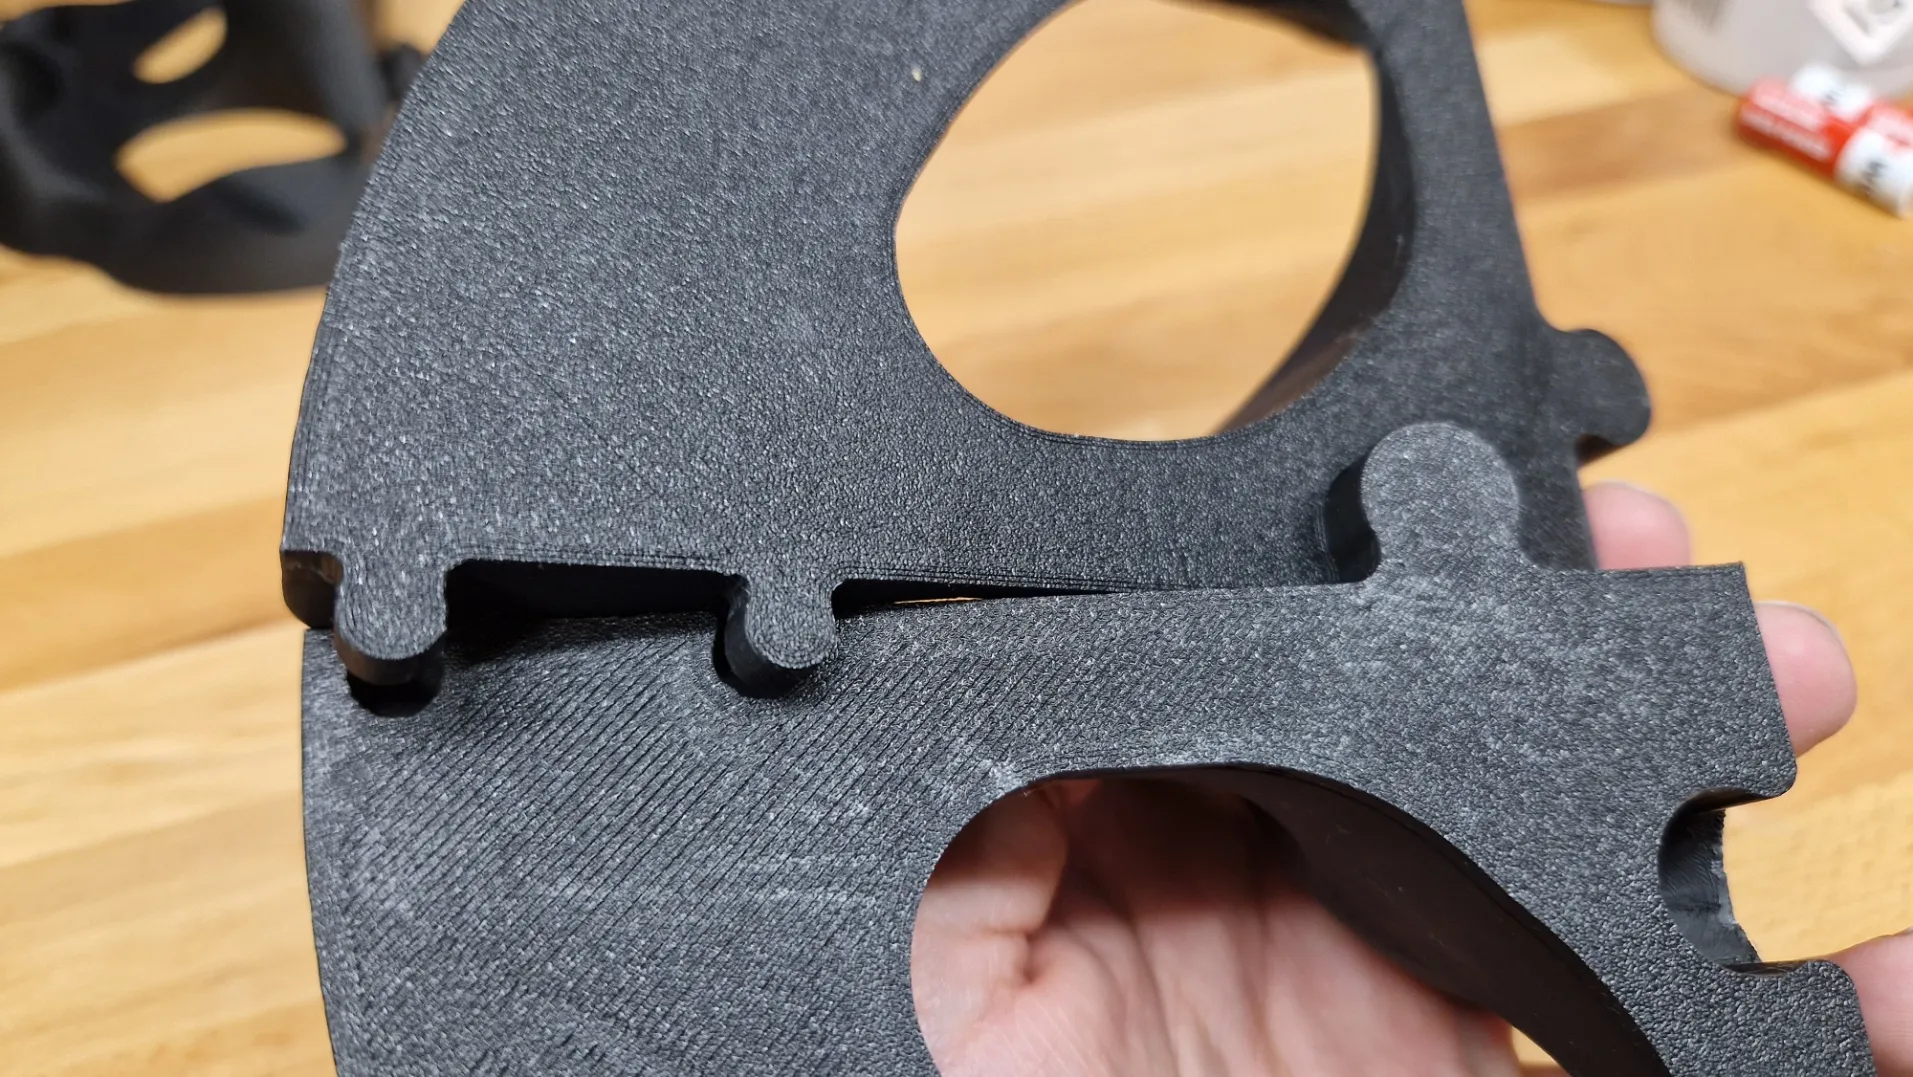

First, assemble 1+2 and 3+4
Then combine 12 and 34
Assemble by gently twisting the parts together; no adhesive is needed
Deburr edges as necessary!
Print Settings:
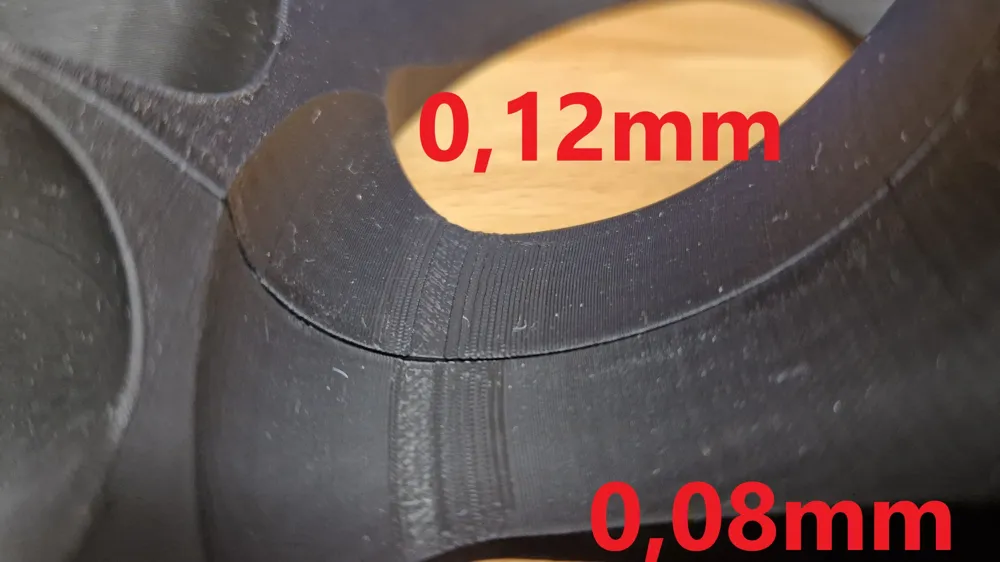
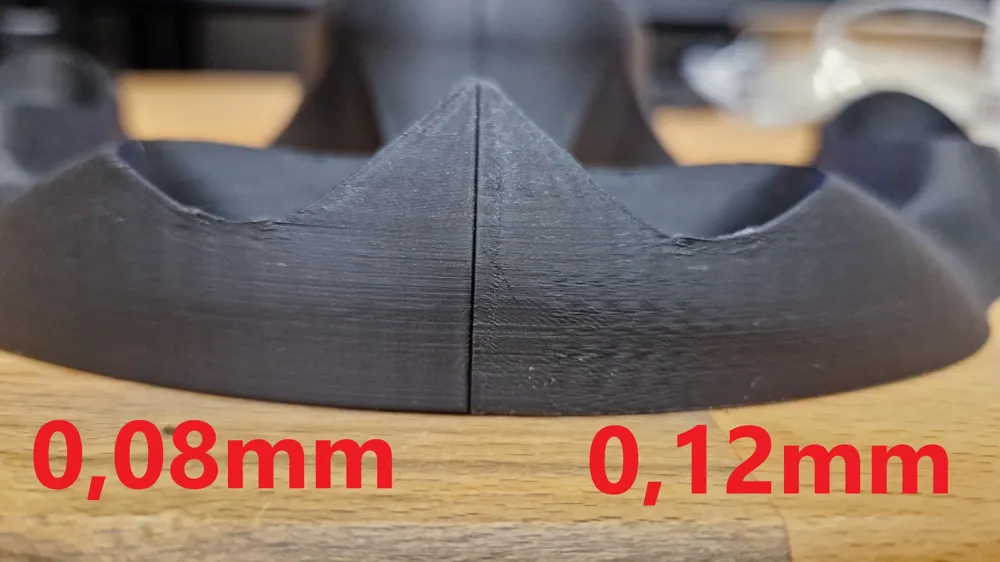
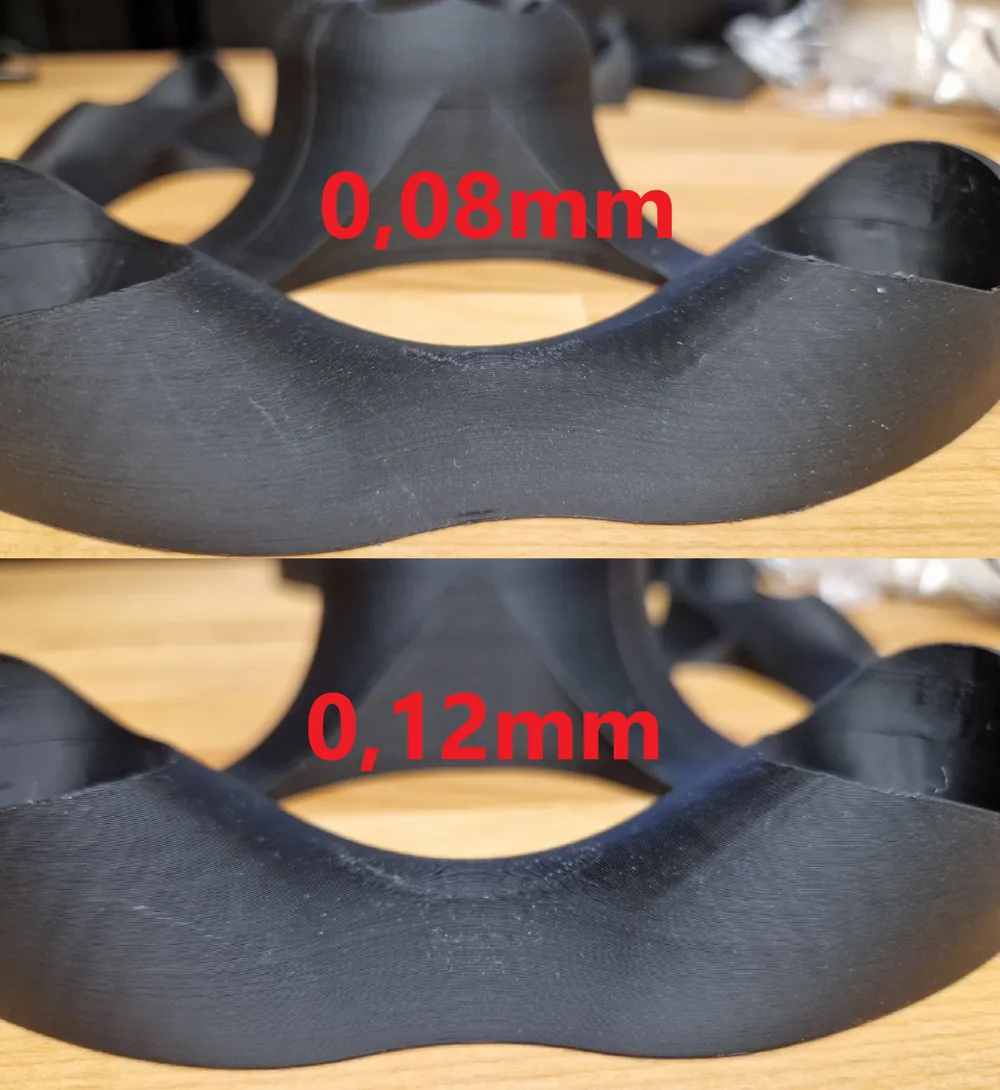
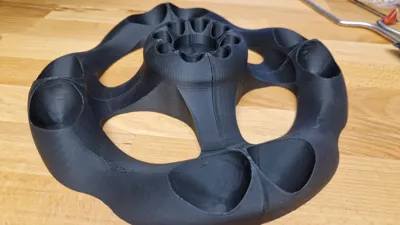
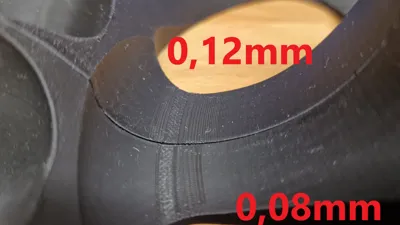
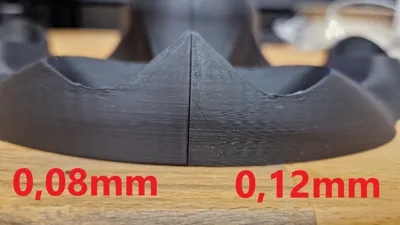
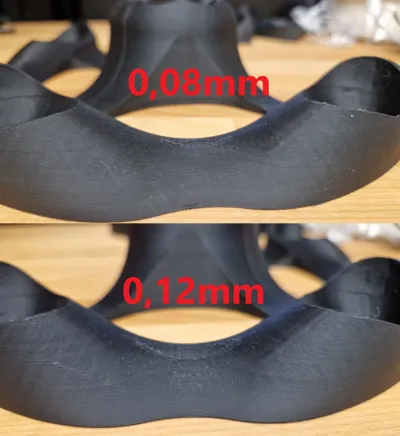
Given the curved design, a maximum layer height of 0.12mm is recommended; 0.08mm is preferable for refined radii and curves (refer to the comparison images)
My grateful thanks to Matt Longieliere | Printables.com
His stand design inspired my own
He generously provided invaluable assistance during development :D
[Feel free to contact me with questions, suggestions, or custom requests, or to offer your support :D https://www.paypal.com/paypalme/clwmarcy ]
Eng:
A stand for space-saving storage and display of gamepads
In this case, an XBOX-360 controller
(Model without controller holder, available for download for custom creations or other gamepad models)
The central logo is hand-pressed and can be customized
Variants:
Monolithic = Requires a minimum print bed of 250mm
Quadripartite = Twist-lock assembly, no adhesive required (assembly instructions below)
Single Version = Corner stand for a single controller
Blank = For custom creations or controllers from other manufacturers
Logo = xbox
Quadripartite Assembly:
The individual parts are labeled 1-2-3-4 with central alignment marks for straightforward assembly
First, assemble 1+2 and 3+4
Then combine 12 and 34
Assemble by gently twisting the parts together; no adhesive is needed
Deburr edges as necessary!
Print Settings:
Given the curved design, a maximum layer height of 0.12mm is recommended; 0.08mm is preferable for refined radii and curves (refer to the comparison images)
My sincere appreciation to Matt Longieliere | Printables.com
His stand design inspired my own
He generously offered invaluable assistance during its development:
[Feel free to contact me with questions, suggestions, or custom requests, or to offer your support :D https://www.paypal.com/paypalme/clwmarcy ]
License

You shall not share, sub-license, sell, rent, host, transfer, or distribute in any way the digital or 3D printed versions of this object, nor any other derivative work of this object in its digital or physical format (including - but not limited to - remixes of this object, and hosting on other digital platforms). The objects may not be used without permission in any way whatsoever in which you charge money, or collect fees.


Comment & Rating (5)