Low Poly Spyro the dragon


Print Profile(2)

Description
If you don't have an ams and want to support my designs :)
https://namiiria3dprints.etsy.com
Introduction:
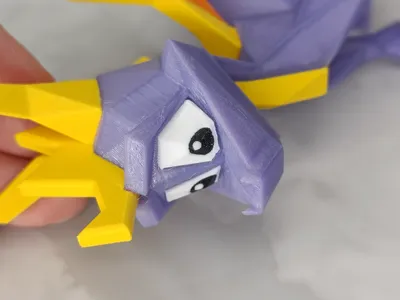
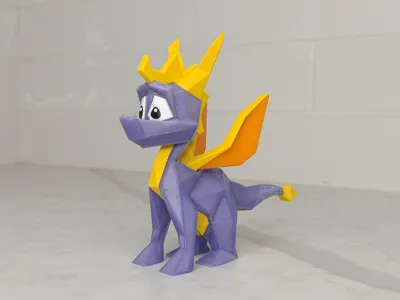
I present you my most prized possession: The low poly Spyro figure!!!
I tried to stay as close to Spyro 1's likeness as possible while making it printable without supports and minimal brims :)
Printing details:
Multicolour file: Compatible with Bambustudio and I was finally able to export it for Orca slicer (With terrific timing :P)
Layer height: 0.16mm for everything apart from the eyes in 0.12mm for smoother multicolor.
Material: Prusa PETG: signal white, mango yellow, Galaxy black, TECOR PETG: sunny orange, purple.
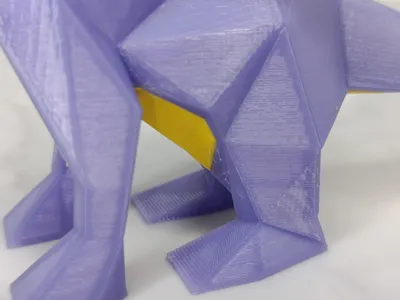
Infill/walls: 3-4 walls, Zero infill apart from the Head, which has 8% gyroid (it needs it otherwise the bridging goes brrr, up to you)
Supports: None!
Brims: Only for the Tail and Wings, if you use a super tack plate or equivalent you can disable them with appropriate heat :)
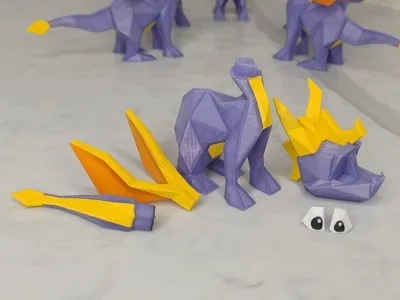
Assembly:
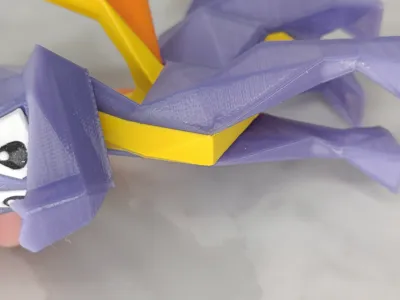
Match each part's connector with their corresponding shaped hole, the Eyes and Tail require superglue to stay on, but you can get away with press fit for the Head and wings.
If the fit is too tight (esp. Head):
- Make sure to calibrate PA and flow ratio before printing
- In case the tightness is because of the Elephant foot, you can deburr the internal edges of the base of the head, edges of the base of the tail and wings to make them fit better if required - be careful with any sharp tool!
If the fit is too loose:
- Use CA glue and hope the seams are not too visible

Care:
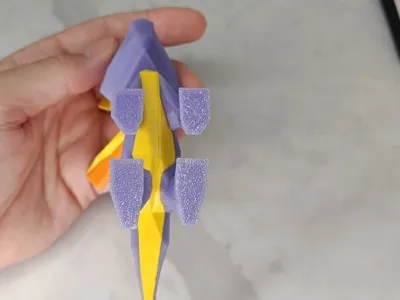
The tail tip is the weakest point due to layer lines, then the horns, then the wings, so if you drop it make sure to angle it so the impact hits the legs first.
Final tips:
- Make sure to wash your plate, and dry your filament (even brand new).
- PA & Flow ratio calibrate each color before attempting this in multicolour :)
License
You may create derivative works based on this object, provided that all such derivative works are published exclusively on the MakerWorld platform and include proper attribution to the original creator. You may not share, upload, host, distribute, or publish this object—or any derivative work of this object—on any other digital platform, marketplace, or distribution channel. Commercial use of this object and any derivative works is strictly prohibited. This includes, but is not limited to, selling, renting, sublicensing, or using the object in any context in which you receive monetary compensation or other financial benefits.
Comment & Rating (57)