Plane Launcher for Lightweight Glider


Print Profile(13)


Bill of Materials
Description
This is the Plane Launcher that's compatible with my recent creation Lightweight Plane Glider. The Plane Launcher is super easy to print, requires no support and can be printed all in one plate. It also super compact yet powerful and only consumes 60g of your filament (For everything including the glider).
If you have already printed the Lightweight Plane Glider, you can remove that from the build plate, and save about 6g of filament :)
Take a look at my other gliders design:
F-16 Fighting Falcon Plane Glider by Tieq MakerWorld
Delta Wing Plane Glider - The Best Glider! by Tieq MakerWorld
Assembly Instructions
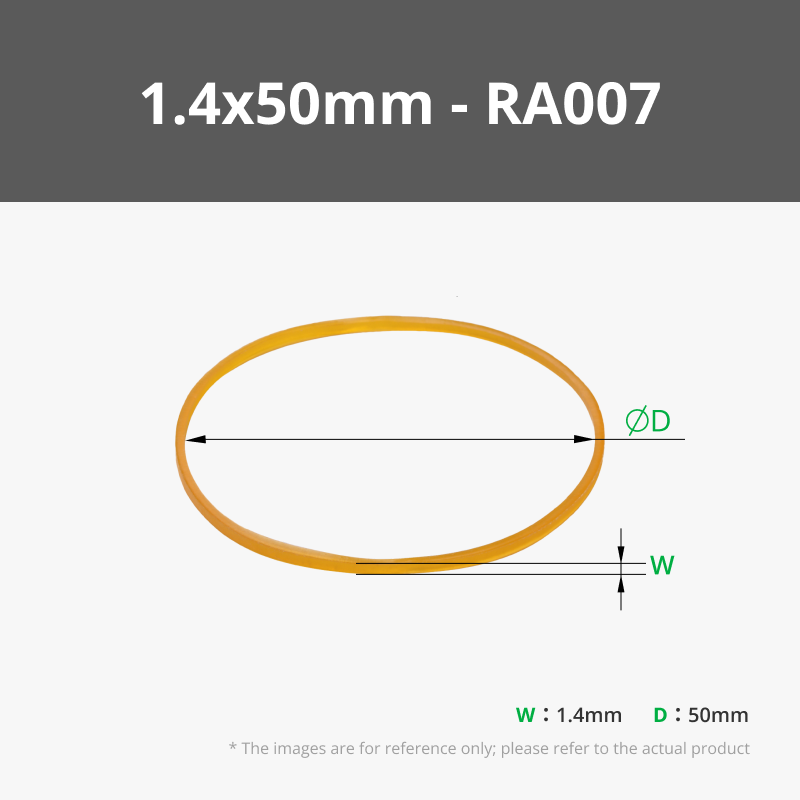
The gun launcher requires a rubber band to function.
- Make sure these internal parts are installed correctly before assembling the launcher shells.
- Avoid using those thin rubber band as it breaks easily, thicker ones like in picture are recommended.

- Press down until you hear a CLICK!


- Pull the bolt handle all the way back until it locks onto the trigger to fire.

Assembly is very easy and straightforward, but I will update a more detailed instruction in the future if I think it necessary.
3D Print Instructions (Important)
Make sure you have applied all these print settings if you don't use my print profile to ensure the plane fly smoothly. You can ignore all these if you downloaded and use my print profiles.
- Use 100% infill for the Plane Glider, 0% infill for the adapter attachment (that attach to the glider), 20% infill for the rest
- 1st and 2nd layer need to be printed with 0.1mm layer height, the rest can be printed with 0.2mm (variable layer height)
- Use at least 3 walls for the gun shells
Make sure the bed is fully cooled before removing the plane glider to avoid damaging its wings.
I recommend using Basic PLA for this print, but PETG/ABS will work as well. I don't recommend PLA Silk, Matte or Wood as they are weaker and more brittle.
That's it, thank you for your supports, please let me know if you have any question!
Happy printing!
8/1/2025 - Update 1: Regarding choosing the right rubber band, avoid using those thin rubber band as it breaks easily.
Membership
If you like my design and would like to sell it. You can subscribe to a commercial license here
Boost Me (for free)
Please Boost if you like my design!
License
You shall not share, sub-license, sell, rent, host, transfer, or distribute in any way the digital or 3D printed versions of this object, nor any other derivative work of this object in its digital or physical format (including - but not limited to - remixes of this object, and hosting on other digital platforms). The objects may not be used without permission in any way whatsoever in which you charge money, or collect fees.
Comment & Rating (5303)