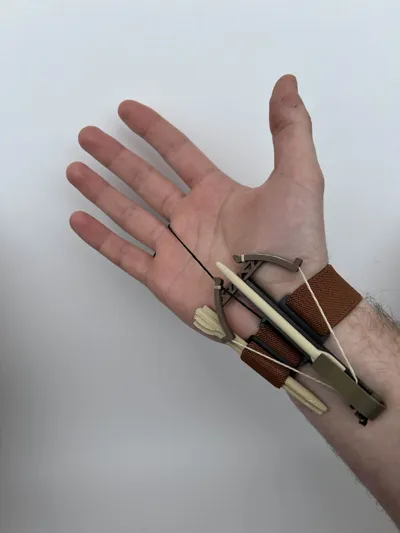
The Wrist Crossbow V2!


Print Profile(4)


Description
Boost Me (for free)
Boosting helps me to afford the projects you all love! Every like, save, and print helps. Thanks!
Description
NOTE: THIS MODEL CAN HURT. PLEASE EXERCISE CAUTION WHEN FIRING, AND DO NOT FIRE AT THE EYES OF OTHERS. I AM NOT RESPONSIBLE FOR ANY INJURY. ENJOY!
*PLEASE READ ME*
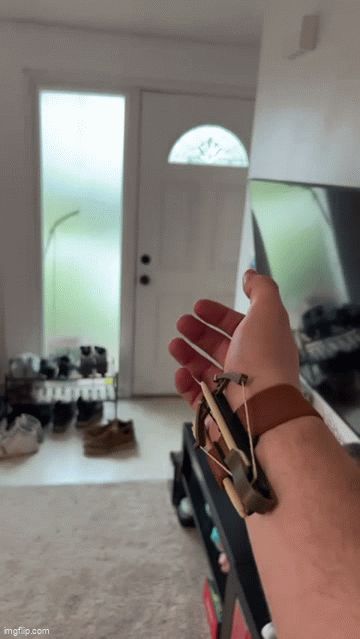
Hey everyone! Here's my new wrist mounted crossbow V2. As with the previous iteration, the only two things you'll need are:
-1x rubber band (I use size 16 from office depot)
-String
-Velcro/Elastic
And that's all!
More detailed assembly instructions are listed below the photo in the description.
This newer model includes:
-A working single handed trigger
-A snug arrow/bolt holder mounted on the wrist
-An improved set of tolerances and printer settings.
Firing:
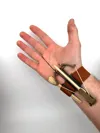
To fire the new model, simply put the model together as shown in the photos. When flexing your hand backward with the T shaped “finger mount”, the string will tighten and push the elastic band upward until it is no longer caught. String length and operation will depend on the hand measurements and rubber band used, but both only require a small amount of working.
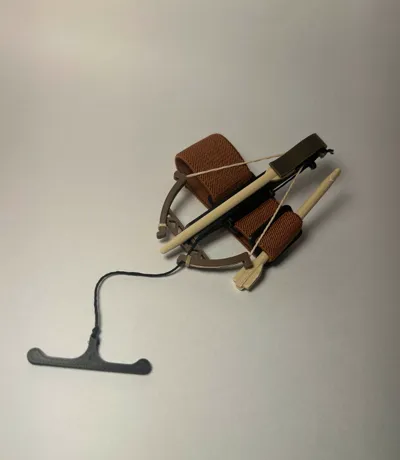
Bow Assembly:
The most difficult part of the assembly is putting the rubber band on. Simply copy the looping shown in the photo below to make the process easier, and don't forget to twist the band! (Using tweezers can help)

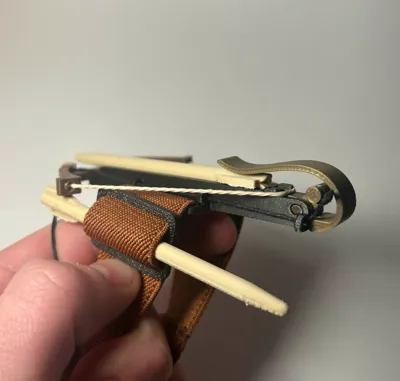
ASSEMBLY:
To begin, glue your assembled bow flat side down to the front of the rail. Now, place your see-saw trigger into the back of the rail, aligning the holes. Use photo 4 as a reference. Now, take the printed pin and push it through until it is flush on both sides (Using a flat table can help!). Now, glue the arrow retention spring (shaped like ~) to the back in the cutout space. With that complete, simply tie a string to the see-saw trigger and send it through the 3 holes on the side. This completes the main body.
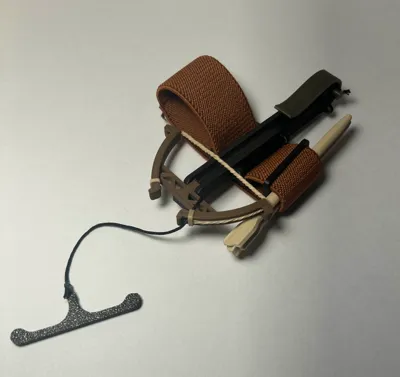
Finally, stitch your elastic/velcro to the main body, looping it through the optional arrow holder buckle. Tie the T shaped finger mount to your hand at an appropriate distance given your hand measurements, allowing for smooth and easy firing without hindering movement.
And its complete! Enjoy!
License
You shall not share, sub-license, sell, rent, host, transfer, or distribute in any way the digital or 3D printed versions of this object, nor any other derivative work of this object in its digital or physical format (including - but not limited to - remixes of this object, and hosting on other digital platforms). The objects may not be used without permission in any way whatsoever in which you charge money, or collect fees.
Comment & Rating (313)