VBERS - Vacuum Bag ~ Epic Ring Sealer


Print Profile(1)

Bill of Materials

Description
VBERS - Vacuum Bag ~ Epic Ring Sealer
VBERS is my solution to a problem I often having sealing standard ‘vacuum’ bags, typically used for 3D print spools or other small craft items. It’s not required for the larger vacuum sealing machines like those used in food preparation.
What problem does it address?
When using a vacuum bag and pump, the inner walls of the plastic bag or even the contents in the bag can ‘block’ the vacuum valve - making it difficult to achieve a full vacuum. It can also easily happen where you are trying to seal other plastic bag(s) within a vacuum bag, the vacuum action can cause those smaller plastic bags to block the valve, resulting in an incorrect and/or poor vacuum ~ it's frustrating and wastes your time.
!! Ease of use !!
- It's simple, useful and reliable. Designed and tested multiple times including 4 week seal test!
- Recommend you print my ‘designer’ tagged profiles; others may not have been fully tested.
- Fully compatible with both hand and small electric vacuum (typically usb) pumps.
- Fully compatible with all vacuum bags, that have a sealing valve of same size.
How do you use it?
- Fill your vacuum bag with the contents to be sealed, follow any directions with limits for the bag.
- Insert VBERS into the vacuum bag and locate it behind the vacuum valve (usually blue ring, located top right of the vacuum bag).
- Seal the opening of the vacuum bag and if recommended, use the sealing clip to ensure an airtight seal.
- Lay bag flat and apply a vacuum using your pump; ensure VBERS stays in place, correctly aligned with the vacuum valve.
- Watch as the vacuum bag deflates around the contents and VBERS - ensuring the valve and airflow remains unrestricted.
- Continue to apply a vacuum until all the air is vacated - Perfect seal achieved!
Pictures
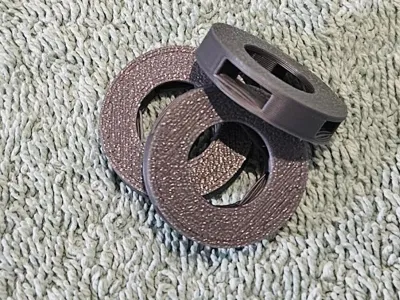
- Pic 1 - VBERS printed x 5, I keep a bundle handy just like filament clips.
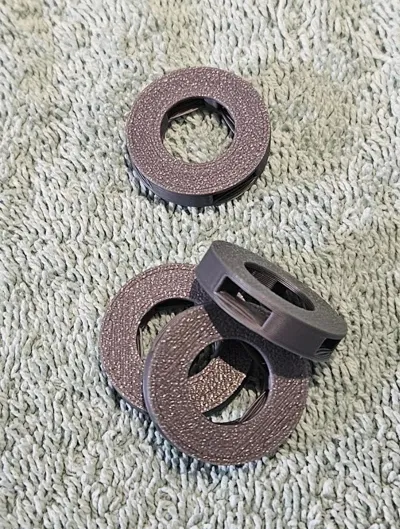
- Pic 2 - VBERS sitting behind the vacuum seal (deliberately off to one side to show it still works and viewing for photo).
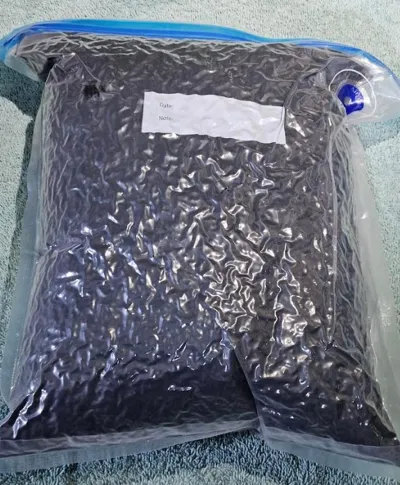
- Pic 3 - VBERS sealing a zip log bag (activated carbon) within a vacuum back- achieving a much better seal (photo at 4 weeks).
[OPTIONAL] For an easier and\or one handed operation - a handy tip is to place small pieces of double sided (thin) on the face of the VBRS and use that to adhere it to the reverse of the vacuum seal, once inside the vacuum bag. This will be enough to ‘hold it in place’ whilst you start the initial vacuum process.
THANK YOU for viewing my design and potentially printing and trying it out!! Likes, Downloads, Collections - all helps me as a creator and your feedback is important - so please send it through!!
Boost Me (for free)
If you like this work ,please feel free to Boost Me as this small, yet amazing item actually took quite a few iterations and redesigns to get the right amount of airflow and sealing capability.
License
You shall not share, sub-license, sell, rent, host, transfer, or distribute in any way the digital or 3D printed versions of this object, nor any other derivative work of this object in its digital or physical format (including - but not limited to - remixes of this object, and hosting on other digital platforms). The objects may not be used without permission in any way whatsoever in which you charge money, or collect fees.
Comment & Rating (41)