lead screw cleaner


Print Profile(4)


Description
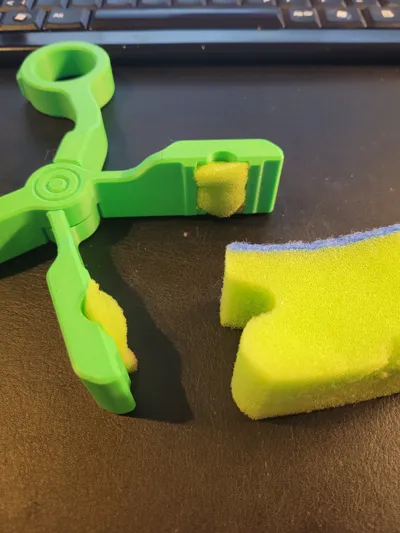
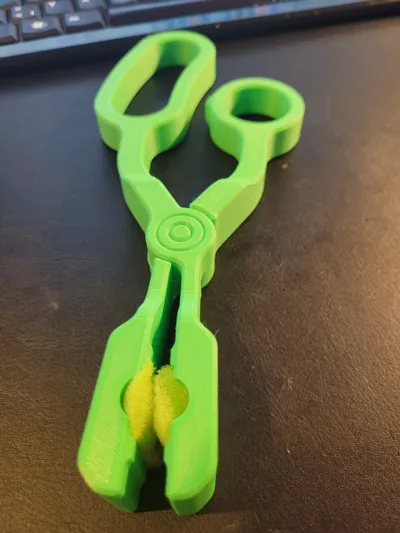
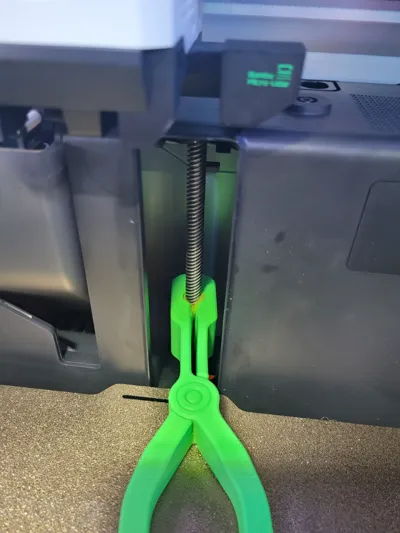
This is my version of a lead screw cleaner for X1 and P1!
After a few attempts, I found that the best method to clean the lead screws is with a dishwashing sponge.
Cloths fiber and leave residue that can settle in the lead screw bearing, so this method should not be used.
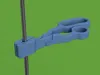
In order to clean the lead screw with the sponge, I created these pliers. In this way, there is a very high probability that, on the one hand, the lead screw will be cleaned very well and, on the other hand, there will be no risk of damage to the bearing.
Needed Tools: None!
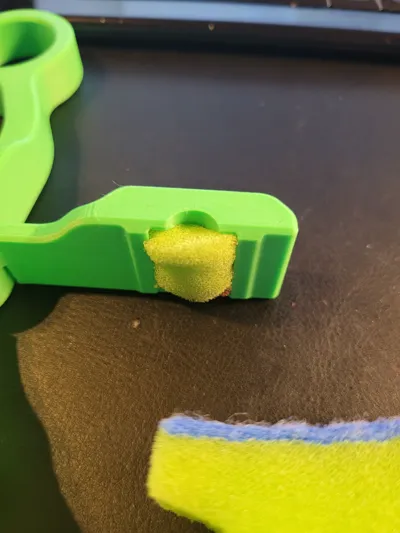
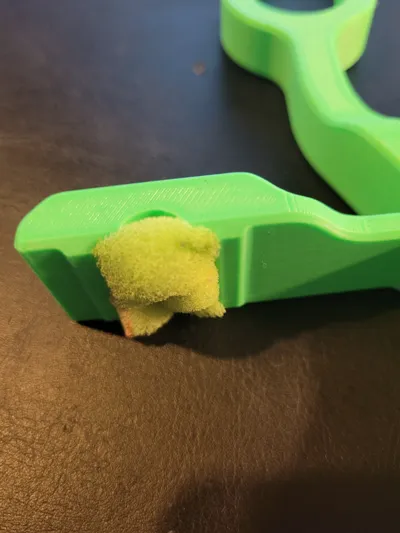
Assembling: The pliers do not need to be assembled because the joint is "print in place". Take a dishwashing sponge and cut two small, matching pieces. Press the sponge pieces into the pockets provided.
Using the lead screw cleaner: Move the print bed all the way down. Wet the contact surface of the sponges with a little isopropyl alcohol. Place the pliers on the lead screw and carefully move the print bed upwards step by step, always keeping the pliers closed. Keep enough distance from the upper stop, otherwise injuries and damage can occur! Every now and then, check the condition of the sponge and remove any residue on the sponge.
Repeat these steps a few times until no residue is visible and you are satisfied with the result.
Recommended filament: PLA+
Hotend: 0,40mm
Print instructions for PLA (my print profile is set up like this):
- layer height: 0,20mm
- 4 wall loops (for extra strength)
- top/bottom shells: 4 layers
- top/bottom shell thickness: 0,80mm
- infill: 25% (for extra strength)
- sparse infill pattern “gyroid”
- Enable “Infill combination”
Before printing, make sure your build plate is clean and apply some adhesive. Wash the build plate with oil free soap and wipe it off with some paper towels. For build plate adhesion, apply a thin, even coat of your preferred adhesive. I repeat the process every 5-6 prints.
Bad build plate adhesion is not related to the model.
Take a look at my other models https://makerworld.com/en/u/1597610120
Please leave me a like and a decent rating if you were satisfied, thank you in advance!
Boost Me (for free)
Please consider boosting my model if you are satisfied.
This way you can make me happy and show me some love! It also compensates a little for the time I spent providing you with a beautiful printing experience with a model free of charge. Thank you in advance and happy printing!
Have a look at my other models here: SaVo3D | Home - MakerWorld
Boost Me (for free)
If you liked the model and found it helpful, I’d really appreciate it if you could give it a boost! It makes my day and helps make up for the time I spent making sure you had a great printing experience. Thanks a lot in advance!
Membership
Do you want to sell physical prints of my models? Join my commercial license program!
Fix adhesion-related printing errors by washing the build plate
Bambu Lab Textured PEI Plate Cleaning Guide | Bambu Lab Wiki
License
You shall not share, sub-license, sell, rent, host, transfer, or distribute in any way the digital or 3D printed versions of this object, nor any other derivative work of this object in its digital or physical format (including - but not limited to - remixes of this object, and hosting on other digital platforms). The objects may not be used without permission in any way whatsoever in which you charge money, or collect fees.
Comment & Rating (156)