
Elite Dangerous Levitating Cobra Mk3

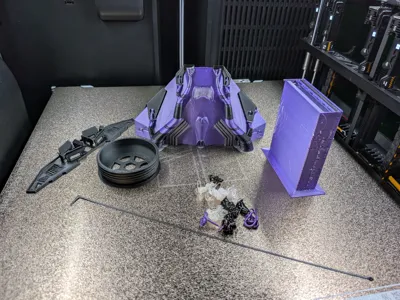
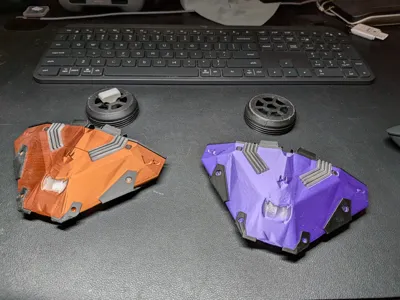
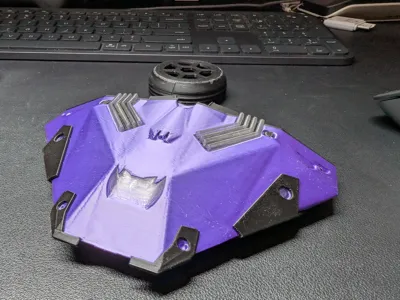
Print Profile(2)


Bill of Materials


Description
Edit 12/18/2025:
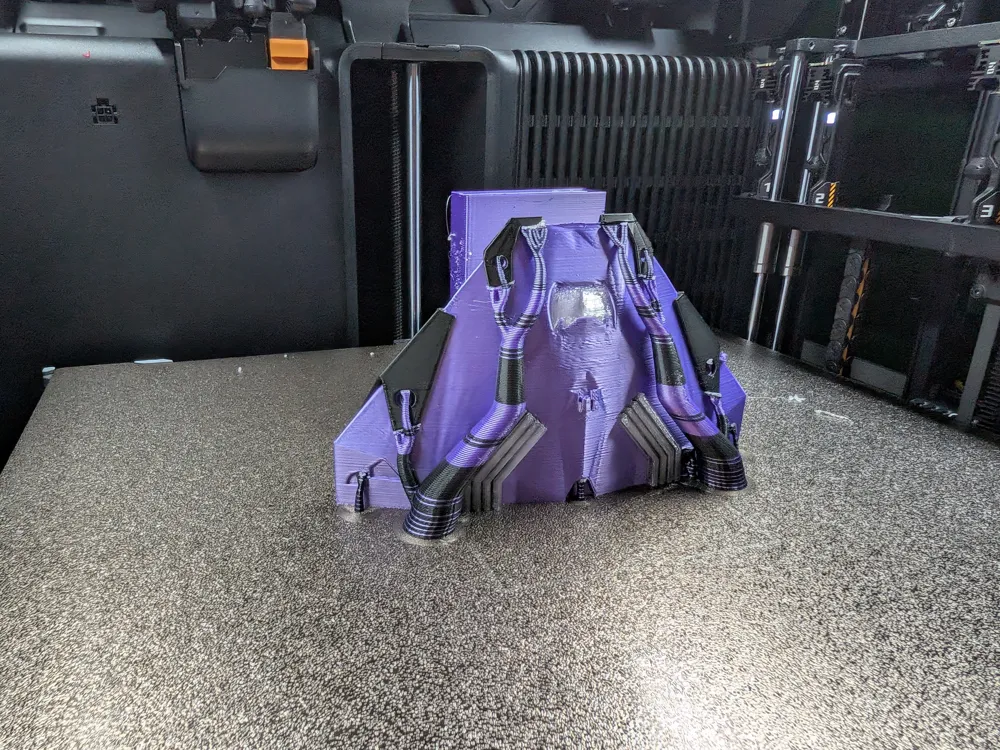
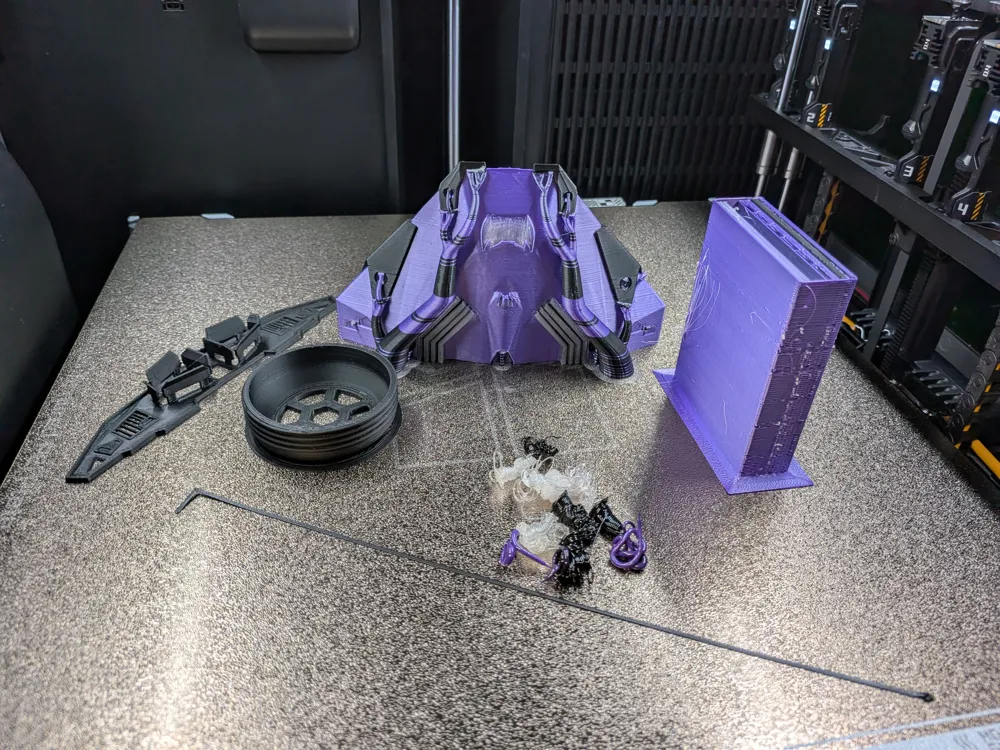
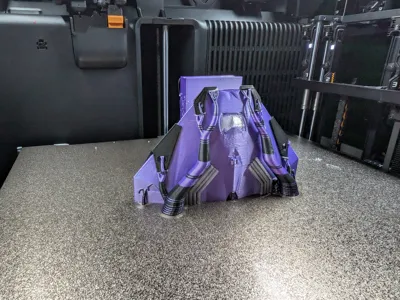
I just uploaded a solid version, which I recommend to be printed only with the H2C as it has a vortex system to prevent waste:
- Silk PLA Filament for the main ship body
- Black PLA for the bumpers and thrusters
- Transparent PLA for the light to shine through
- Support PLA/PETG to make support removal easier
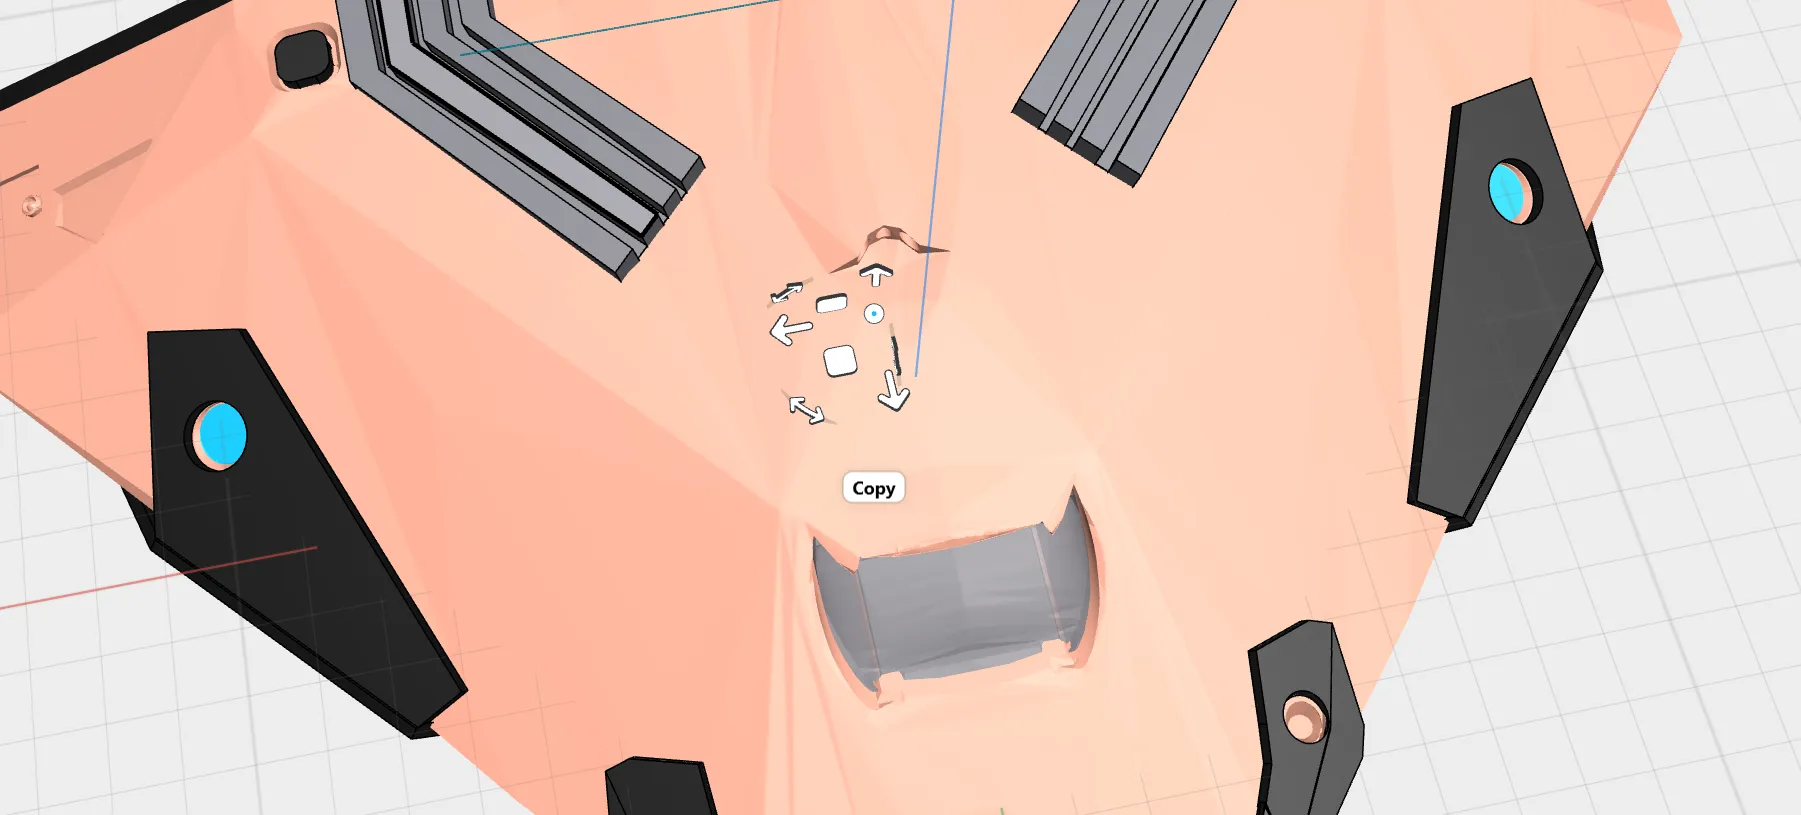
As shown in the pictures, H2C multi tool will significantly reduce and prevent 369g of flushed waste, which alone takes 21 hours when done on a P1S.
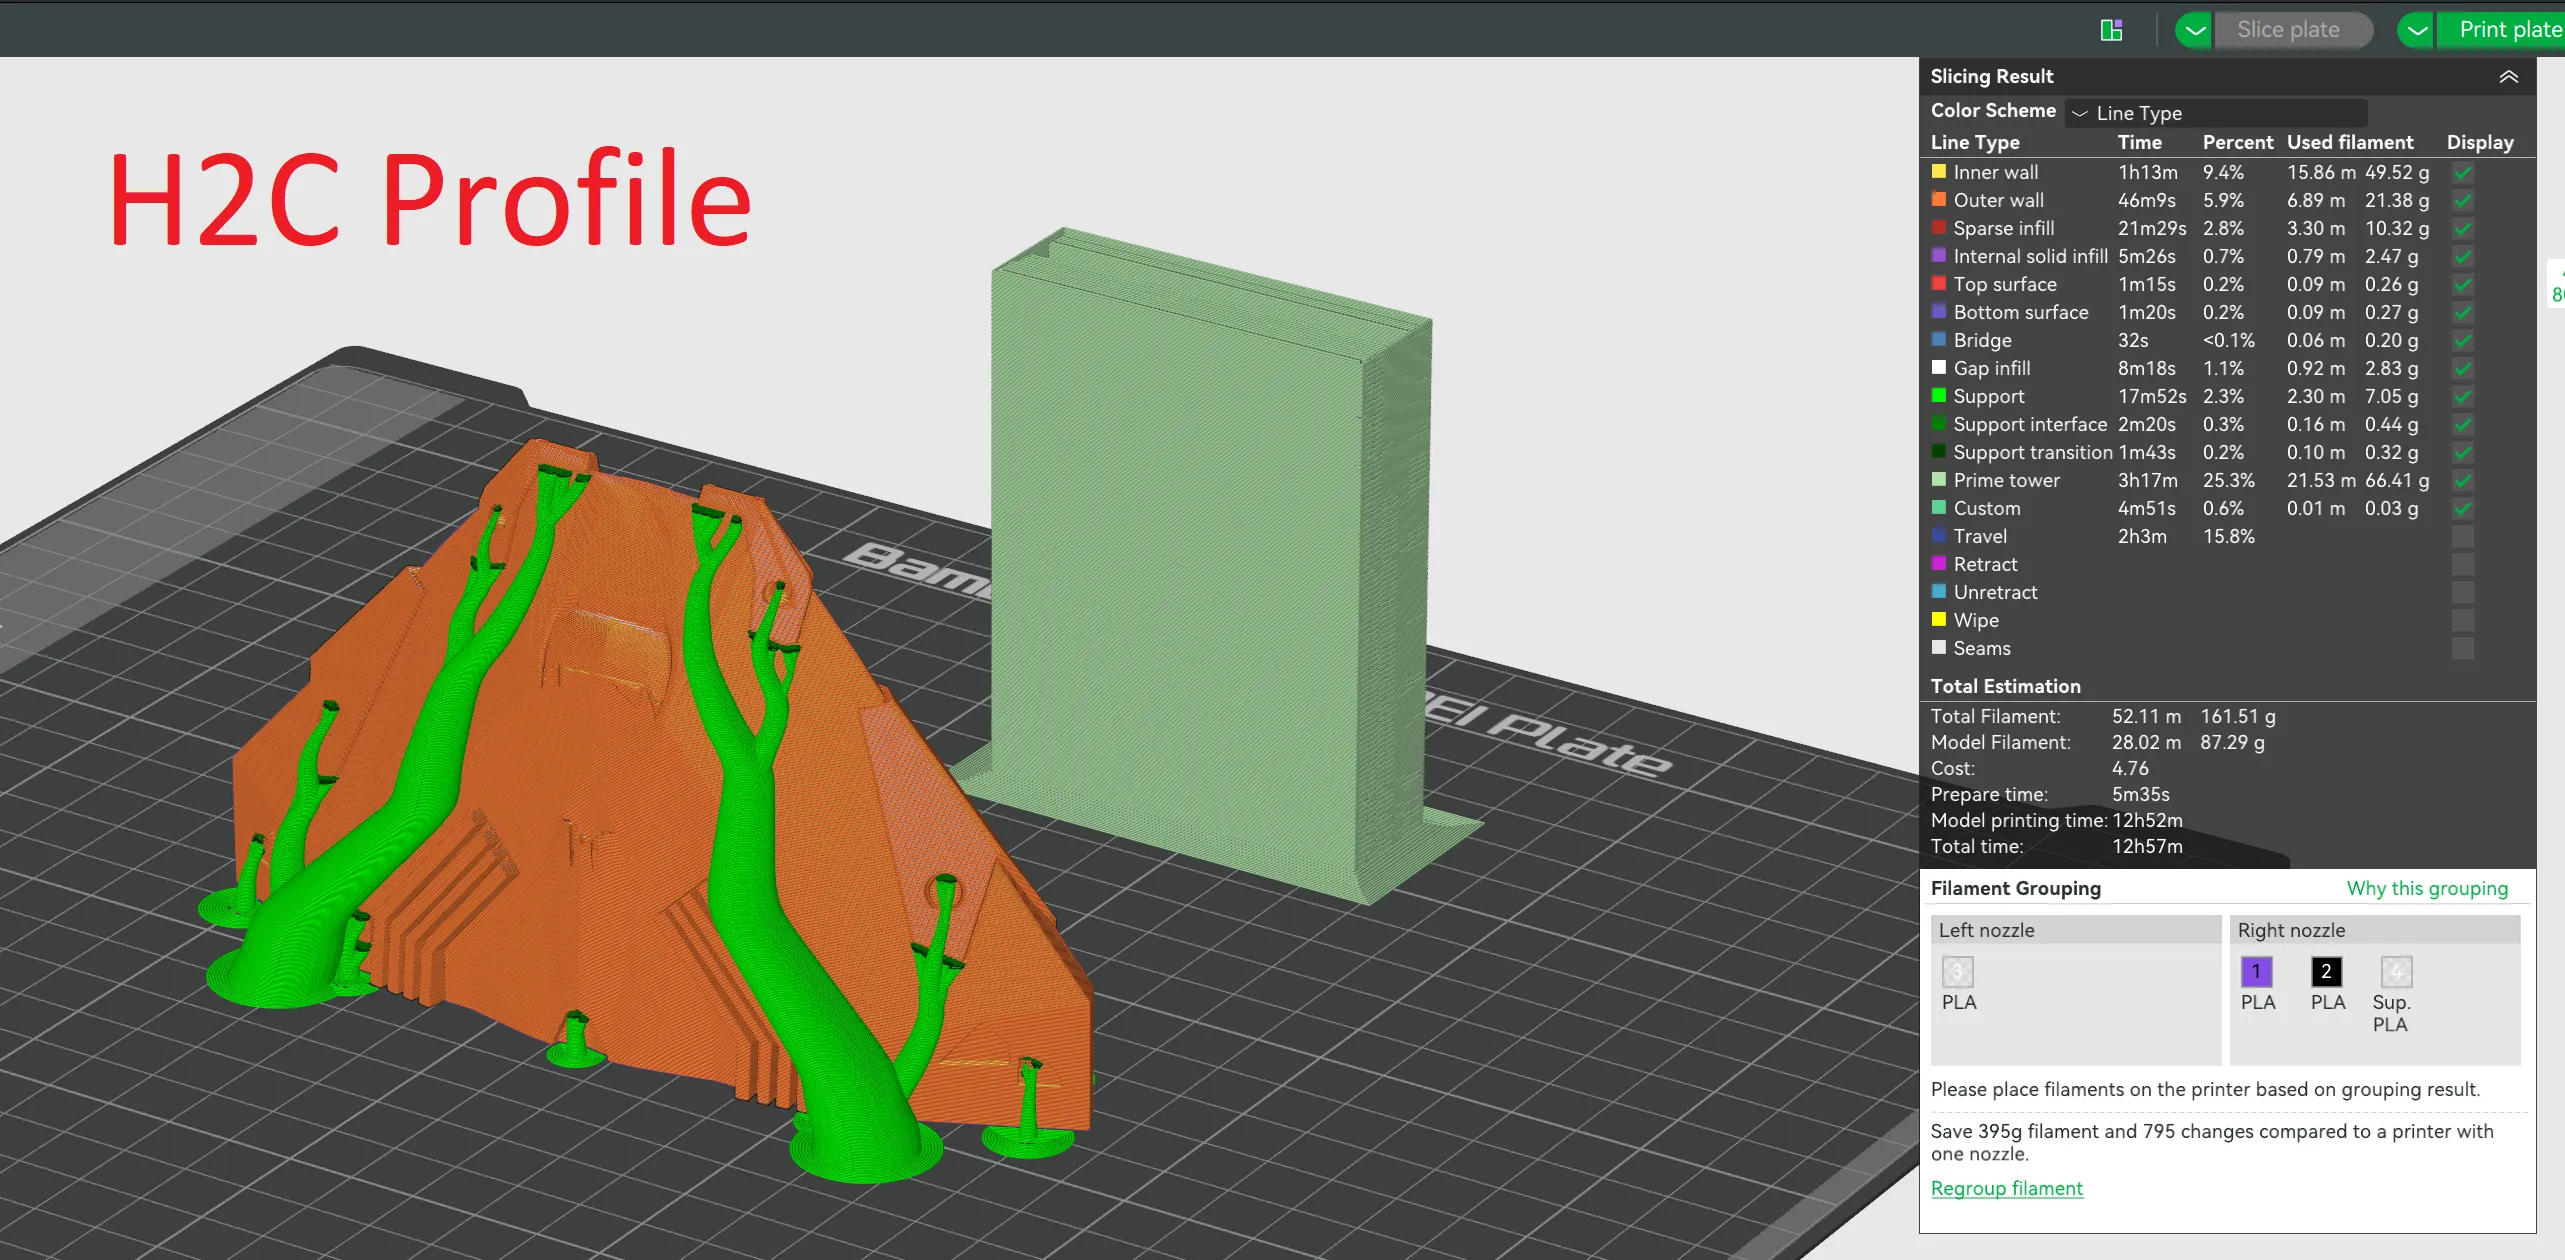
That said, the print quality when printed as a solid model is means no assembly and no risk to cracking the main body.
It can be printed in other printers via Bambu Studio but I don't recommend it.
Original Post:
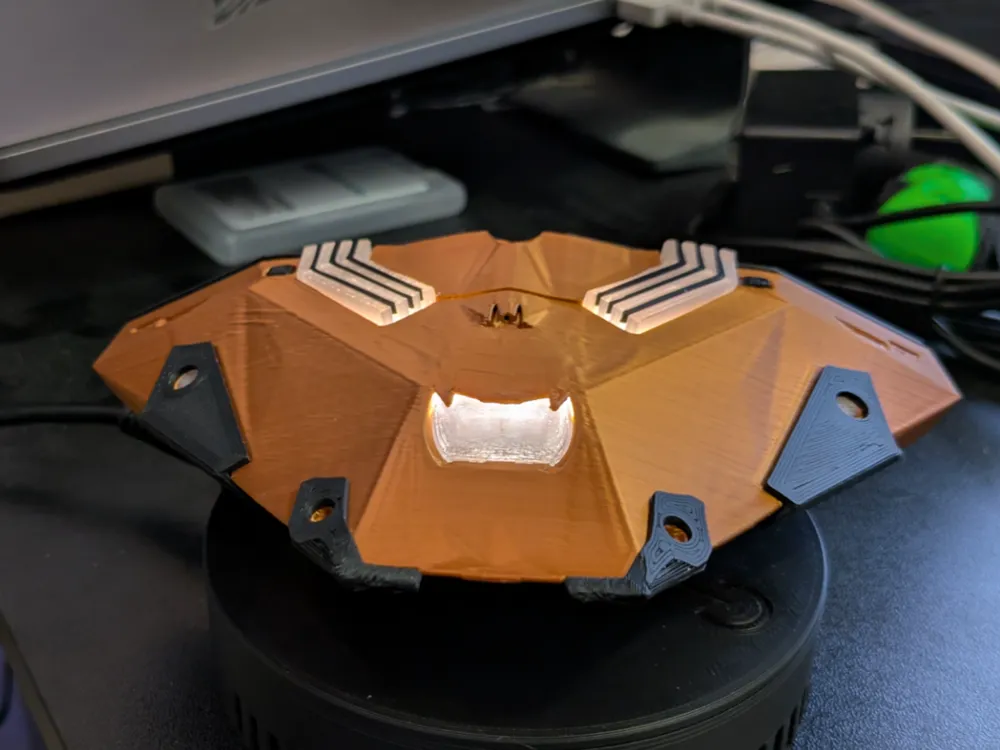
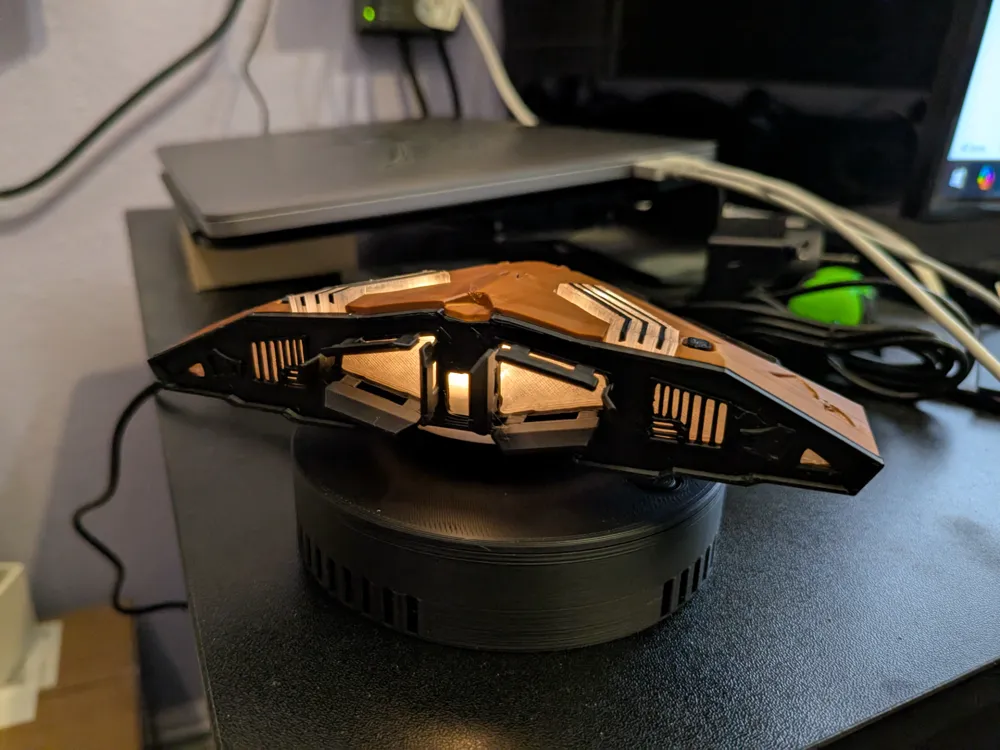
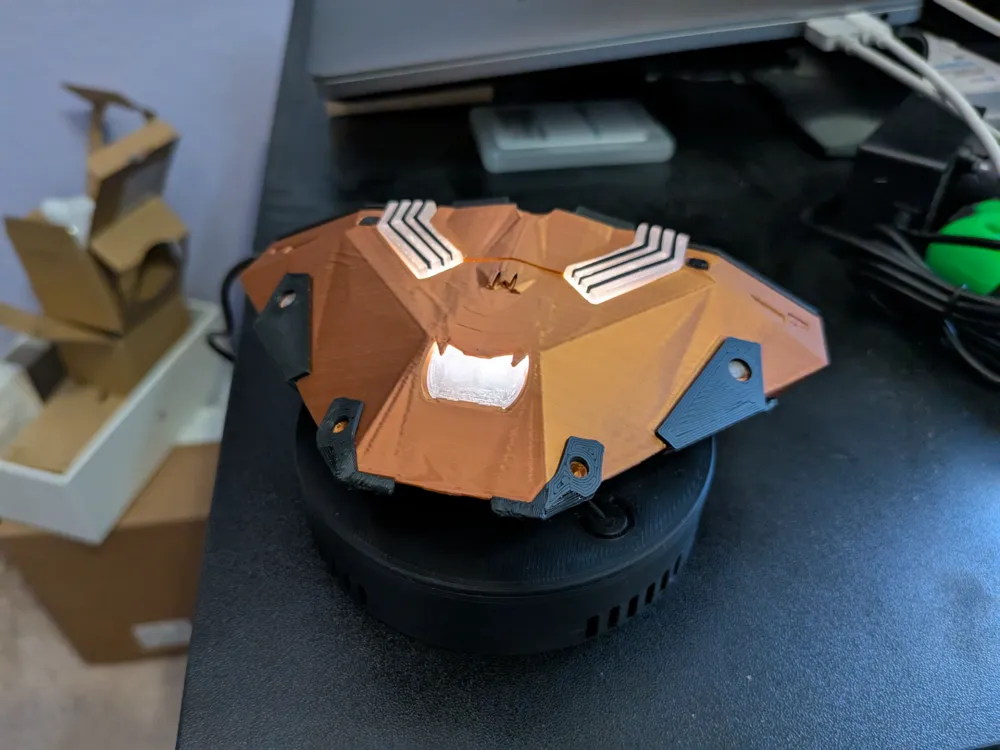
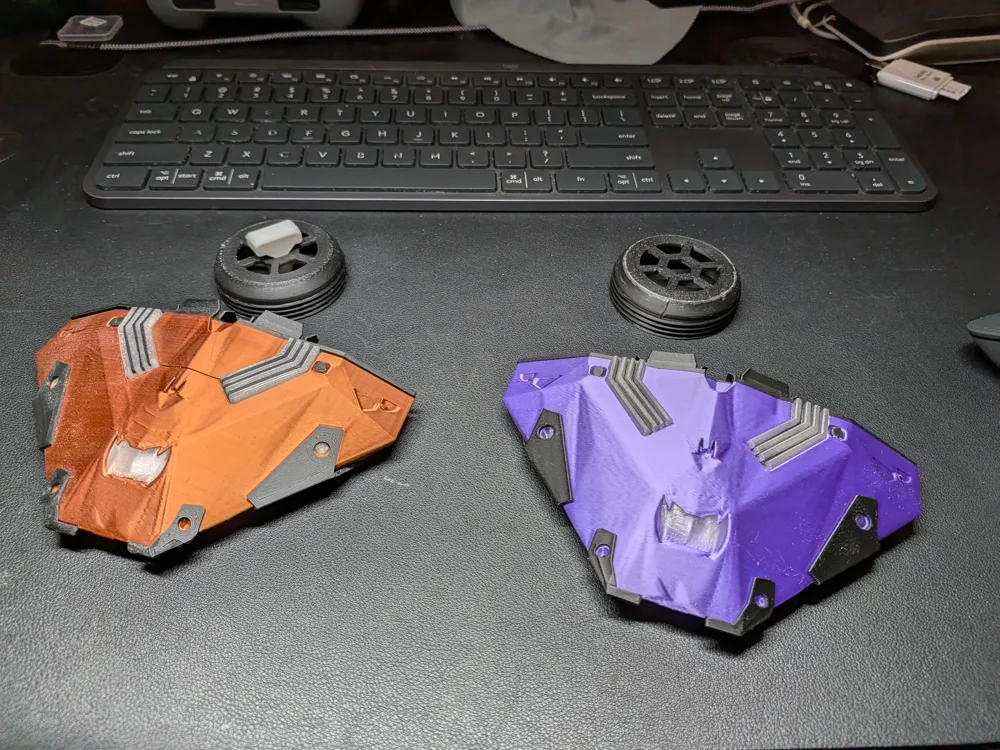
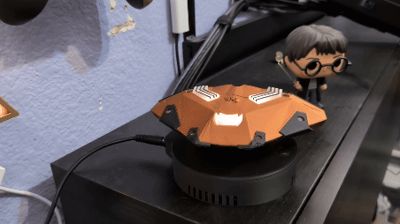
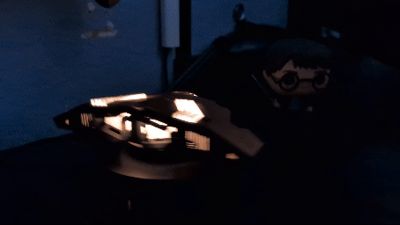
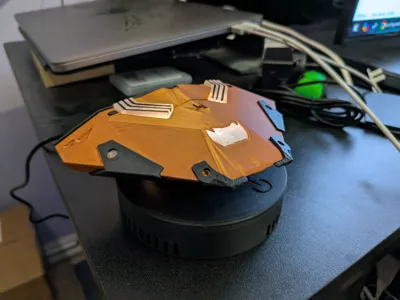
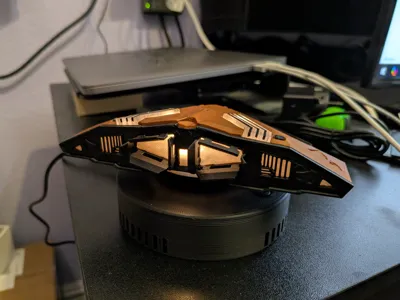
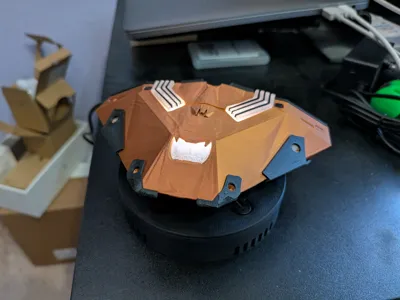
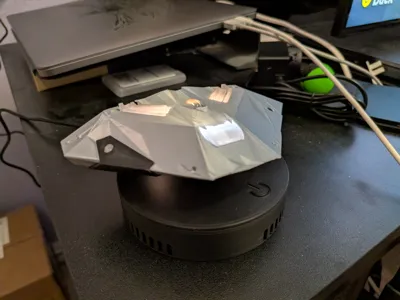
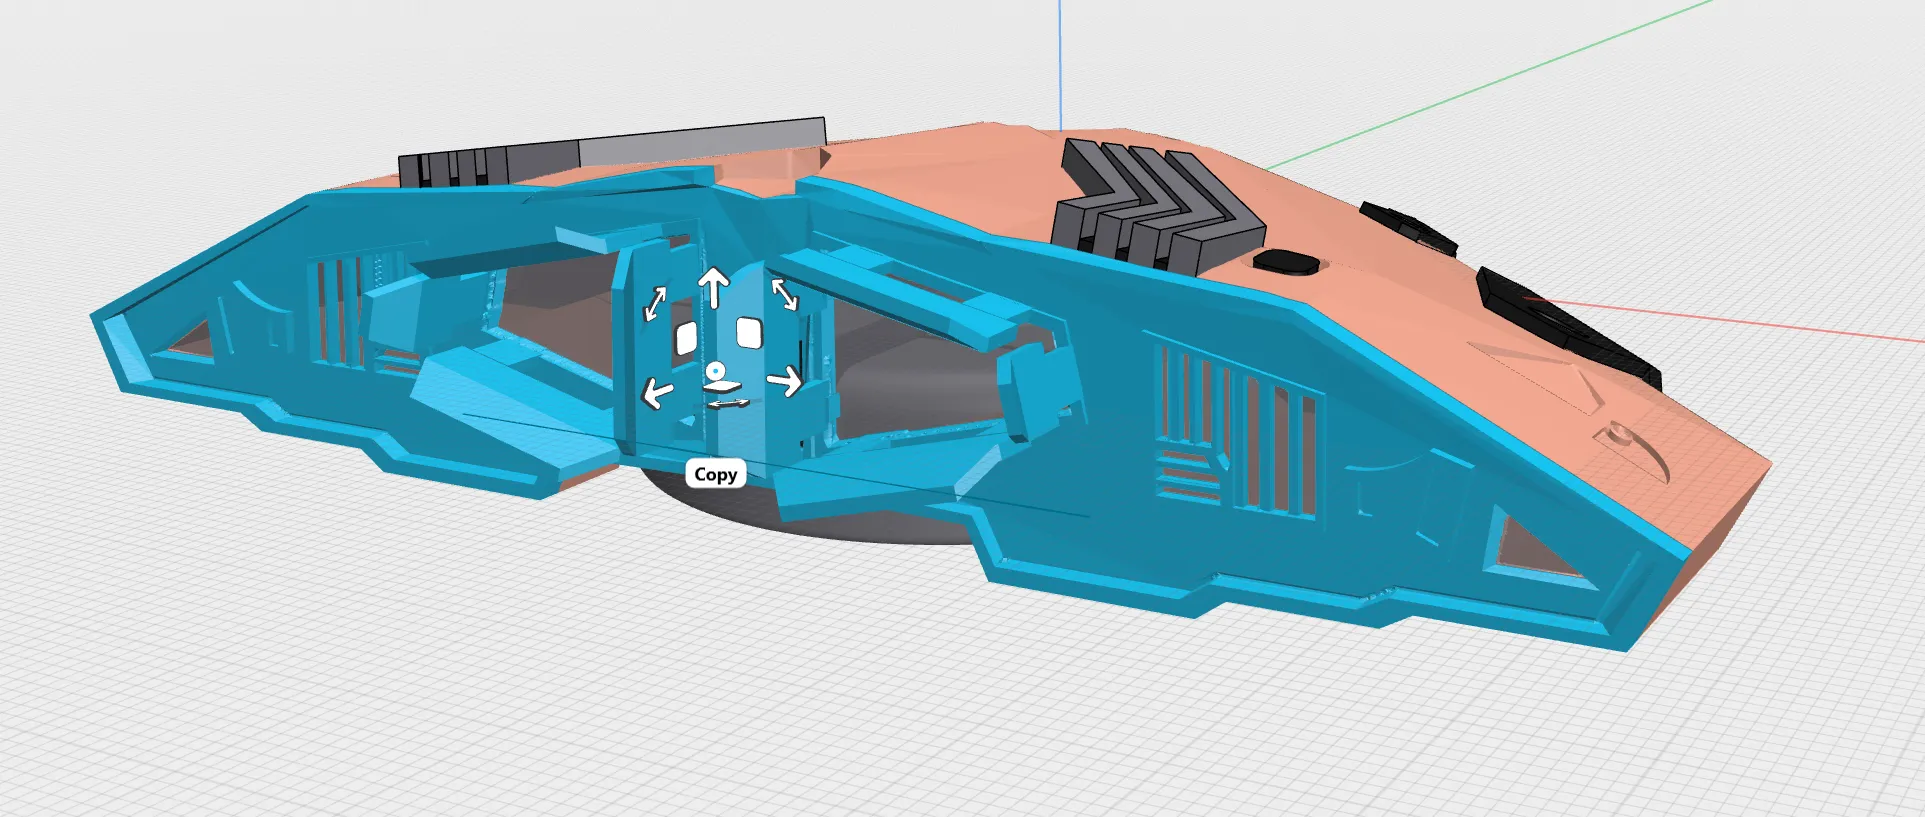
The 3D model for the Elite Dangerous Cobra MK3 has been around for awhile but it was not printable as-is. For my use case, I wanted to use it with the levitation kit and also have it lit up which required tremendous modifications.
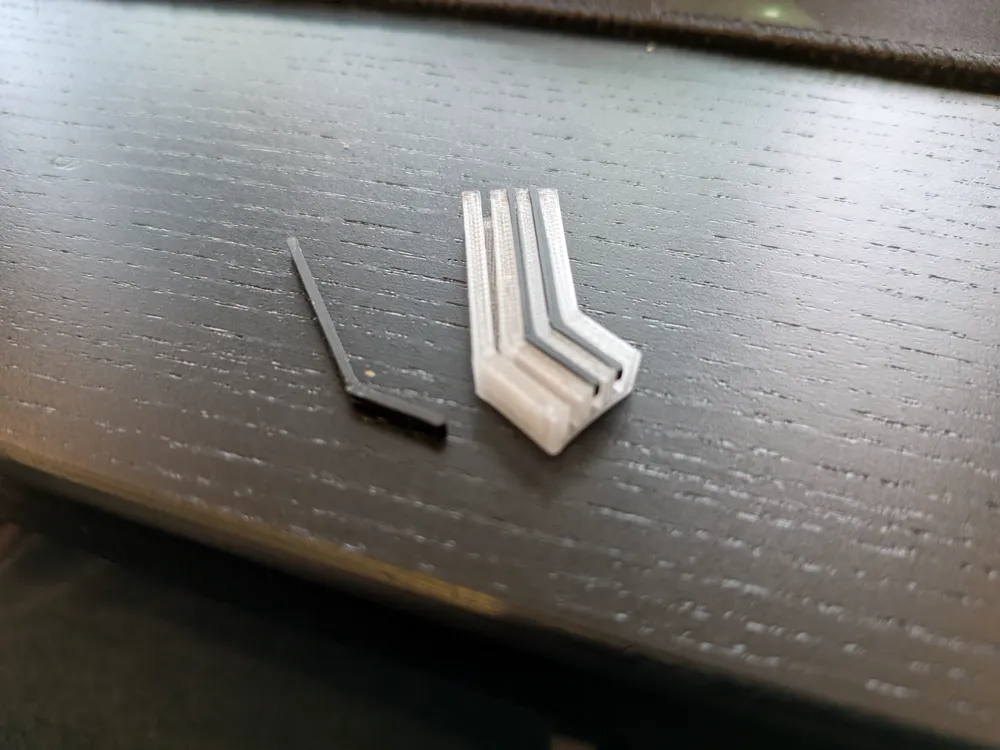
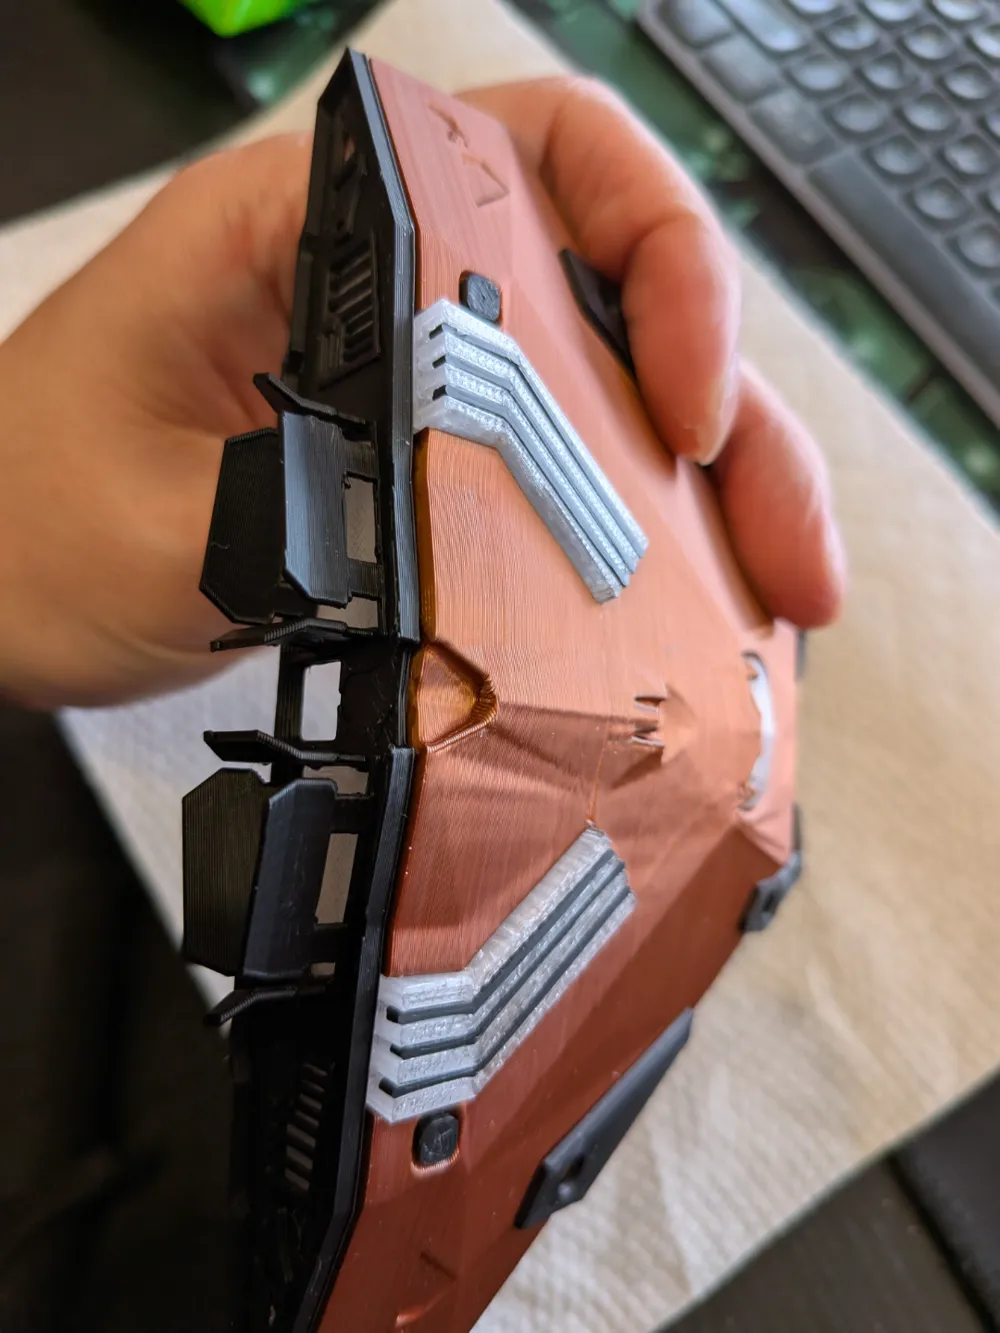
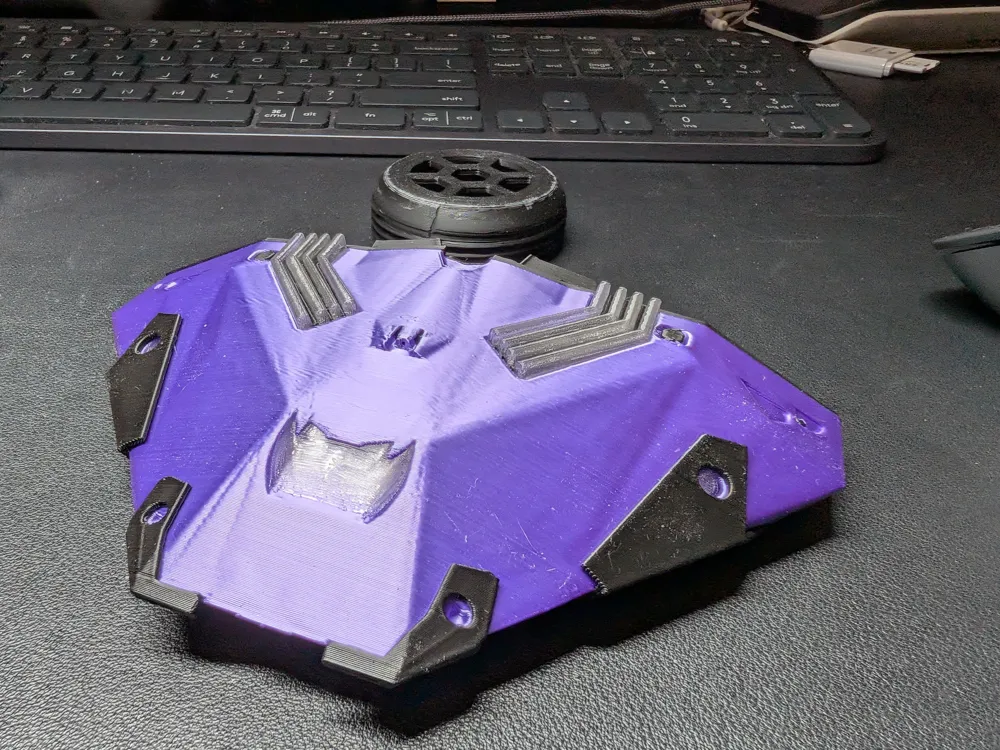
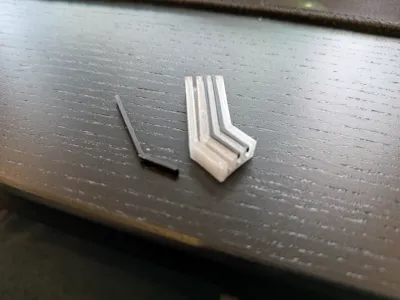
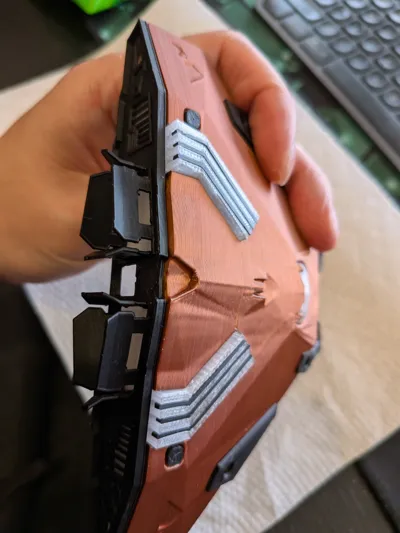
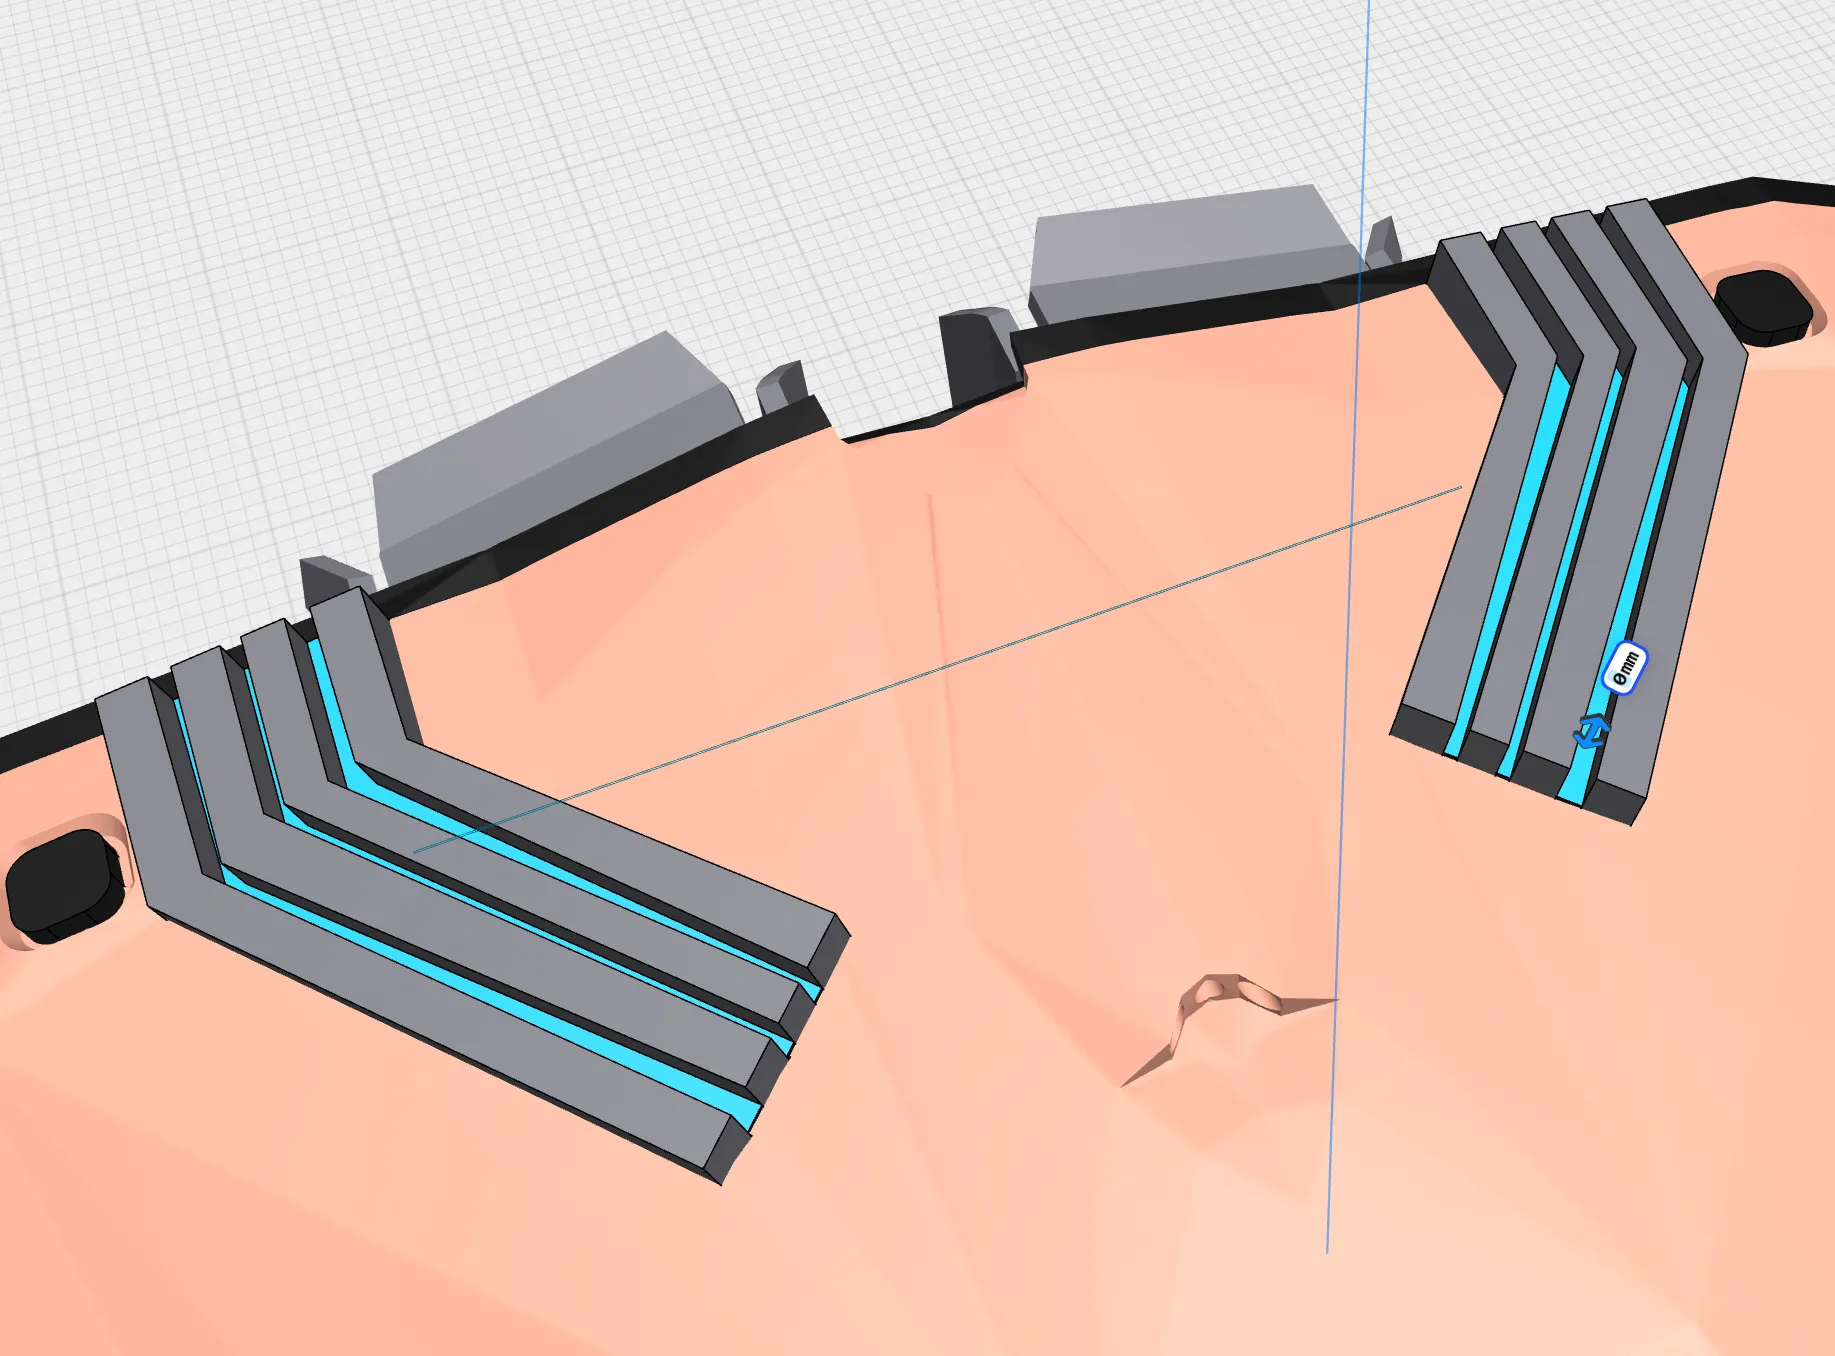
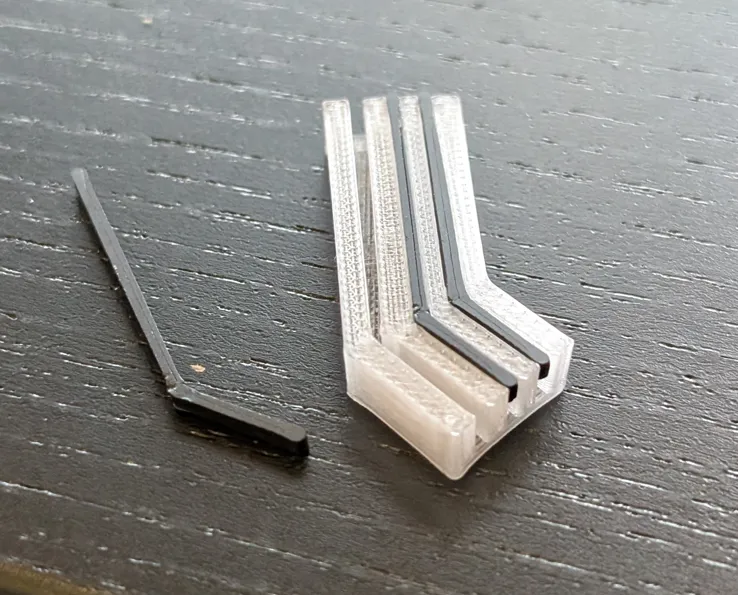
For various parts I had to recreate the model like with the heat vanes as well as the bumpers. My goal also was to make it “assembled” to minimize filament waste of a multi color print. The parts are very “tight” and be especially careful when putting in the heat vanes as I cracked both my v2 and v3 models installing them. I resized them after V3 to be a bit smaller to allow even more clearance.

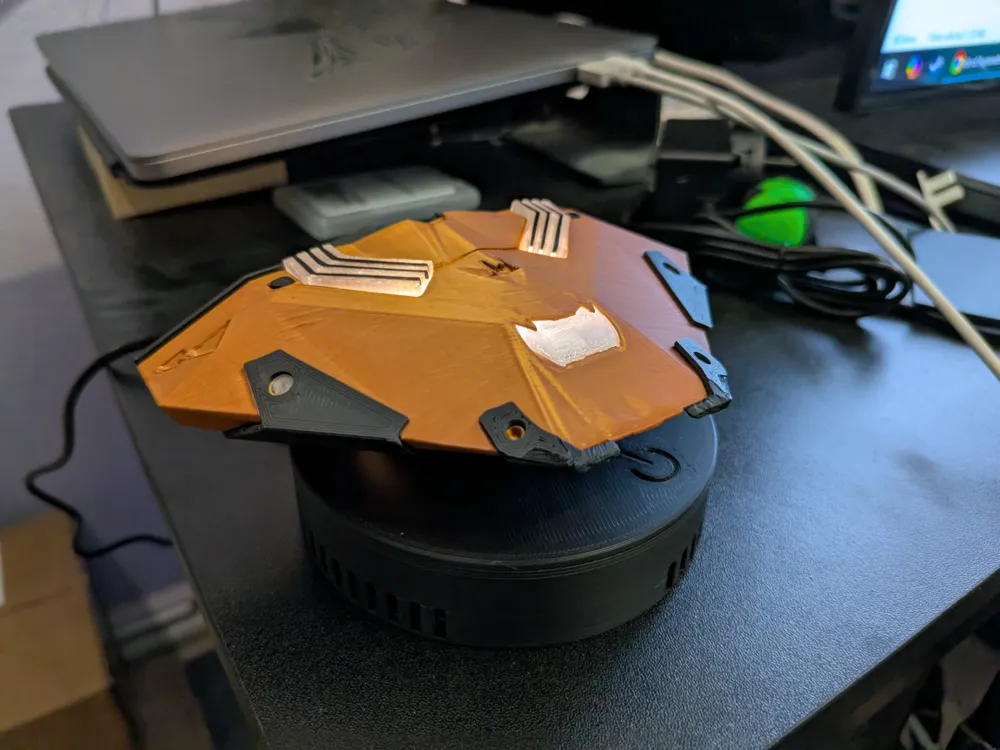
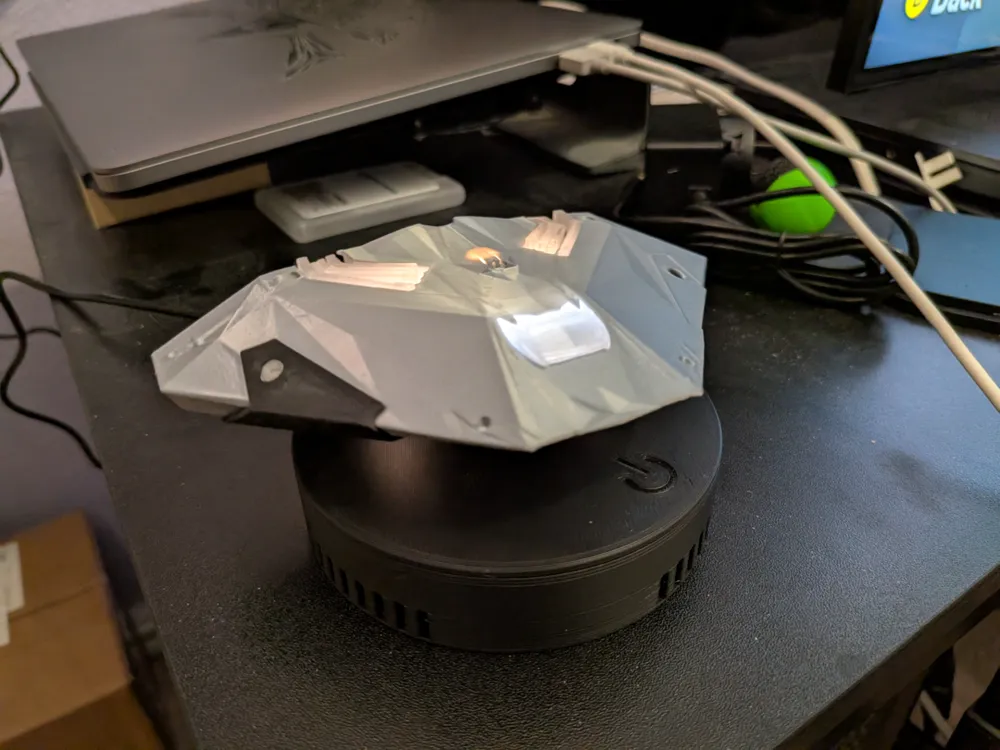
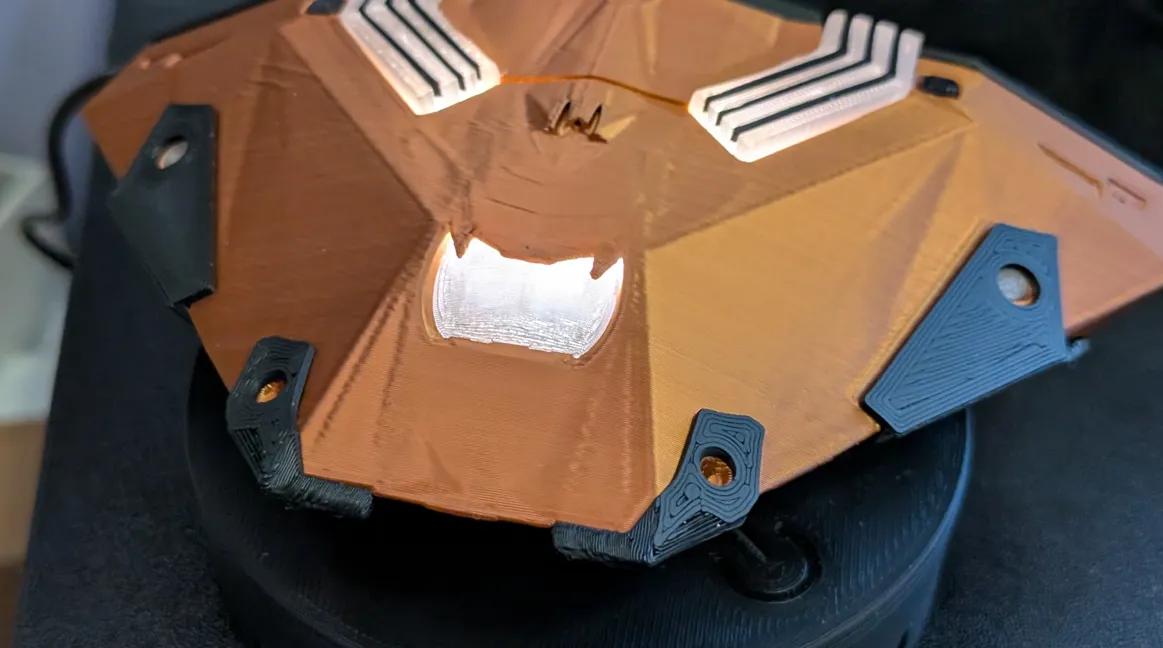
I printed it in PLA Silk Silver then in PLA Silk Copper. I wanted a metallic color but you can print in the original blue or any color you prefer. Bumpers are in black but you can flex that. If you're playing with AMS, you probably can also paint a few parts like the engines if you want more style.
The levitation magnet is mounted into this model: https://makerworld.com/en/models/992198#profileId-967910
We'll glue that model into the Cobra. The model will include the screw tool.
The levitation sensor controller base is mounted inside this model: https://makerworld.com/en/models/759193#profileId-693685
To assemble:
- Remove all the supports. There are a few that are hard to remove on the main ship part.
- Push the front windshield glass in from the front or behind first.
- Be careful not to break the ship plastic above it
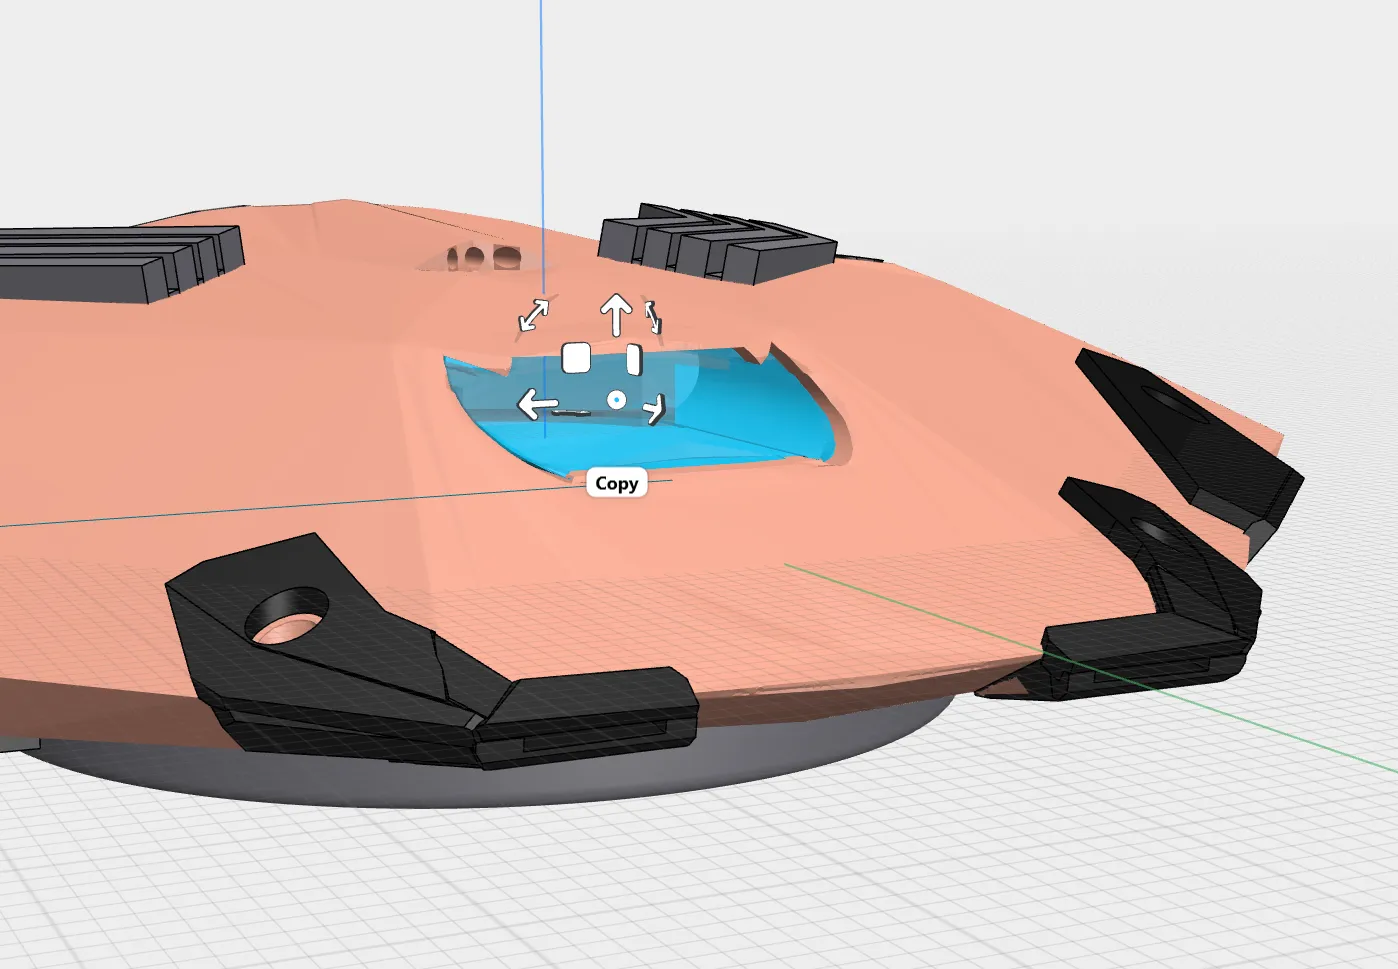
- Insert the rear clear engines
- These are a tight fit. Make sure it goes evenly or it will get stuck
- These are a tight fit. Make sure it goes evenly or it will get stuck
- Push in the little cylinder thrusters on the wings
- Assemble the heat vanes
- Install the heatvanes onto the ship carefully
- I cracked my ship doing this twice. I since reduced the size of the heatvanes by 2% to prevent this but beware
- If you do crack it, a little glue will hold it in place pretty easily
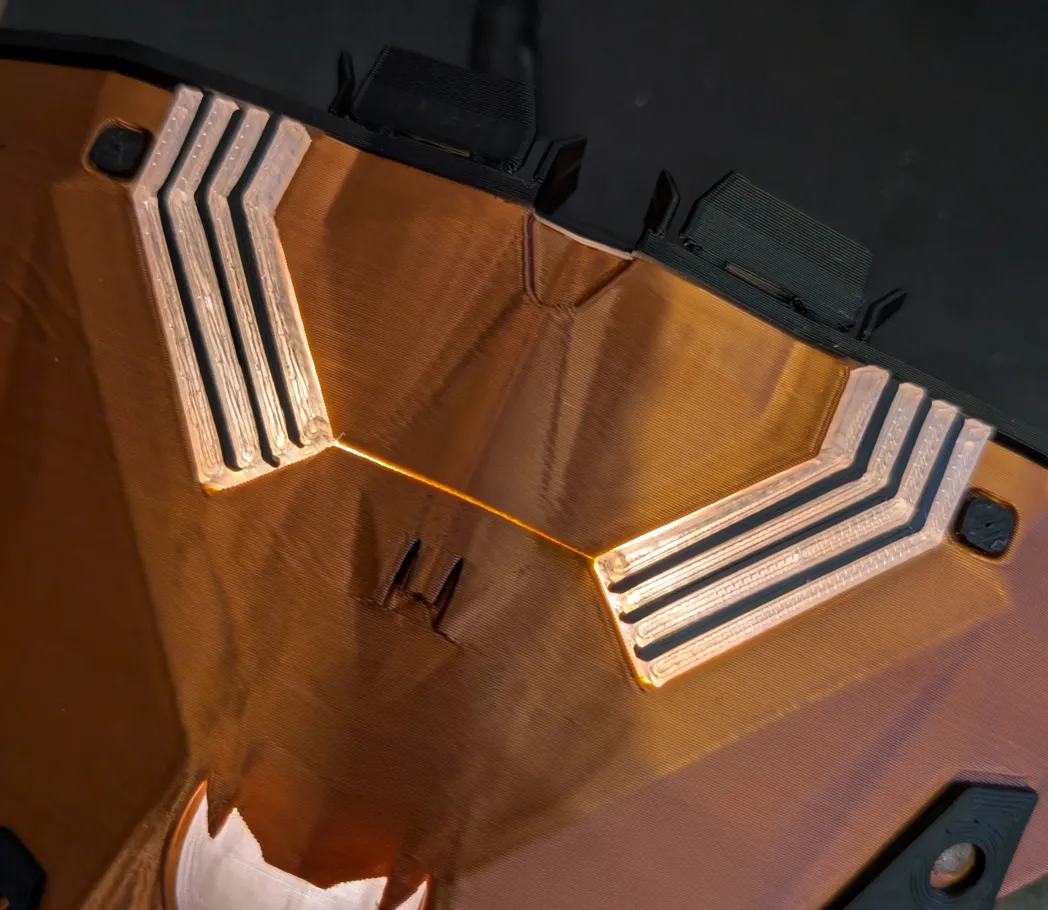
- I cracked my ship doing this twice. I since reduced the size of the heatvanes by 2% to prevent this but beware
- Glue on the bumpers and the two black squares at the top
- Once thats dry, glue on the back engines half
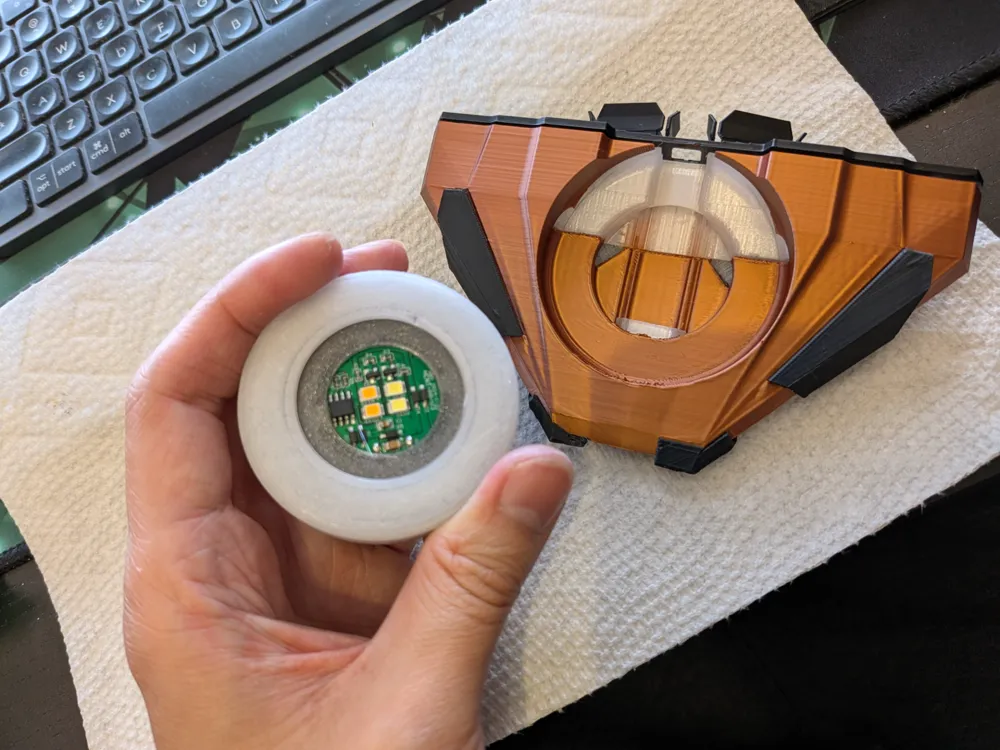
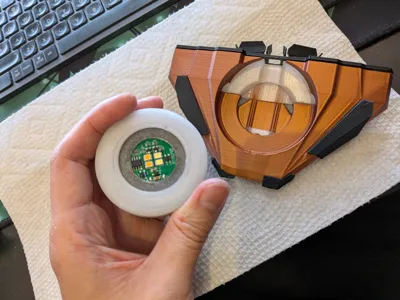
- Finally, assemble the mag base into the this levitation screw model
- https://makerworld.com/en/models/992198#profileId-967910
- We'll glue the top of that screw model into the Cobra

- Note how there is a set of yellow and orange LEDs.
- Yellow emits white light
- Orange emits a more yellowish light
- I purposely chose to place the yellow to the front (white) and orange (yellow) to the back as I felt that matched the thrusters more. Pick whichever you prefer.
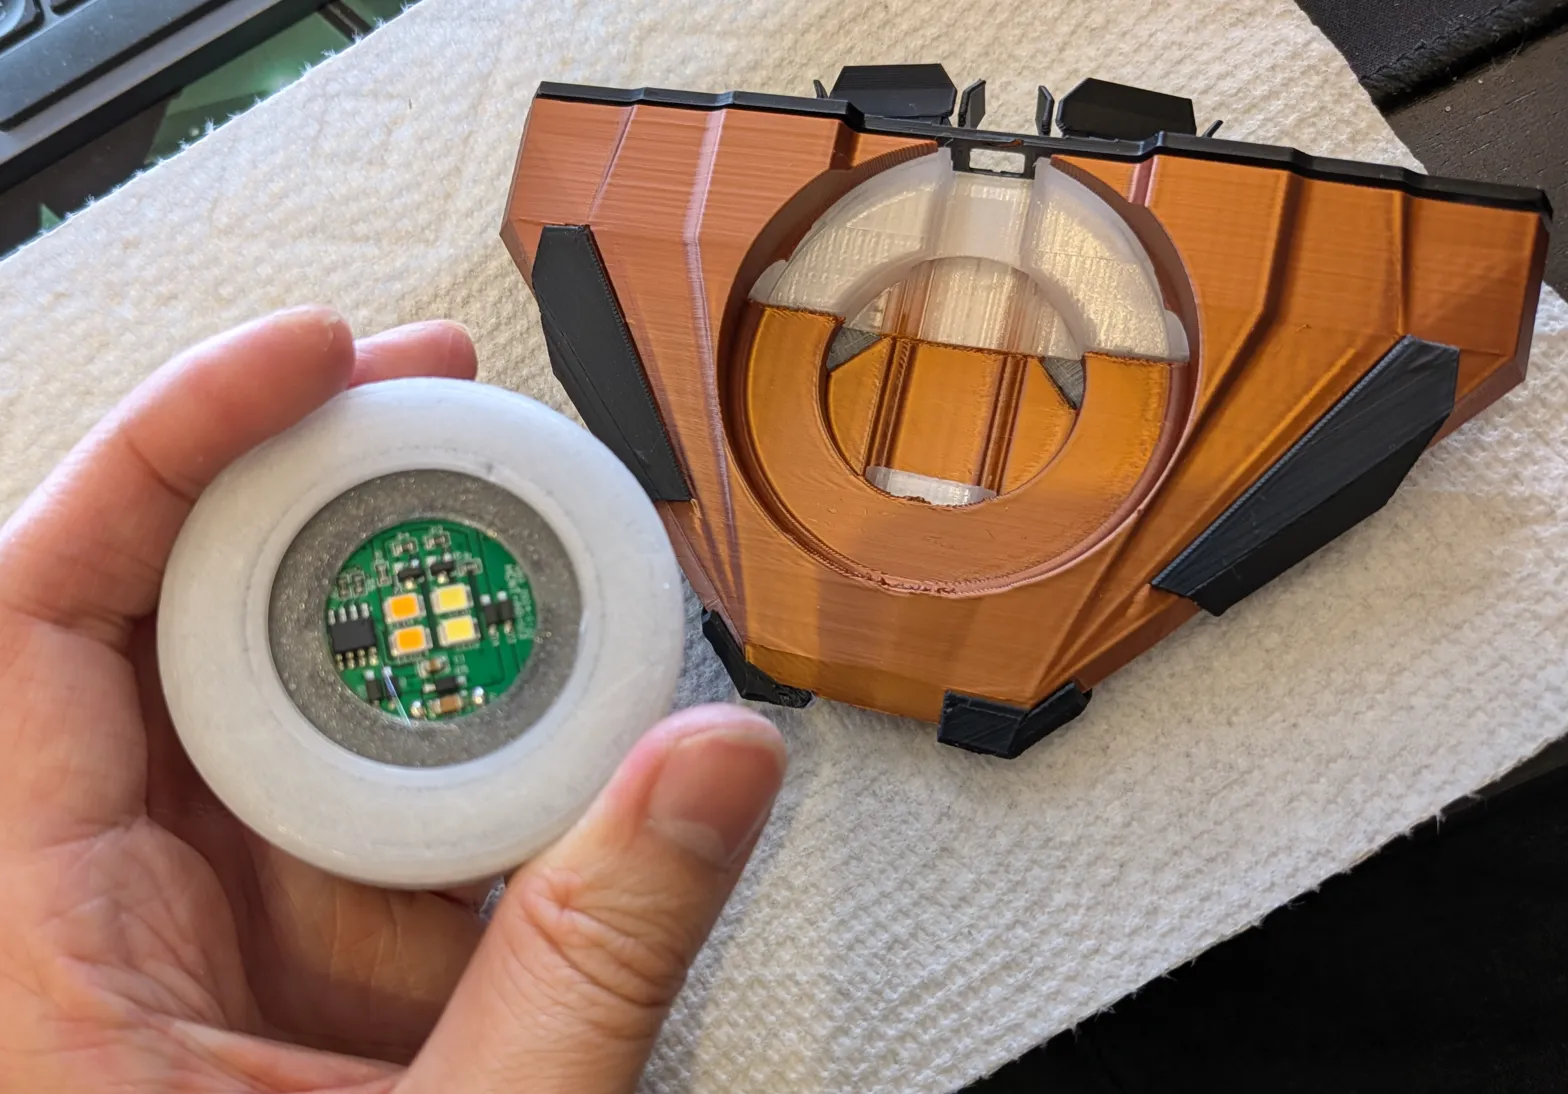
- Once that glue is dried, go ahead and float it on the mag base
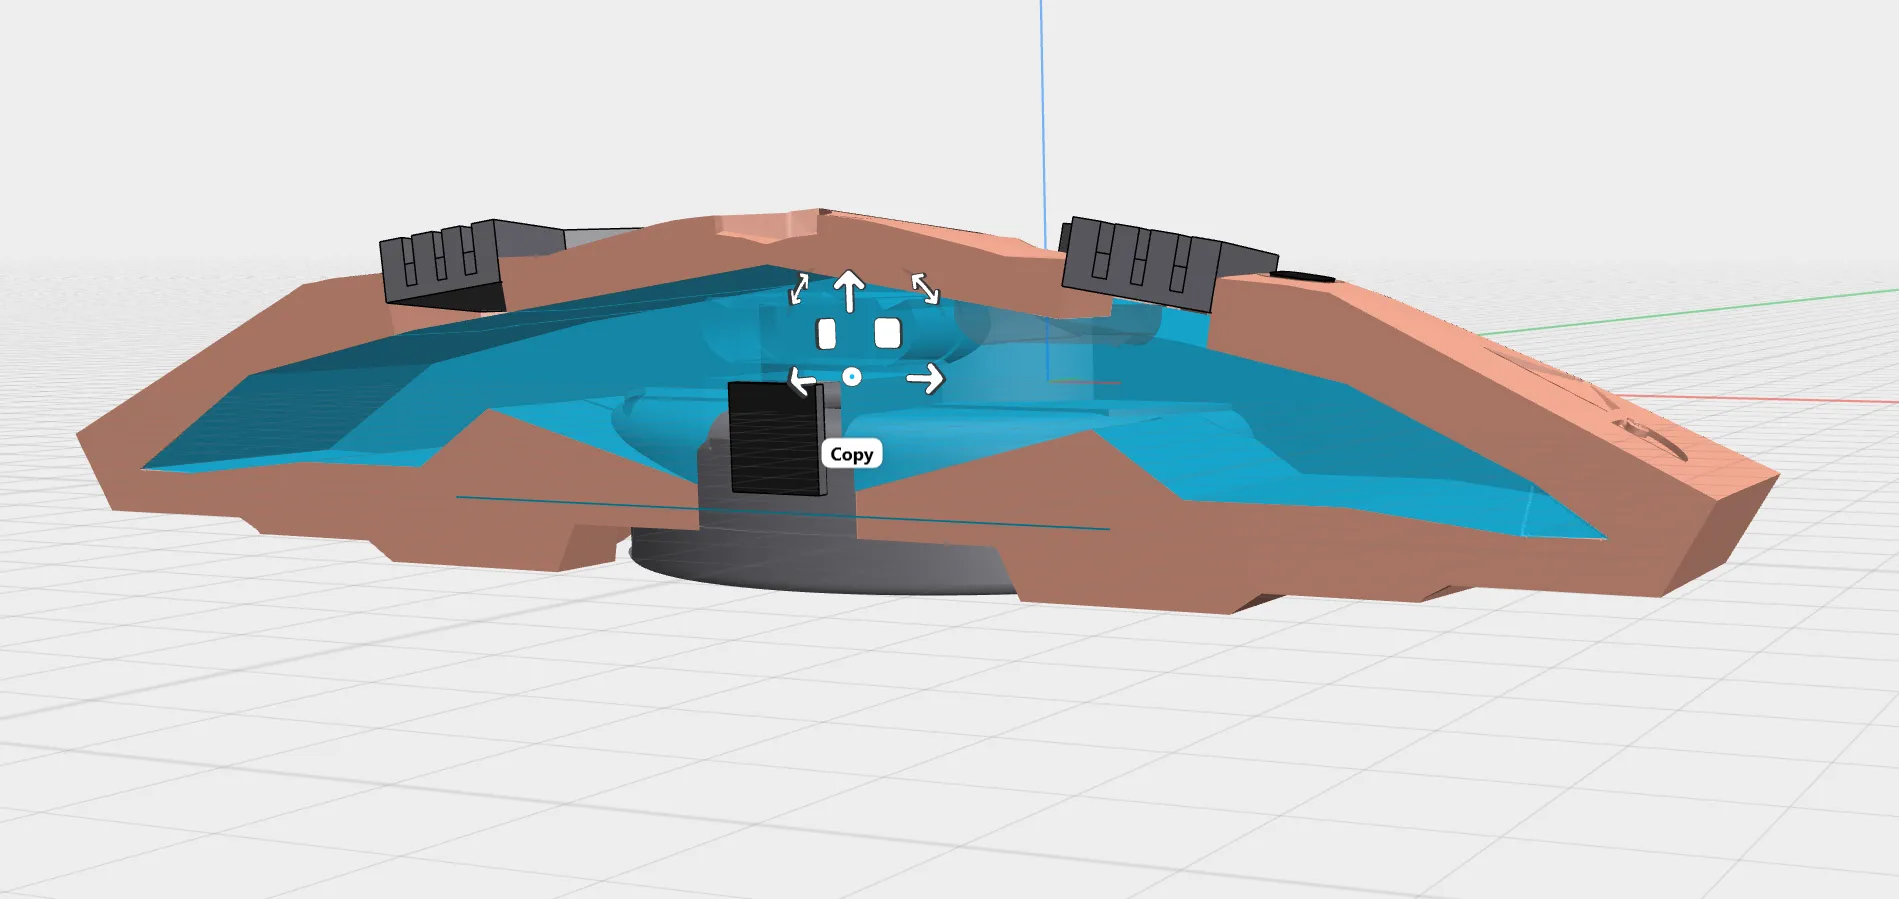
This remix is based on

License



Comment & Rating (11)