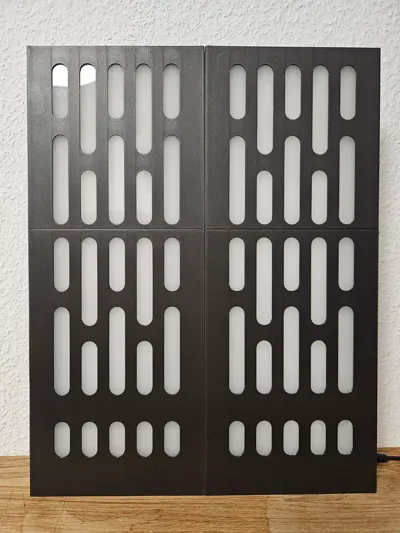
Star Wars Death Star Wall Panel in 1:6 Scale


Print Profile(3)


Description
Update 26.05.2025:
I have redesigned the wall panel to fit on the A1 Mini. You find the new model here !
--------------
Update 29.04.2025:
Now you can easy print the LED Diffuser and don´t have to buy an acrylic panel.
--------------
Update 28.04.2025:
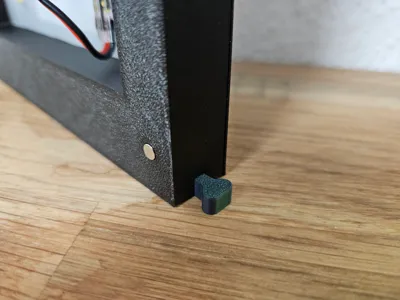
I´ve uploaded a print profile for a base plate. Dimensions are: 1,5 height, 14,5 cm width and 10 cm depth.
And I would be happy and appreciate it, if you could rate my model :-)
13 prints, but no rating so far.. :(
--------------
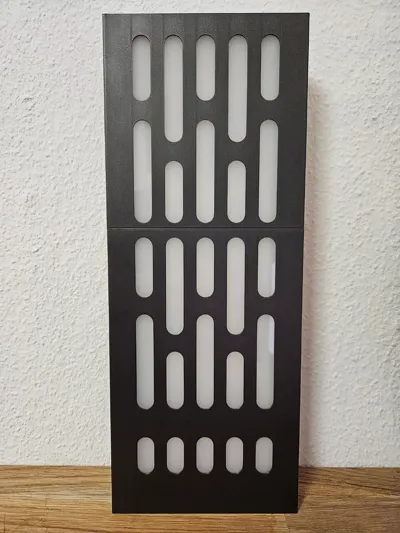
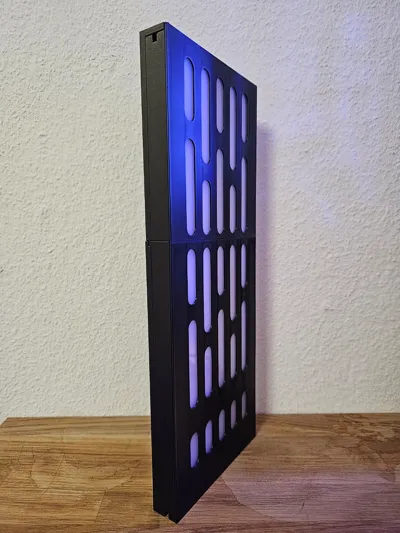
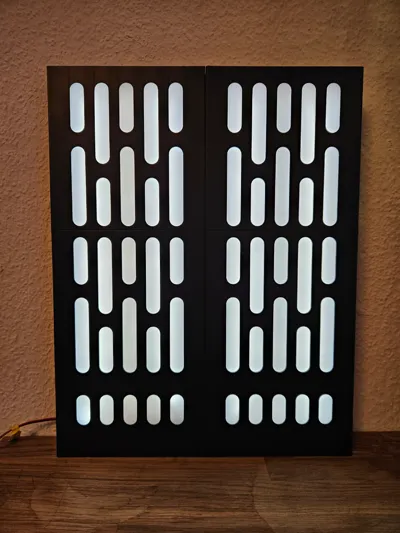
This Death Star Wall Panel designed in 1:6 scale is mainly for collectors of figures from like Hot Toys or other brands. But with the dimensions it could also be used just as a lamp or better ambient lighting.
Dimensions: 37 cm height, 14,5 cm width and 2,4 cm depth - without cables.
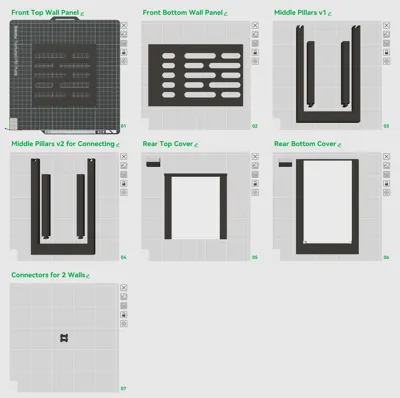
In the print profile is also ironing activated for the Front Panels for a smooth finish. These settings worked best for me. Print the Front Panels as placed on the print plates for the best ironing finish.
Attention: You only have to print one of the “Middle Pillars” plates.
Choose the “Middle Pillars v1” if you print only one wall
or “Middle Pillars v2 for Connecting” if you like to connect more of them together. In this case you also have to print the “Connectors for 2 Walls”
BOM - Bill Of Materials
- Filament: Bambu Lab PLA Metal Iron Gray and Bambu Lab PLA Matte Ivory White
3mm LED Diffuser Panel (Plexiglass) with ~47% light transmission (for example: Acrylshop (German shop))
Dimensions: 116,9 mm width x ~339 mm
- LED 2pin stripes 5mm width (Amazon.de) these are very bright, you need a dimmer for them
-→ for one wall you need two stripes each 31 cm long - COB 2pin connector for LED stripes and cables (Amazon.de)
- 20 x Magnets 4x2mm (Amazon.de)
- LED Dimmer with power connector (Amazon.de)
- Power Adapter
Assembling after printing:
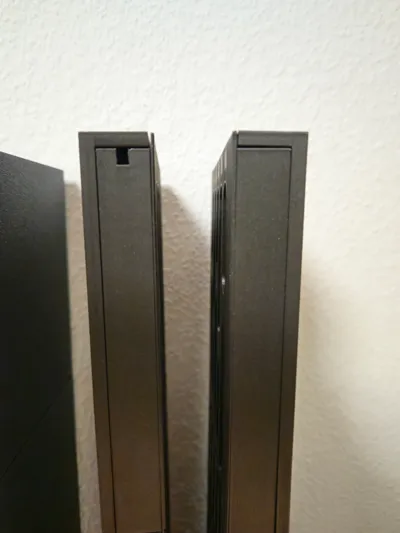
- Connect the Middle Pillars, the wall ledge has to be inside
- Lay down the 3mm LED Diffuser Panel on the ledge of the middle pillars (or you can slide the panel in, after glueing in step 3)
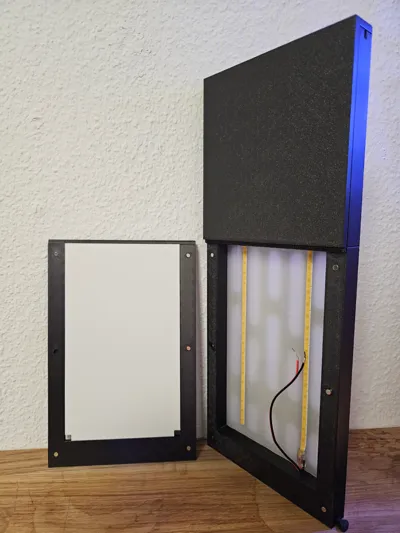
- Glue the Front Top and Bottom Wall Panel to the middle pillars. On the middle pillars are on each side 5 round elevations, and on the Front Panels are also round recesses as a helping guide for glueing. Press the parts good together (maybe put a book onto them).
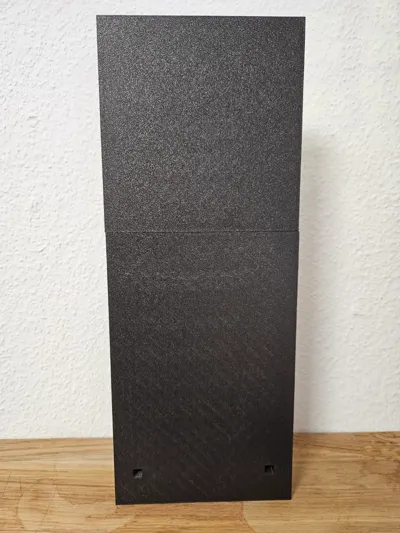
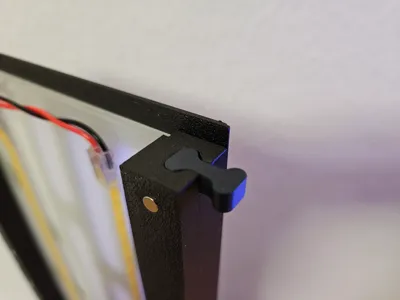
- Install the 4x2 magnets in the Middle Pillars and the Rear Covers. Mostly they will fit and stay, but you can also glue them if they come off.
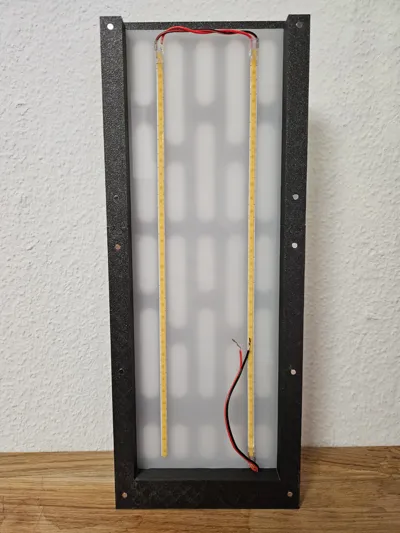
- The 5mm LED stripe has to be layed down on the back of the LED diffuser panel (look at picture 5). The LED stripe will be visually covered from the Front Panel. Two stripes are enough, cause the white backdrop will amplify the light.
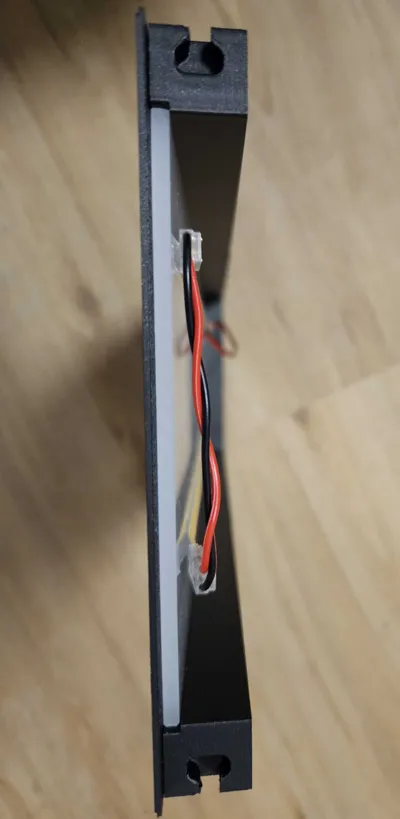
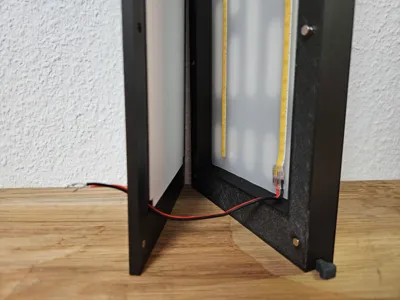
- Use one of the cutouts of the Rear Bottom Cover to lead the LED stripe cable outside.
- For connecting two walls, you have printed the Middle Pillars v2 and the Connectors. Place the walls next to each other. Slide of the Rear Top Cover and install one of the Connectors. Then install one of the Connectors on the bottom of the Middle Pillars. If you want to separate the walls, detach the Rear Top Covers and slide one whole Wall Panel up and hold the other Wall Panel in place.
License
You shall not share, sub-license, sell, rent, host, transfer, or distribute in any way the digital or 3D printed versions of this object, nor any other derivative work of this object in its digital or physical format (including - but not limited to - remixes of this object, and hosting on other digital platforms). The objects may not be used without permission in any way whatsoever in which you charge money, or collect fees.
Comment & Rating (50)