
Power Switch Box – Triple Switch with XT60E-M

Print Profile(1)

Bill of Materials




- 19-mm-Schalter mit LED-Ring x 3: https://amzn.to/4aBMj3i
- XT60E-M Steckverbinder x 3:
Description
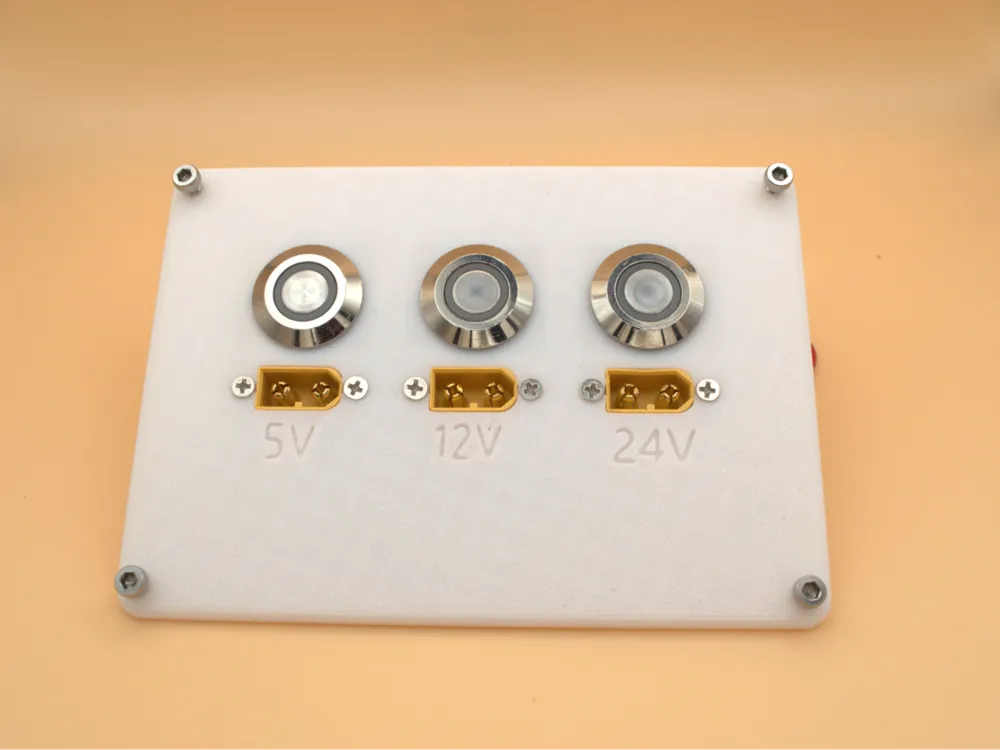
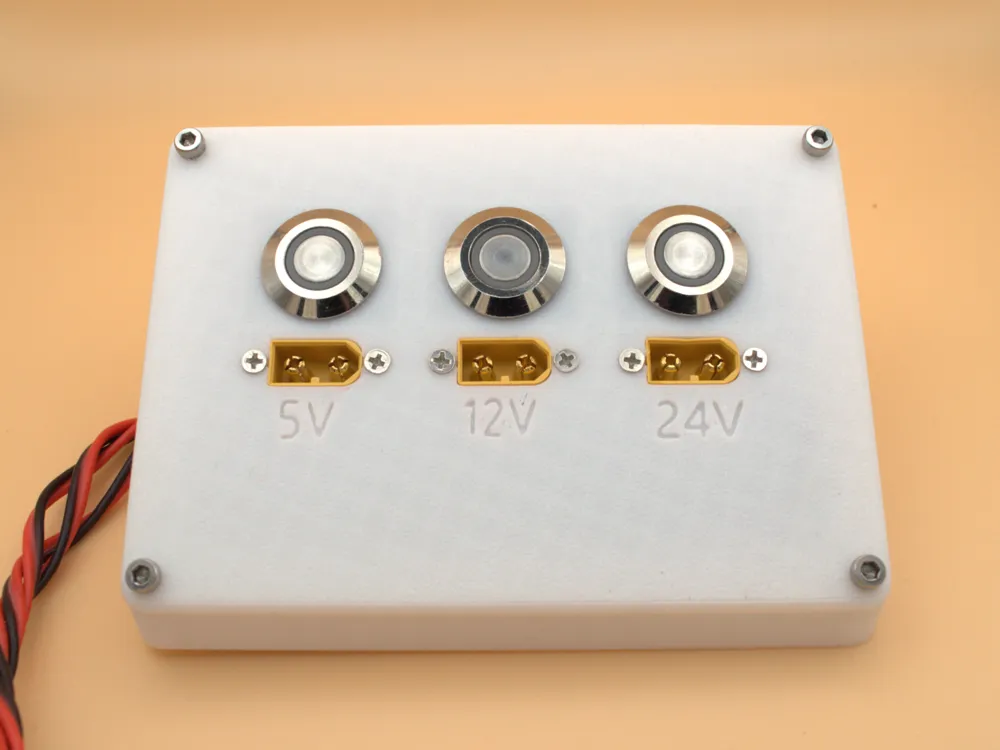
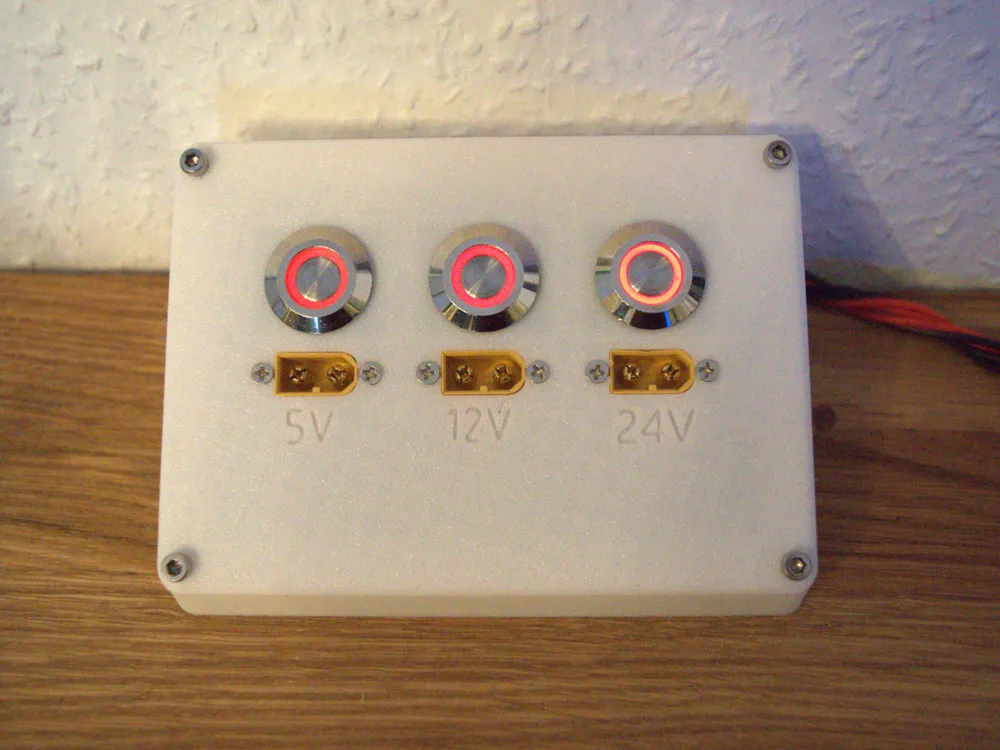
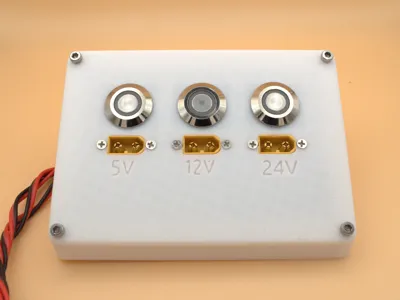
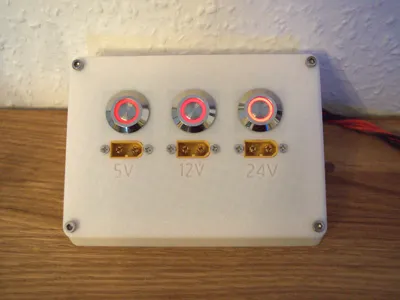
This compact PowerSwitch Box enables control of up to three external power supplies via illuminated 19mm switches. Each switch controls an XT60E-M output, allowing for targeted on/off switching of connected devices. The modular design keeps the box space-saving, while the power supplies are mounted externally. The lid features customizable lettering and securely fastens the switches and XT60E-M connectors with screws.
Parts List:
- 3x 19mm Switches with LED Ring
- 3x XT60E-M Connectors (screwable)
- 4x M3 Threaded Inserts
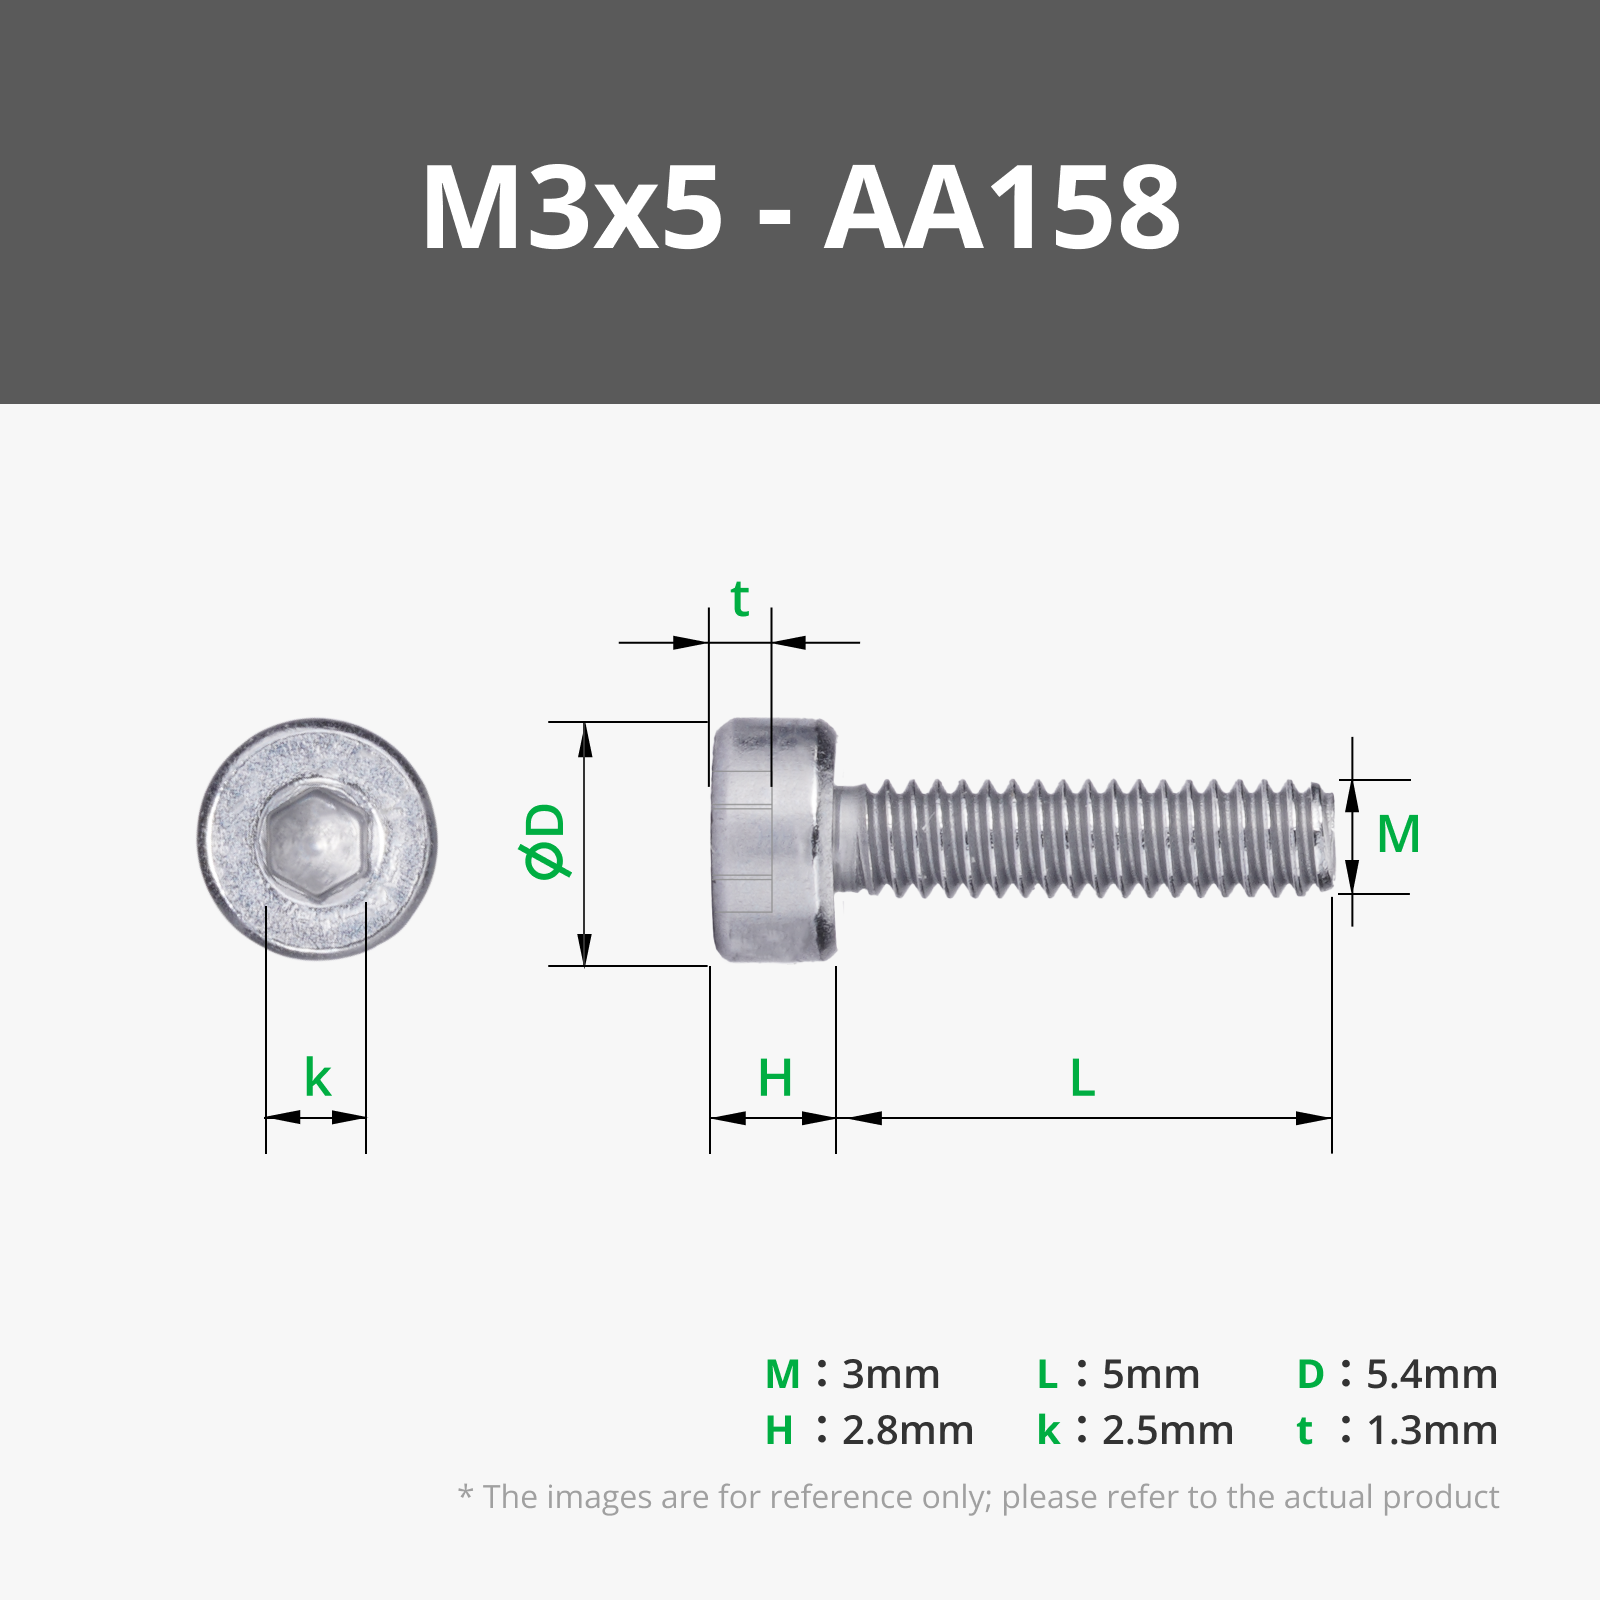
- 4x M3 Screws (for securing the lid)
Assembly Instructions:
- Preparation:
- Insert the threaded inserts into the designated M3 holes of the body.
- Ensure that the cable glands are adapted to the desired cable routing.
- Switch Assembly:
- Insert the 19mm switches from above into the holes of the lid.
- Secure from below with the included nuts (fit into the recesses).
- Mount XT60E-M Connectors:
- Insert the XT60E-M sockets into the designated recesses of the body.
- Secure with screws.
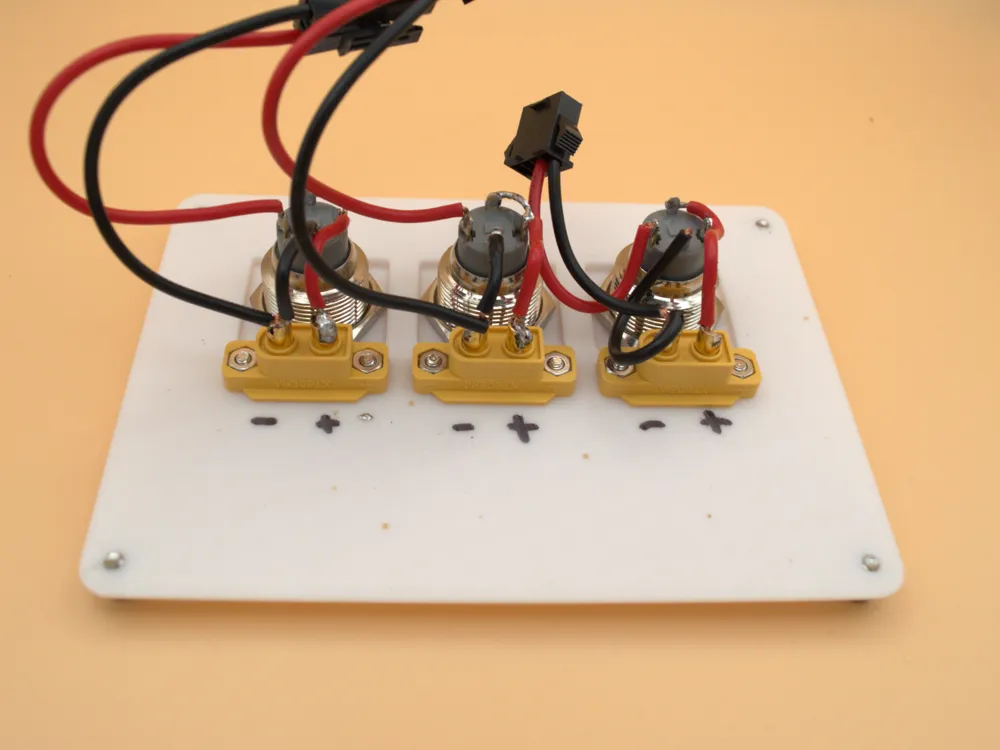
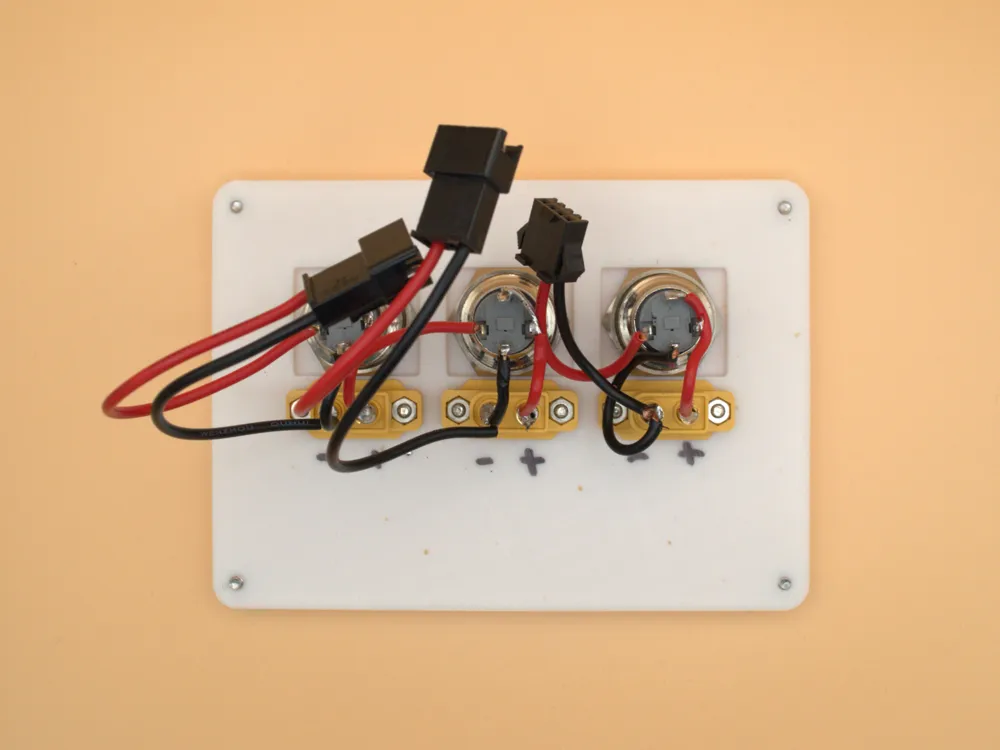
- Make Cable Connections:
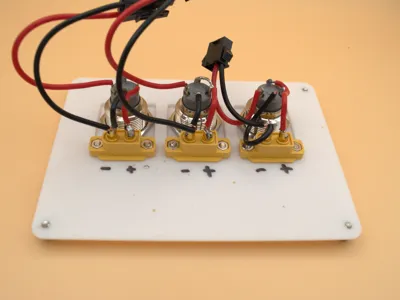
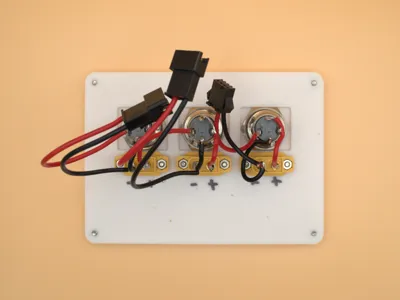
- Solder or connect the switches to the XT60E-M connectors and external power supplies accordingly.
- Optional: Use heat shrink tubing or cable ties for neat cable management.
- Assembly:
- Place the lid onto the body.
- Fasten with the M3 screws.
- Testing & Use:
- Connect the power supplies and check that the switches are functioning as desired.
- Done! The box is now ready for use. 🚀🔌
Boost Me (for free)
If you enjoyed this model, I’d really appreciate your support – please boost me! 🙌✨
License

You shall not share, sub-license, sell, rent, host, transfer, or distribute in any way the digital or 3D printed versions of this object, nor any other derivative work of this object in its digital or physical format (including - but not limited to - remixes of this object, and hosting on other digital platforms). The objects may not be used without permission in any way whatsoever in which you charge money, or collect fees.


Comment & Rating (1)