
Snowball Launcher
Print Profile(3)


Bill of Materials

Description
Snowball Launcher
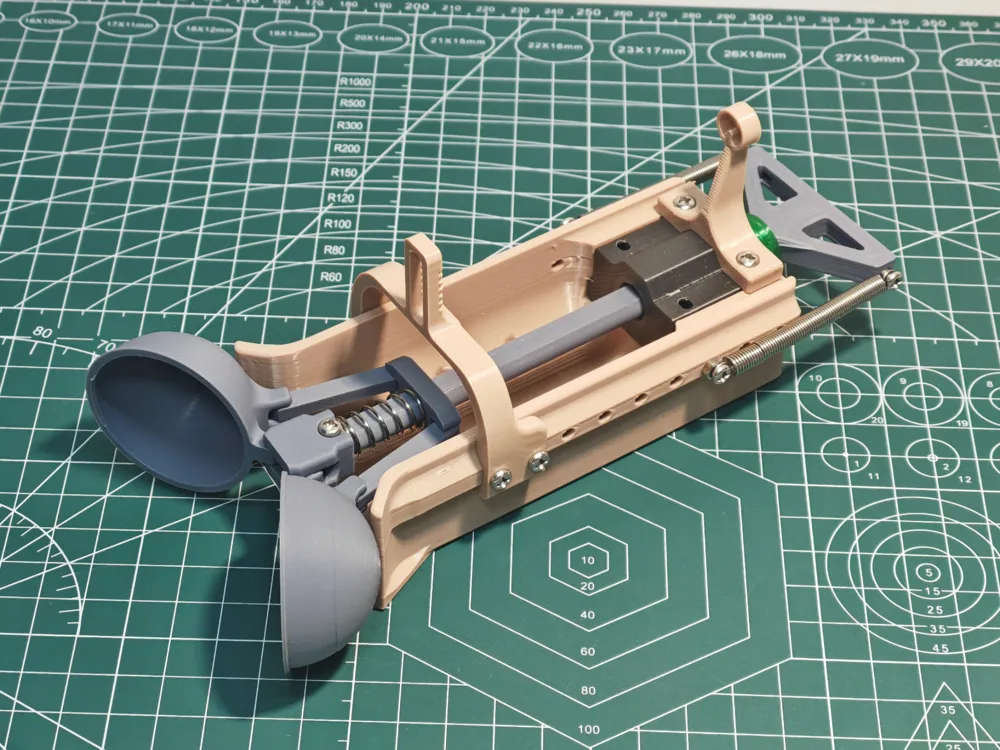
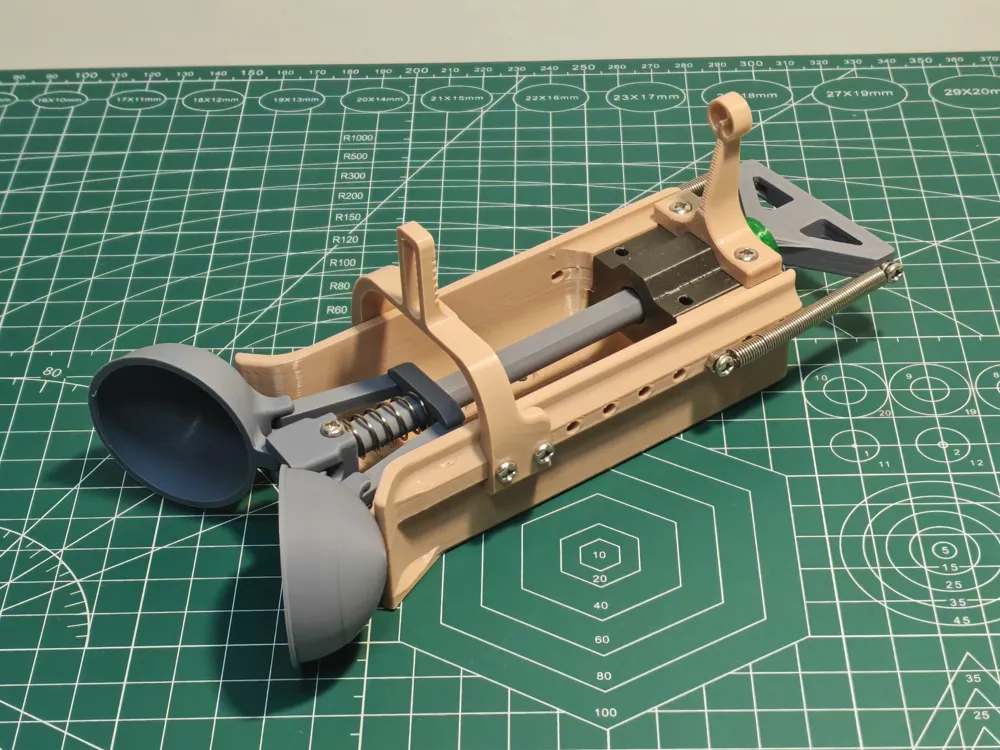
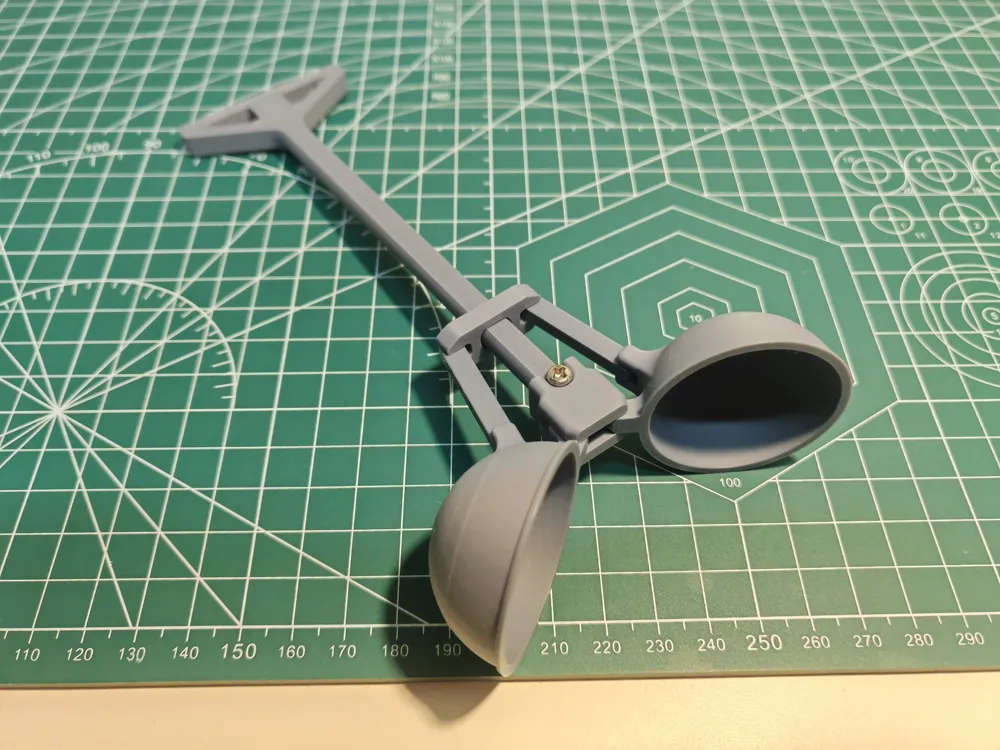
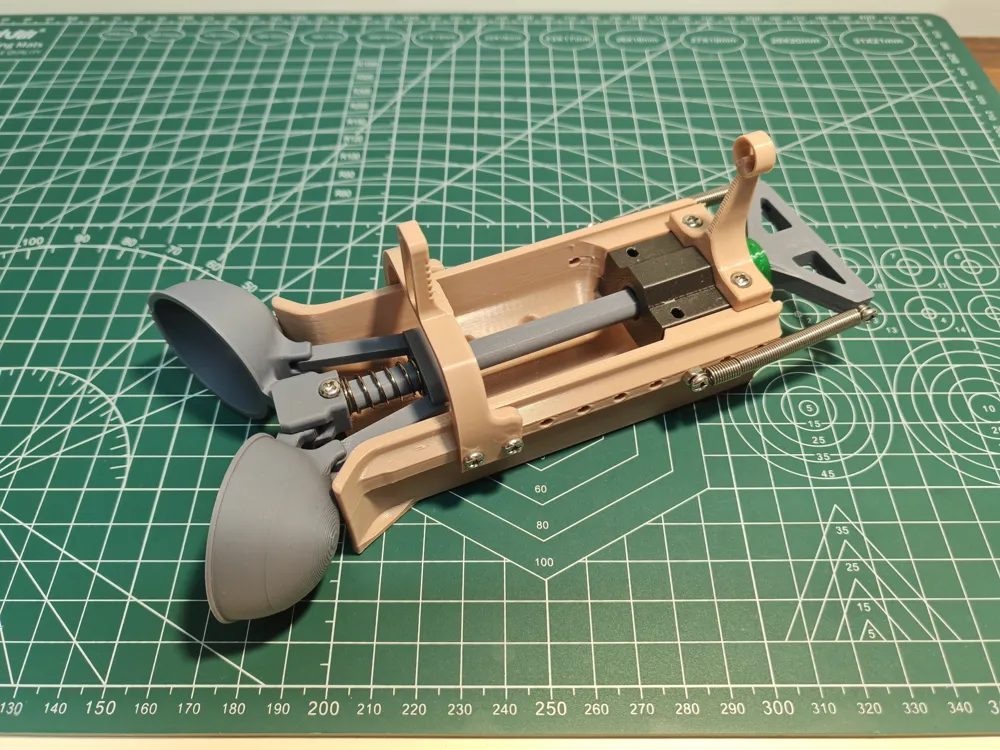
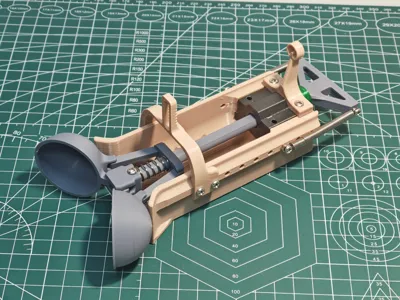
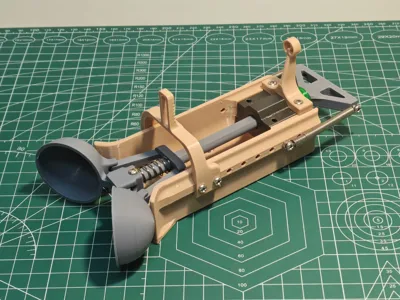
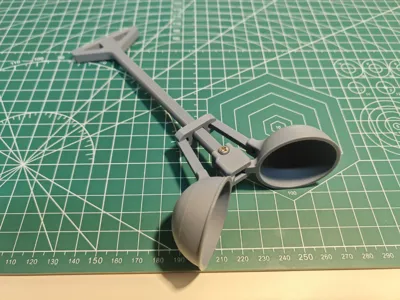
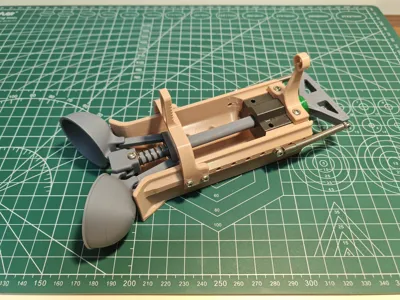
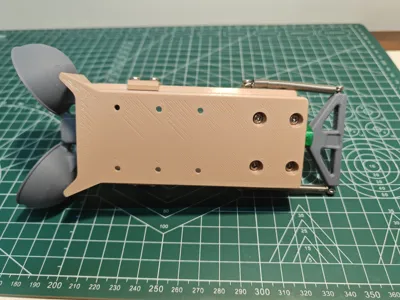
A semi-automatic snowball launcher that creates and launches snowballs simultaneously, unfortunately, it hasn't snowed since its design completion, so it's been repurposed as a marble launcher.
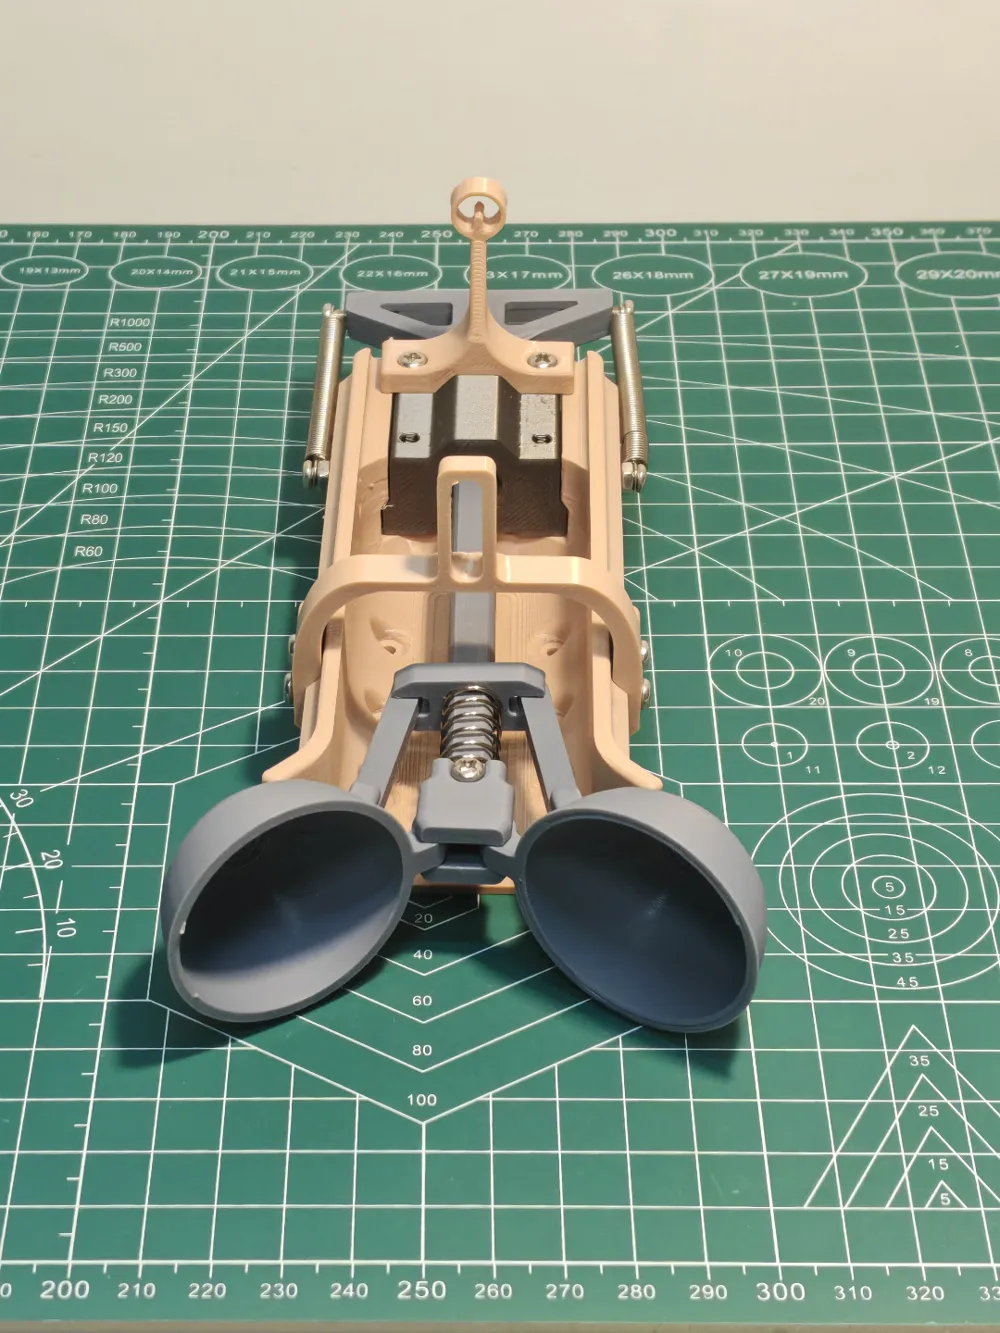
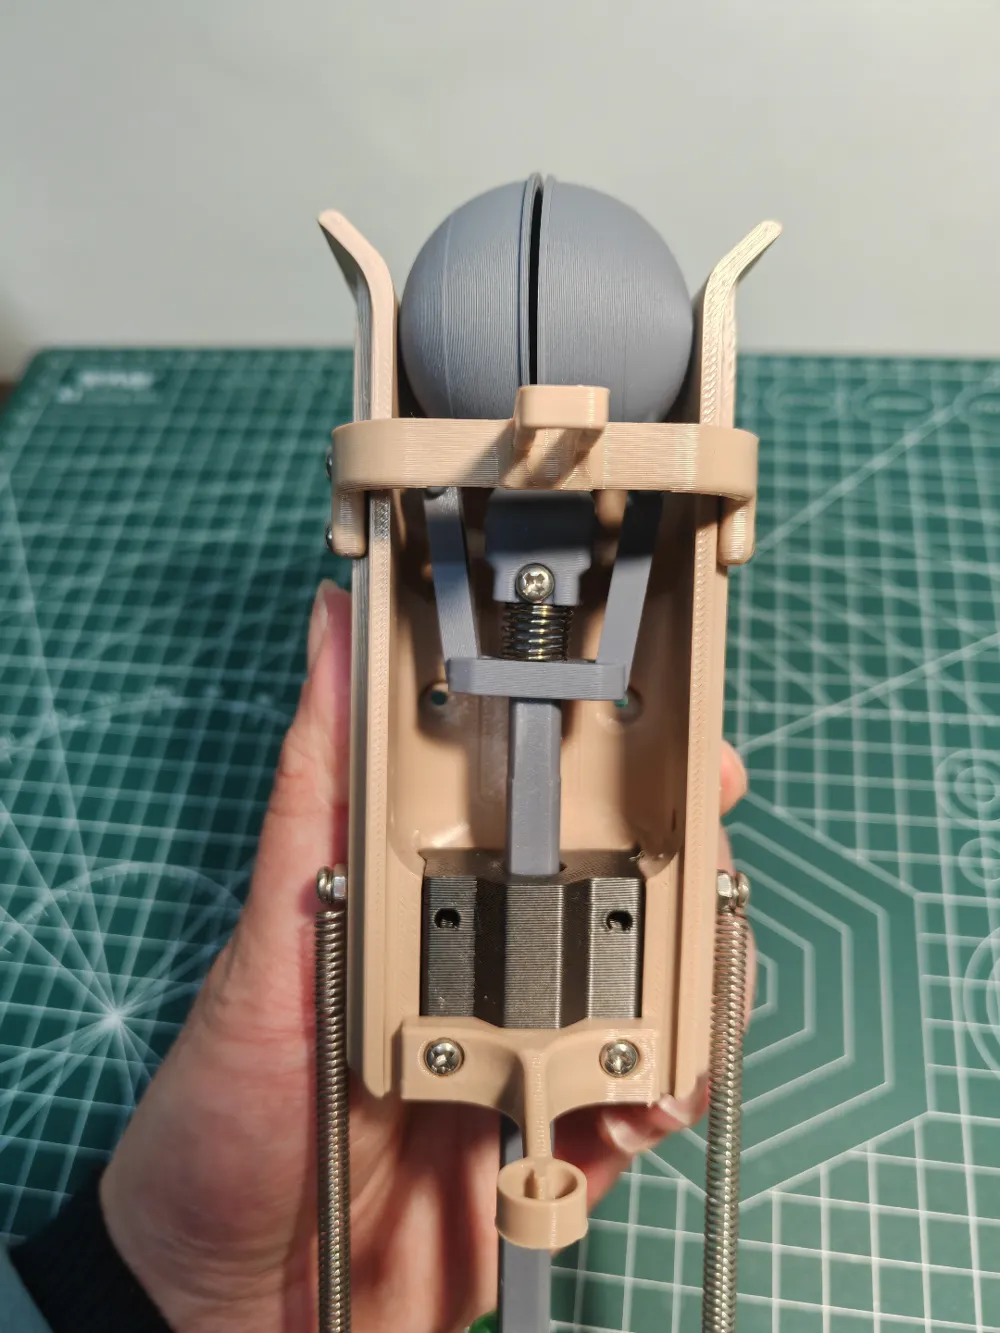
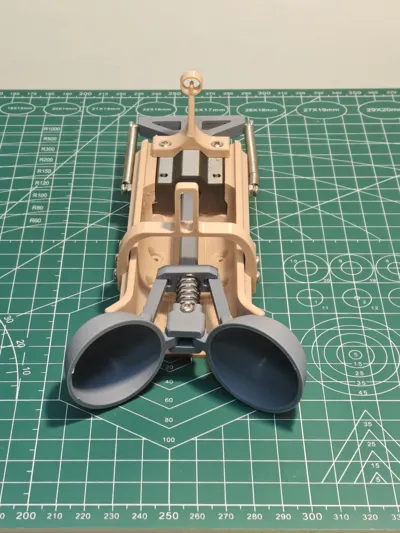
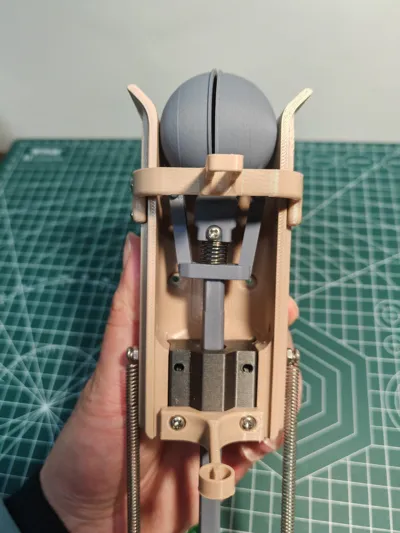
During the spring-loading phase, the hemisphere gradually closes to create a snowball; upon release, it launches, and the linkage structure allows the hemisphere to quickly expand, thus propelling the snowball.
Includes a decorative aiming device for launching.
Please let me know if you encounter any issues with the snowball launch.
Modeling: bilibili@liangyifeng
Requirements: Please indicate the source when reposting or using, commercial use is strictly prohibited.
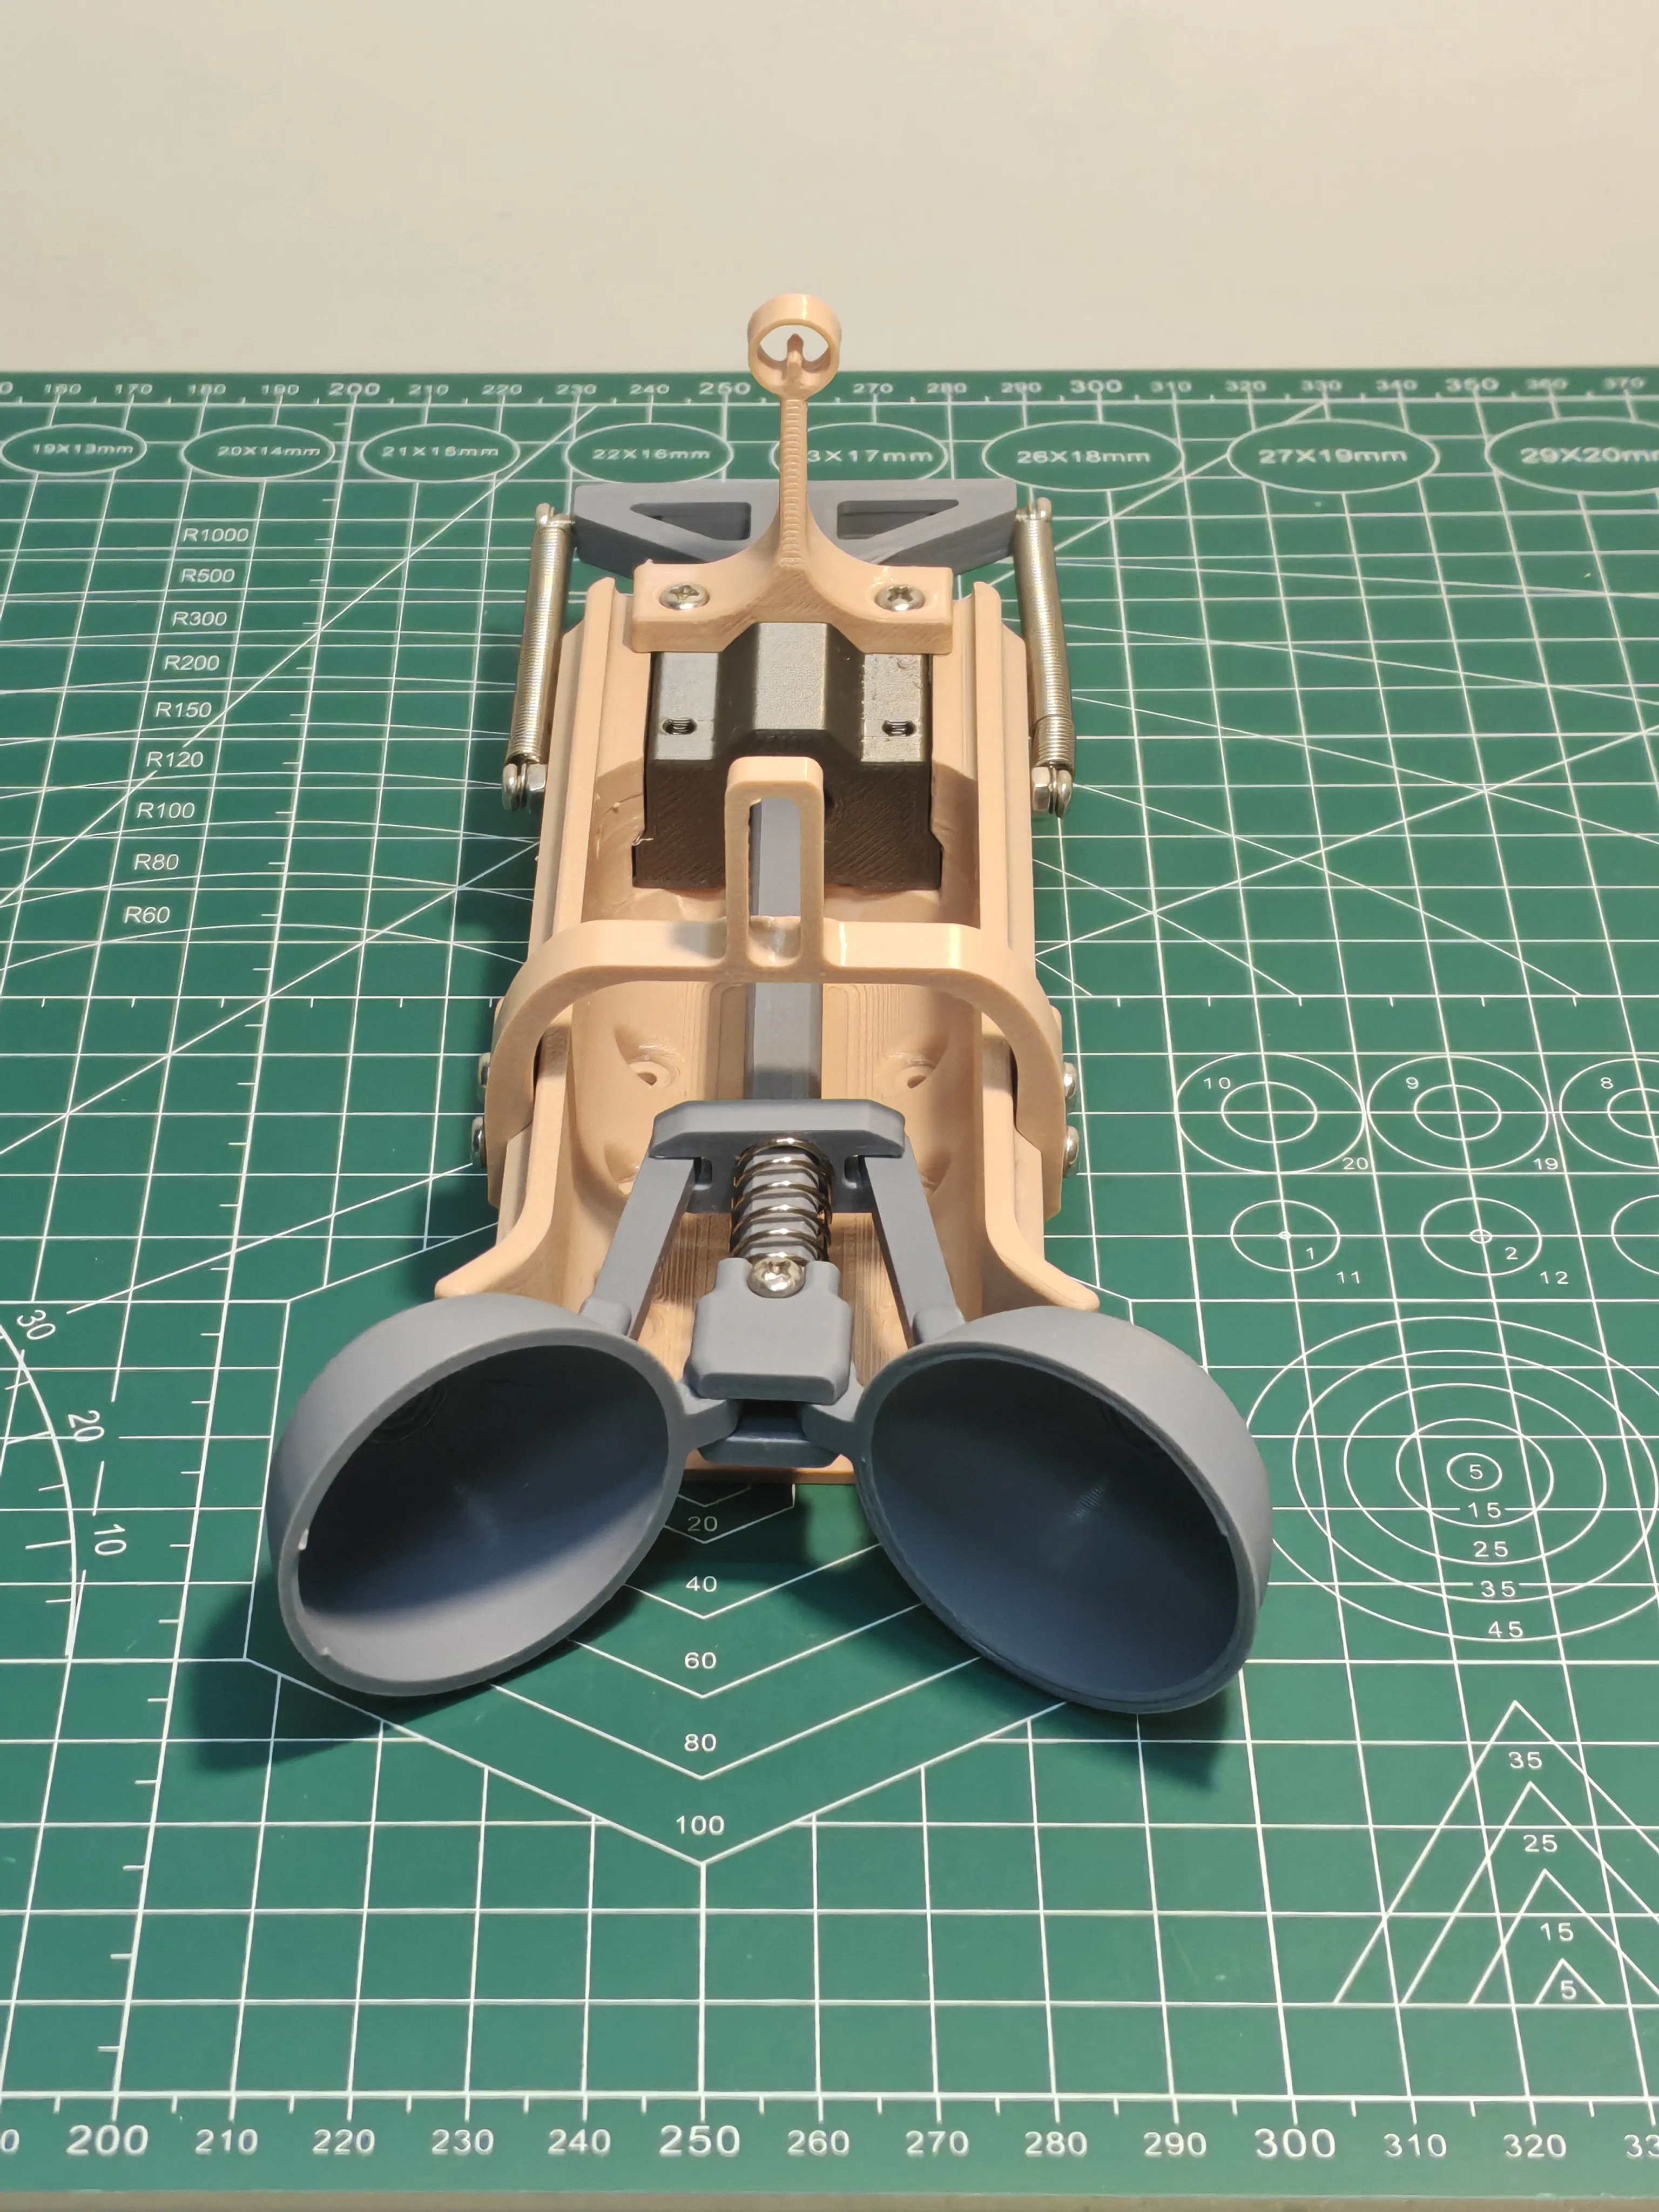
Note: The snowball launcher utilizes extensive print-in-place design. The linkage and hemisphere structures require no metal shafts, and you can add lubricating oil appropriately. To reduce wear, all springs are secured with screws.
The following materials are required for the snowball launcher:
- Several M3*10 round-head screws, 1 M3*5 screw.
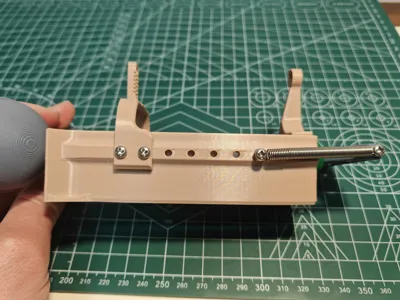
- 1 x 0.8*10*20 compression spring, for hemisphere expansion.
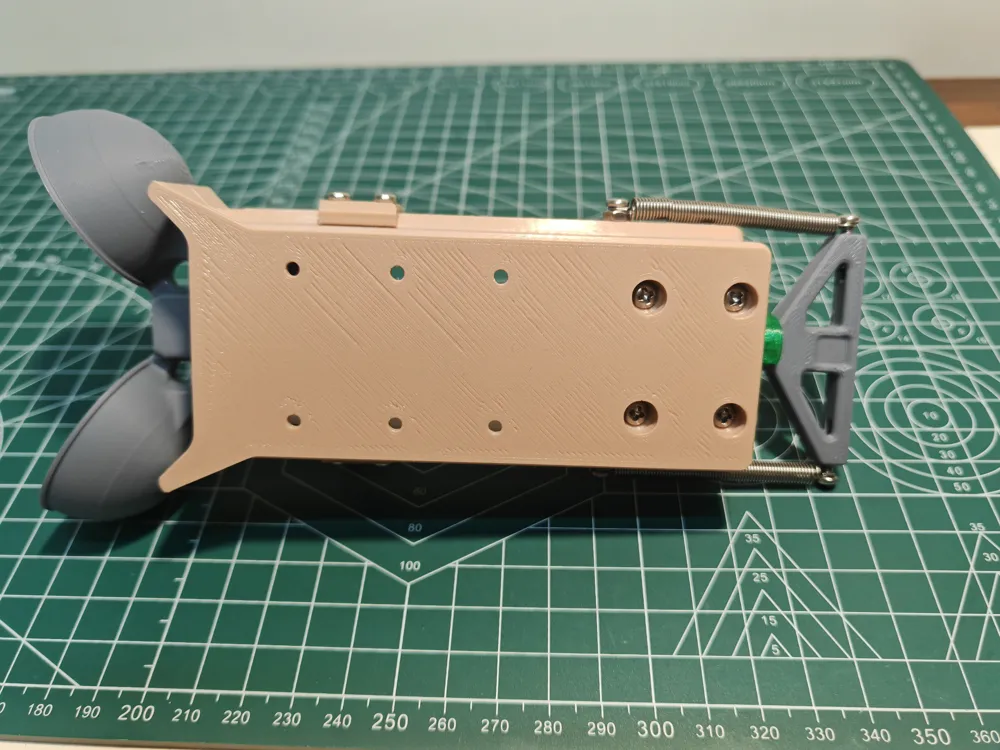
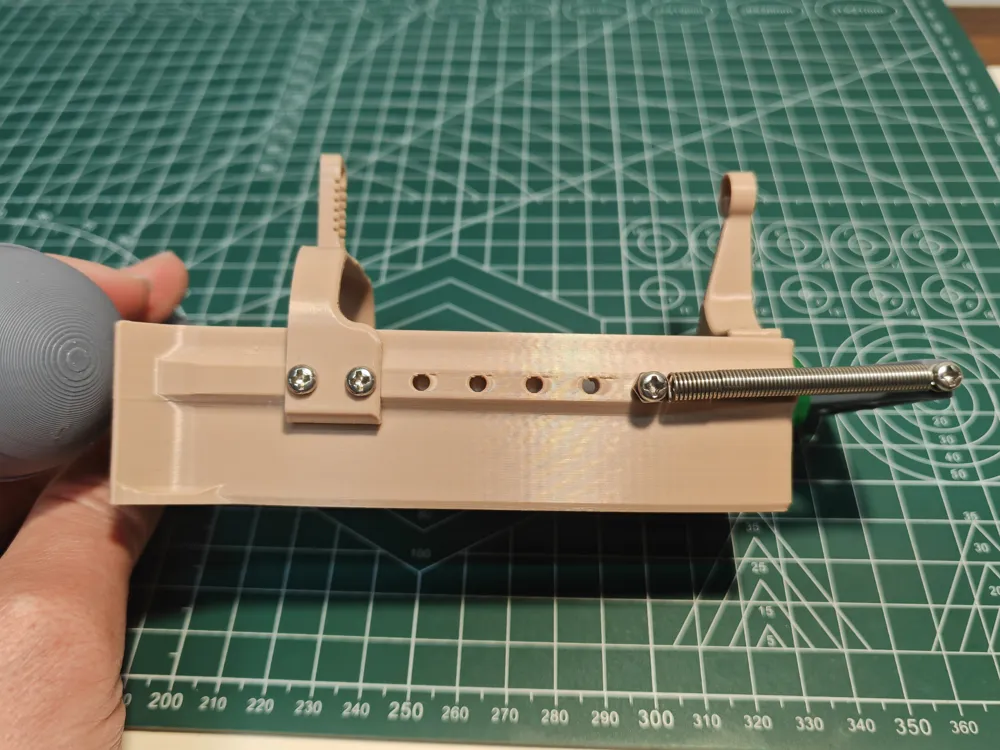
- 2 x 0.6*5*50 tension springs, for launch propulsion; other models can be selected depending on the situation.
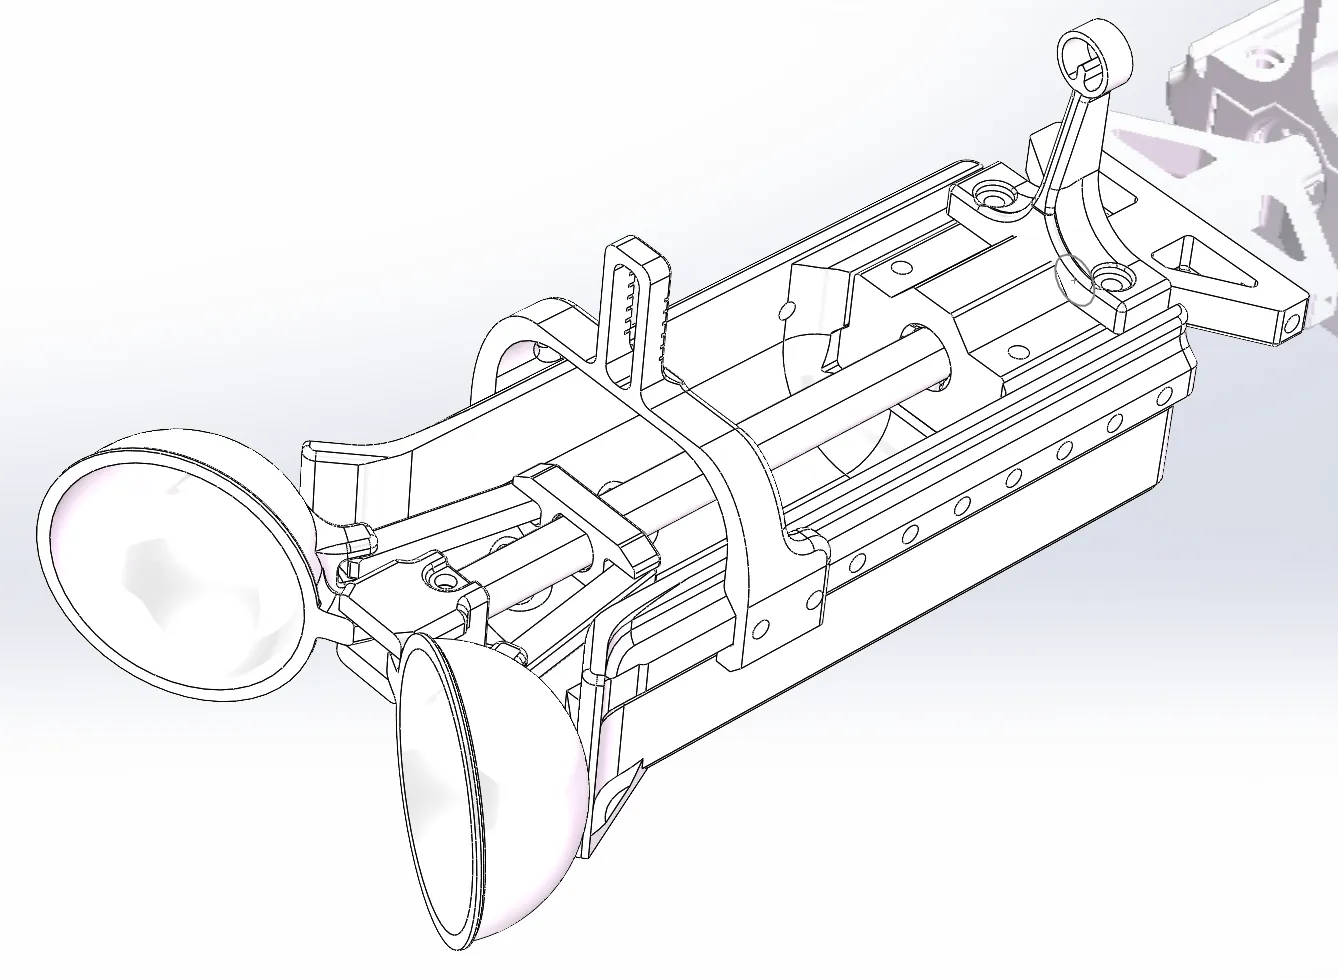
During assembly, connect the movable hemisphere and linkage; press firmly from the notch, then install the base parts. Finally, thread the parts and springs onto the long shaft and tighten the M3*5 screw.
TPU cushioning is essential; otherwise, it will damage the springs and parts. Multiple rubber bands can be used as a substitute.
License

You shall not share, sub-license, sell, rent, host, transfer, or distribute in any way the digital or 3D printed versions of this object, nor any other derivative work of this object in its digital or physical format (including - but not limited to - remixes of this object, and hosting on other digital platforms). The objects may not be used without permission in any way whatsoever in which you charge money, or collect fees.


Comment & Rating (27)