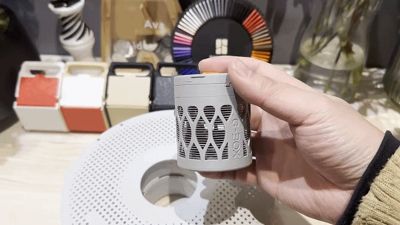
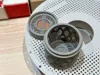
Bambu Filament Spool Drying Box + Secure Clip Exquisite Series


Print Profile(4)


Description
Boost Me (for free)
Please comment more to support my creation!

Latest work, click to view!
~~~~~~~~~~~~Divider~~~~~~~~~~~~
Important Note: This model does not require supports, print directly! If prompted, please ignore!
This model is ready for a perfect print!
You might hear a clicking sound when turning the knob for the first time, just turn it a few more times. If it still occurs, it's likely caused by debris; simply clean the contact surface between the knob and the spring
February 12 Update
The spring has been updated, and now it can return to its proper position even after long periods of use! Some details have been optimized! Added a print profile for PETG
Due to PETG material characteristics and slicer software limitations, printing with PETG may not be perfect in certain areas, please be aware
2025.10.30 After nearly 10 months of use and testing, the model works perfectly, and the spring returns smoothly
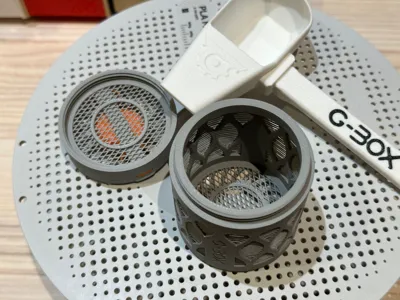
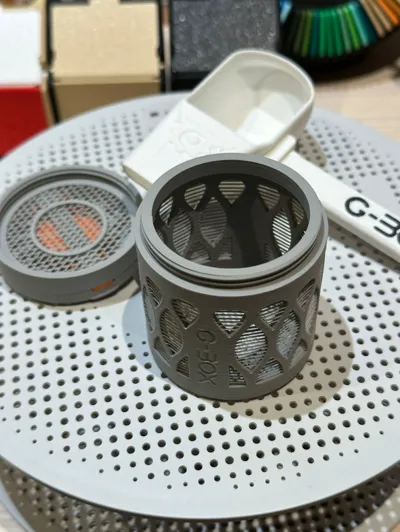
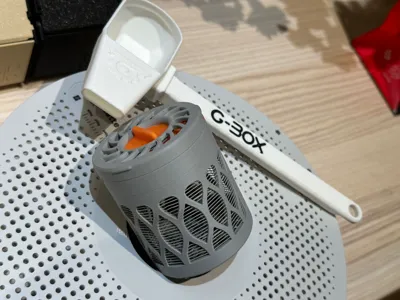
Spoon Link
Desiccant Strainer from 机器宰父 - MakerWorld

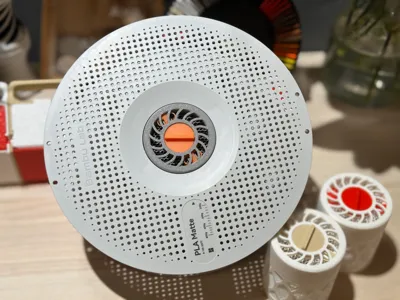
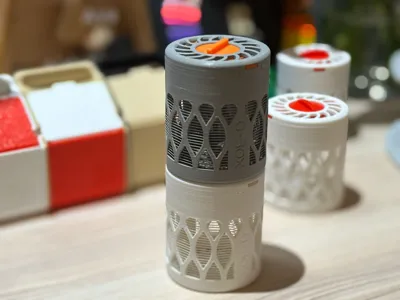
Filament Spool Drying Box
2025-2-3 Important Update
Redesigned the buckle positions and added three new buckles, now it can be fully secured when inserted front-facing, and basically secured when inserted reverse-facing, with both fastening methods coexisting
Instructions
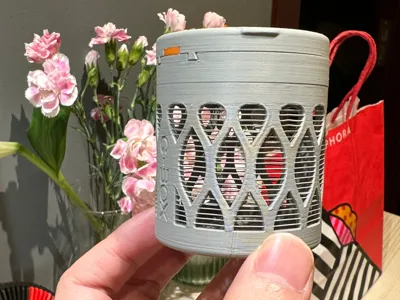
The box features a mesh design, which increases breathability and reduces material consumption. The wire strength is excellent and can withstand manual pressing! Even if one or two break, it will not affect use
- The box is very sturdy, you don't have to worry about it falling from a height or getting crushed
- Features an anti-rebound buckle design, allowing for basic fixation even on filament spool center shafts without fixed buckles
There are two ways to remove the drying box from a Bambu Lab spool: unlock or break the clasp! If it's installed backward, disregard my words or gently push the bottom
After the drying box is installed, its bottom will not extend beyond the spool's base plane, so the drying box will not bear any force when placed flat on a table
Compatible with all spools with a 55mm axle diameter, but by scaling, it can theoretically adapt to most filament spools on the market, simply reduce the spool axle diameter by 0.25 - 0.35 mm
The spring might be installed backward, please refer to the assembly instructions
Fully compatible with Bambu Lab spools, please install facing the side of the spool with temperature instructions, see the image below! If it's installed backward, no worries, apply force
- Finally! If you also think this work is good, please give me a like, your likes are my motivation to move forward

Boost Me (for free)
Afterword
I didn't notice it when I had less filament, but now that I have more and more, every time I change filament, I need to seal it, and I'm using more and more desiccant, so how could I not have a cool drying box
I searched online for a while, but none were satisfactory; most drying boxes were just boxes with no real design
Over the next month or so, several creative designs started to linger in my mind, until I came up with a pull-wire structure to replace the traditional mesh structure when designing an AMS drying box, that's when a really cool idea truly began to sprout
The initial prototype was completed in just three days, including mesh strength testing, aesthetics, print adaptation, and the appearance was already very similar to the current finished product, but the finished product encountered another unexpected problem: it couldn't be fixed. The internal structure of the Bambu Lab spool center is not flat, and there are no usable buckles, making it very difficult to fix
So the project was put on hold, and I couldn't think of a good solution; several experiments ended in failure. Weeks later, I started experimenting with some immature ideas, so the buckle design on this drying box was more a result of experimentation than deliberate design. At first, I wasn't optimistic about this structure, but the result was usable. However, the friction provided by the buckle is still very limited, and it will still fall off if pushed hard, but it can already meet basic needs, which makes me very happy, after all, with a design direction, success is not far off
Next came the hardest part: how to make the buckle maintain pressure without rebounding, and how to make the buckle rebound to its original position? This most difficult part was also the most exciting for me. If there had been existing designs to draw inspiration from, this part would have been much simpler. But unfortunately, most of my designs have nothing to reference. However, I believe that designing from scratch is the greatest joy of design, so when I designed a circular spring that simultaneously forces the spring back into position as the knob returns, I was extremely excited! Truly excited
Now, can you understand why I wrote so much here? This is the joy of a designer after racking their brains, haha
The pull-wire design was an idea from my previous model. Perhaps you'll ask, "Where is your previous model?" Well, I can only say my progress is too slow, and I've always been dissatisfied with the aesthetics. In the meantime, I've already released two models
About Assembly

First insert the component knob

Install the spring
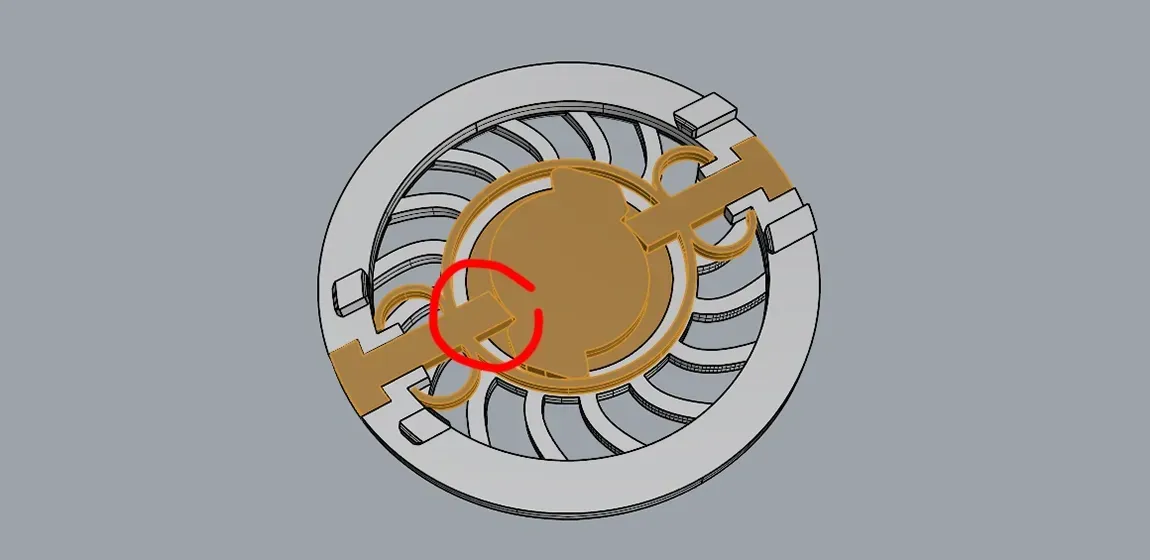
Pay close attention to the spring's orientation here; you should be looking at the textured side of the spring
Finally, install the two parts of the top cover
Boost Me (for free)
commercial authorization https://www.patreon.com/c/WiSeGearDad
Buy me a cup of coffee, please.https://coff.ee/gbox
———————更多作品———————

License
You shall not share, sub-license, sell, rent, host, transfer, or distribute in any way the digital or 3D printed versions of this object, nor any other derivative work of this object in its digital or physical format (including - but not limited to - remixes of this object, and hosting on other digital platforms). The objects may not be used without permission in any way whatsoever in which you charge money, or collect fees.
Comment & Rating (34)