P1S LED Left Side Relay Mount & Directions / BOM


Print Profile(1)

Description
I wanted to upgrade the lighting on my P1S, but retain the stock functionality; considered BLLED but just wanted simple light without wifi and potential future firmware issues. Didn't need RGB and whatnot, and the Panda Lux I installed just wasn't cutting it.
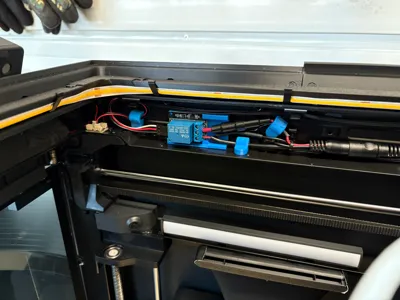
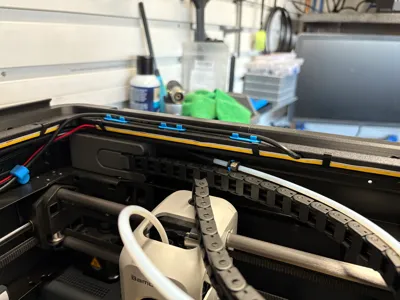
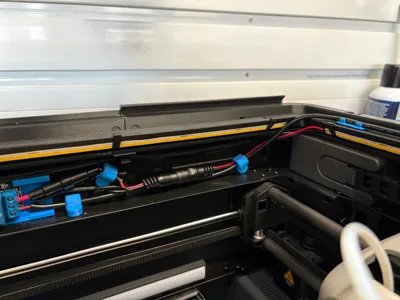
I went back and forth trying to figure out the best way to route wiring, secure it, how to power it, etc. I ultimately decided to use a relay along with a couple other models for cable management. This model is for the relay bracket itself, which is secured via magnets to the left side (same side as the stock light). There is plenty of room for cabling and it is out of the way.
See the attached PDF for BOM, referenced models, and schematics for how to wire this up.
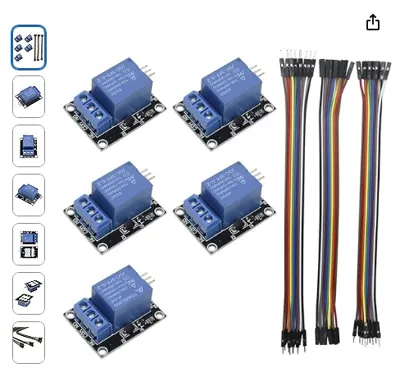
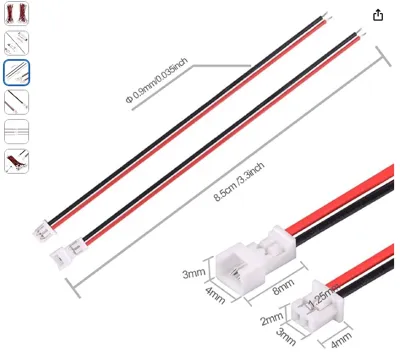
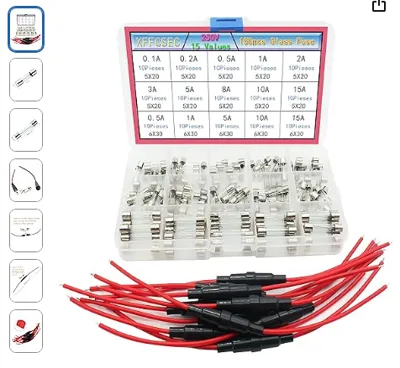
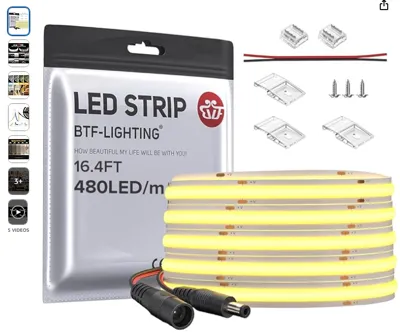
Basically, you’ll need to print a riser, buy LEDs and materials, provide power, and wire up this relay (using this printed bracket to hold it), connecting it to the 5V spot where the stock light connects. I’ve provided a schematic below, as well as a BOM for what is needed. Point to note I had an extra board off to the side from my now unused Panda Lux, but the connection is the same.
I'm using the low profile slider riser from Sanja 3D:
https://makerworld.com/en/models/836437#profileId-781797

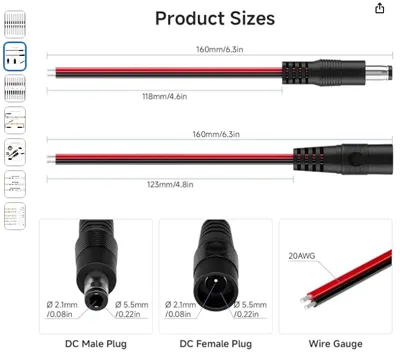
You can use whatever voltage LEDs and power supply you want, however, I recommend 24V just since that means less current and you can use the P1S power bus or Bento Box power supply. I am using 24V power from the 3D Machinist; my LED wiring pops out to a male barrel connector to get power.

Comment & Rating (0)