
Print Profile(1)
Description
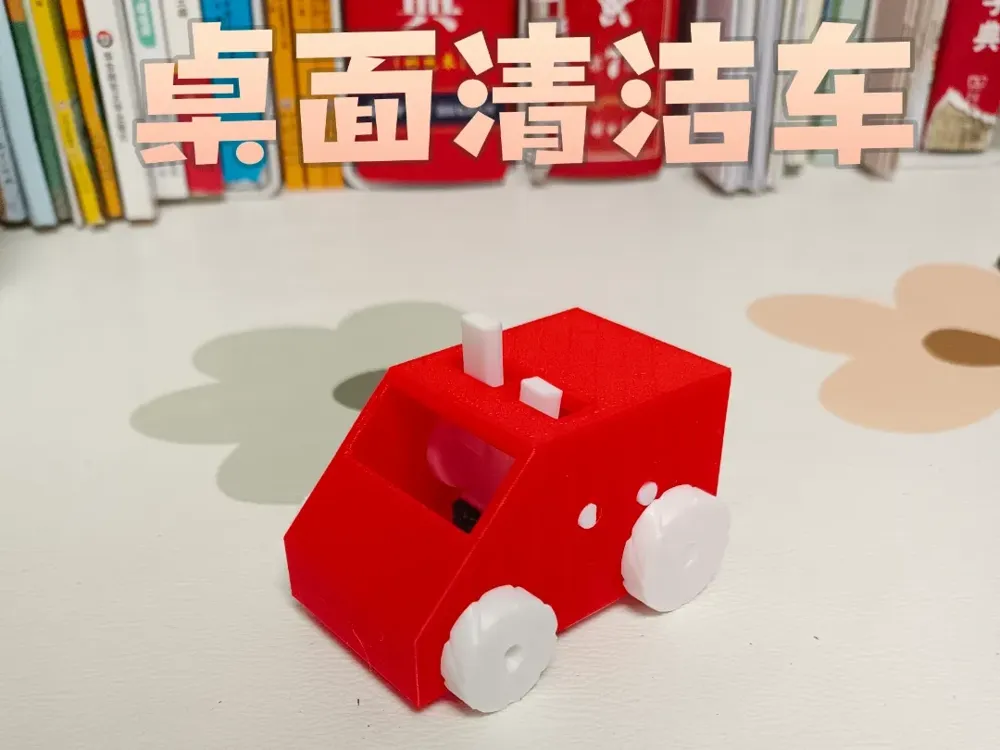
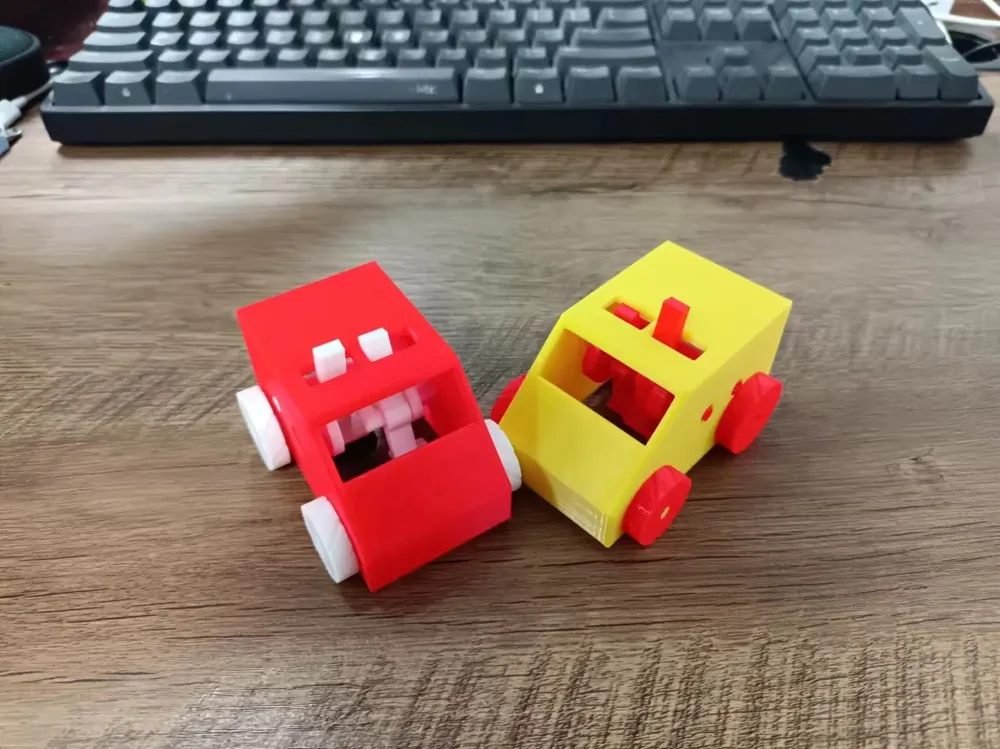


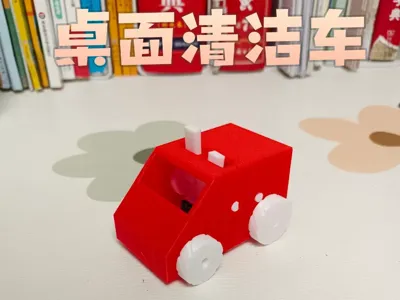
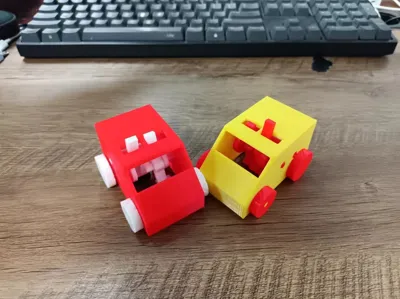
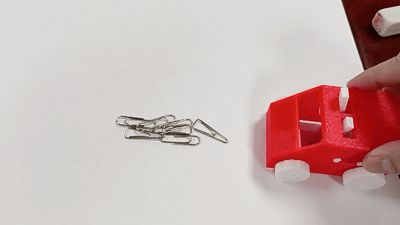
This is a desktop cleaning car. Push it, and the broom inside the car will start working, sweeping debris from under the car into the dustpan.
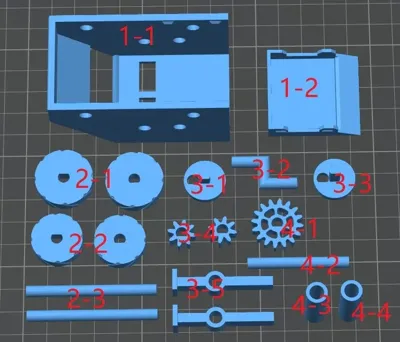
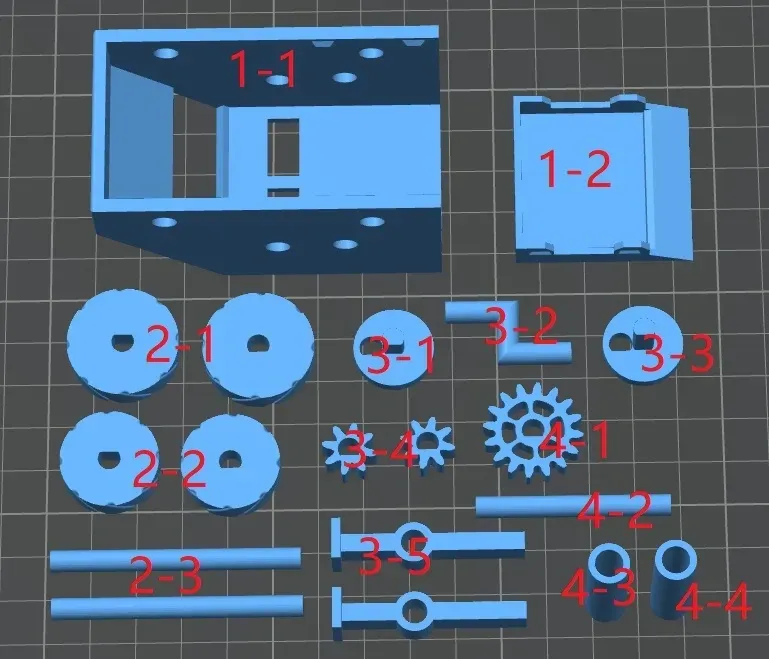
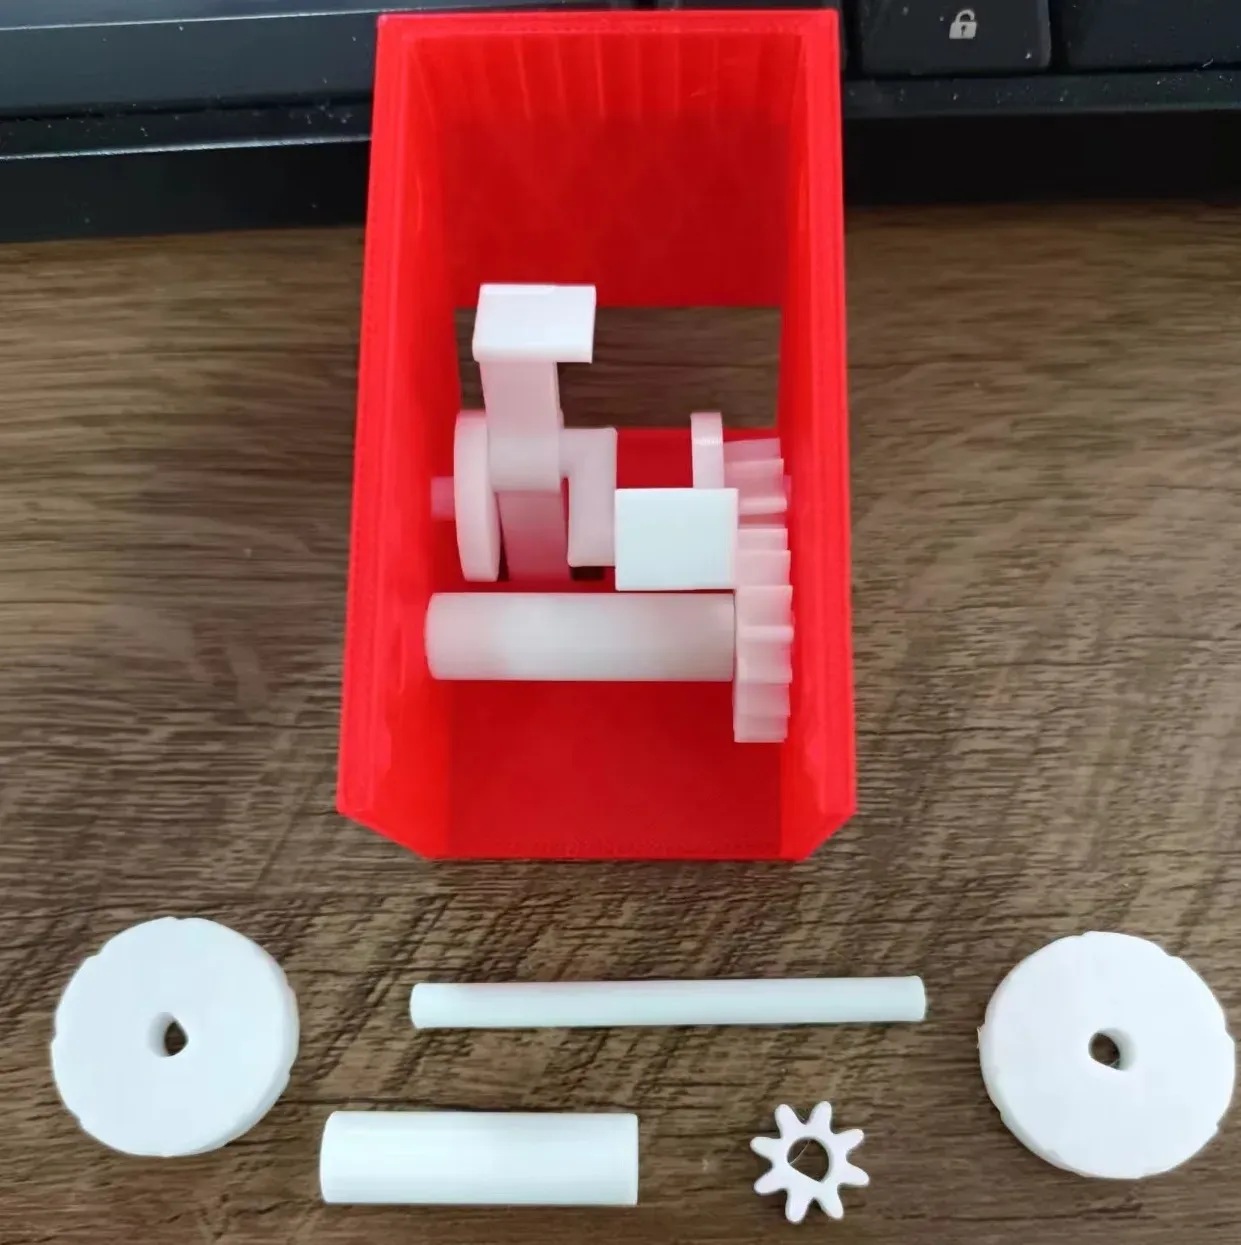
Parts Description:
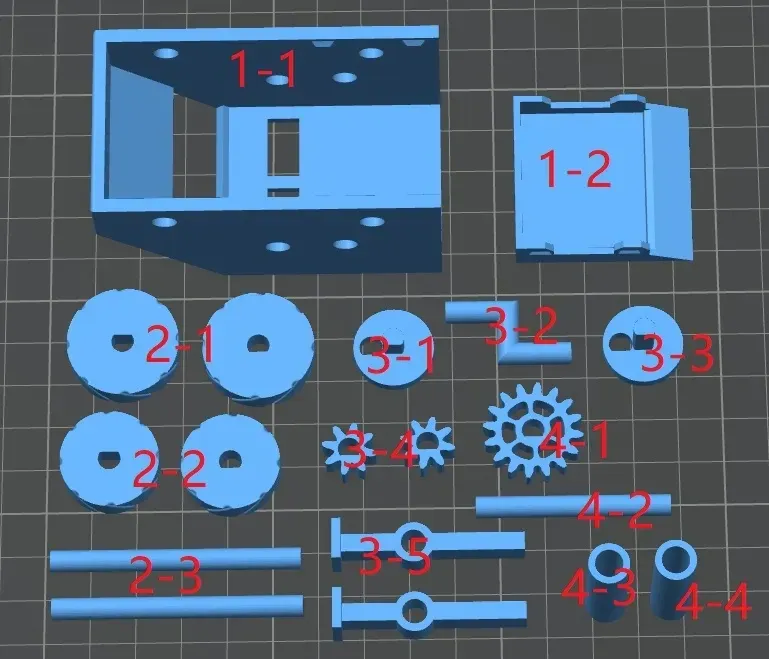
1-1 Car body, 1-2 Underbody dustpan
2-1 Rear wheels*2, 2-2, Front wheels*2, 2-3 Axles*2 (Front wheels are smaller, rear wheels are larger)
3-1 Crank short side, 3-2 Crank middle, 3-3 Crank long side, 3-4 Small gears*2, 3-5 Brooms*2
4-1 Large gear, 4-2 Large gear axle, 4-3, Large gear bushing (shorter), 4-4, Rear wheel bushing (slightly longer)
Approximately 3mm thick sponges need to be attached to the feet of 3-5
Assembly Steps:
1. Assemble 3-1, 3-5, 3-2 as shown and insert into the corresponding holes in 1-1. Pay special attention to the direction of the feet of 3-5. 3-1 is the shorter one
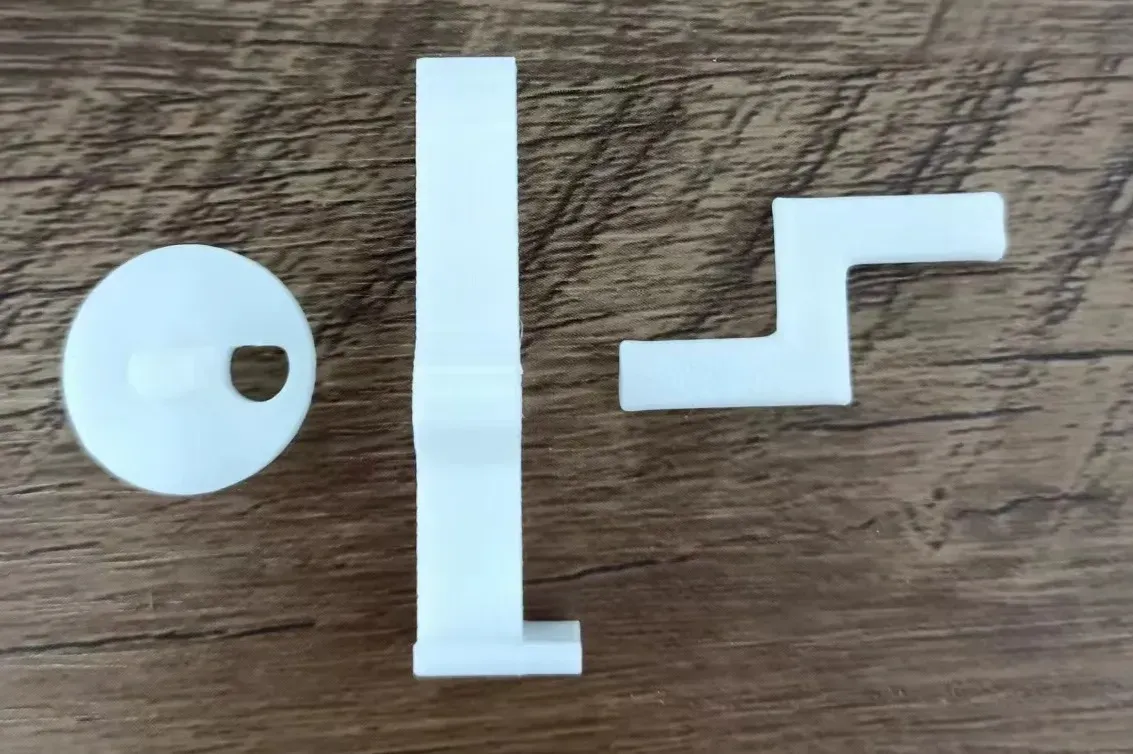
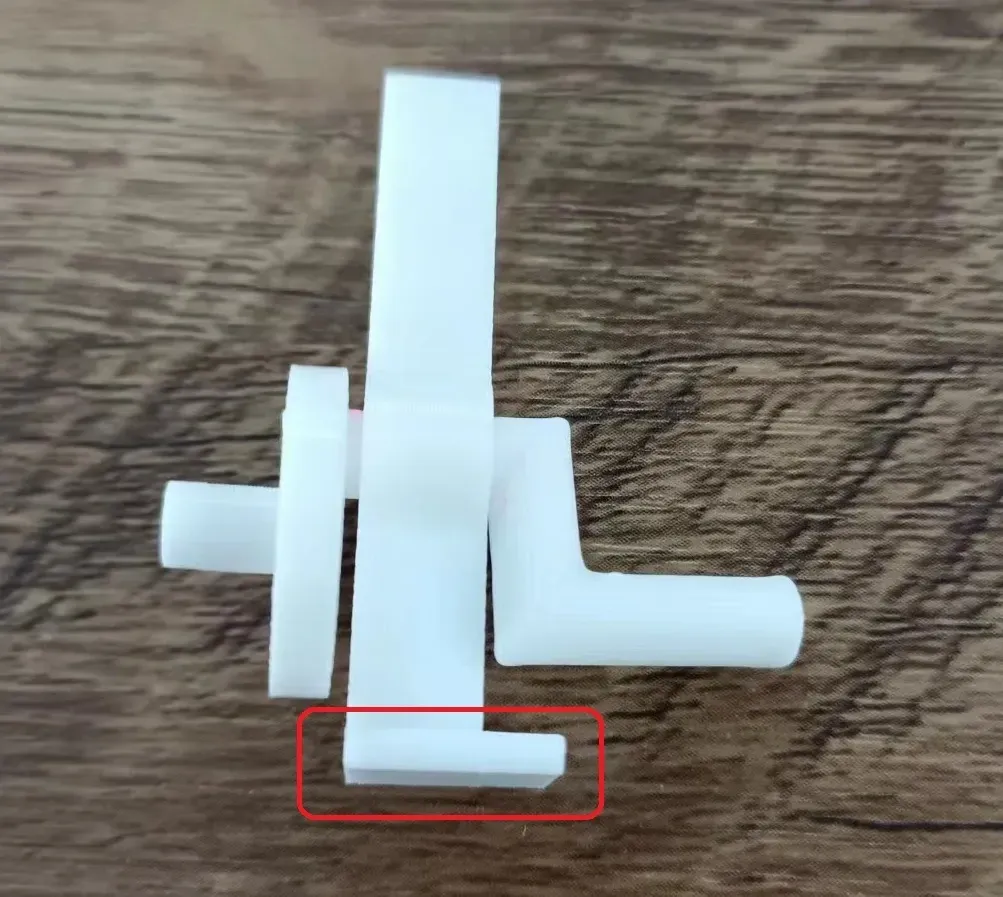
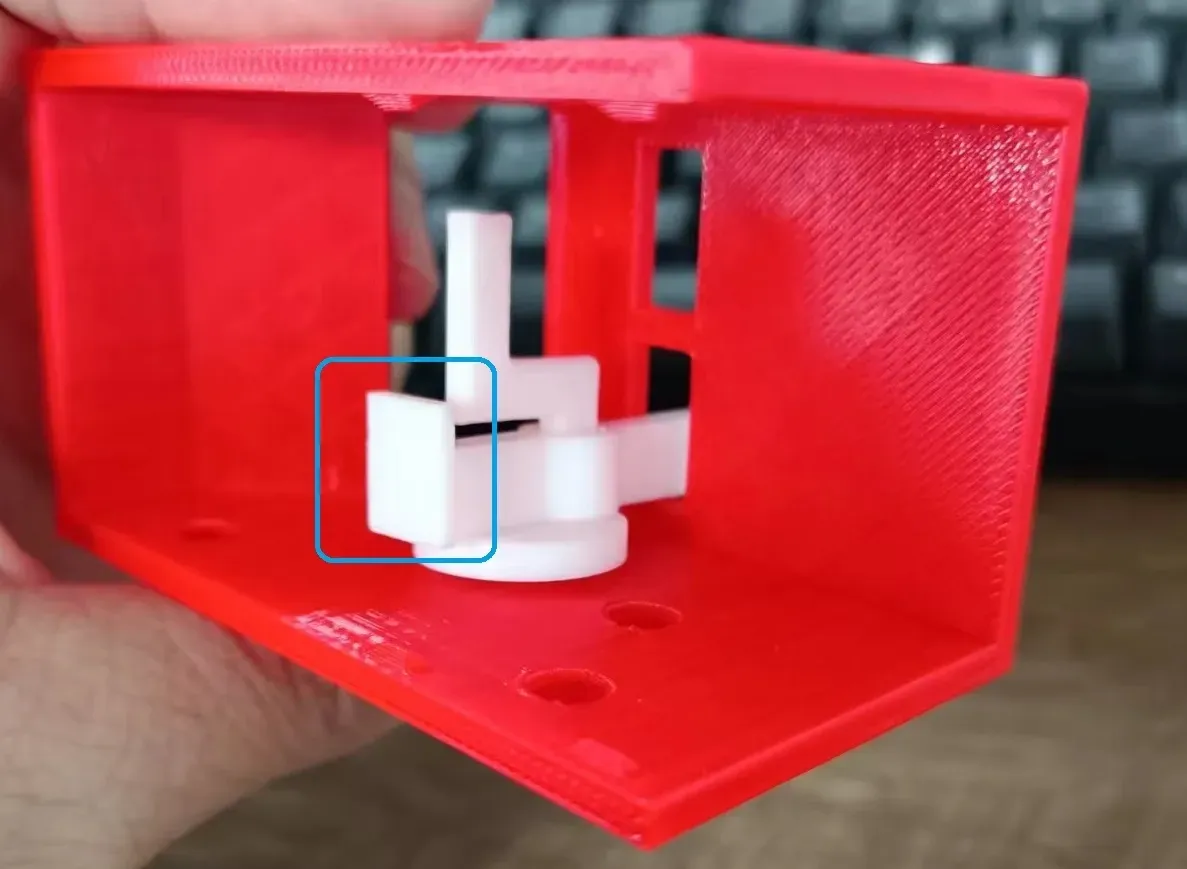
2.Insert the other 3-5. Pay special attention to the direction of the feet of 3-5
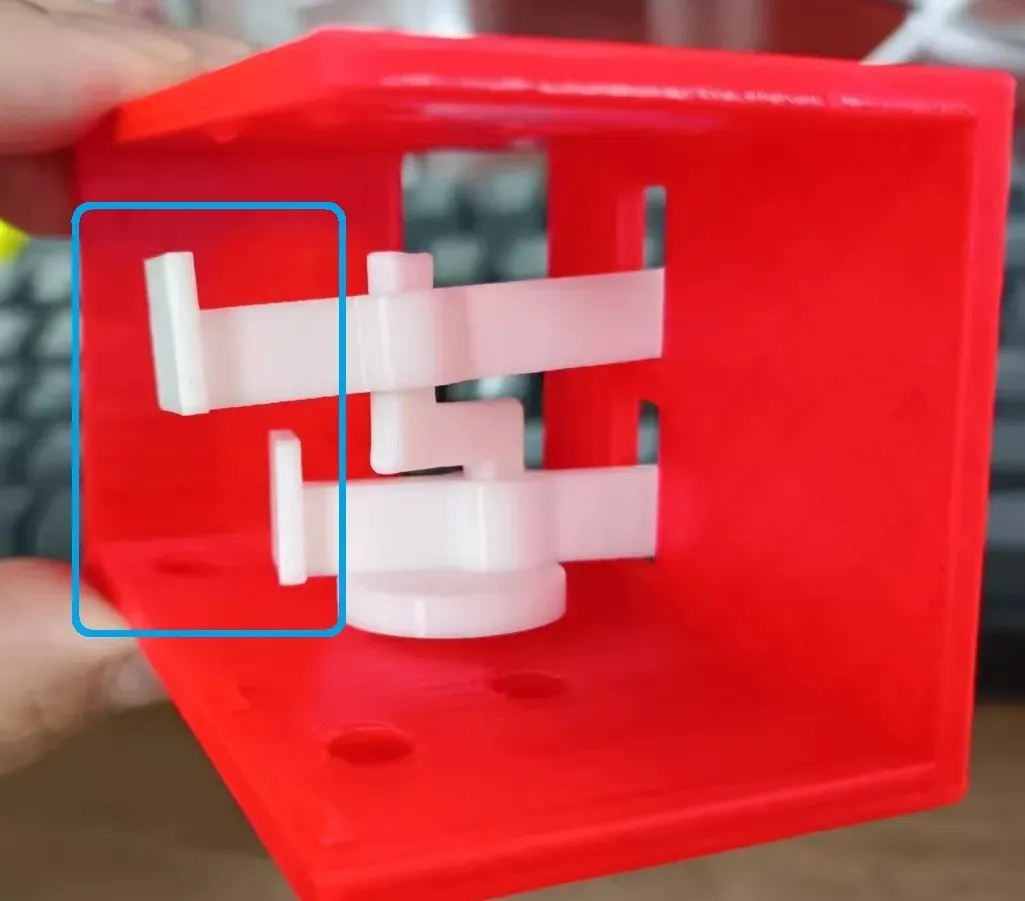
3. Assemble 3-3 and 3-4 (3-3 is the longer one) as shown. It is best to use needle-nose pliers for this step. If it cannot be embedded properly and is repeatedly inserted and removed too many times, it may become loose after extended use
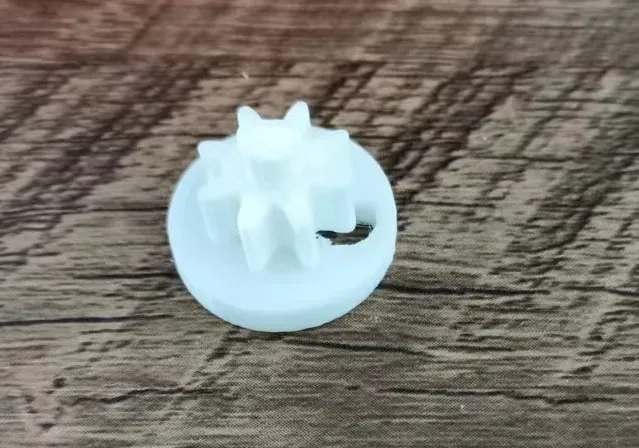
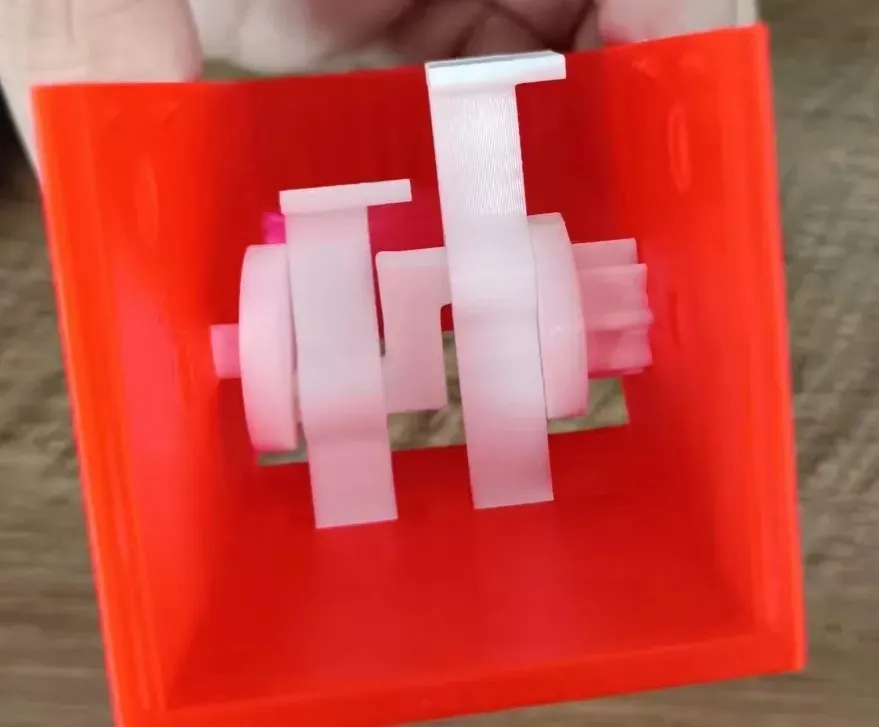
After assembly, check if it can move freely.
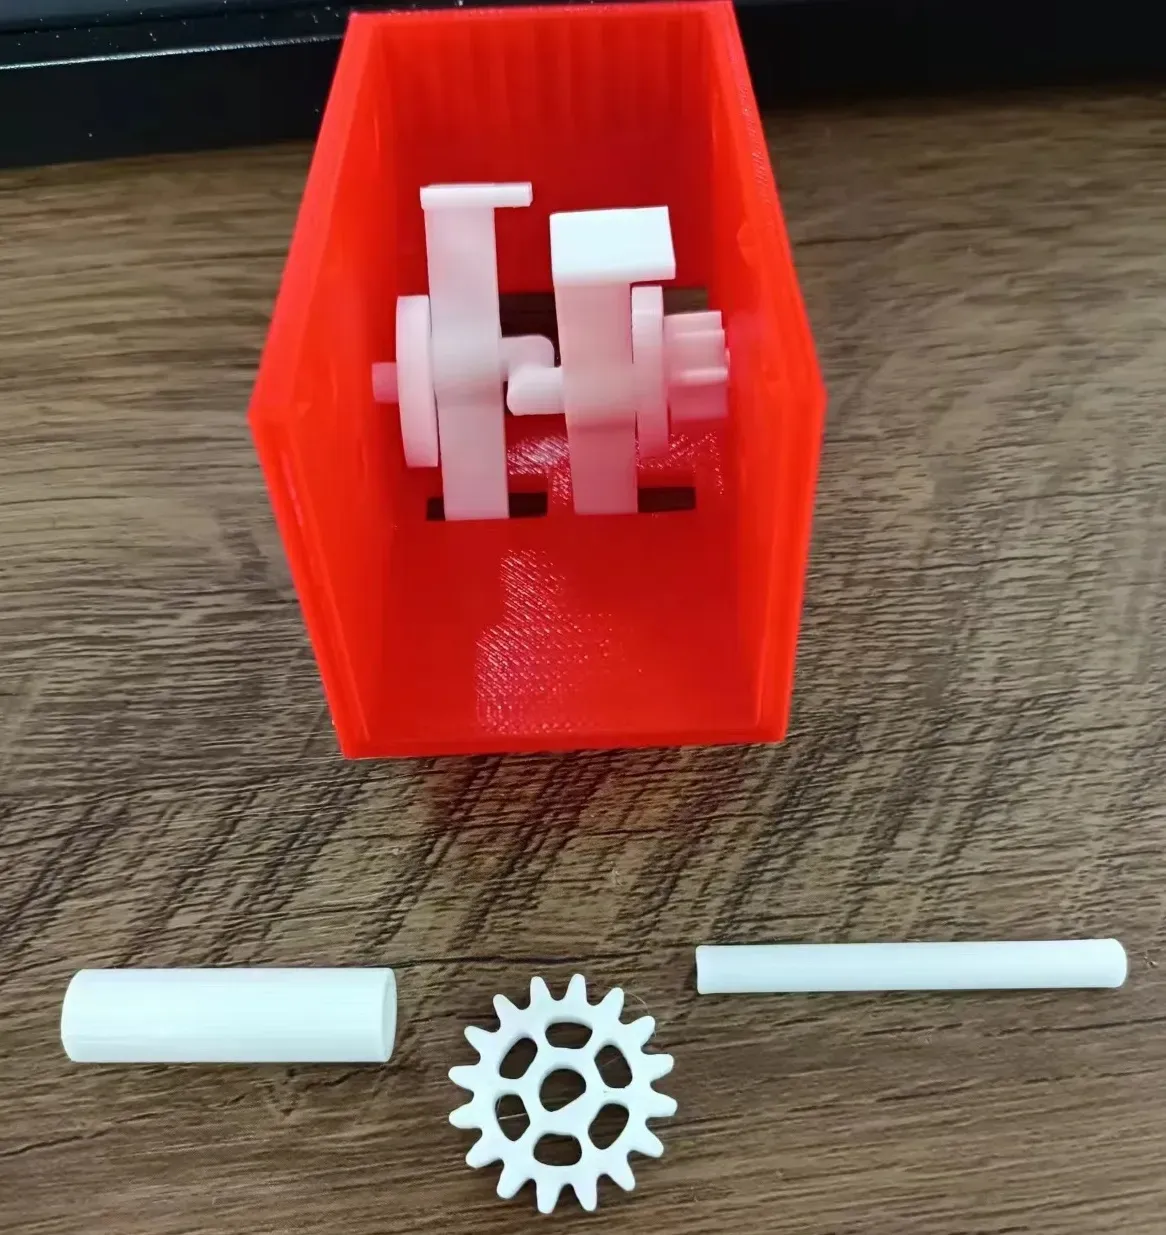
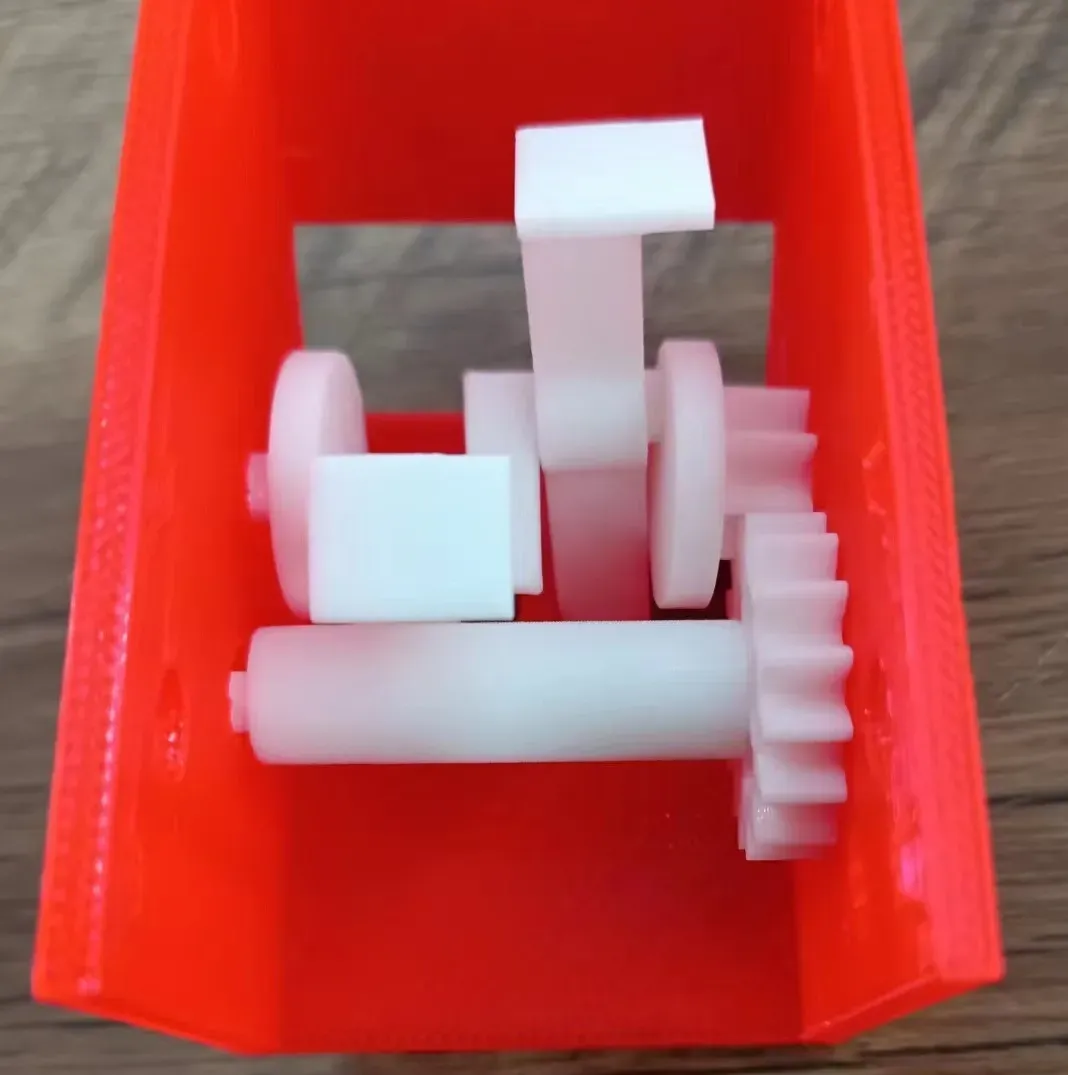
4. Assemble 4-1, 4-2, 4-3 as shown. After assembly, check if it can rotate smoothly (the longer bushing)
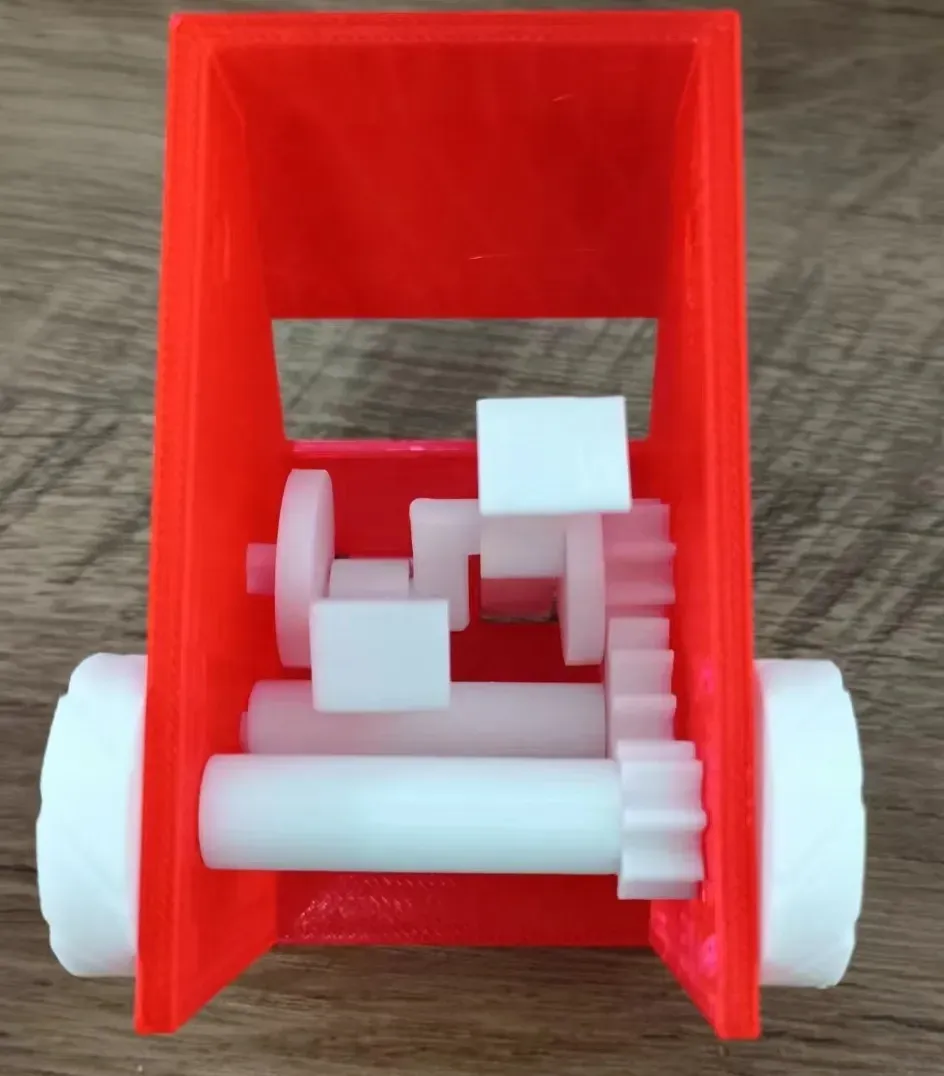
5. Assemble 3-4, 4-4, 2, 1*2, 2-3 as shown. After assembly, check if it can rotate smoothly (the shorter bushing)
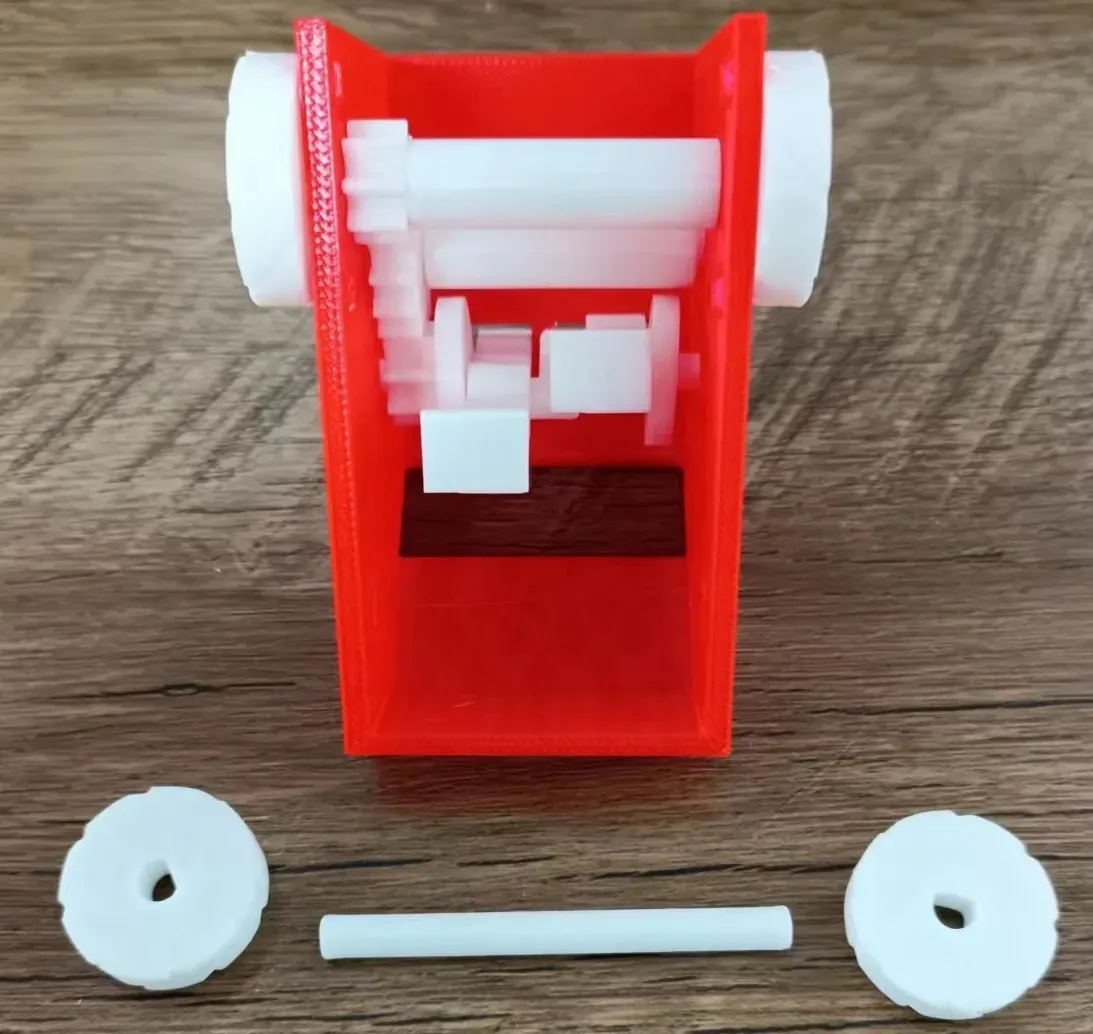
6. Assemble 2-2*2, 2-3.
7. Find two sponges (15*10*5mm) and attach them to the brooms as brush heads. The right sponge is key to effective cleaning!!! (They can be slightly larger and thicker, then trimmed with scissors. Ensure the area between the two feet is covered without interfering with operation. The side closer to the rear wheels can be slightly thinner)
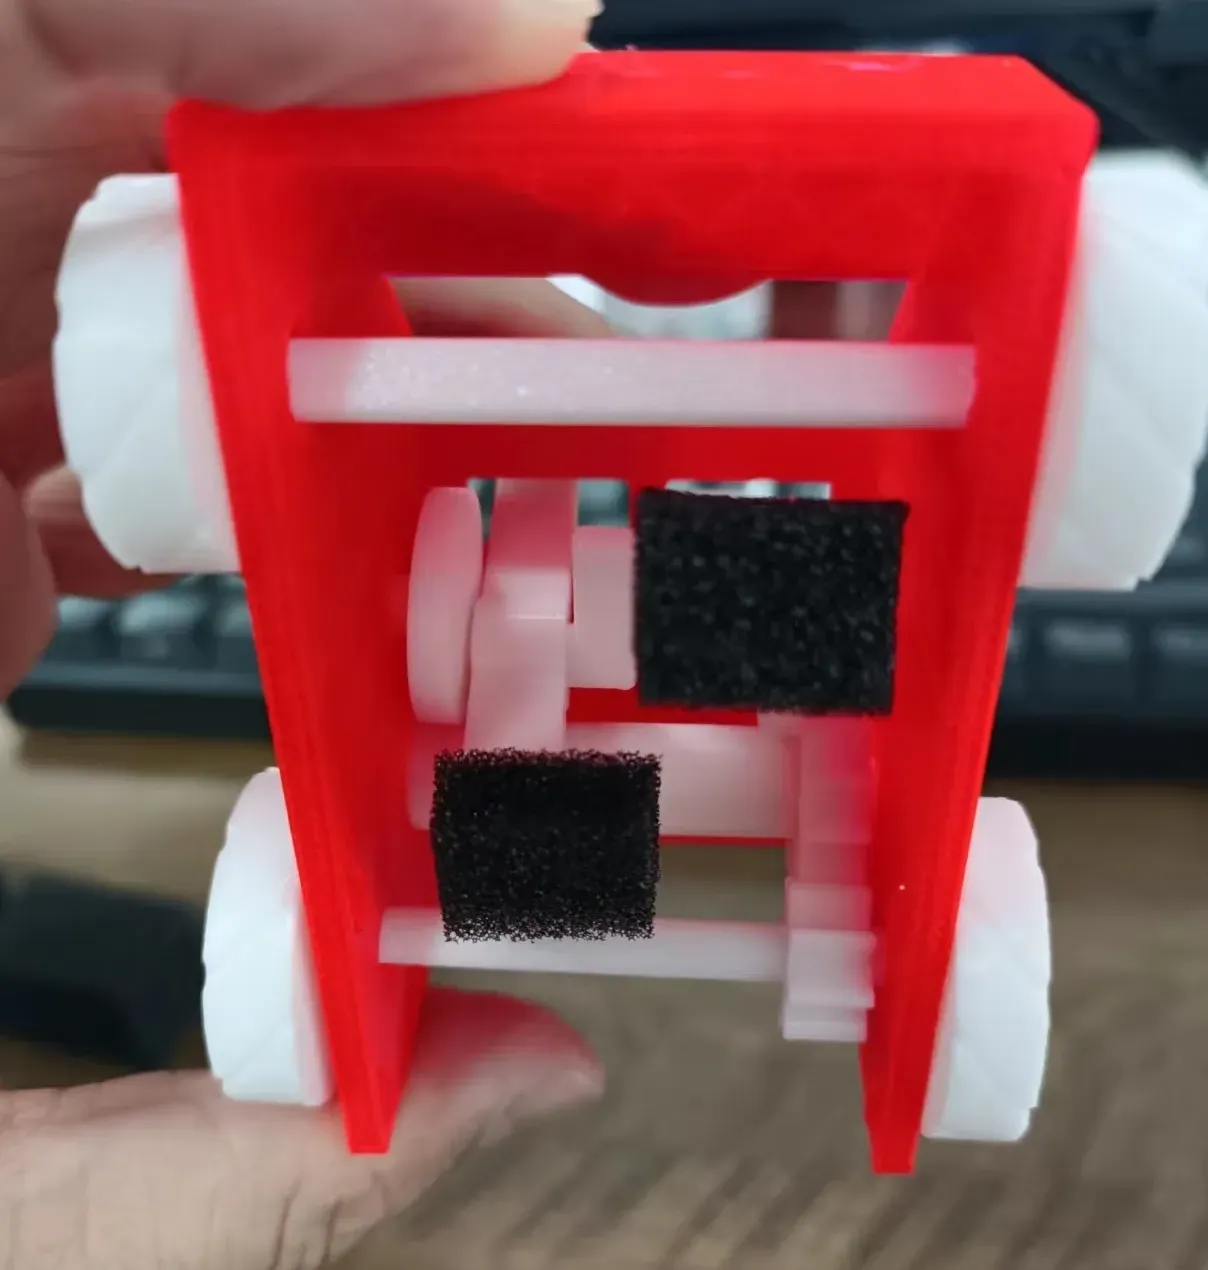
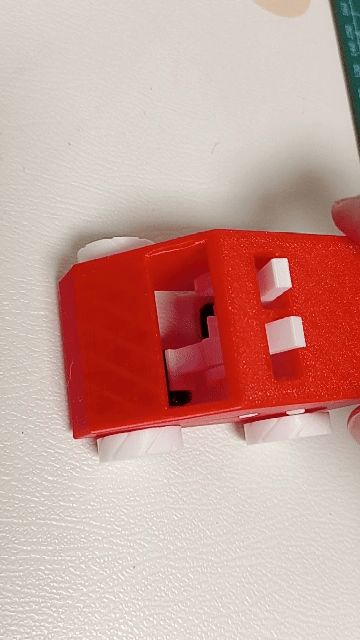
8.Attach 1-2 to complete your desktop cleaning car.
Now that you've reached this point, your desktop cleaning car should be ready. Go ahead and try it out.
Paper clips and larger eraser crumbs can be cleaned up very well, but shredded paper and very fine eraser crumbs are a bit more challenging.
Please share your printing results and thoughts with me in the comments section so I can make further improvements.
Boost Me (for free)
If you find it fun, please give me a boost
--------------------Advertisement--------------------
Here are some interesting things I've made. You can click the images to take a look.
License

You shall not share, sub-license, sell, rent, host, transfer, or distribute in any way the digital or 3D printed versions of this object, nor any other derivative work of this object in its digital or physical format (including - but not limited to - remixes of this object, and hosting on other digital platforms). The objects may not be used without permission in any way whatsoever in which you charge money, or collect fees.


Comment & Rating (0)