Search models, users, collections, and posts
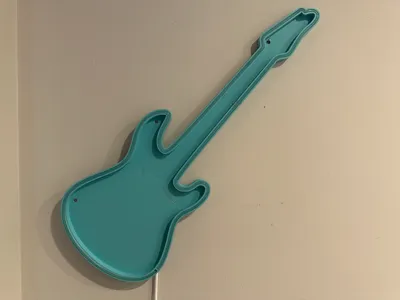
Guitar LED Neon
IP Report


Print Profile(1)

0.2mm layer, 3 walls, 15% infill
Designer
5.3 h
3 plates
Open in Bambu Studio
Boost
59
100
1
6
58
15
Released
Description
Knowledge of soldering is highly recommended but not required.
Boost Me (for free)
Boosts and Profile ratings are always welcome. Thank you!
Feel free to follow my Instagram. Link in profile. Thank you!
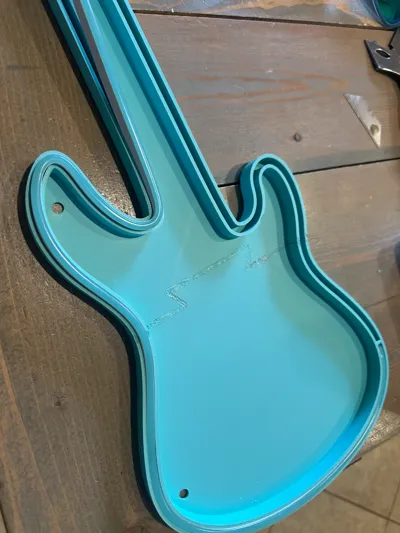
- Print the three plates
- Melt the seams together with soldering iron. ( you can use glue but its not even close to the same strength as melting together. Trust me i've done several of these) Be sure you use a wider tip and make sure its clean otherwise it will leave dirt in the plastic.
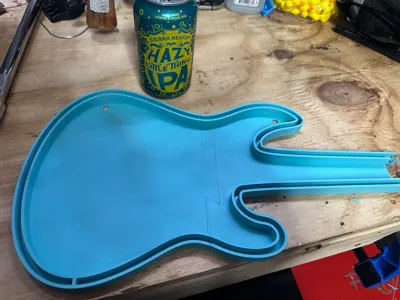
- Cut the plug end off of LED strip and push remainder of cord through hole in back as seen below

- Wire directly into dimmer switch or plug. (I highly recommend using solder) be sure to cover each wire with electrical tape or heat shrink.
- Sit back and enjoy your awesome neon guitar
- LED lights I use but any 5mm wide rope light will work. https://a.co/d/1iF47ig
- This power supply will work https://a.co/d/ipyuH4a
- I like to use these dimmers but not required https://a.co/d/21EmuOf
License
This user content is licensed under a Standard Digital File License.
You shall not share, sub-license, sell, rent, host, transfer, or distribute in any way the digital or 3D printed versions of this object, nor any other derivative work of this object in its digital or physical format (including - but not limited to - remixes of this object, and hosting on other digital platforms). The objects may not be used without permission in any way whatsoever in which you charge money, or collect fees.
Comment & Rating (1)