
Print Profile(1)

Description

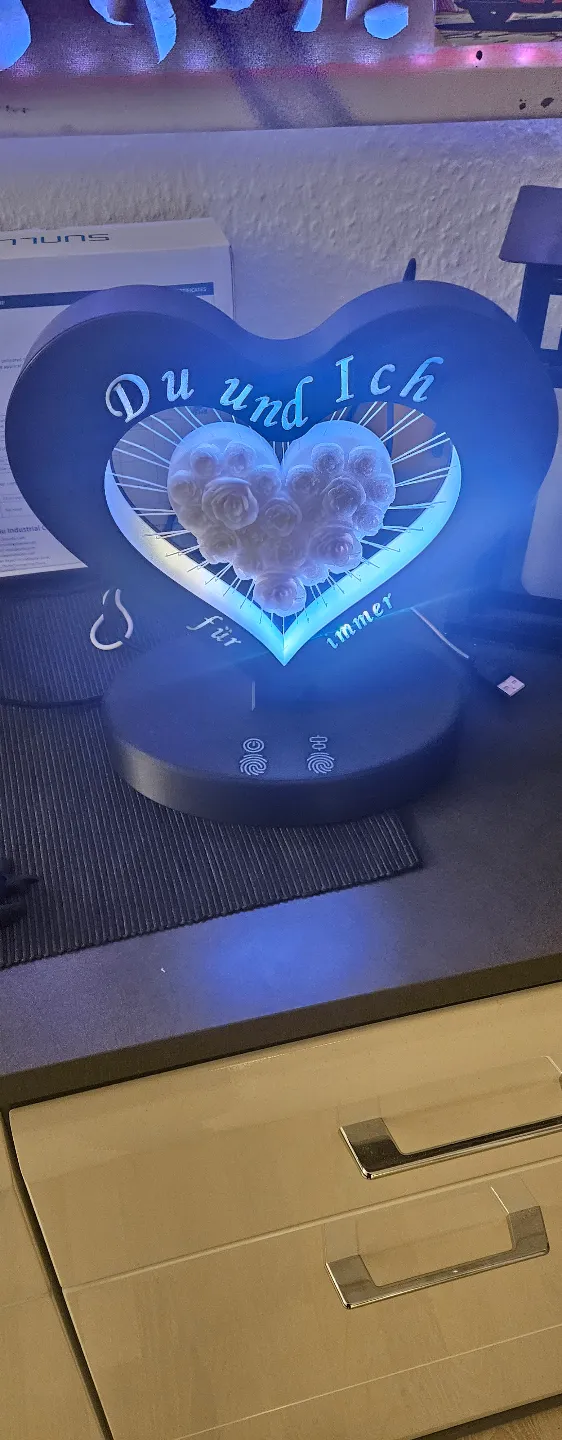

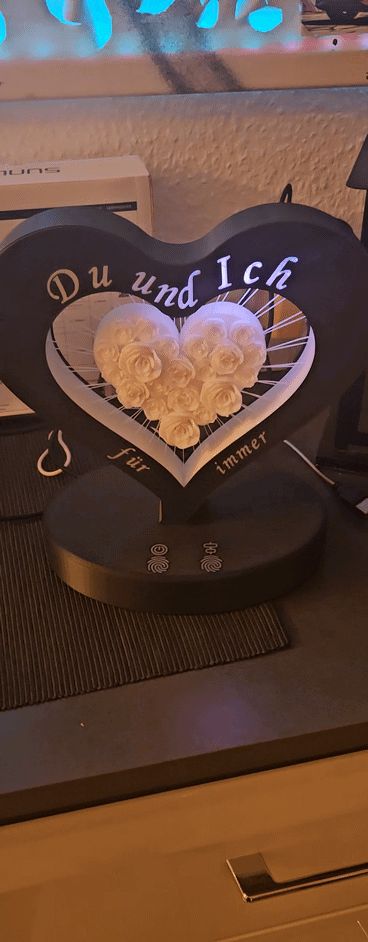
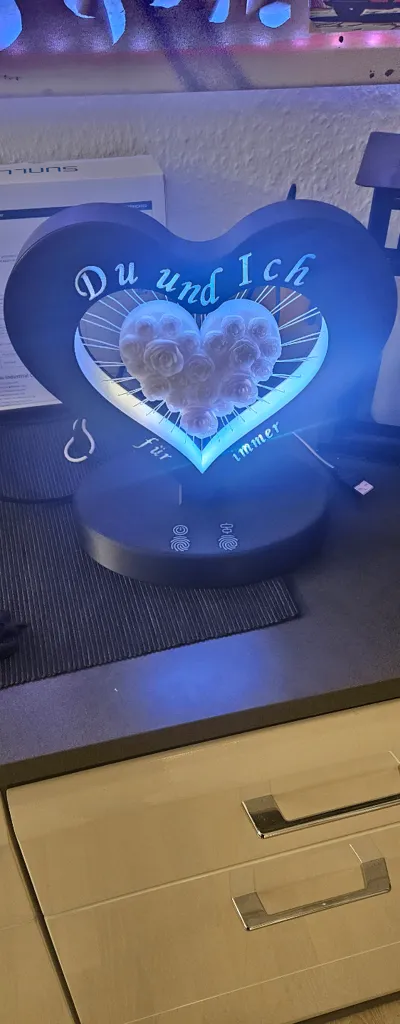
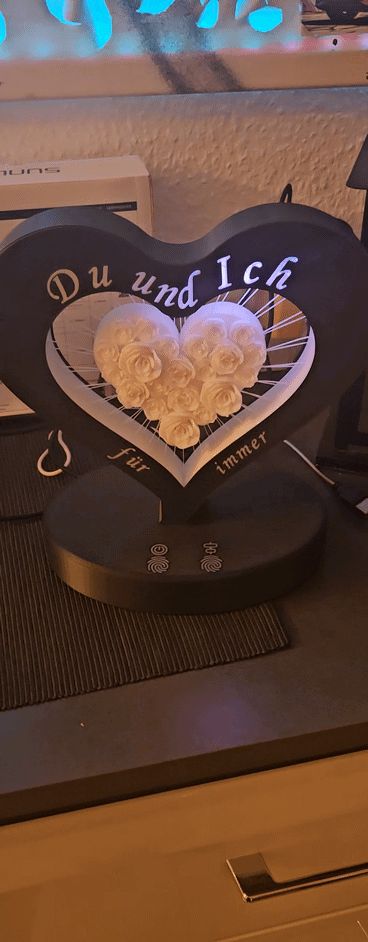
I crafted this rose-adorned heart lamp as a Valentine's Day gift for my girlfriend.
This iteration incorporates capacitive touch buttons, enabling lamp control without a smartphone or Alexa.
All plates are included in a single, clearly labeled .3mf file.
A version without the inscription is also provided.
The heart file is quite large; your slicer may require several minutes for processing—approximately five minutes in my case. Please be patient.
Optimal results were achieved with a print layer height of 0.16 mm.
A list of required components (Amazon DE) is available at the end of this description.
To construct this model, ensure you have all parts on hand.
Some soldering is also necessary. Enlist assistance from acquaintances if needed.
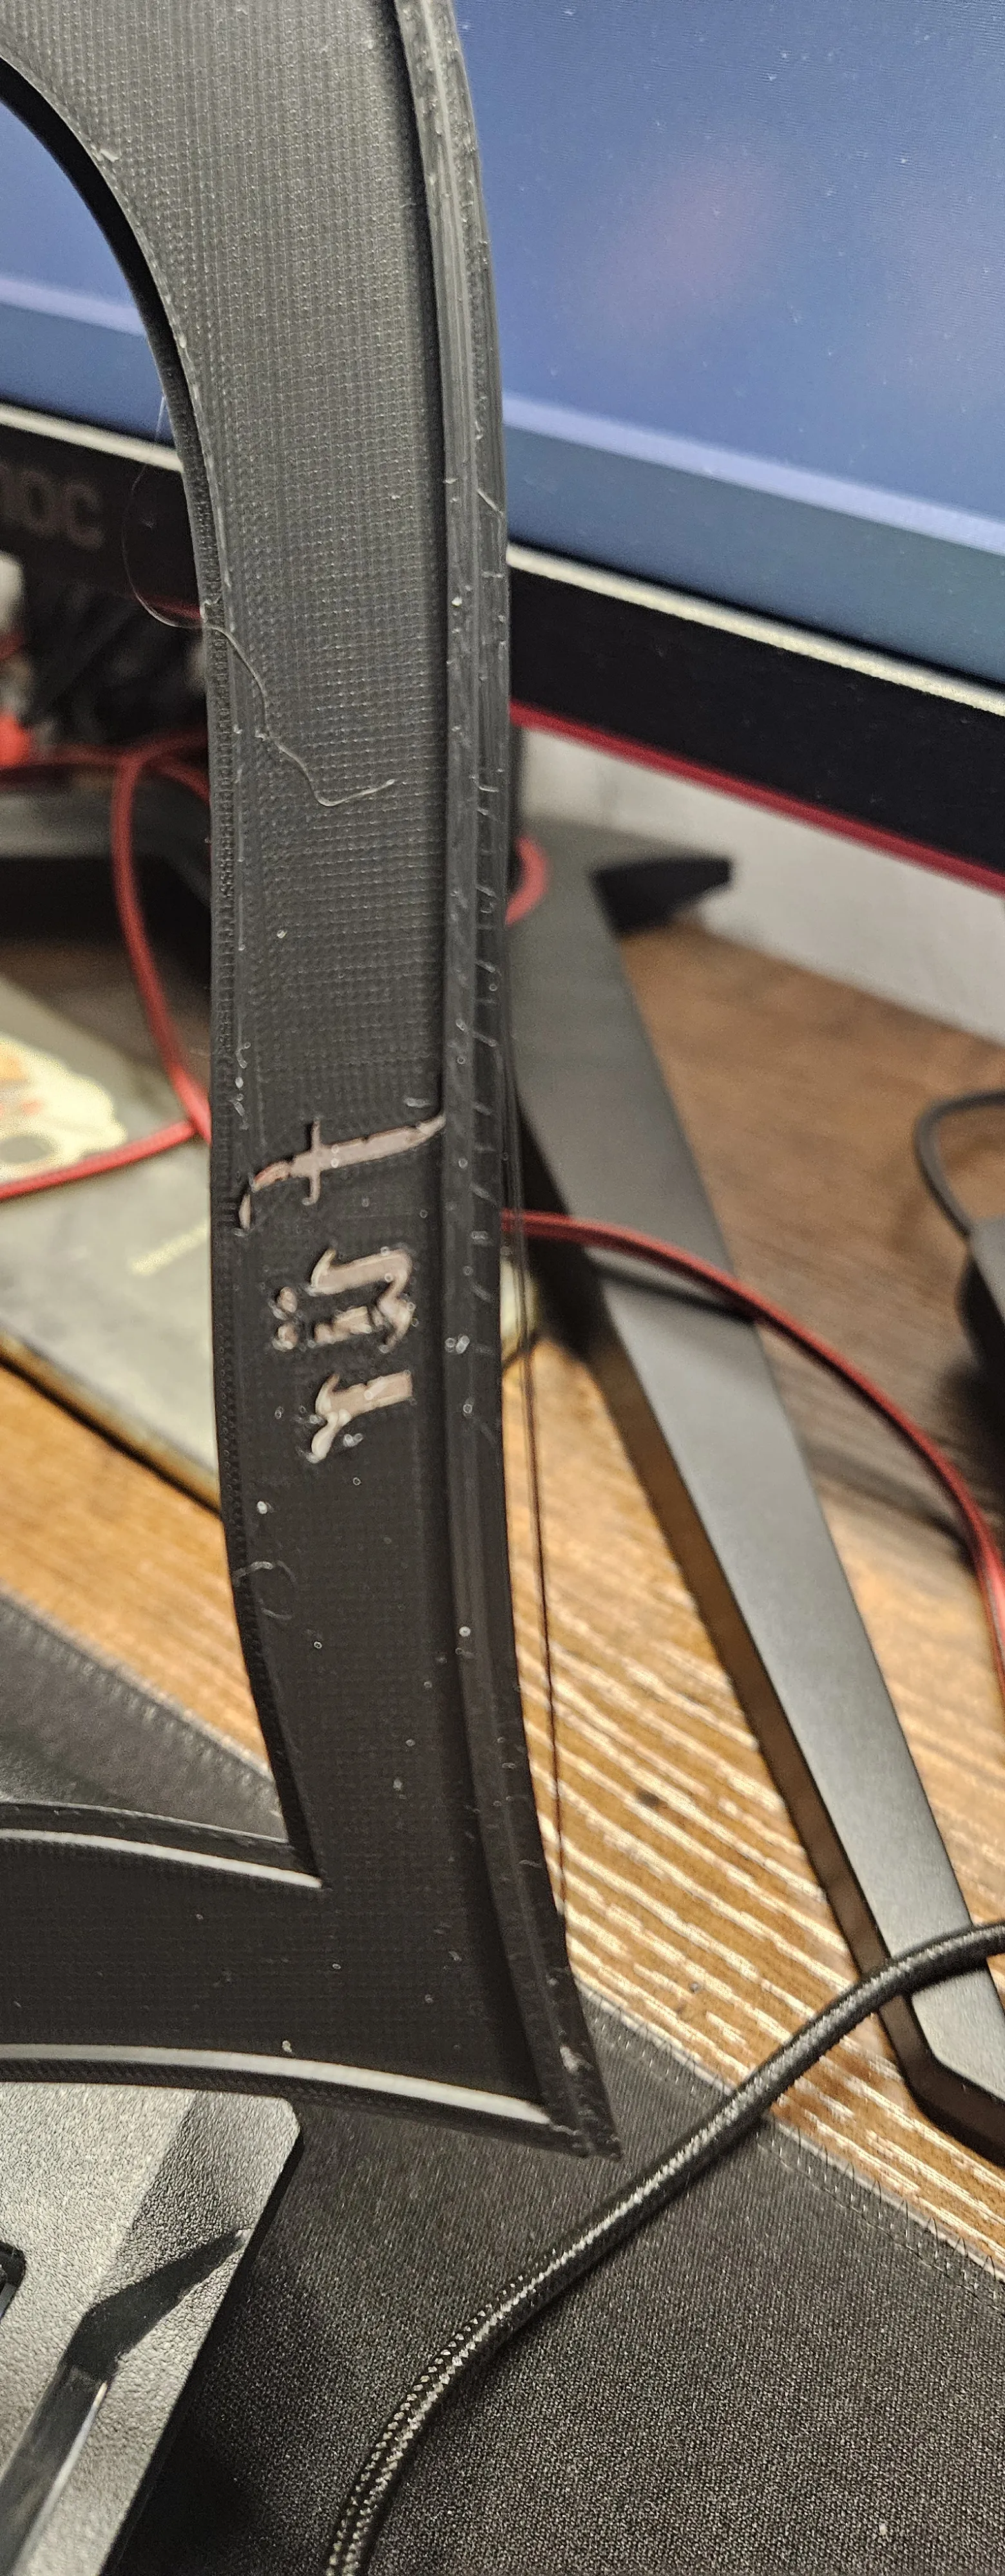
This model prints almost entirely without supports. Minor stringing may occur; simply remove these stray filaments.
This approach is simpler than painstakingly removing support material afterward.
Briefly applying a lighter flame will easily eliminate fine filaments.
This does not compromise durability or aesthetics.
No residual traces are externally visible.
Initial setup requires a computer or laptop with the Google Chrome browser.
First, print all necessary parts and assemble them according to the instructions.
Adhere the LED strip to the receptacle as illustrated:
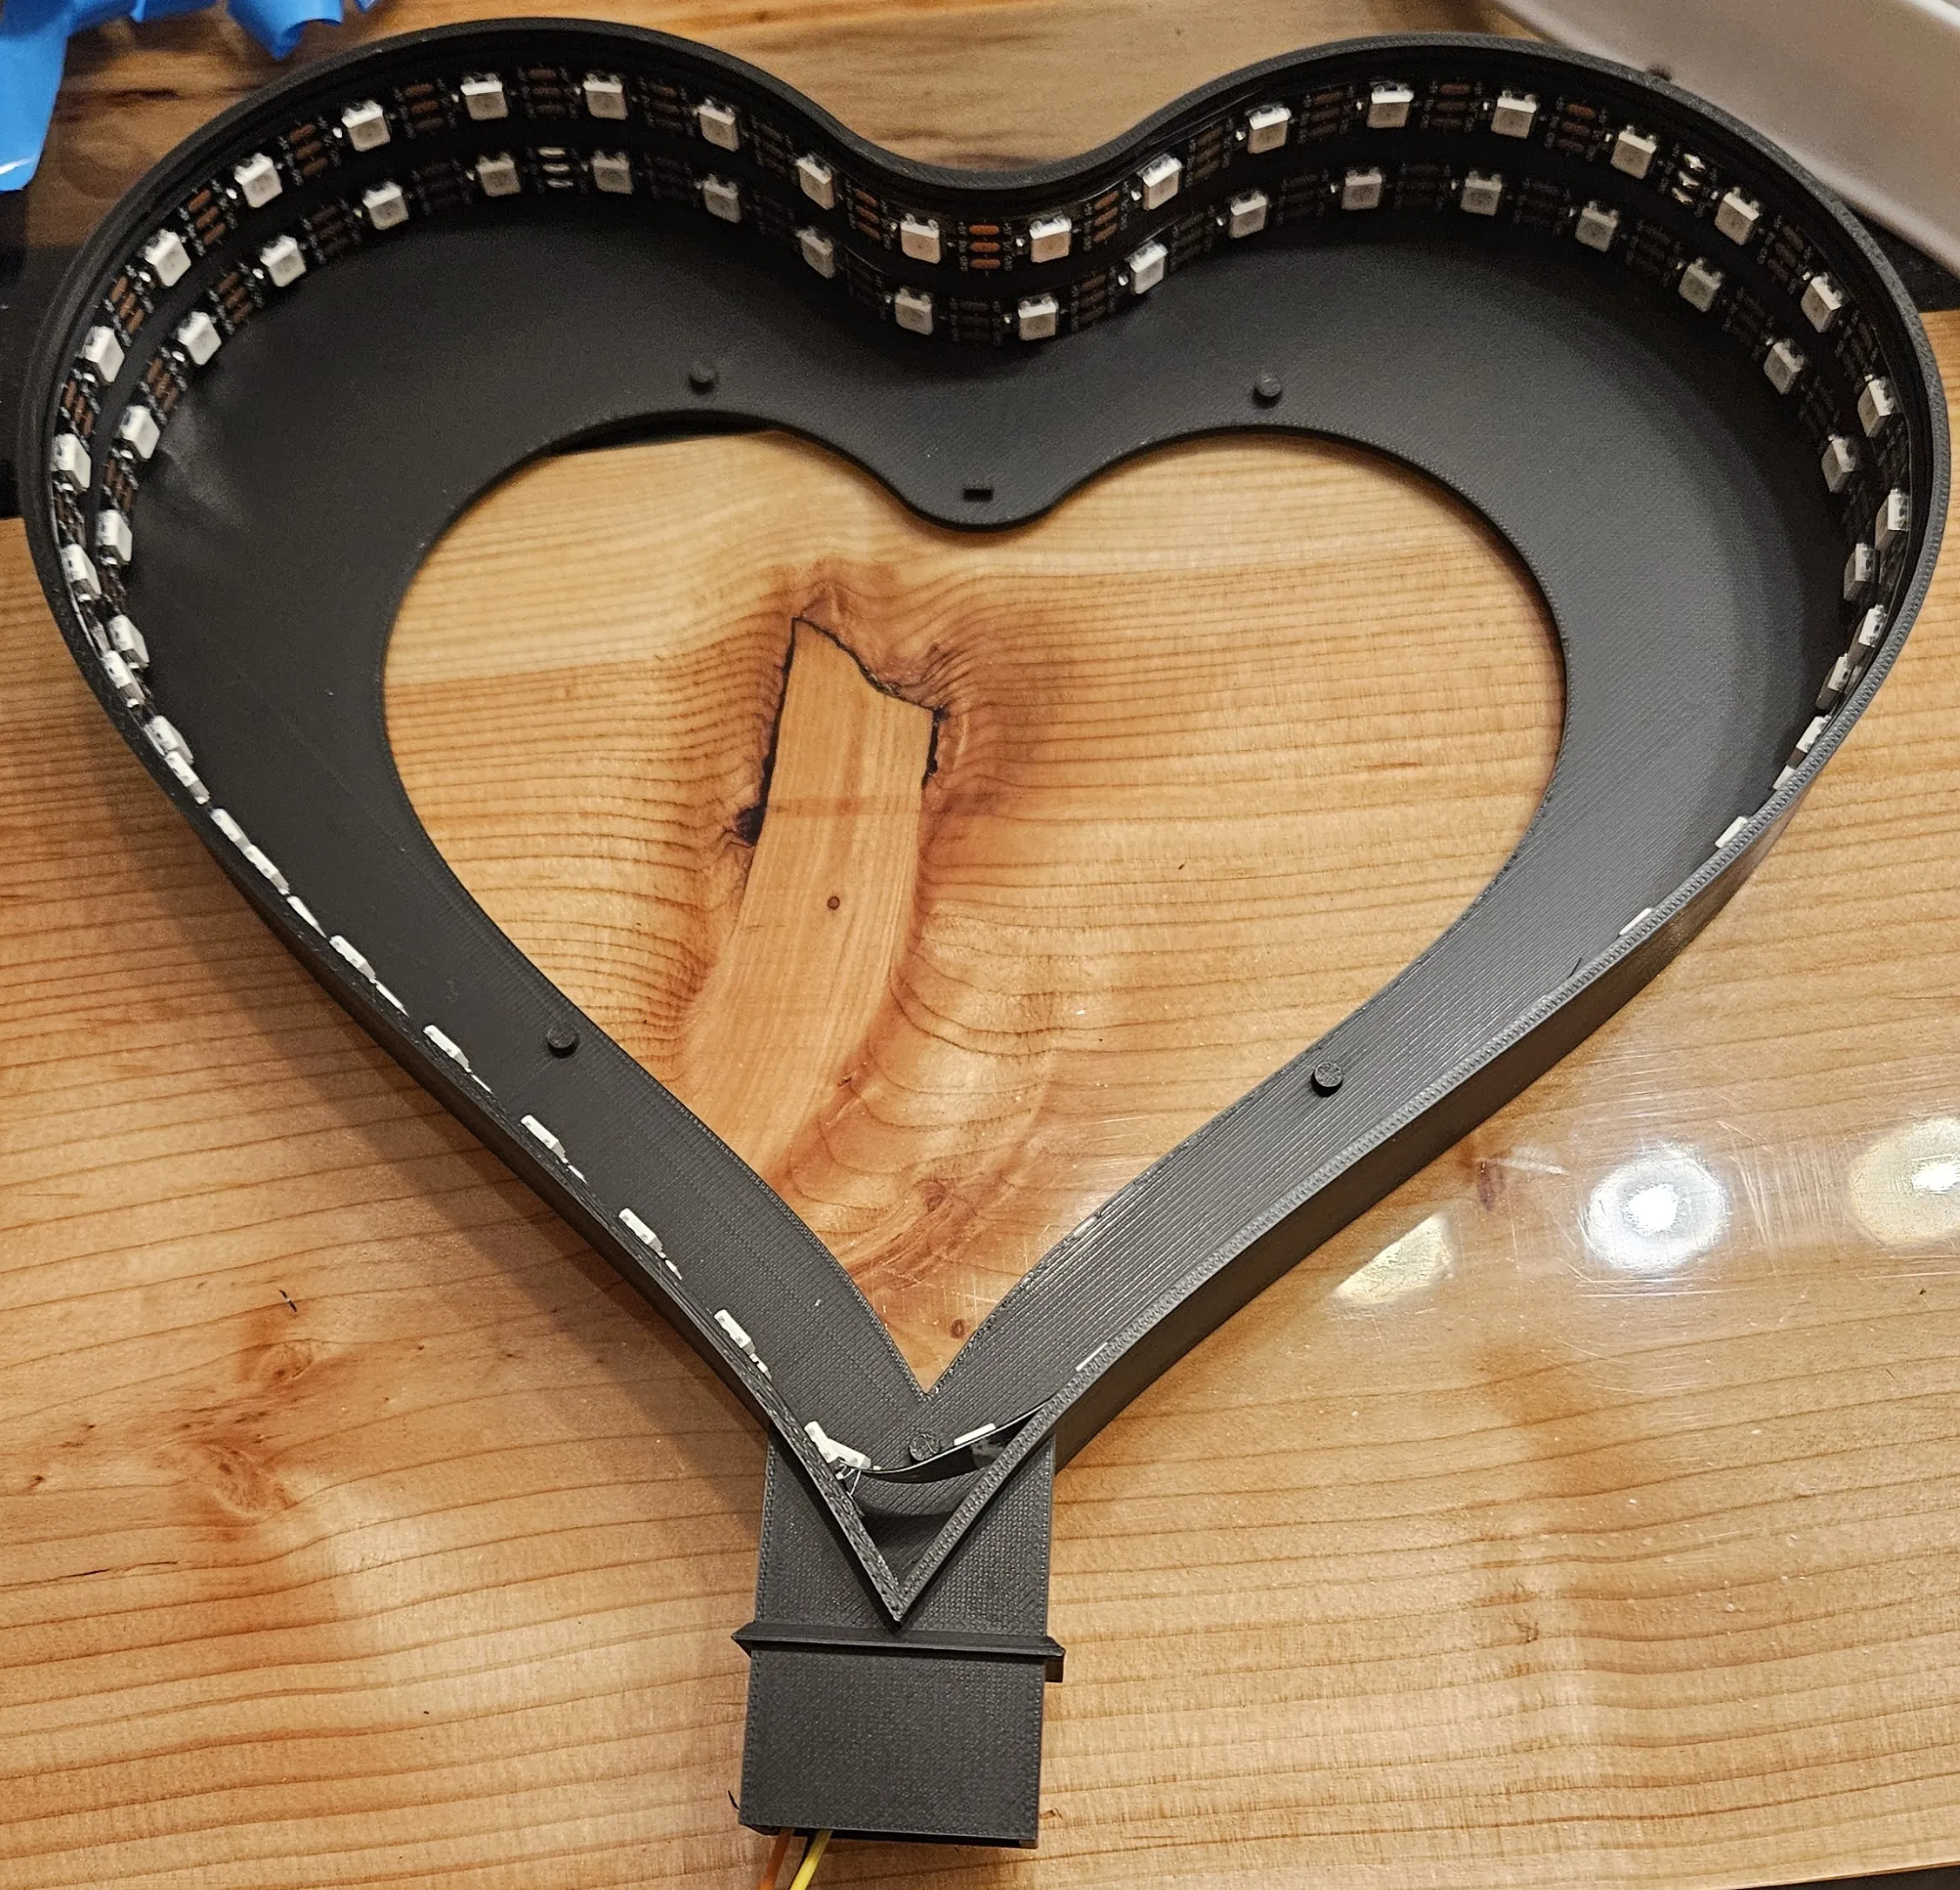
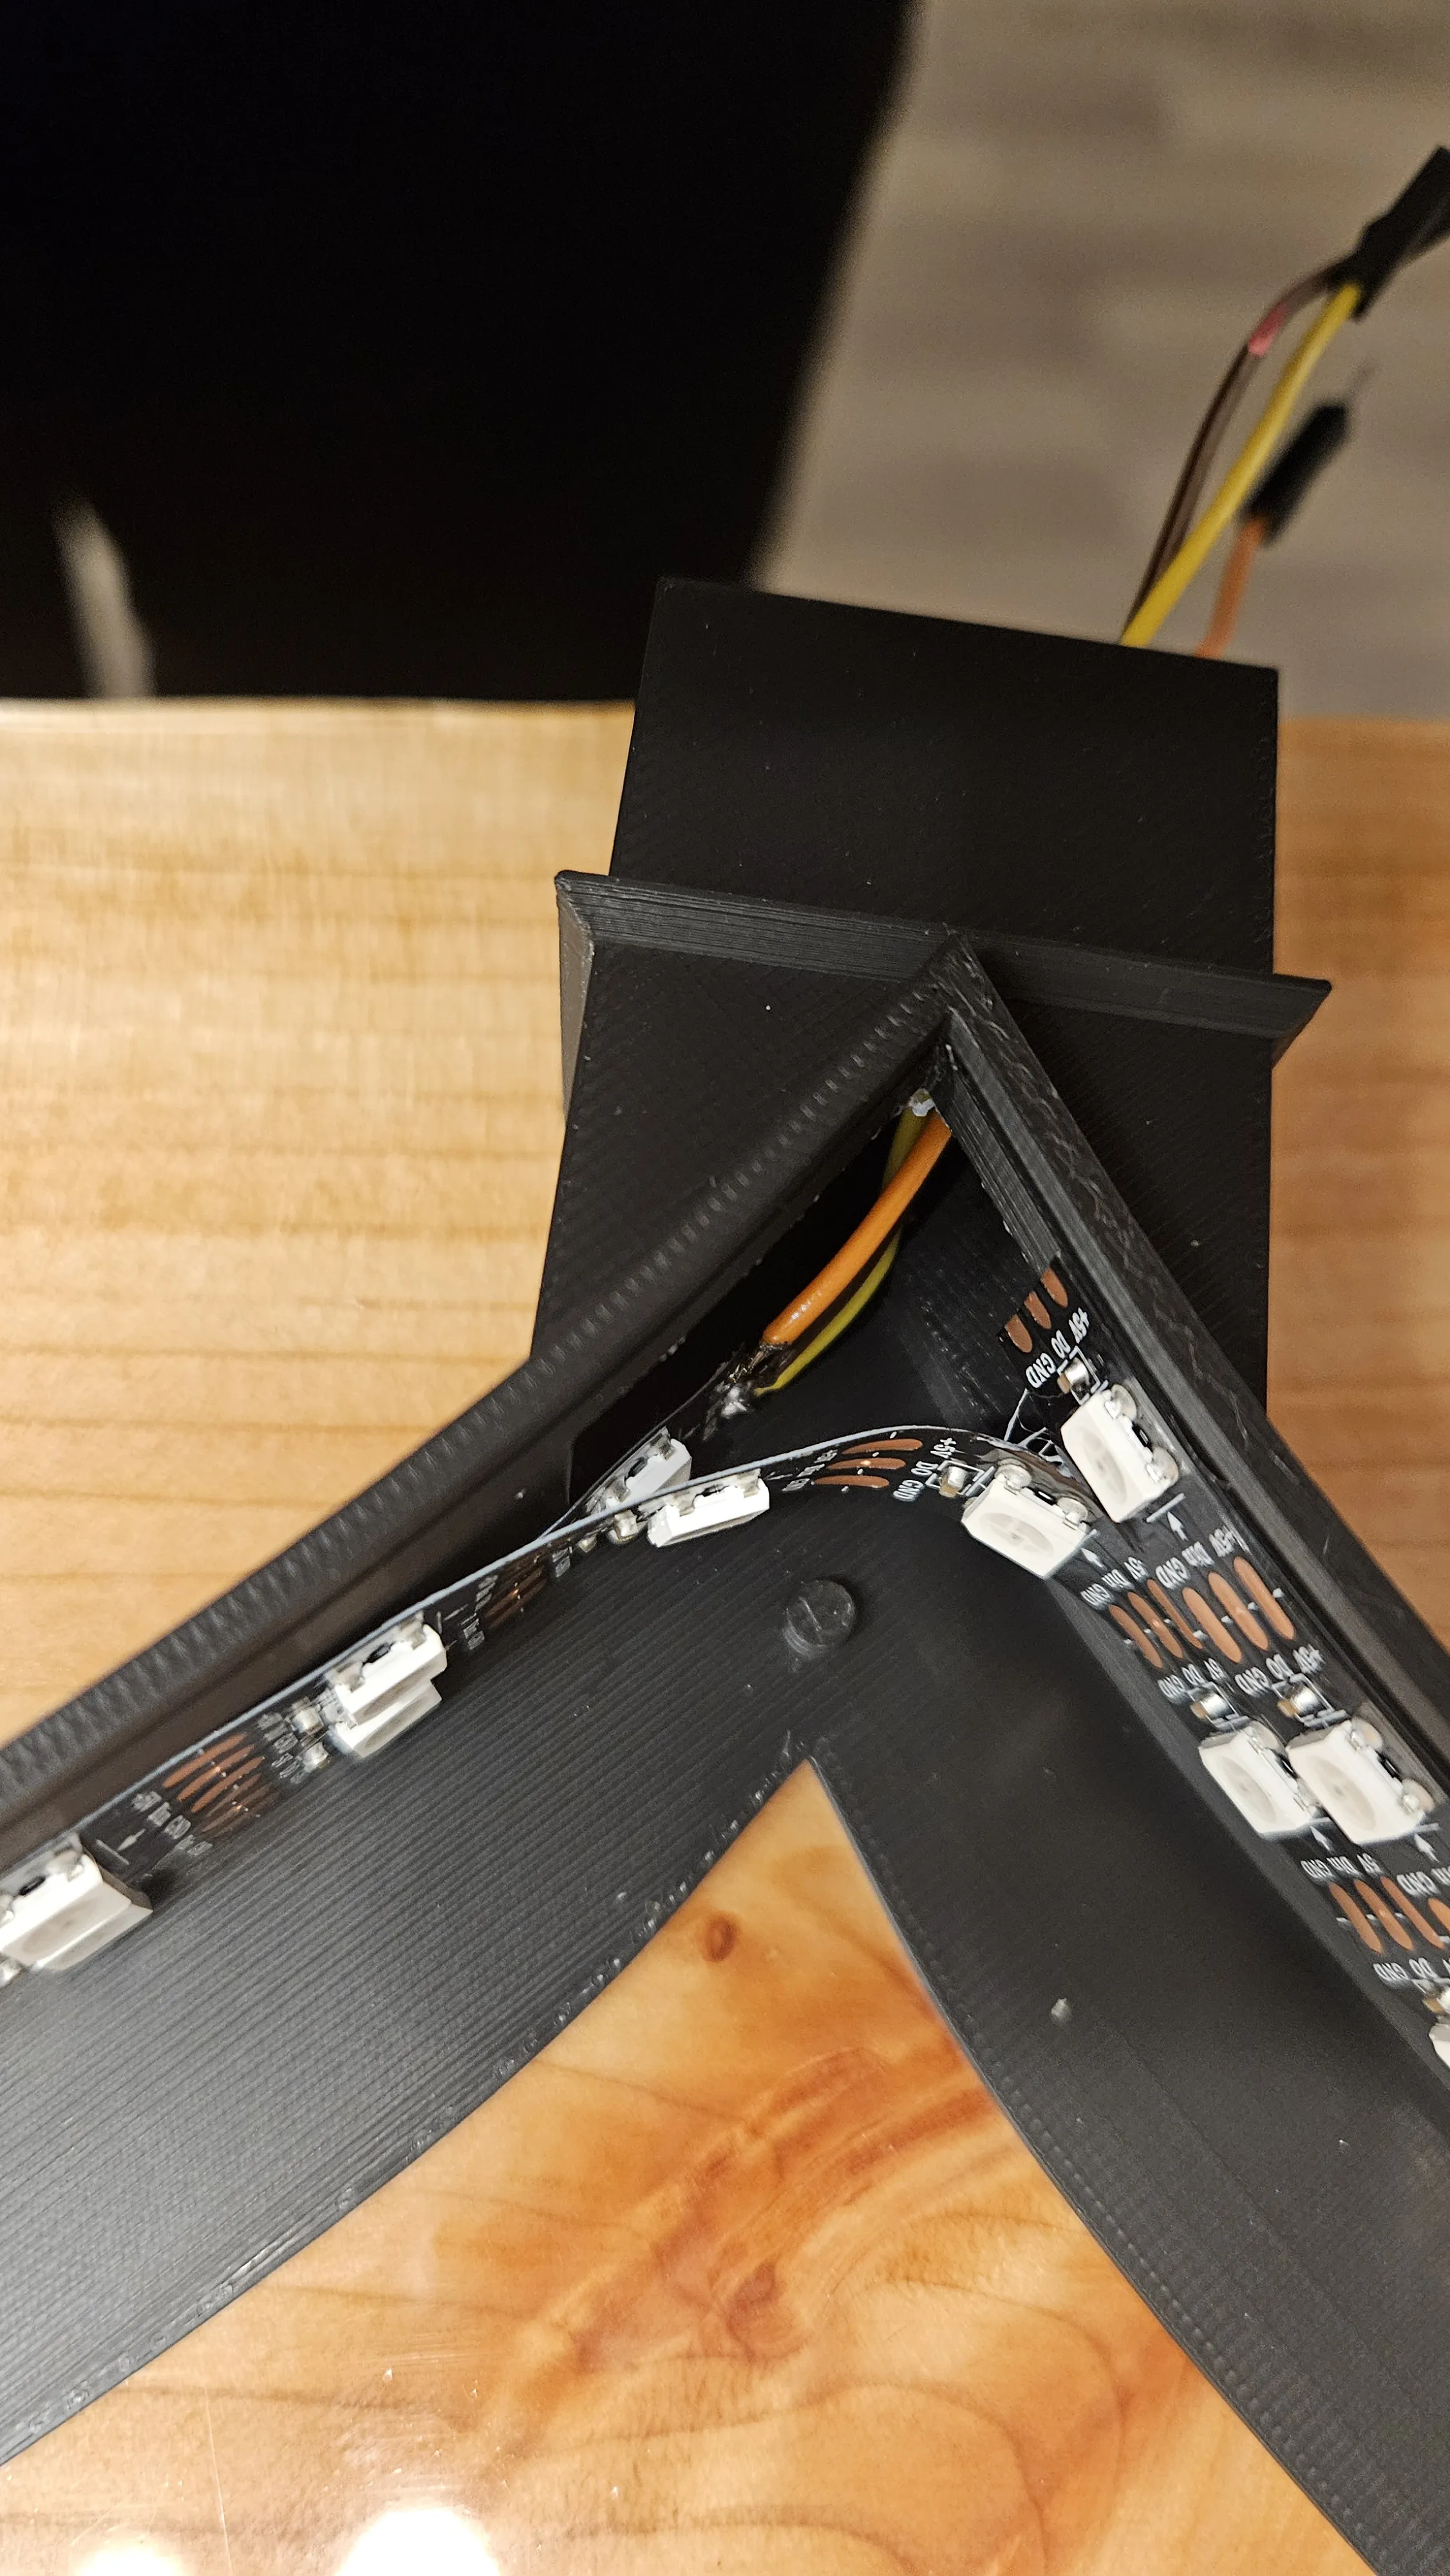
Accurately count and record the total number of LEDs. I have precisely 80. You will need this figure later.
Begin adhering at the opening, trimming the end accordingly.
Route the cables through the opening.
Securing the strip at the top with hot glue is beneficial but not mandatory.
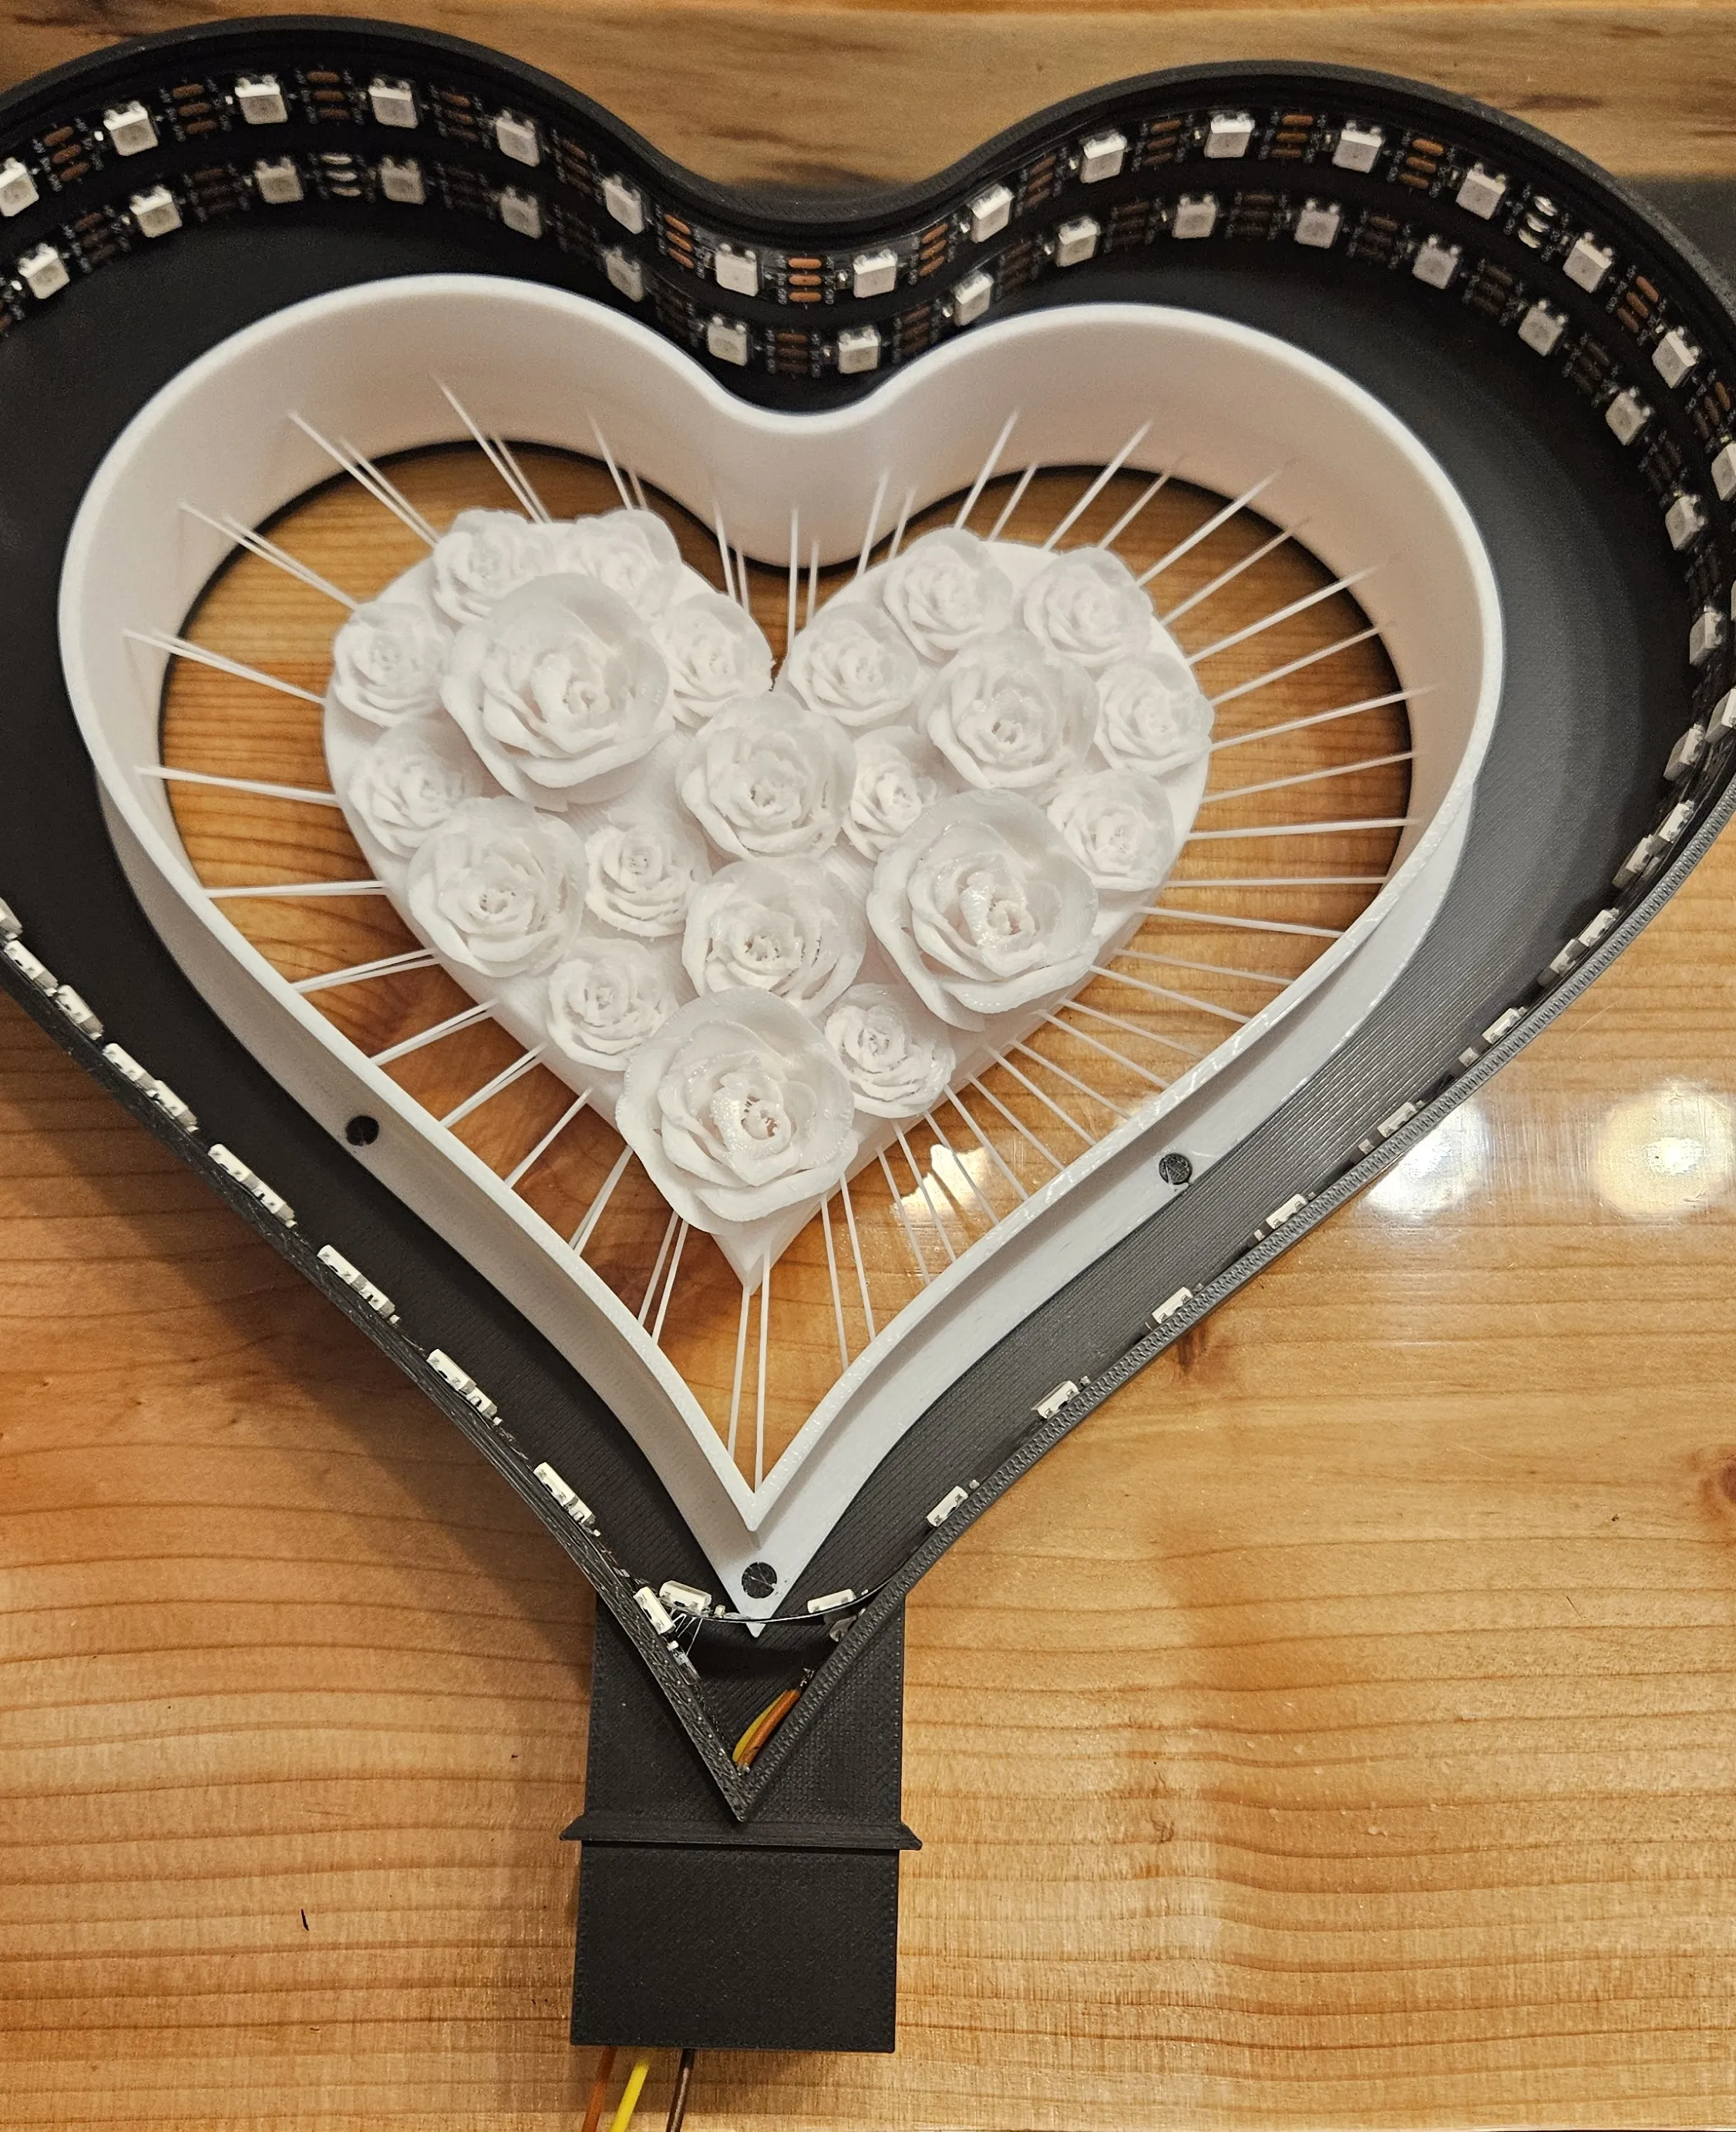
Now insert the heart and attach the cover.
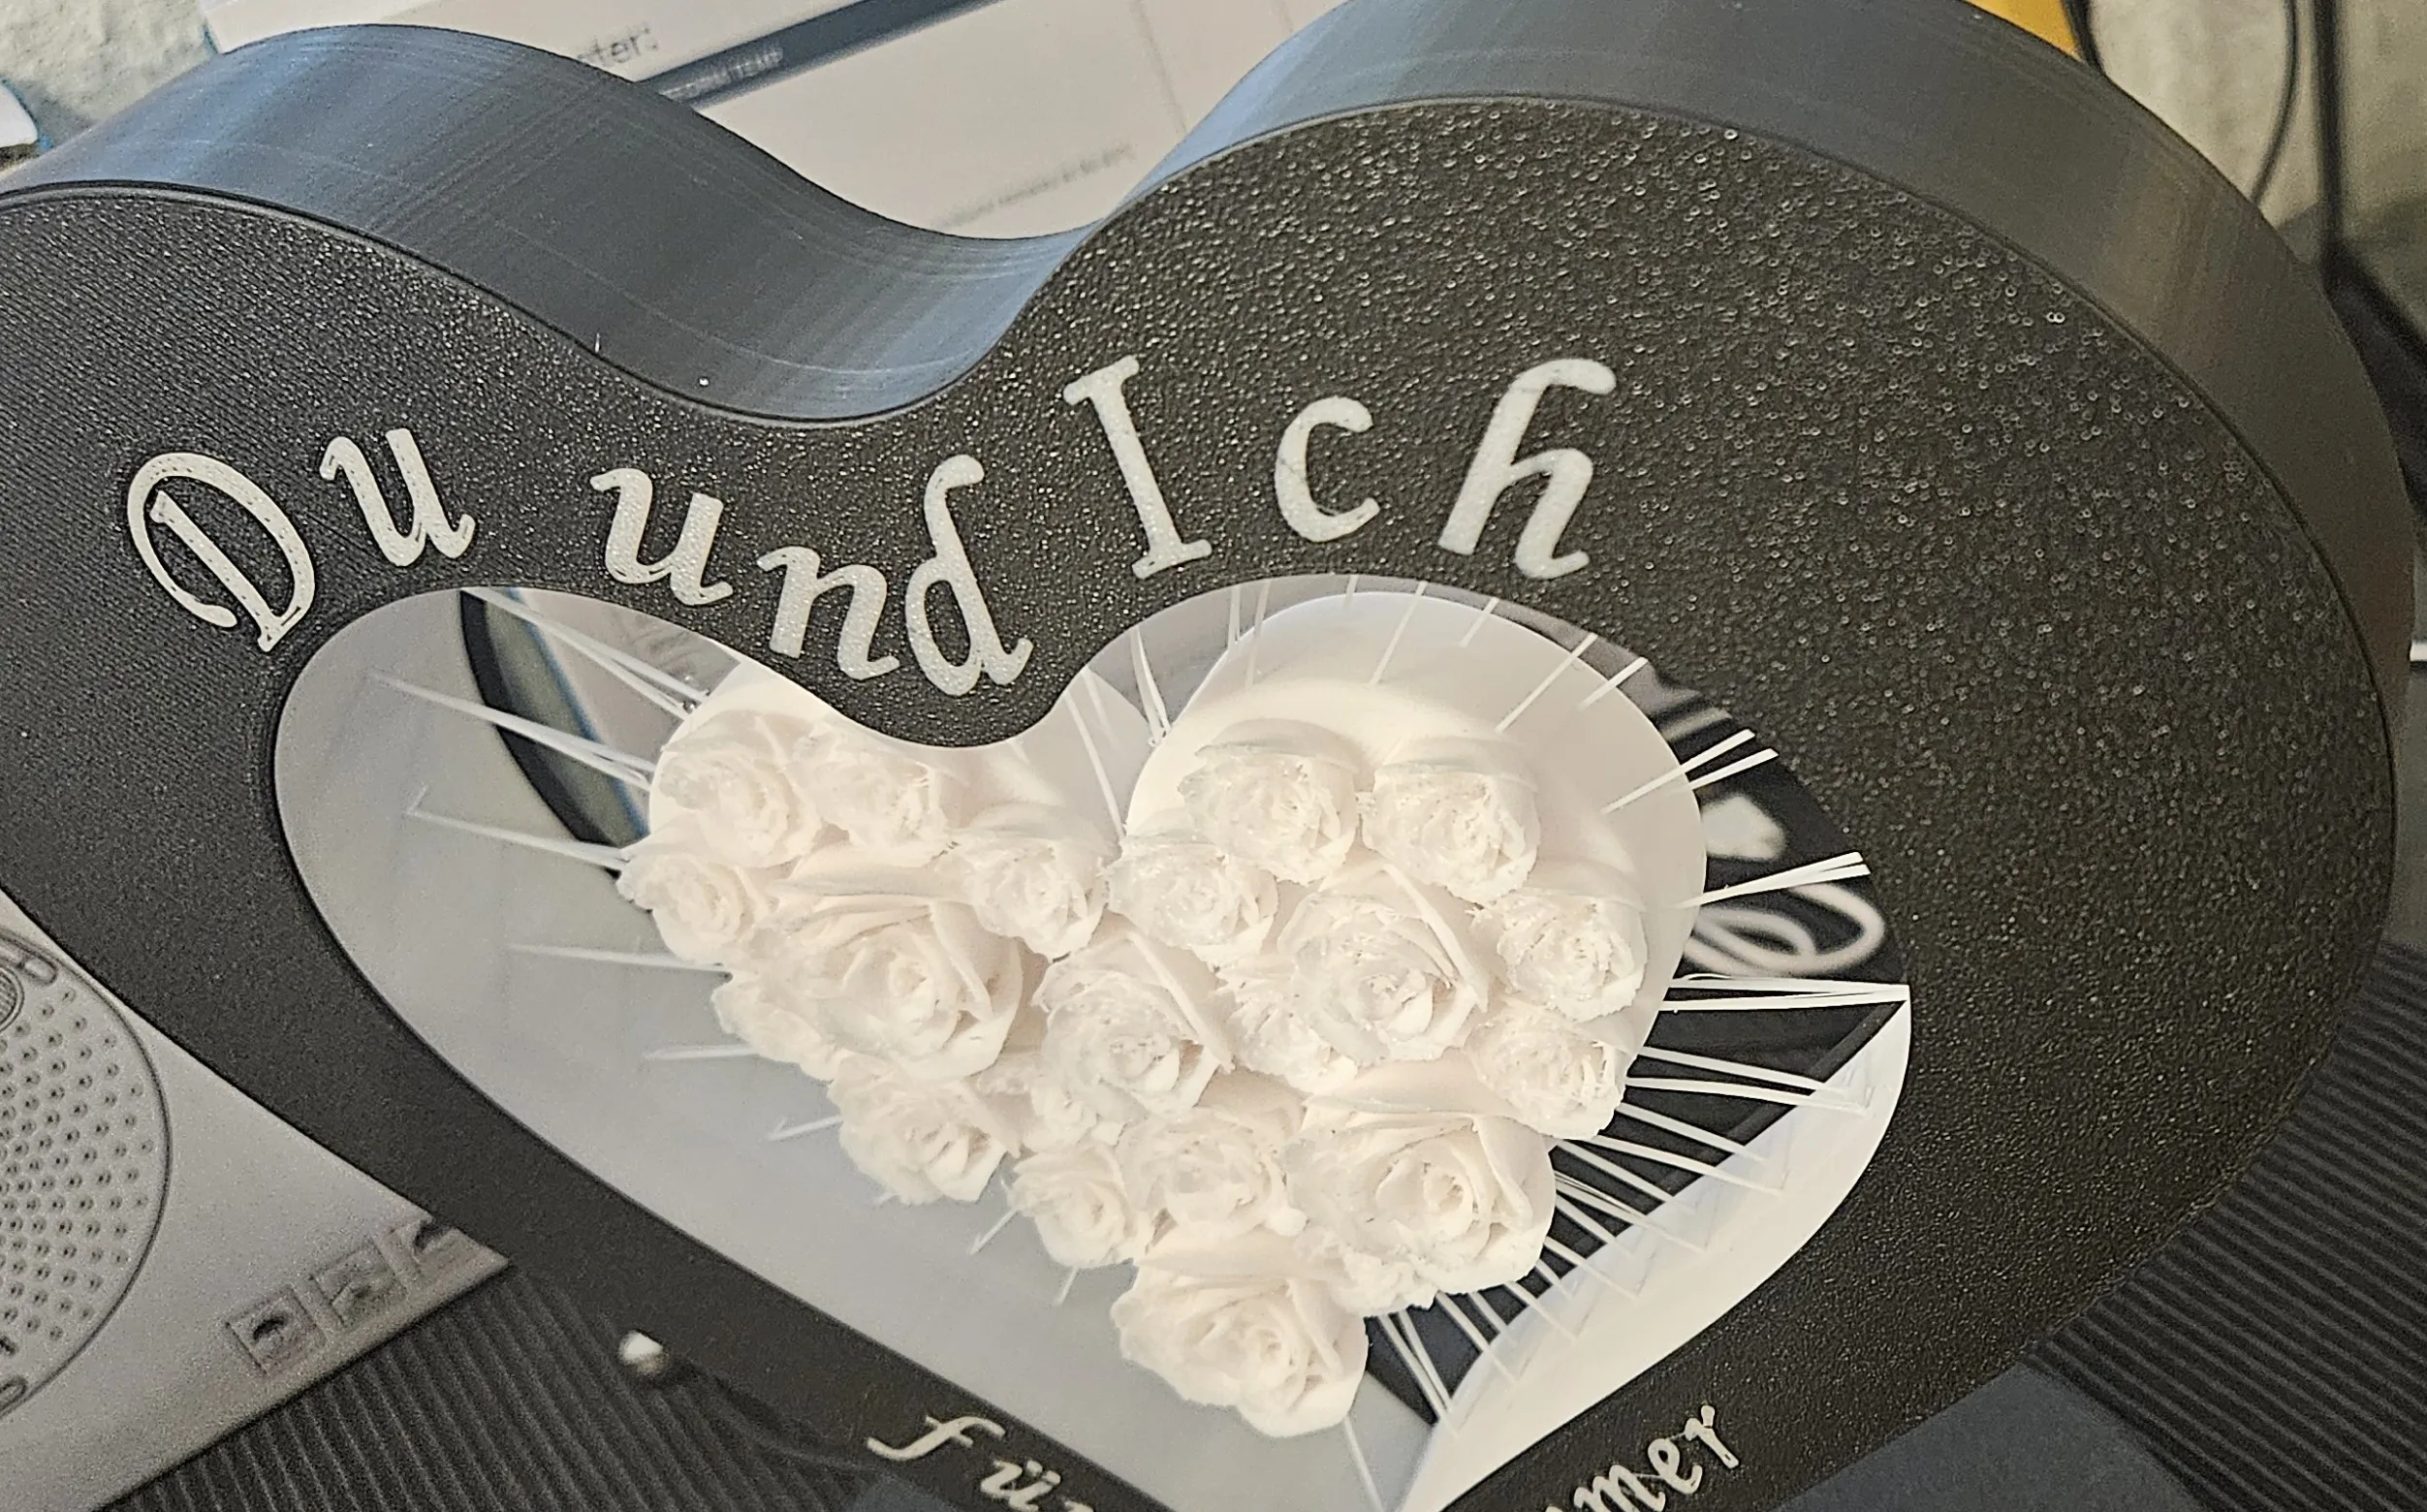
Attaching the cover may require some dexterity, but it is feasible and secure.
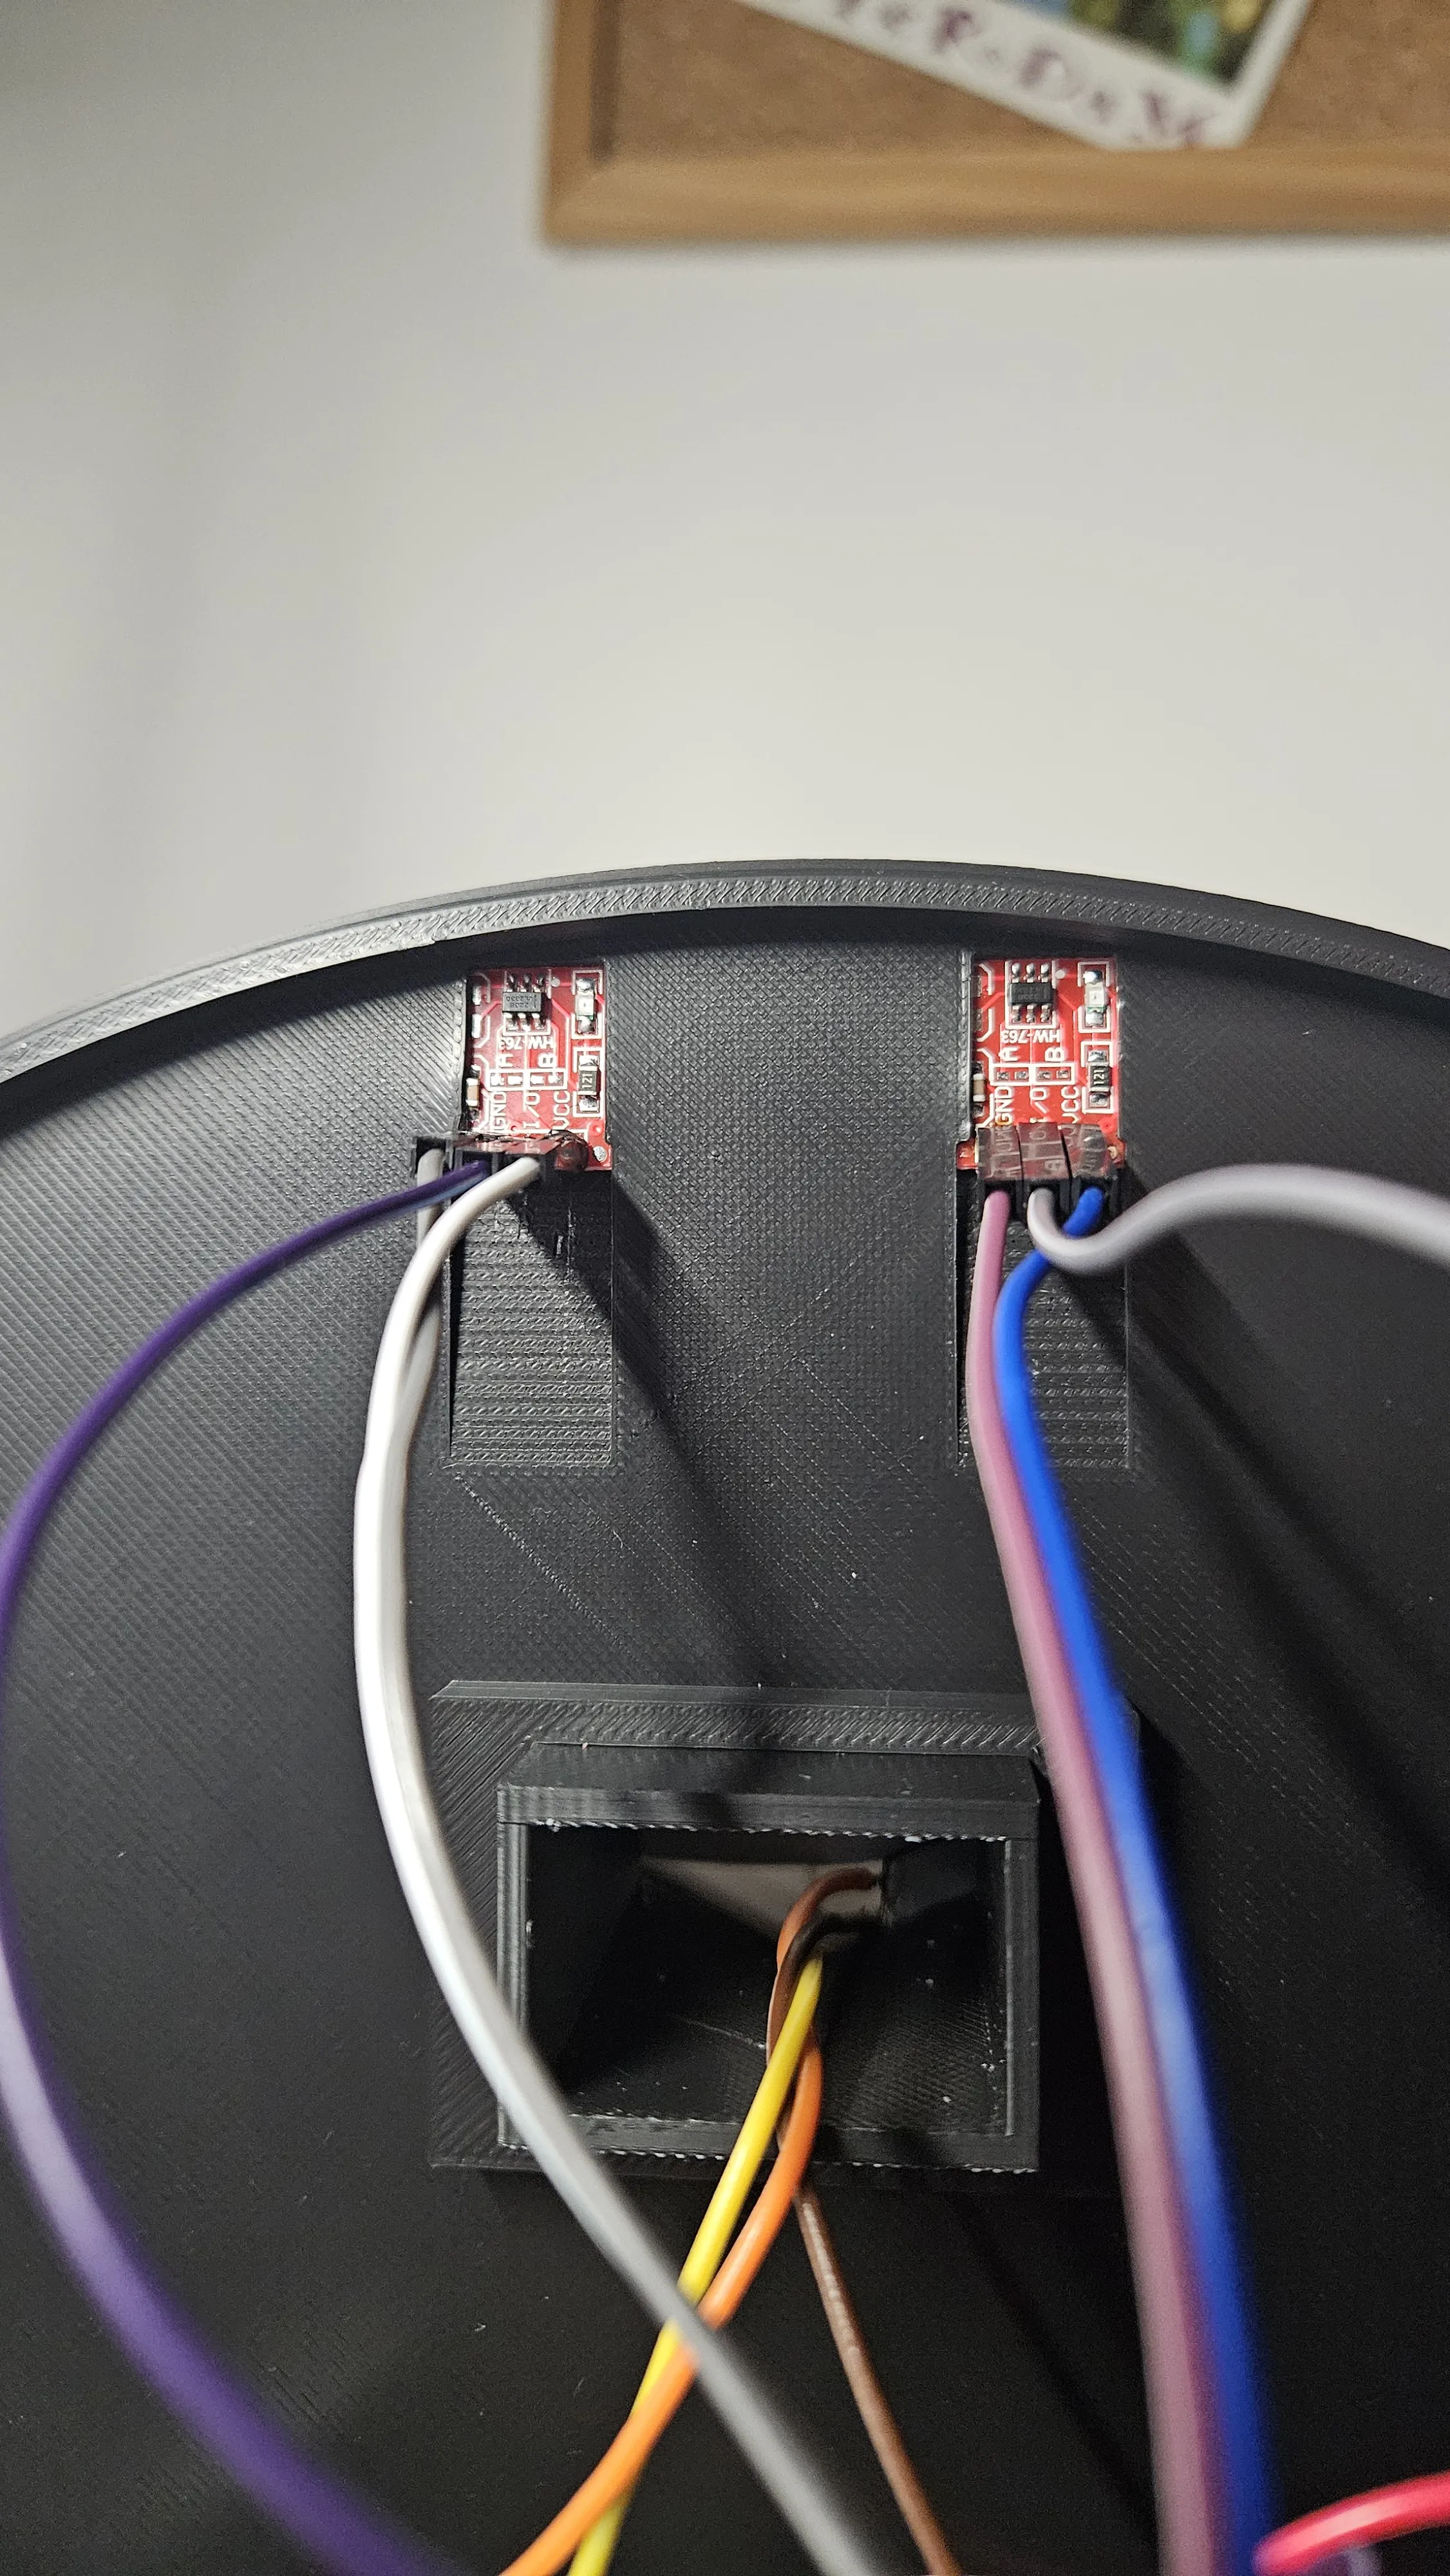
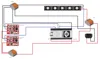
Now solder the cables (according to the wiring diagram below) to the capacitive touch buttons.
Insert these into their designated slots and attach the lid to the prepared heart structure.
Next, install and configure the ESP32 module. Consult the following tutorials and the accompanying PDF, "Einrichtung ESP32" (German):
German: https://www.youtube.com/watch?v=JOwmdzi7780&ab_channel=IWANNAKNOW
English: https://www.youtube.com/watch?v=TOEnFKLm9Sw&ab_channel=ChrisMaher
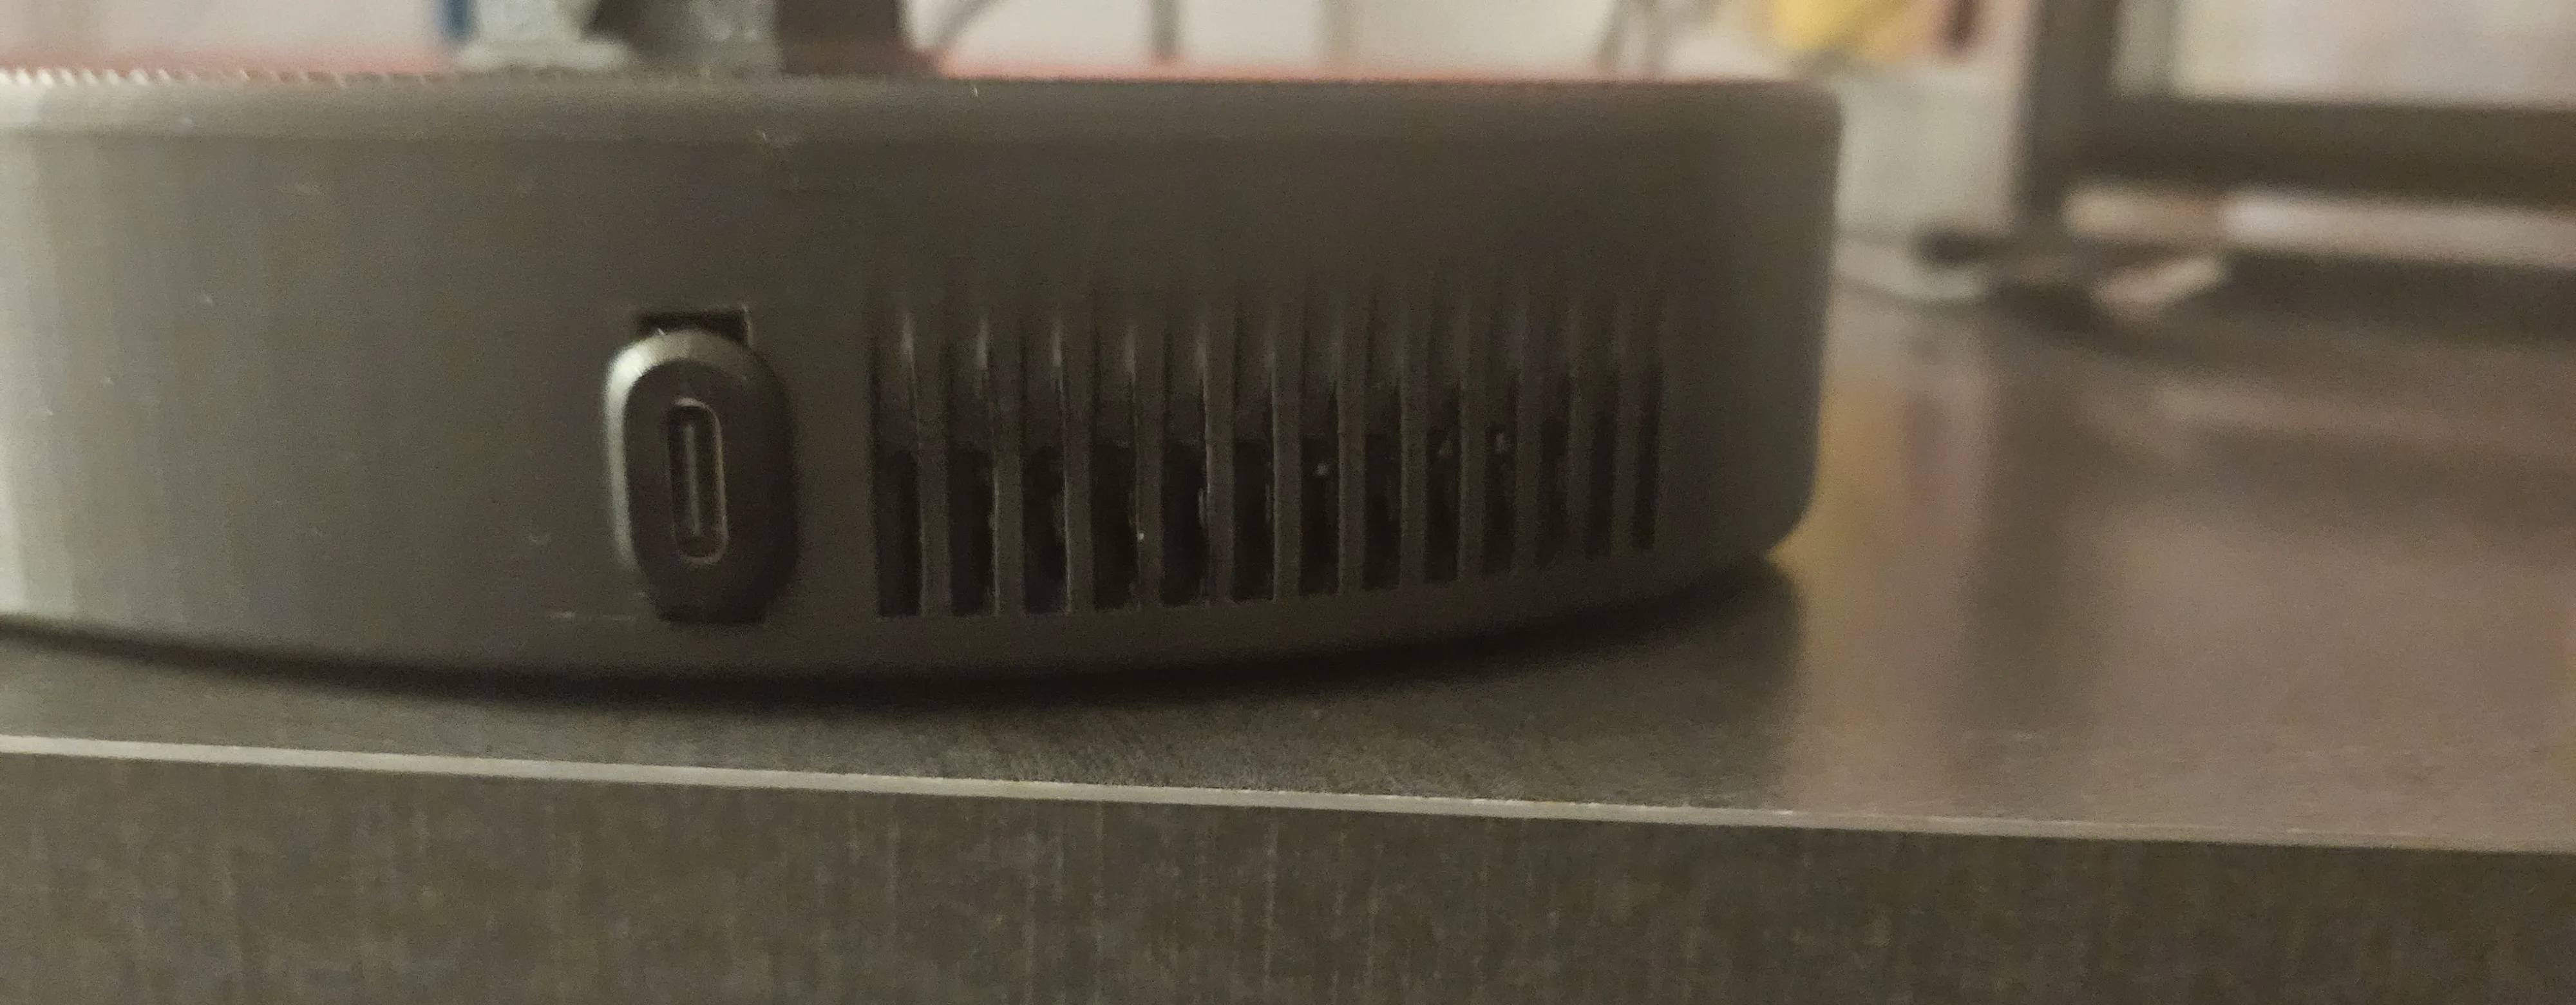
Insert the USB-C jack into the designated opening on the rear of the base.
Insertion may require some force, ensuring a firm, secure fit to prevent accidental dislodgement during cable disconnection.
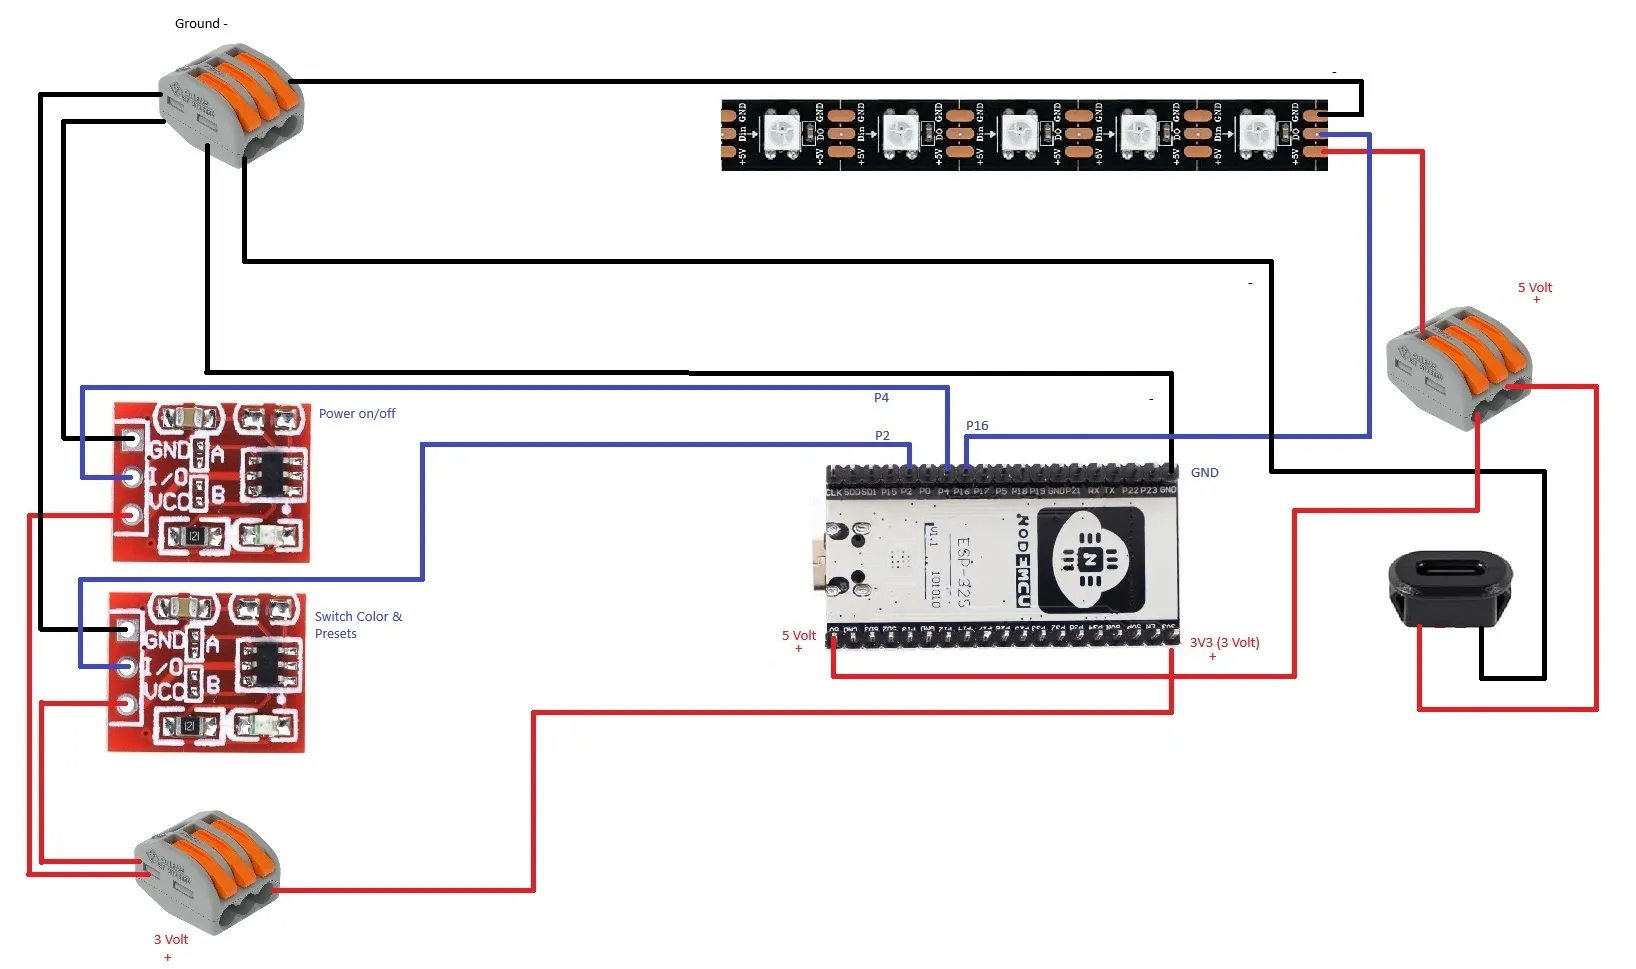
Once complete, wire and assemble everything according to the following wiring diagram.
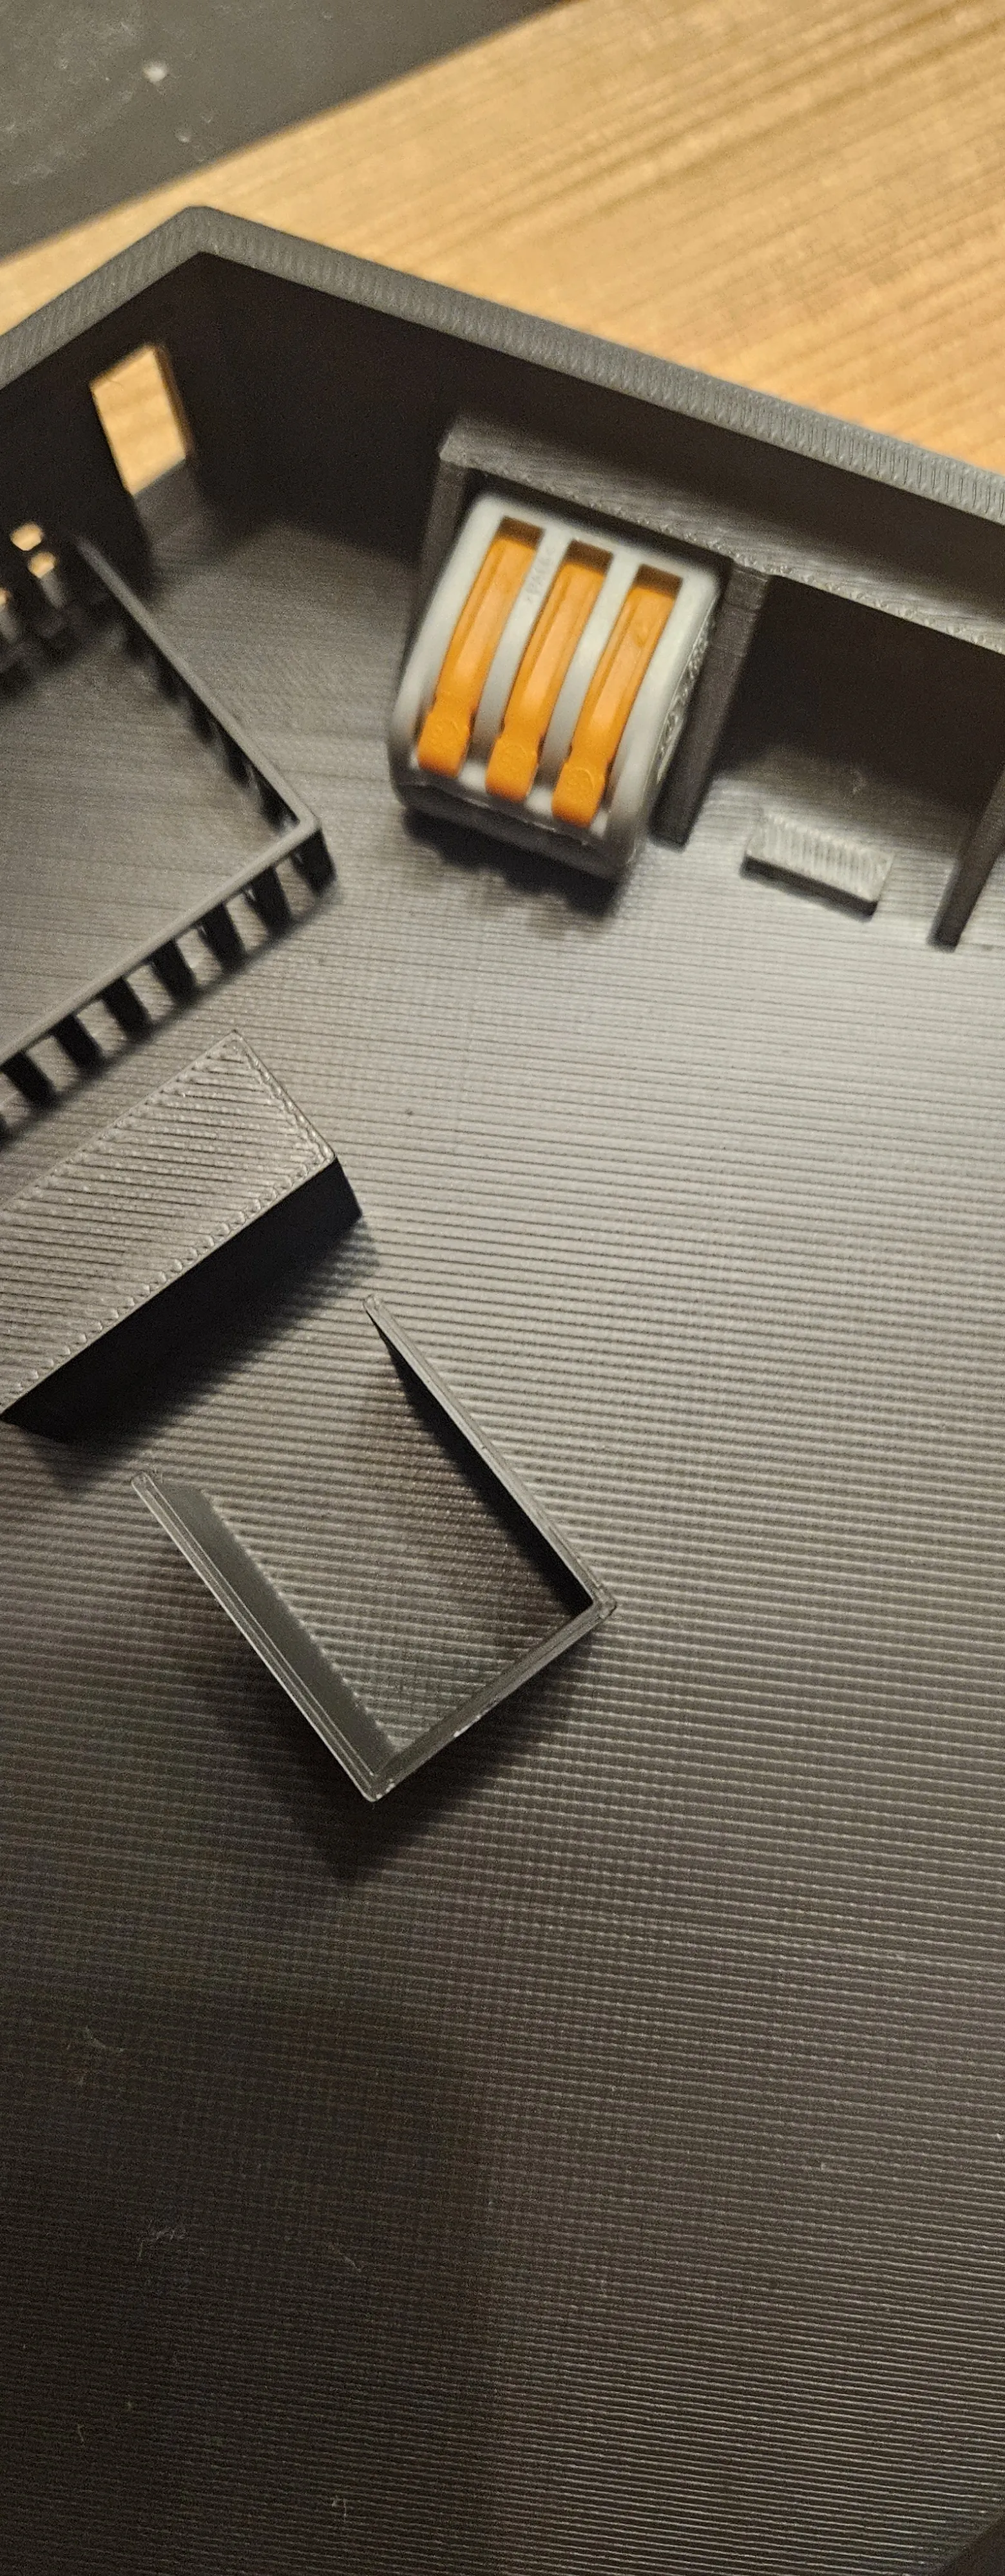
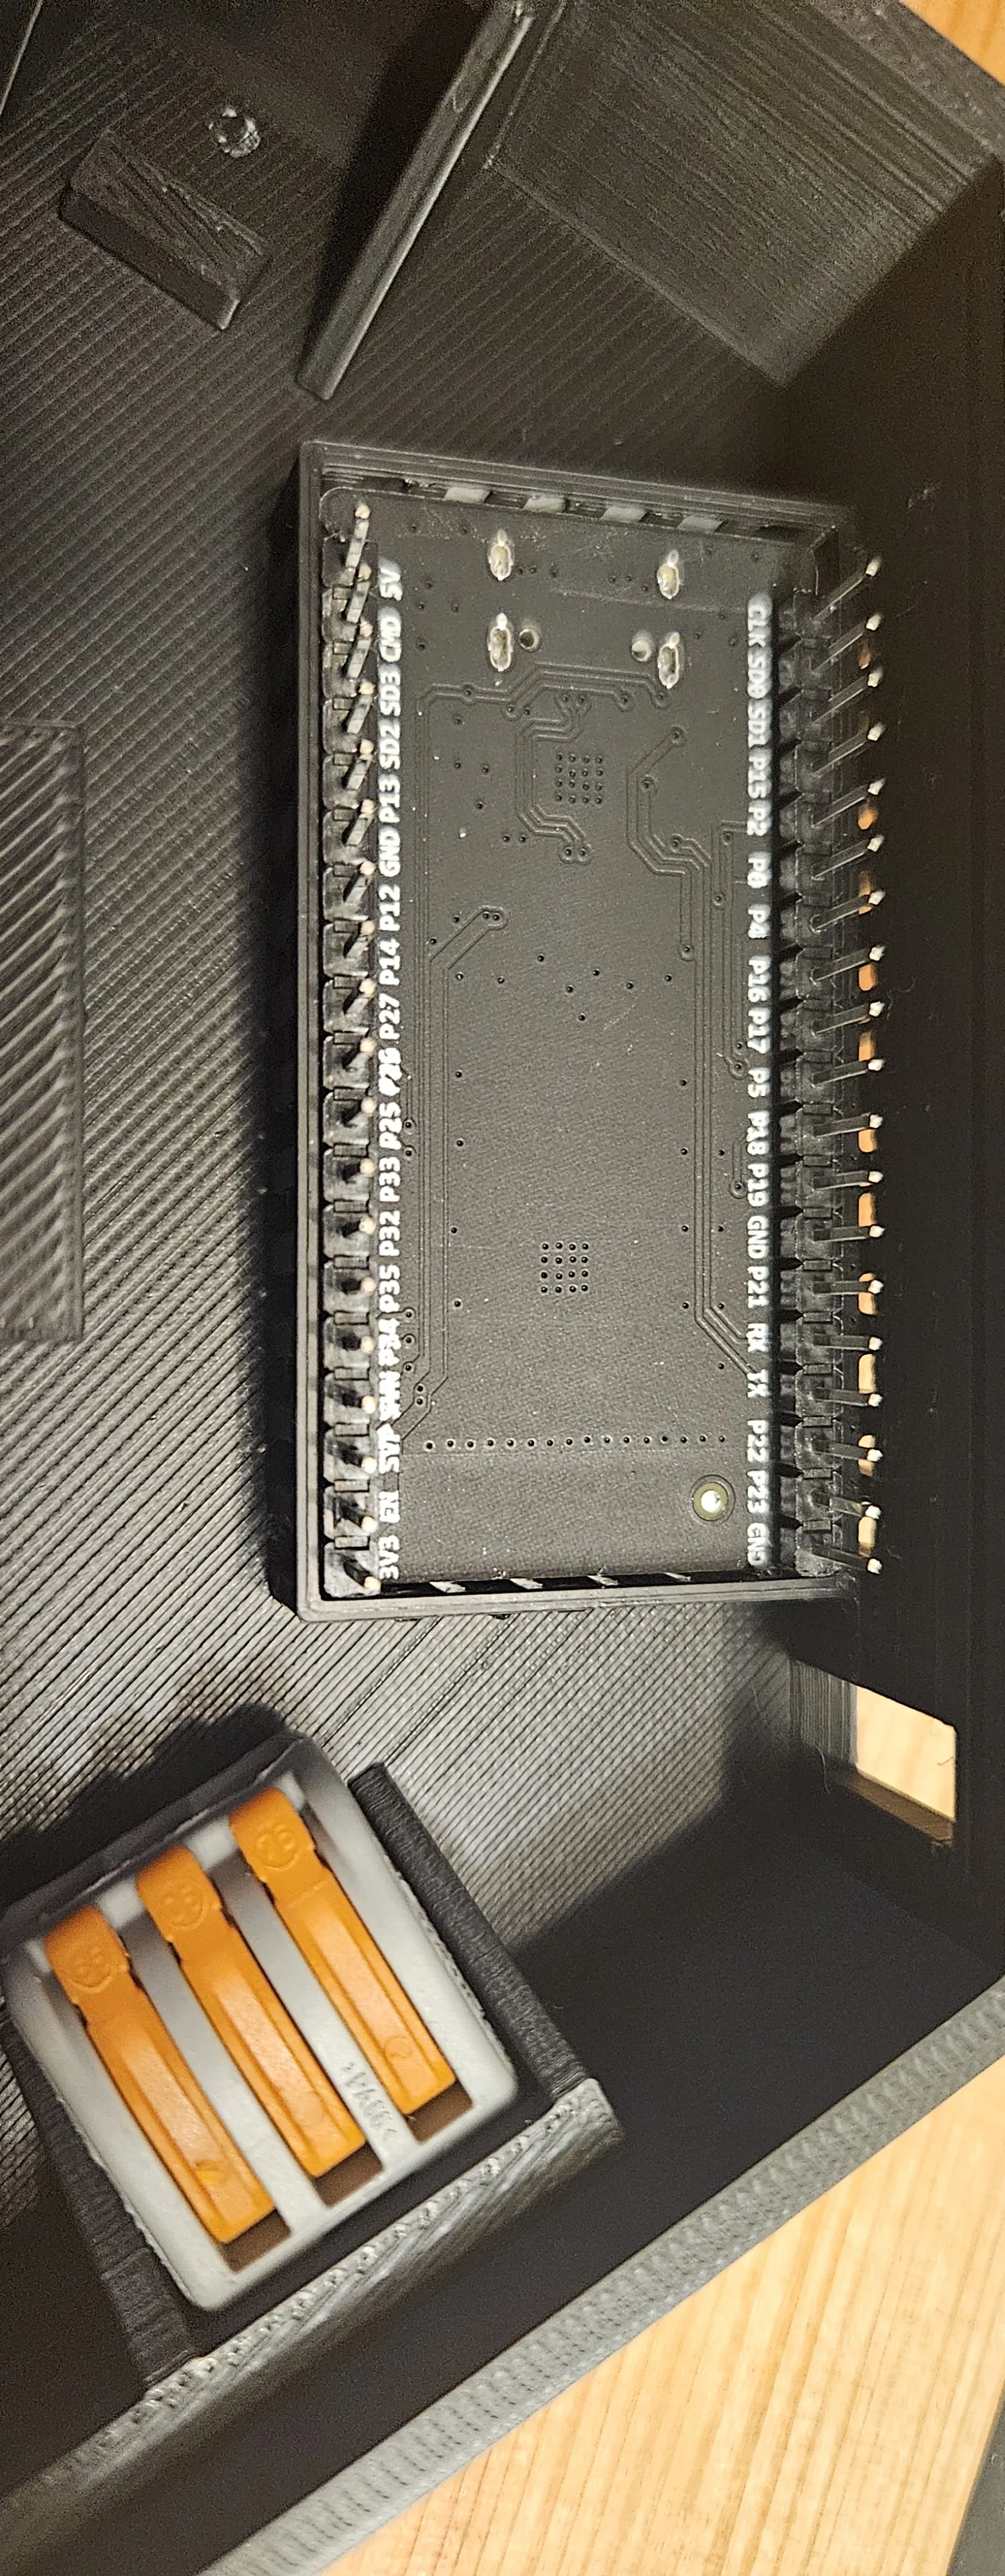
Insert the ESP32 and WAGO terminals (remove support beforehand) into their designated slots. The WAGO terminals require some pressure; a distinct click confirms correct placement.
Wire everything neatly, and mount your lamp onto the base.
Due to space constraints, slight bending of the pins may be necessary to ensure proper lid closure.
Upon successful completion, your lamp is ready for use.
I wish you much enjoyment assembling and using your finished lamp :)
Required Parts (Amazon DE)
Light Strip: SEZO WS2812B ECO 5M 300LEDs DC5V
ESP32 ESP-WROOM-32 Development Board
Jump Wires
USB-C Jack, 2-pin, 3A
Capacitive Touch Button Module
WAGO CLASSIC Connection Terminals
Documentation (3)
This remix is based on


License



Comment & Rating (7)