Spinning Windmill/ Pinwheel Toy- Fully 3d printed


Print Profile(2)


Description
Boost Me (for free)
If you're enjoying this model, don't forget to give it a rating, like or even boost! Check out my profile for more- I mostly make a mix of toddler toys, DND dice towers and mechanical fixings.
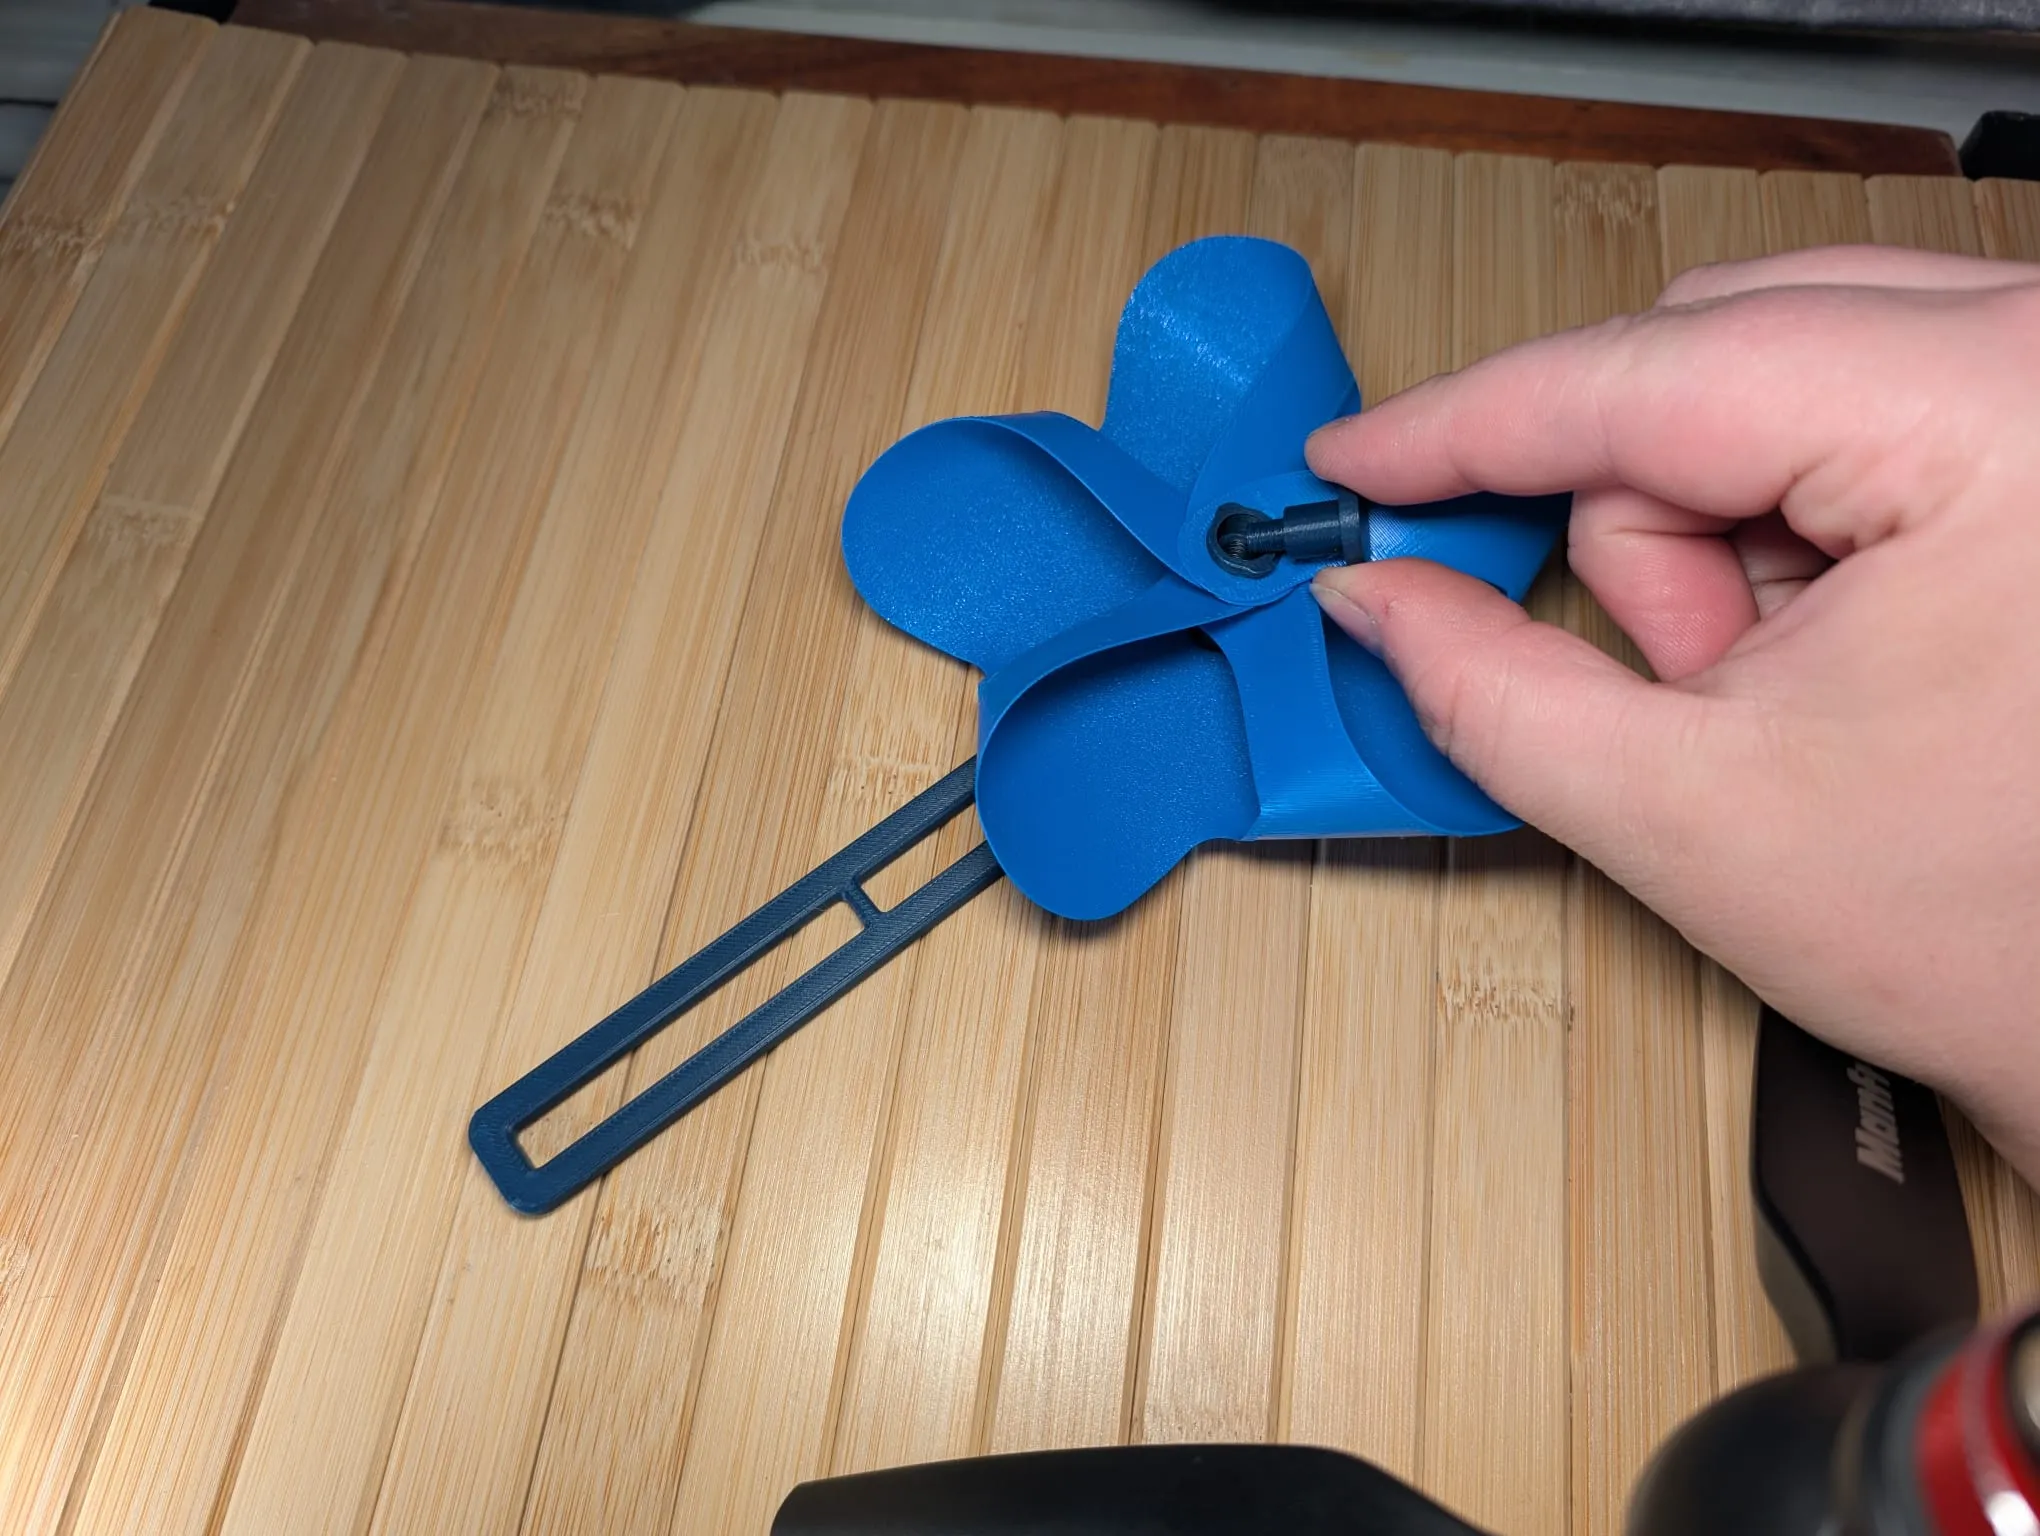
Details:

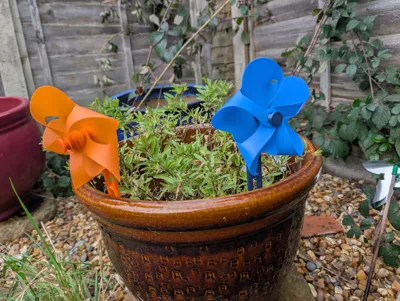
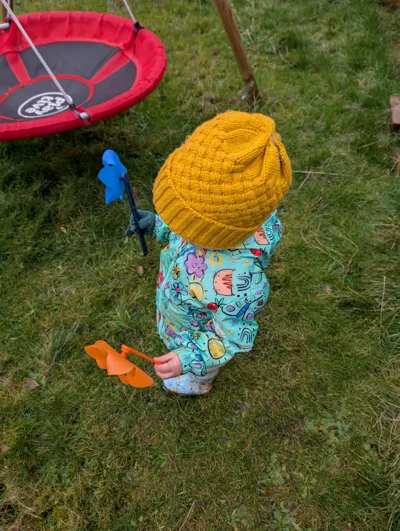
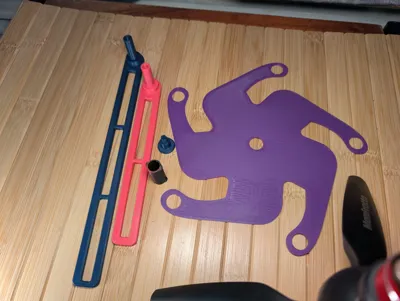
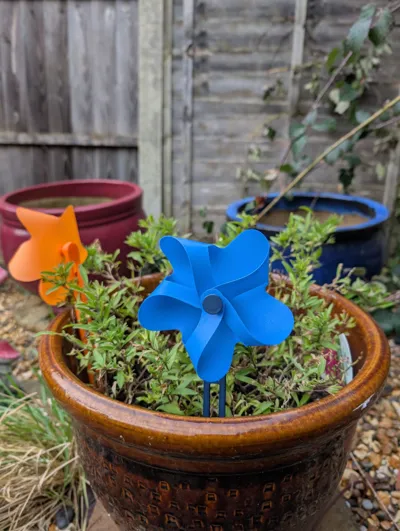
If you don't know, printing PLA at around 0.4mm has a great flexible quality like paper. With this in mind, I took inspiration from a paper pinwheel making kit my toddler had and came up with a full 3DP version! It consists of a handle, rotating spindle, spindle cap and the flexi pinwheel. You can also use the pinwheel part as a template to draw and cut out your own paper versions. The handle is designed with large open sections, partly to reduce filament needs and weight, but also because it allows you to fix your pinwheel to things very easily. You can use cable ties (garden stakes, swing ropes), screw+ washer (fence posts, trees), or even hammer-in cable clips (wood/ brick/ stone) to fix them to almost anything you like.
Print:
Print at 0.2mm layers, so the 0.4mm pinwheel prints in two layers.
I used mousear brims on the tall parts to aid adhesion.
My print profile consists of four plates: One with a full set with small handle, one with a lone small handle, one with an extra long handle, and one with extra pinwheels on their own.
Assemble:
Step 1:
Place the pinwheel over the central spindle, putting the protruding pegs in one at a time to avoid splitting the pinwheel.


Step 2:
Repeat the above step for each of the arms in turn to make the pinwheel shape


Step 3:
Place the pinwheel onto the handle


Step 4:
Screw the endcap into the handle, taking care not to overtighten. If the thread is too tight, try adding a little grease to the thread


License
You shall not share, sub-license, sell, rent, host, transfer, or distribute in any way the digital or 3D printed versions of this object, nor any other derivative work of this object in its digital or physical format (including - but not limited to - remixes of this object, and hosting on other digital platforms). The objects may not be used without permission in any way whatsoever in which you charge money, or collect fees.
Comment & Rating (122)