
Dual-intake duct cover for ceiling exhaust fan
Print Profile(3)


Description
Cover piece for ceiling exhaust fans that use the spring-clip style of attachment.
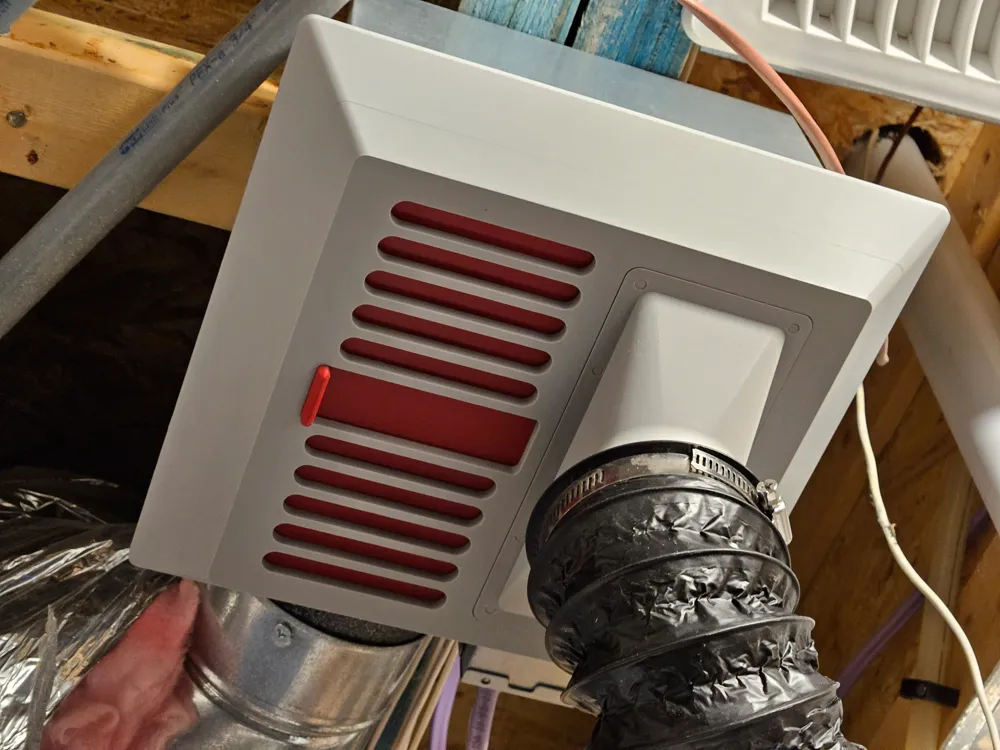
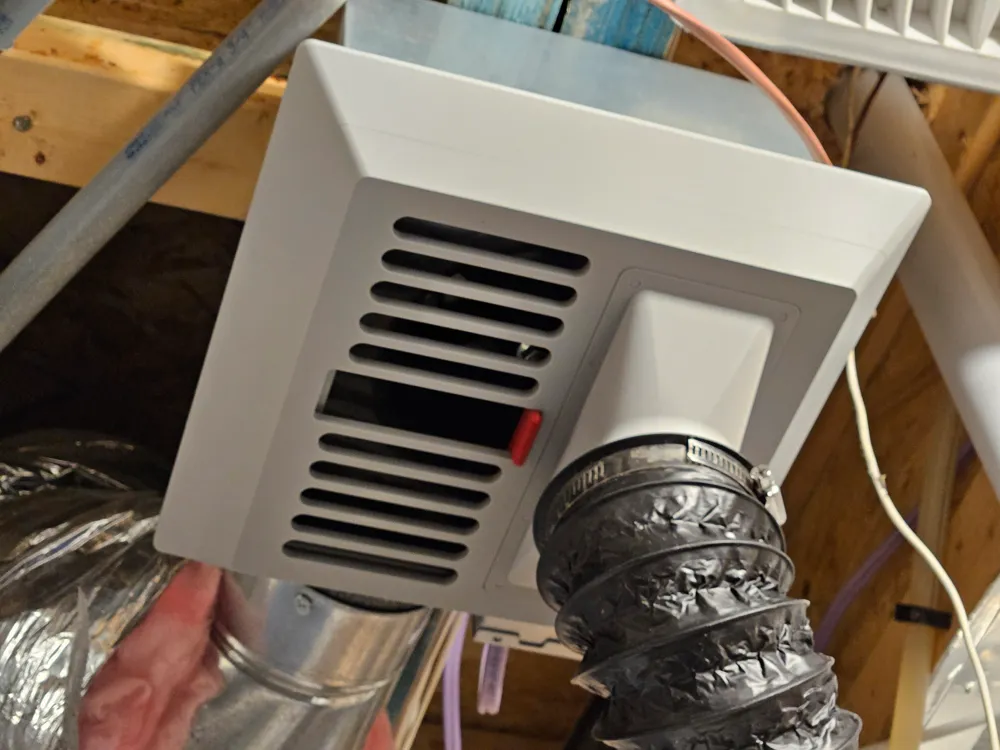
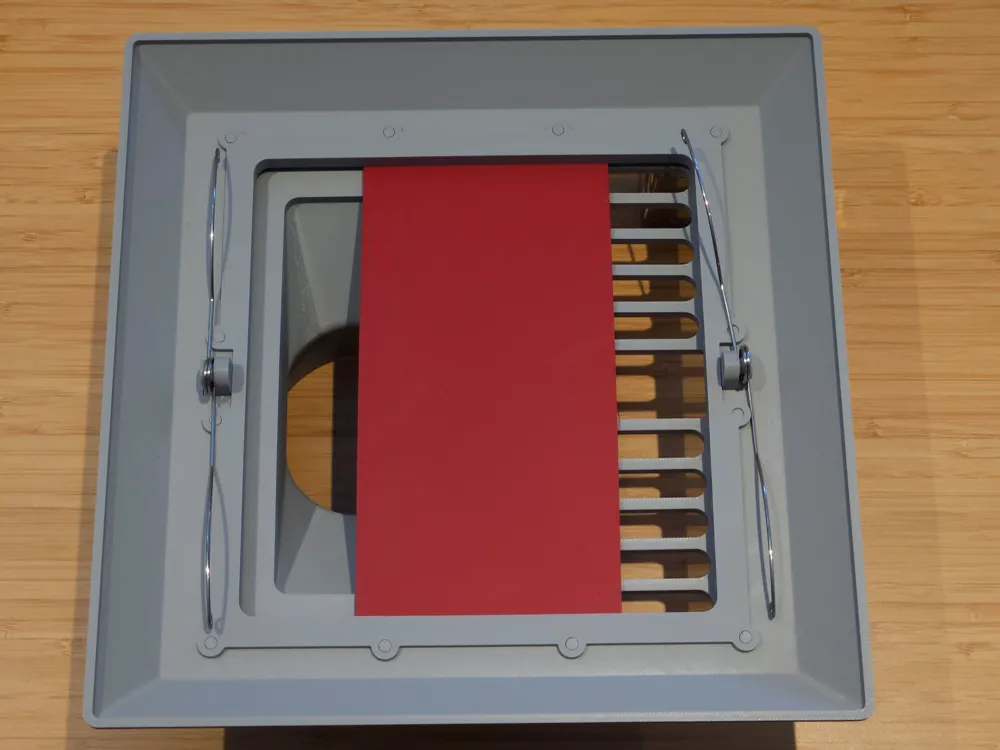
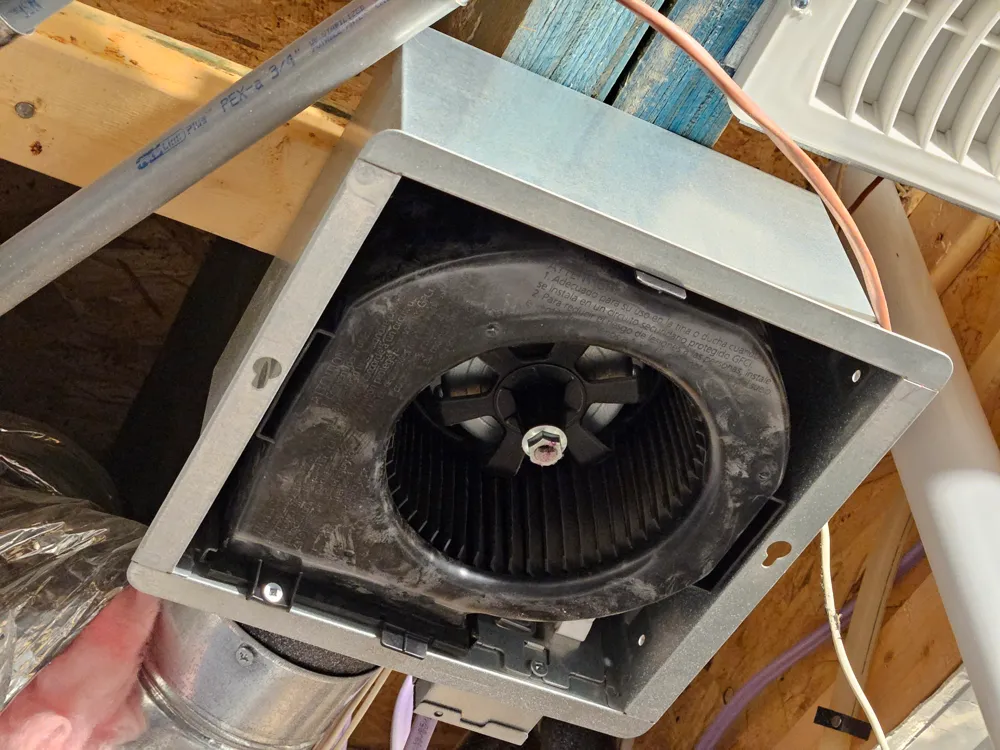
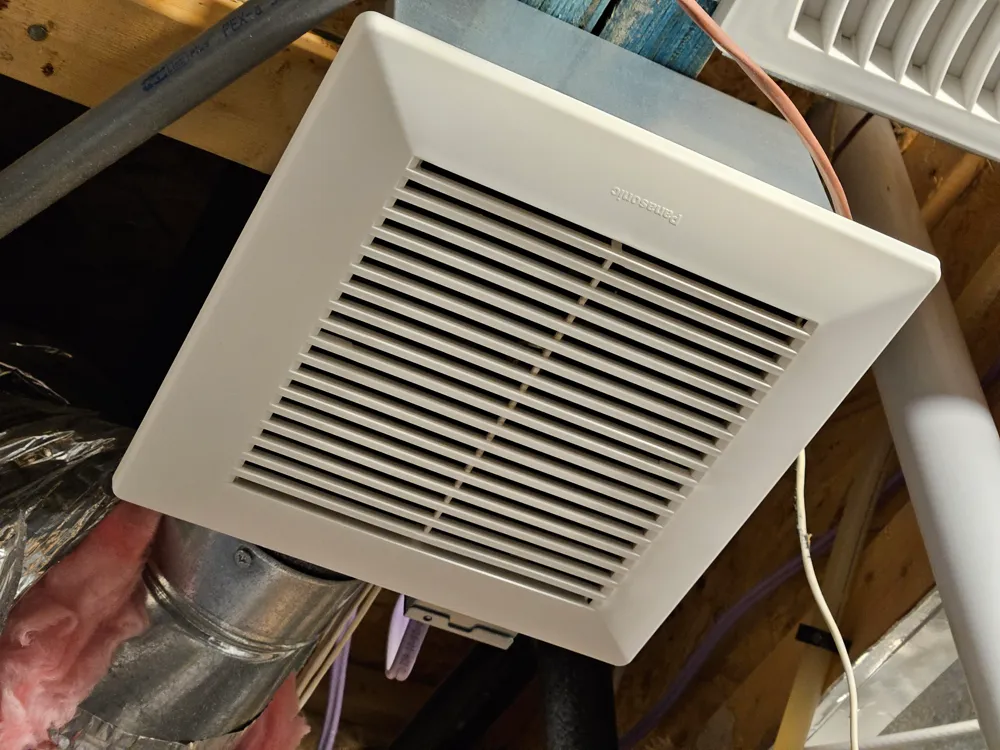
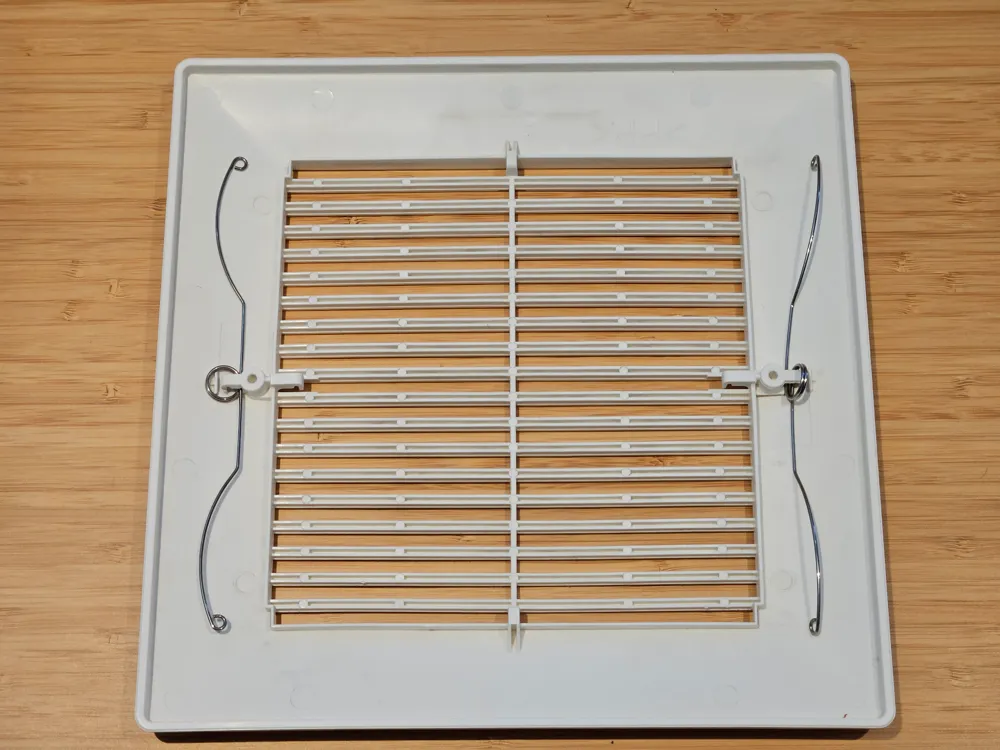
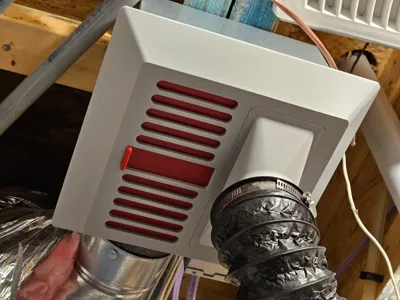
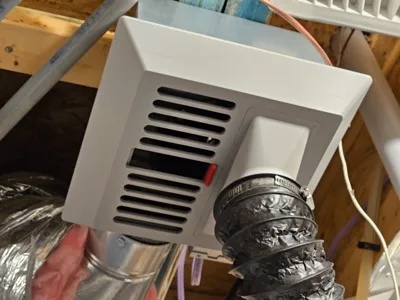
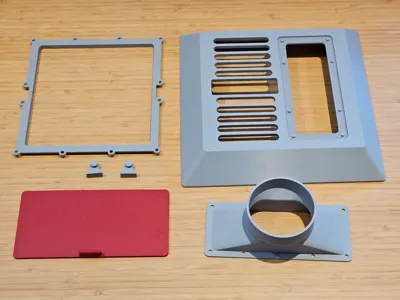
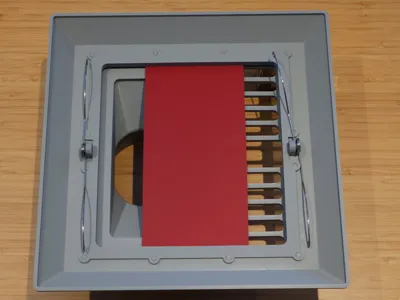
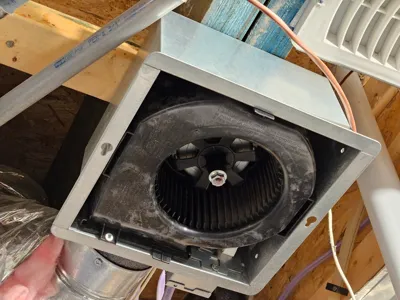
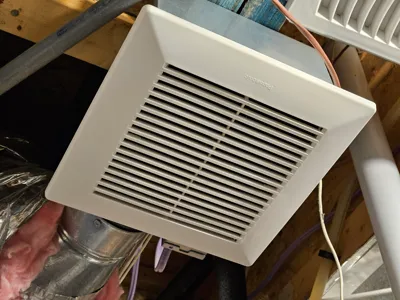
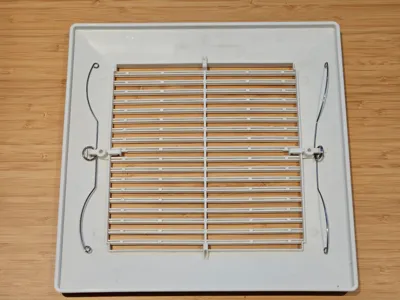
This assembly is a replacement cover for a common type of ceiling exhaust fan. It works for 9x9-inch ceiling exhaust fans that have the spring-clip style of mounting cover. There are many of such style of ceiling exhaust fans, so this is cover is not particular to a specific brand of fan. To be compatible, the ceiling exhaust fan must take a 9x9-inch cover with two spring-clips spaced 7-inch apart from each other. This cover allows for the exhaust fan to be switched between two intake channels: room intake, and pipe intake. A sliding door in the cover assembly blocks either the room intake, or the pipe intake. The pipe intake is meant to attach to 3/3.5/4-inch flexible ducting. The main application of this assembly for improving home ventilation options for 3D printing or other DIY.
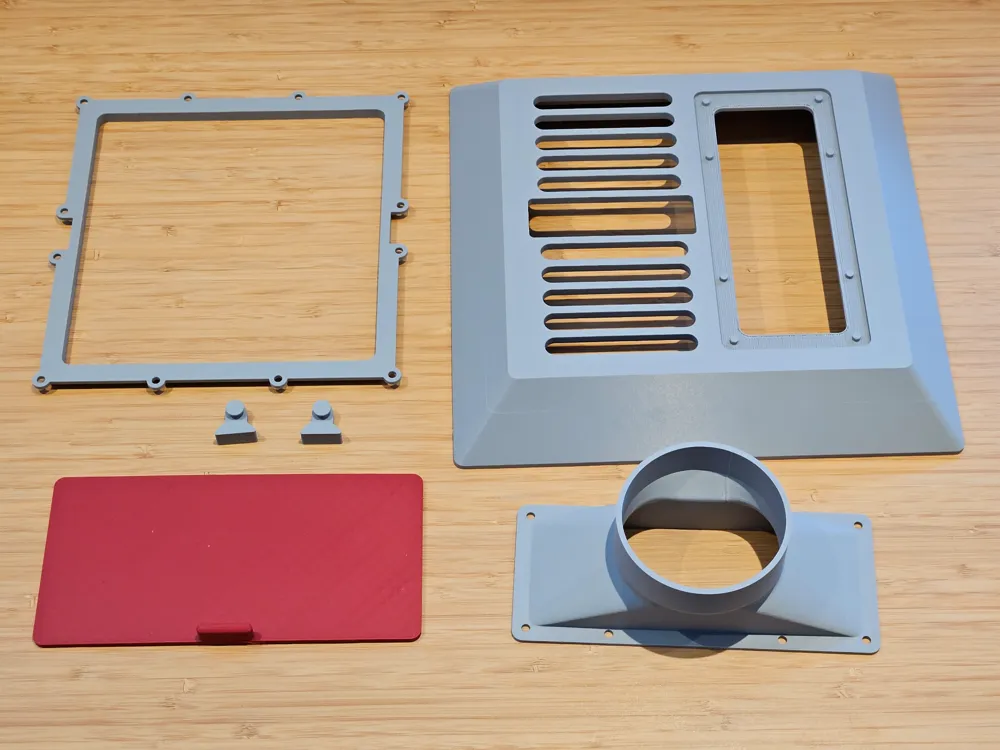
This assembly is composed of multiple parts that are designed to fit together by friction. If a printed part is too loose or too tight, hole compensation should be used during slicing. The order of assembly of the parts should be self-explanatory. Refer to the pictures of the complete assembly.
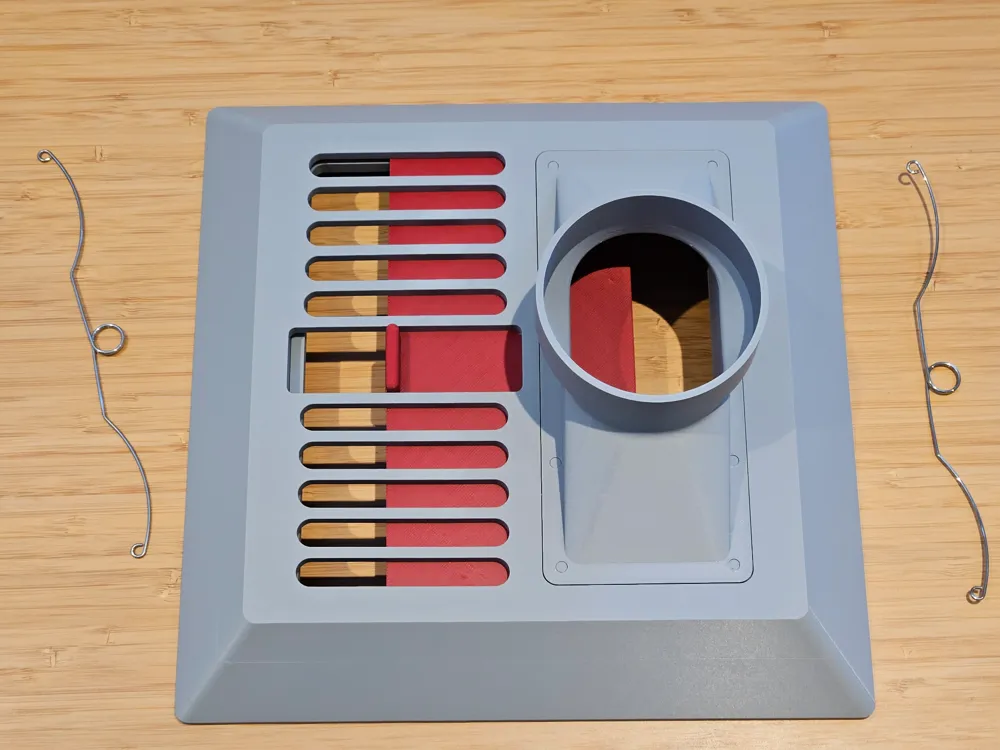
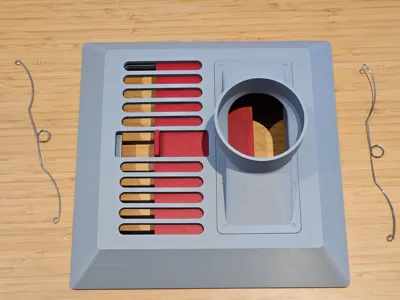
Note that there are different styles of spring-clips. This assembly is compatible with the coiled style of spring-clips that have an eyelet. The diameter of the eyelet may vary for different styles of spring-clips. This assembly comes with spring-clip hangers for 6/8mm diameter eyelet. Select the appropriate hanger for your style of spring-clip. The spring-clip is easily manipulated so that the eyelet can be expanded to fit over the retaining lip of the spring-clip hanger.
ATTENTION!
The largest piece of the assembly, the main cover piece, exceeds the default limited build area of the P1/X1 series Bambu Lab printers. Although the advertised build footprint of these printers is 256x256mm, the default allowed build footprint is smaller. Please thoroughly read and comprehend the following before attempting to print this assembly:
https://wiki.bambulab.com/en/knowledge-sharing/print-volume-limitations
Because of the above-mentioned limitations in build footprint, there are special considerations for printing the main cover piece:
1. (If you have not done so already) Print the piece that is used to retract the cutter lever, which is mentioned in the above link.
2. (Already done if using the included .3mf file) The exclusion area restriction must be removed to allow Bambu Studio to proceed with slicing.
3. As explained in the above link, utilizing the full build footprint is not compatible with the AMS. However, Bambu Studio does not restrict you from starting the print with the AMS enabled in this situation.
A. It is safer to follow the guidance and not use the AMS while printing this piece and instead feed from an external spool.
B. If you wish to feed from the AMS while printing this piece, then it is possible with manual intervention. Because the piece is tapered, only the upper portion of the piece is large enough to enter the exclusion area. Therefore, there is no danger of the print head entering the exclusion area while the lower section of the piece is printed. During slicing, you can place a pause at a layer before the print enters the exclusion area. Once the print has reached the pause, you can then retract the cutting lever. Take note though that if there is a filament tangle after the cutting lever is retracted, then the printer will not be able to cut the filament and it will pause. Similarly, at the completion of the print, the printer will not be able to cut the filament and retract it to the AMS. You will have to intervene manually to solve this.
License

You shall not share, sub-license, sell, rent, host, transfer, or distribute in any way the digital or 3D printed versions of this object, nor any other derivative work of this object in its digital or physical format (including - but not limited to - remixes of this object, and hosting on other digital platforms). The objects may not be used without permission in any way whatsoever in which you charge money, or collect fees.


Comment & Rating (11)