
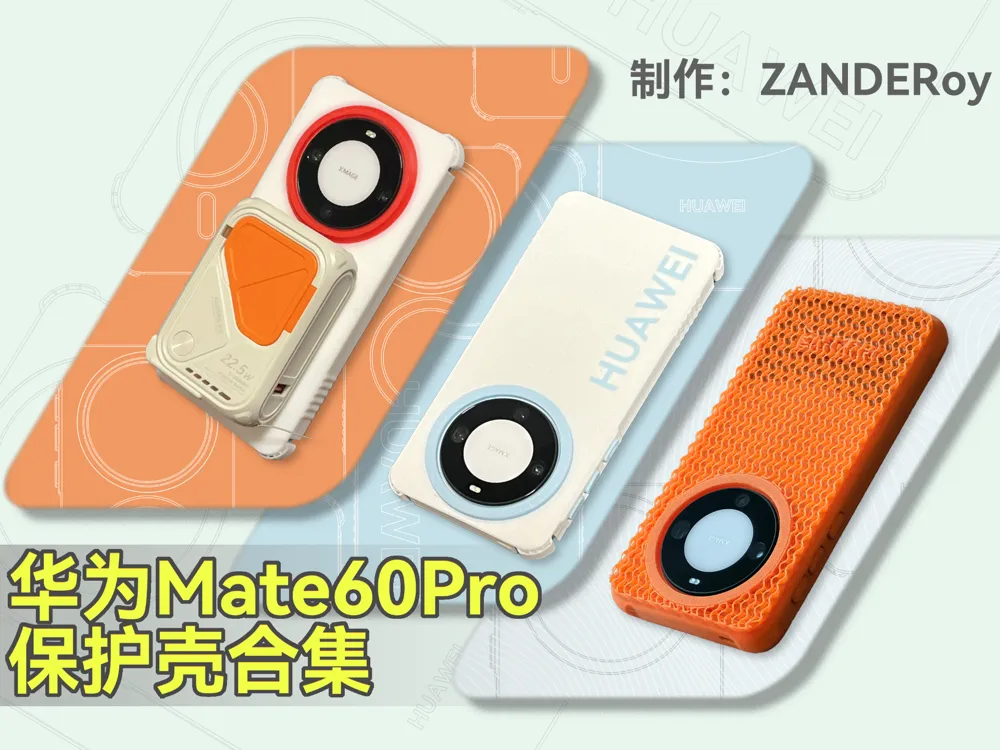
Mate60Pro Phone Case Collection
Print Profile(5)


Description
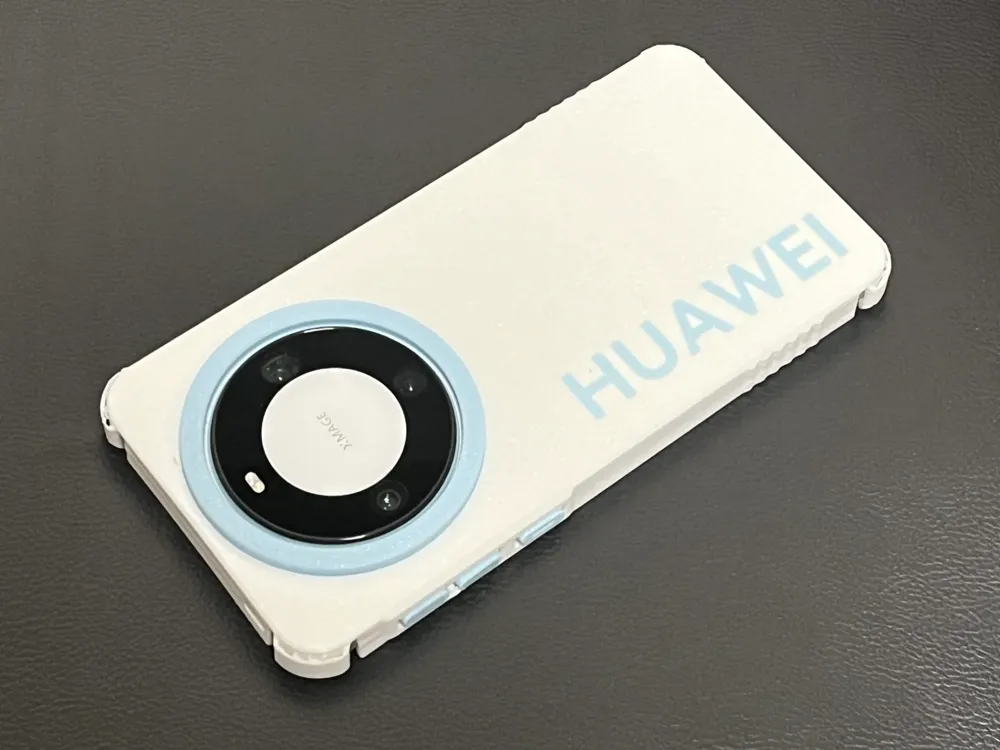
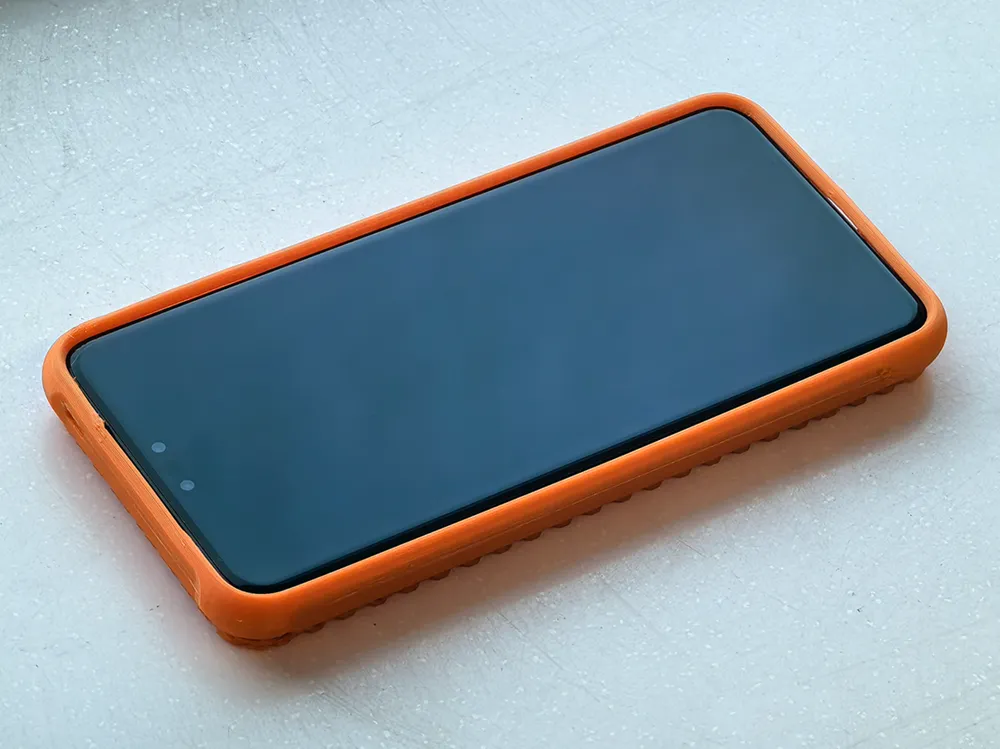
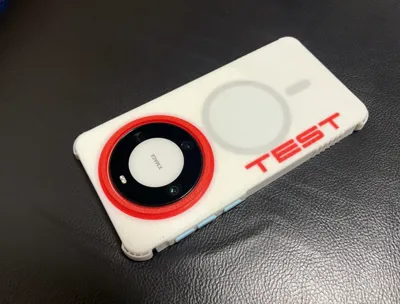
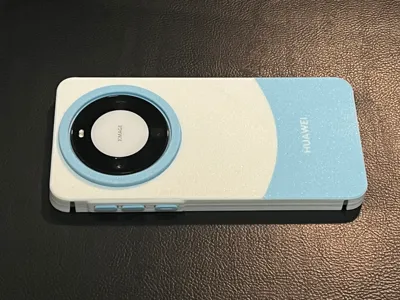
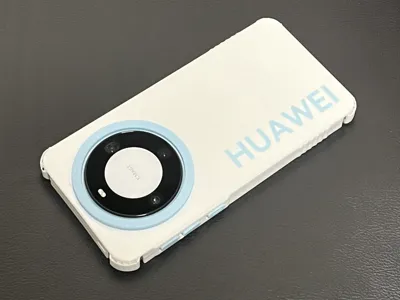
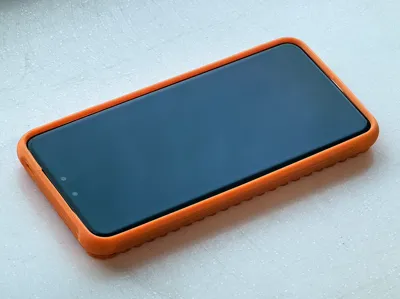
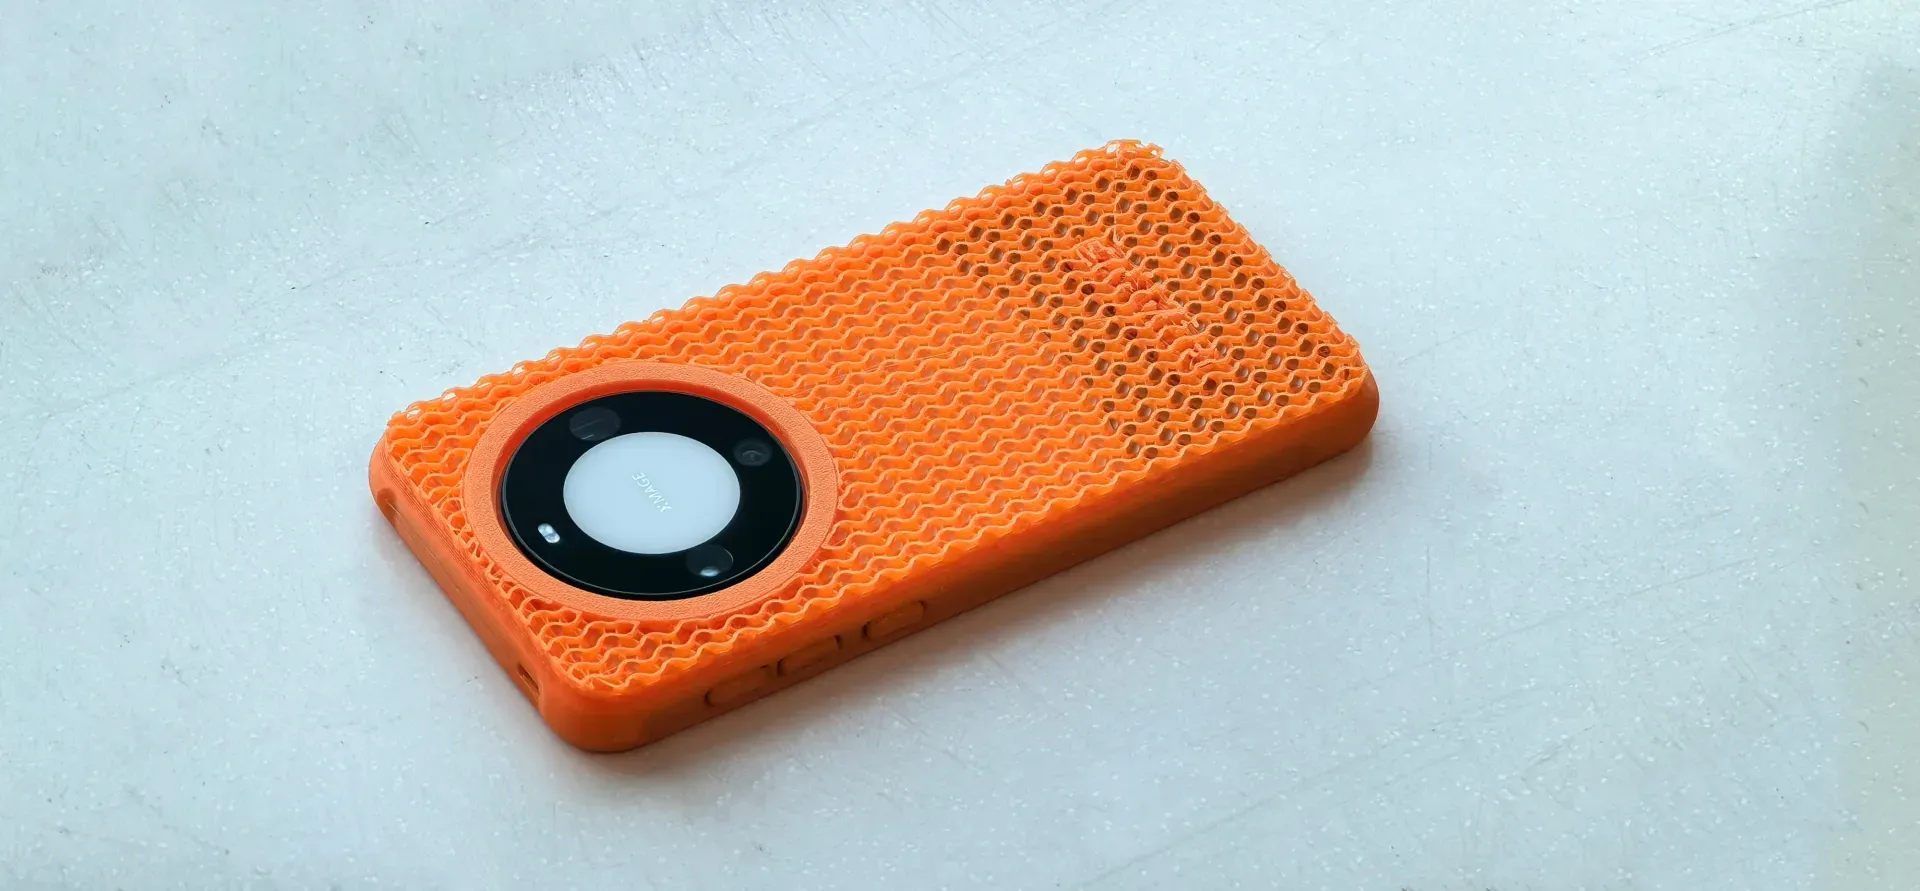
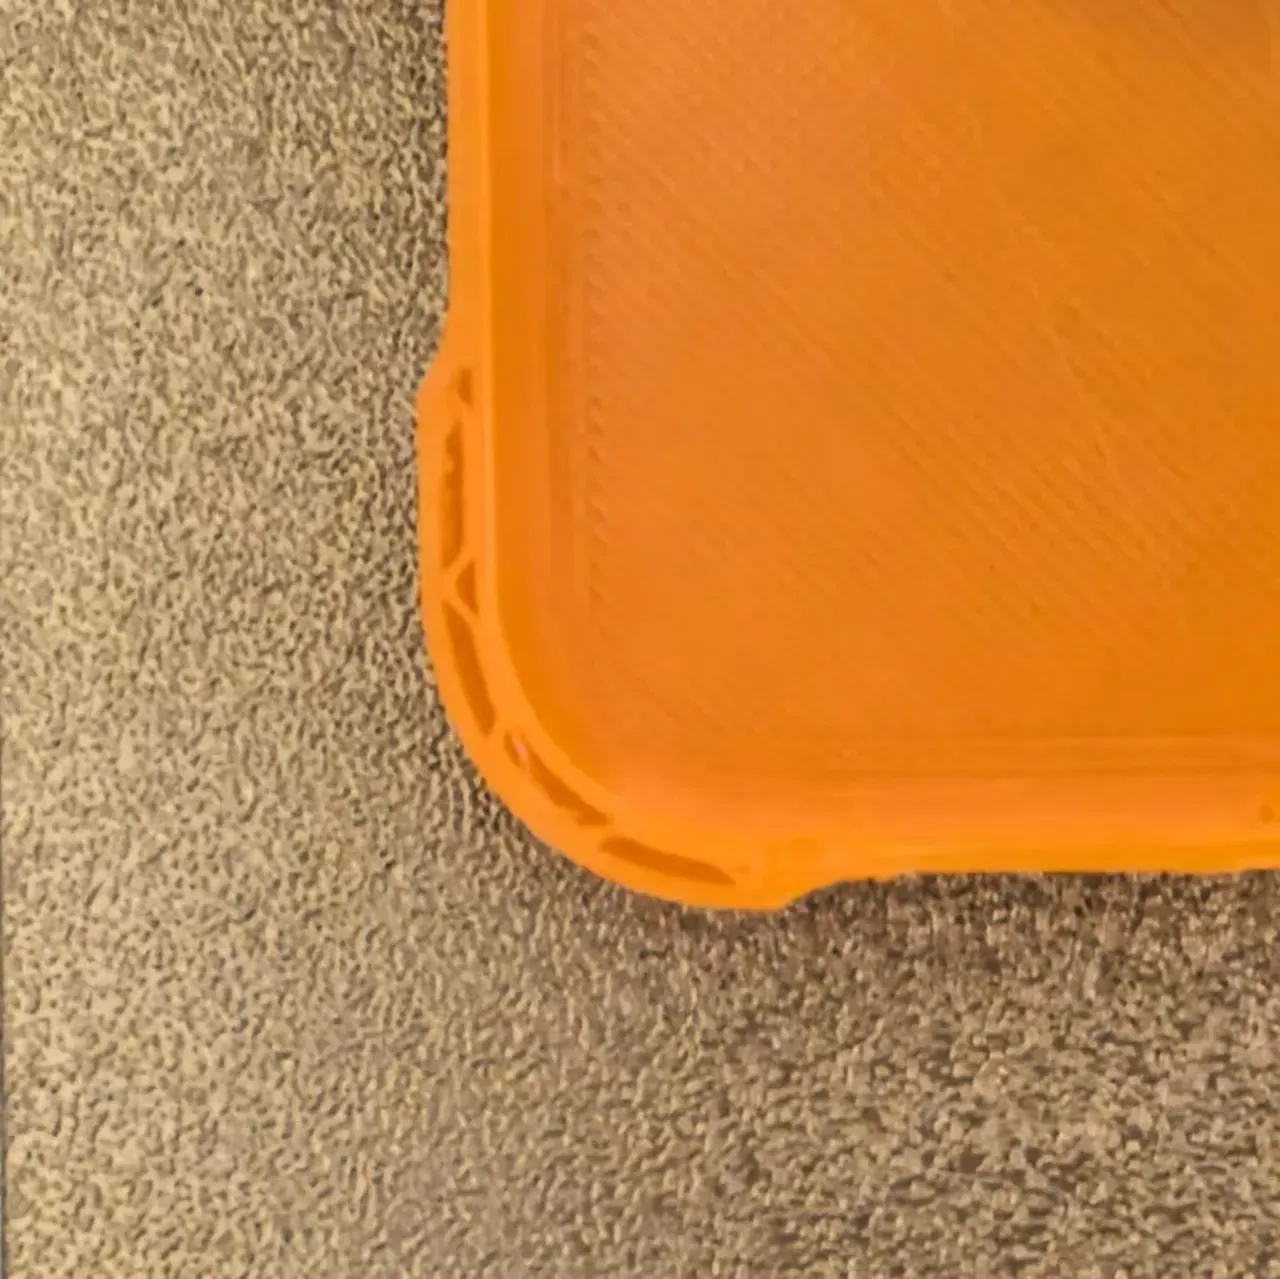
Protective case designed for Mate60Pro, now updated to 1.4, available in PLA, PLA Magsafe, and TPU versions. Features precise cutouts, the front is 0.8mm higher than the screen, the back is more than 0.5mm higher than the camera module, and the four corners have a drop-proof design, effectively protecting the phone
Update Log
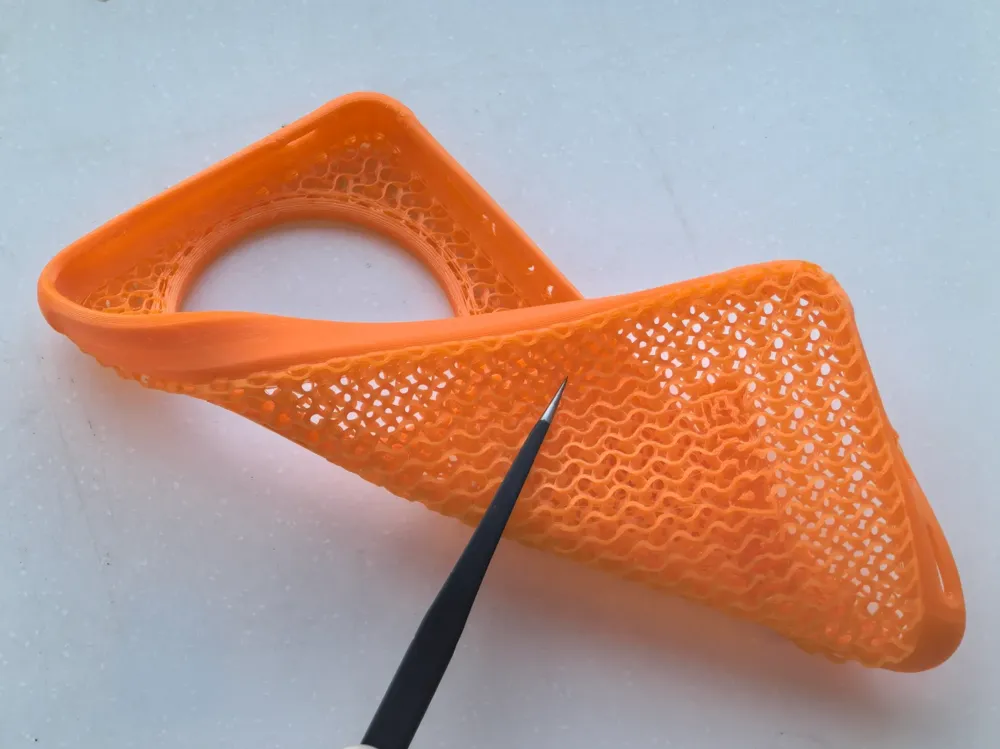
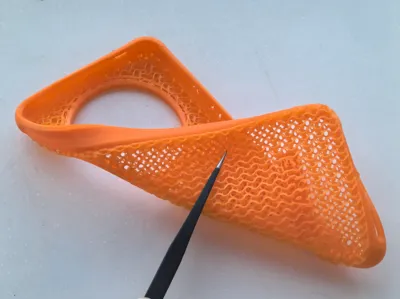
25.2.13, V1: TPU hollow Print in Place version, test print used PTU-95A material, the bottom felt a bit rough, optimizing
25.2.14, V1.1: TPU hollow Print in Place optimized version, optimized the curvature of the bottom edge for a more comfortable grip; added a chamfer at the infrared emitter, theoretically reducing interference during use; removed the upper connection at the buttons for easier operation (friends who have printed V1 can use a small knife to cut the upper side of the buttons)
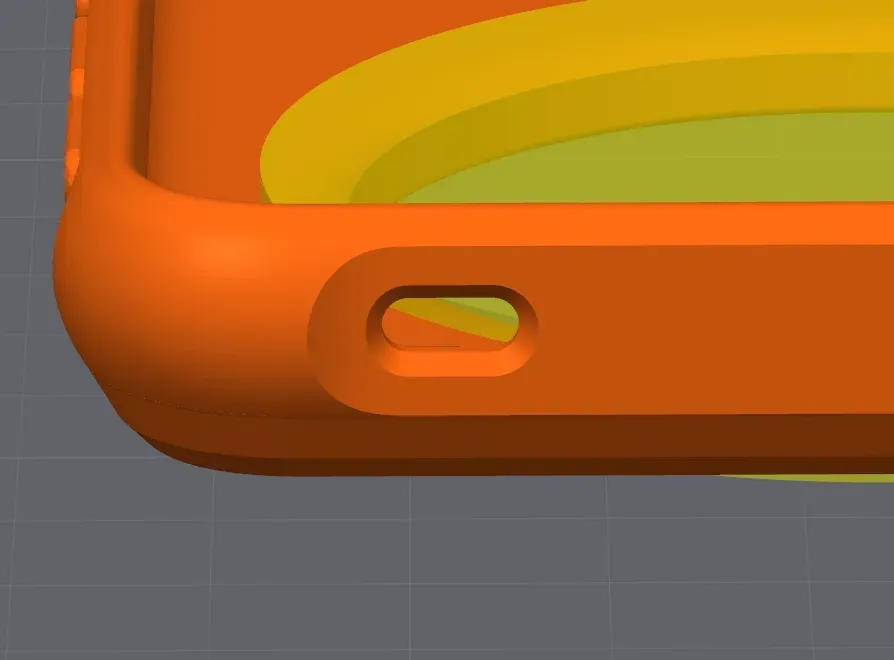
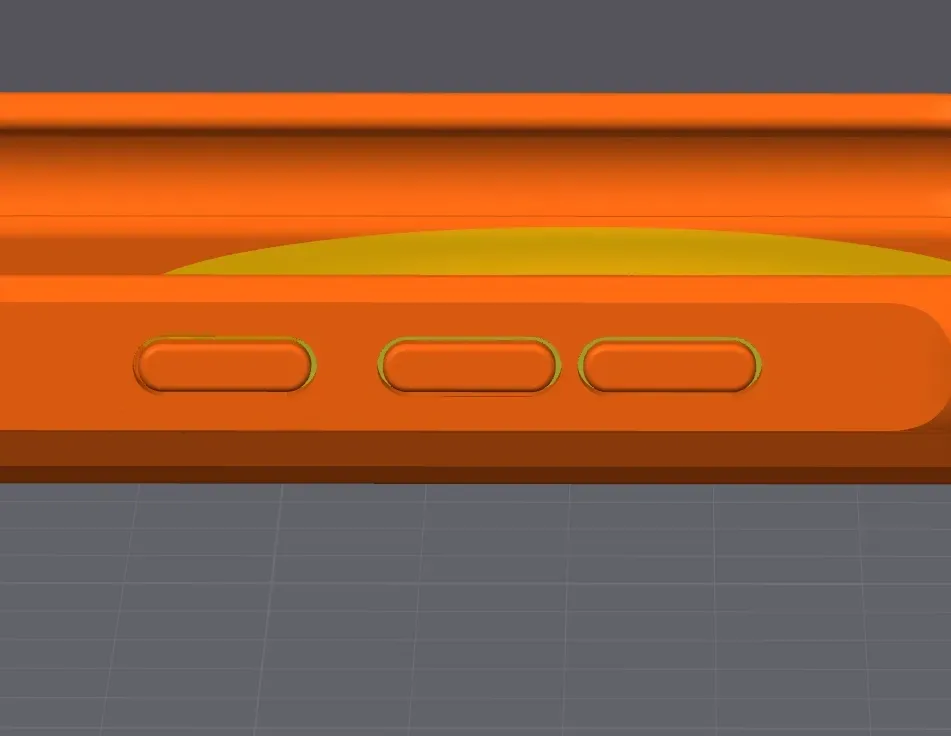
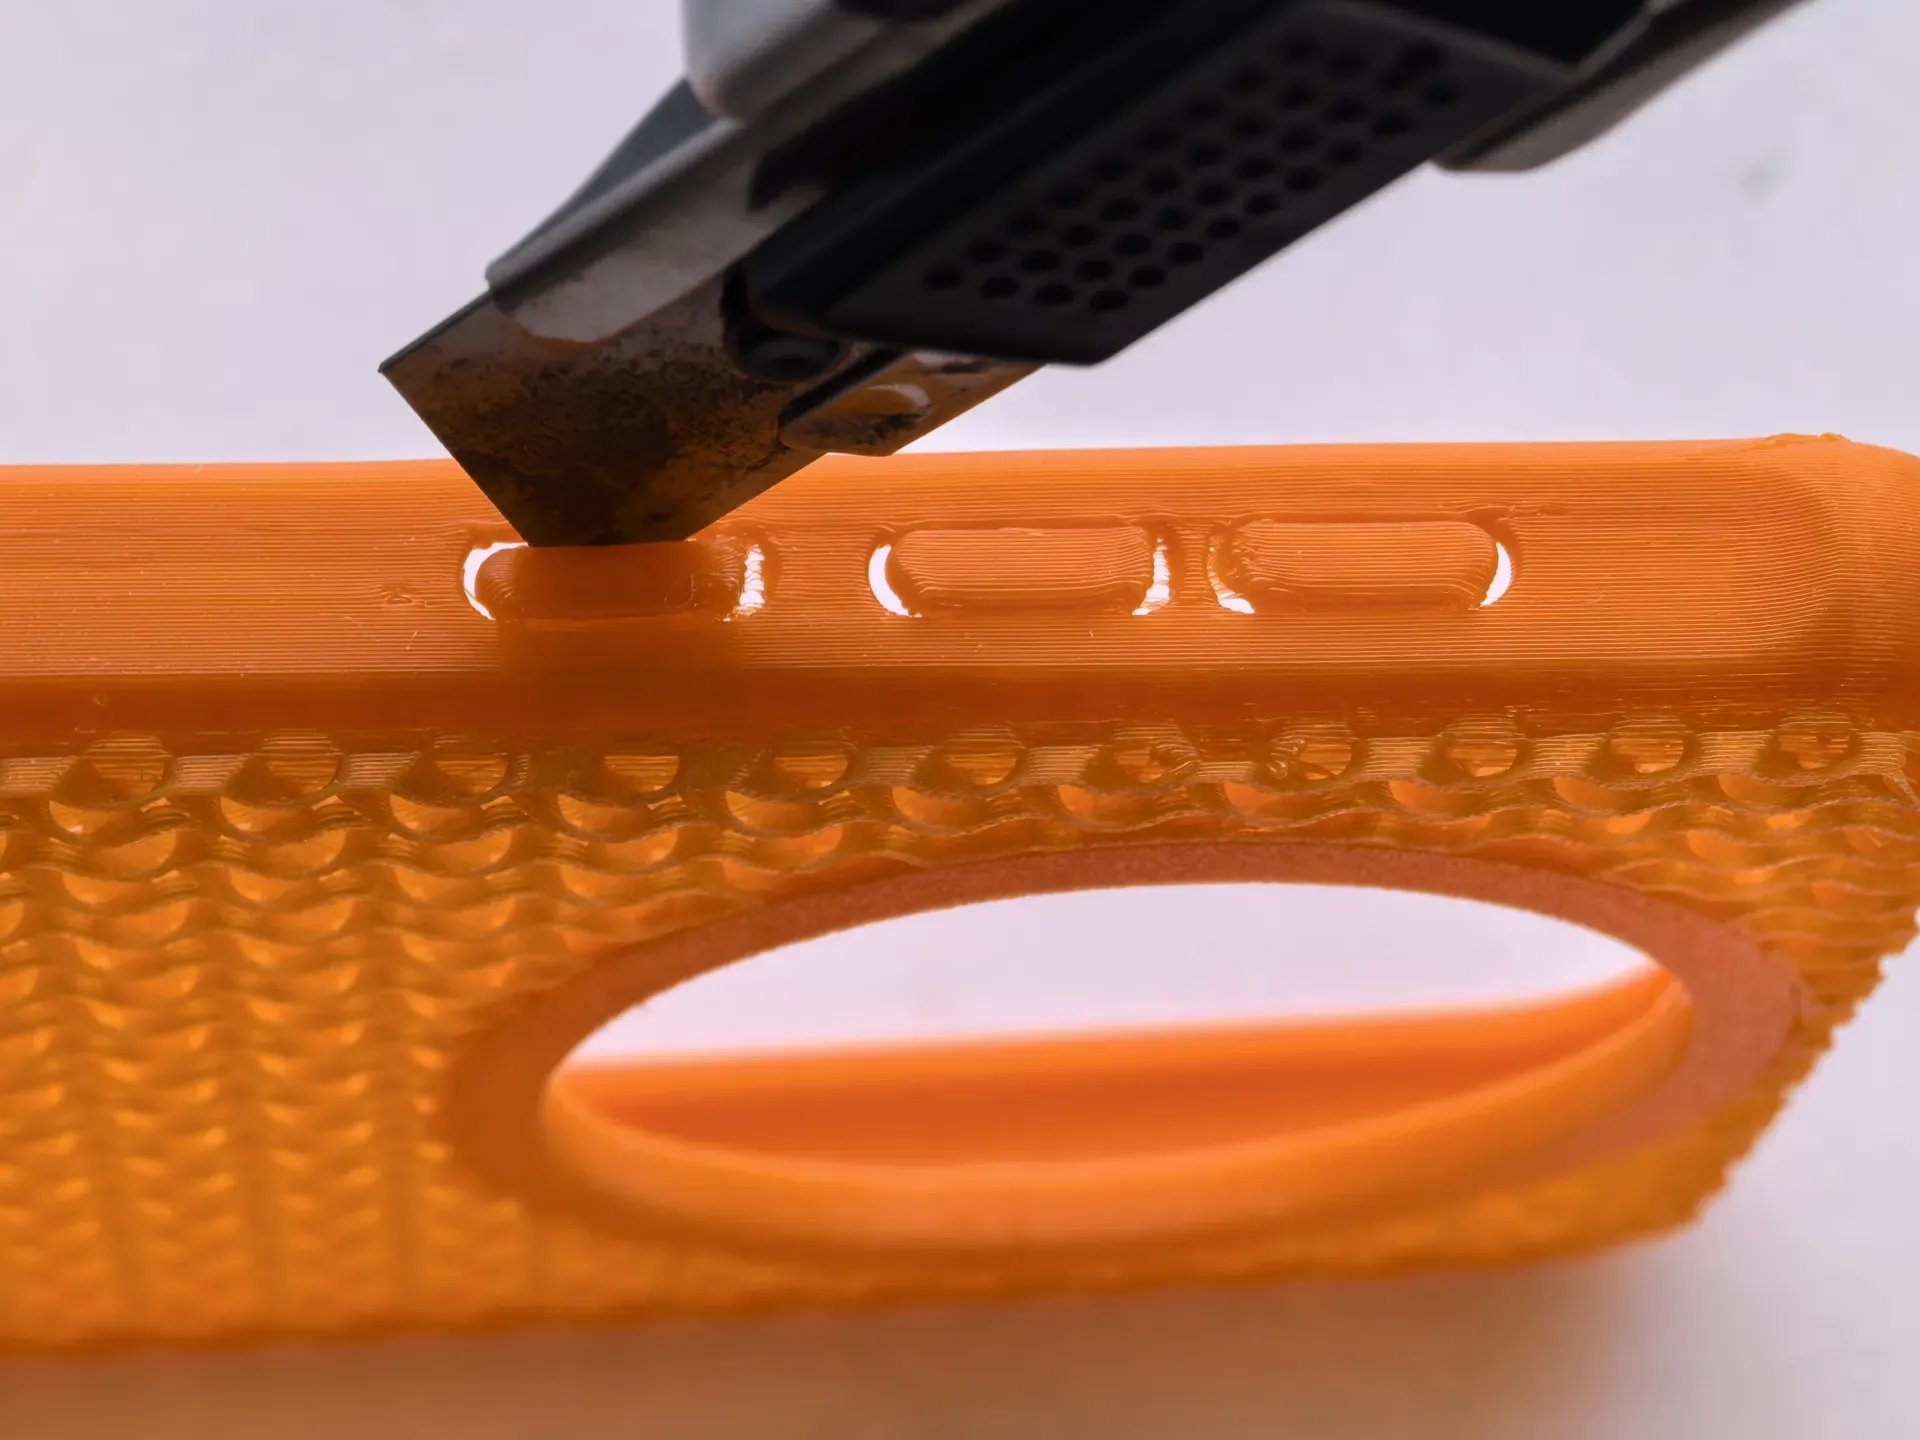
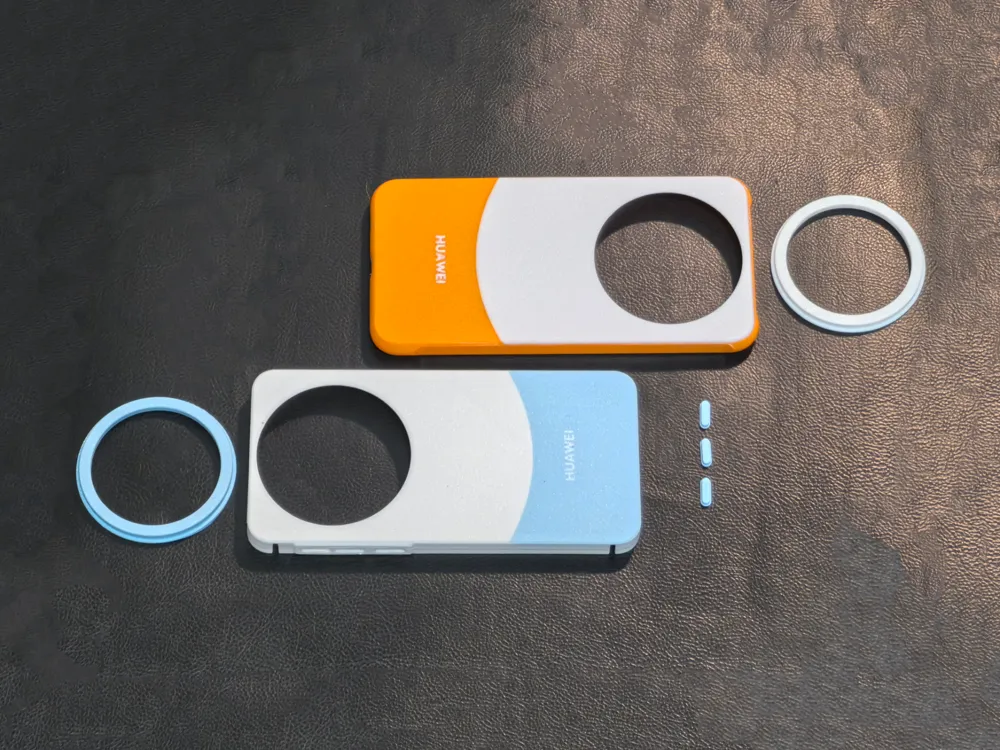
V1.2: Added a thinned version with separate assembled parts, back thickness reduced to 2.1mm, separating the camera module protection and the buttons, PLA can be used to print buttons for a better experience. Two heights are provided for the buttons, choose as needed
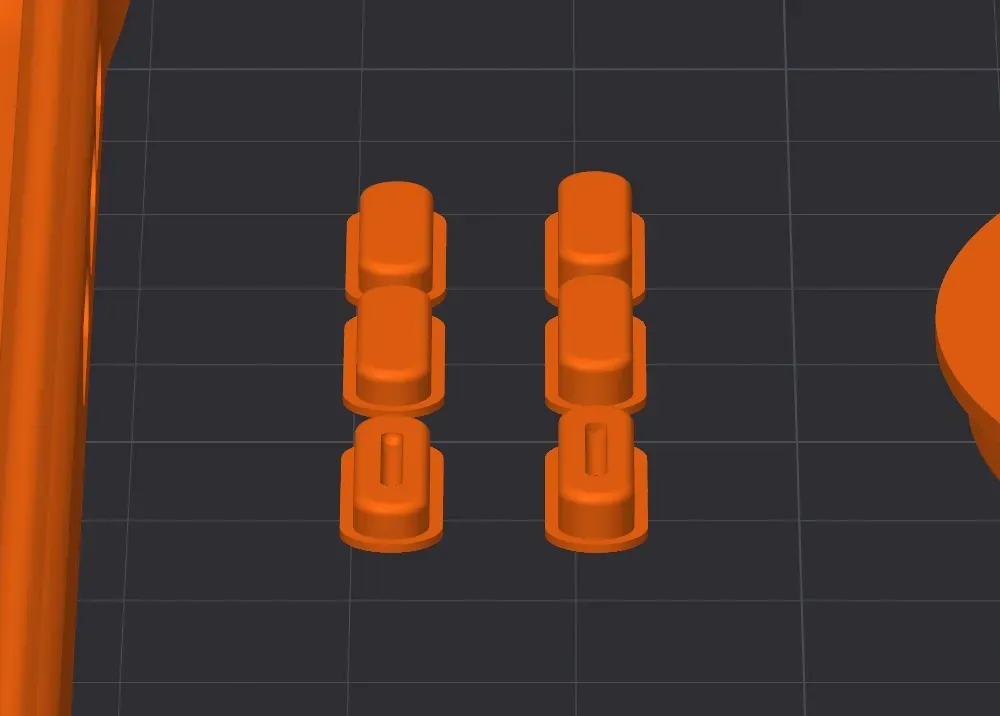
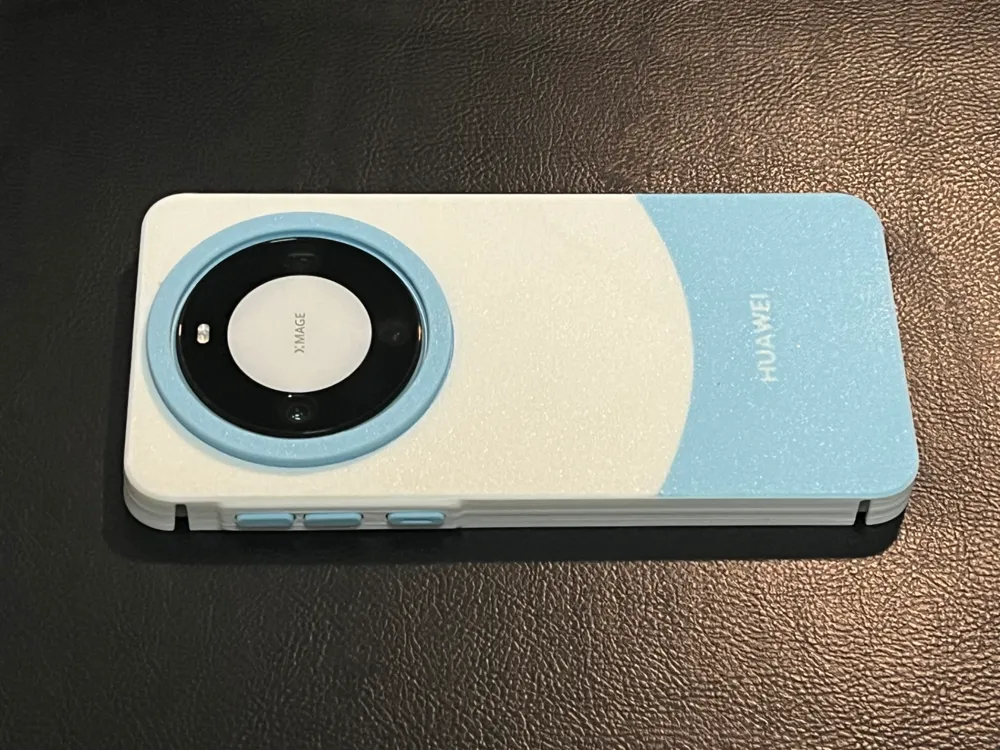
25.2.23, V1.3.3: Added PLA version, which has undergone multiple rounds of corrections and print tests, achieving the desired effect. Can be printed with hard materials, two physical appearances and three color schemes are available (the multicolor version is not currently suitable for A1 mini due to space reservation issues for piece-by-piece printing, please choose the monochrome version or wait for an update). Designs with anti-collision corners and side anti-slip strips are optional


Issue fixed: The button damage issue in the separated TPU version has been fixed
25.2.25, V1.3.5: The PLA version fixed quality issues caused by slicing errors; modified the charging port cutout to adapt to more charging heads; fixed slicing issues caused by the anti-collision corner version model; modified the plate arrangement, the A1 series can print the multicolor version, and added multicolor pre-arranged plates for the anti-collision corner version
Slicing quality issues

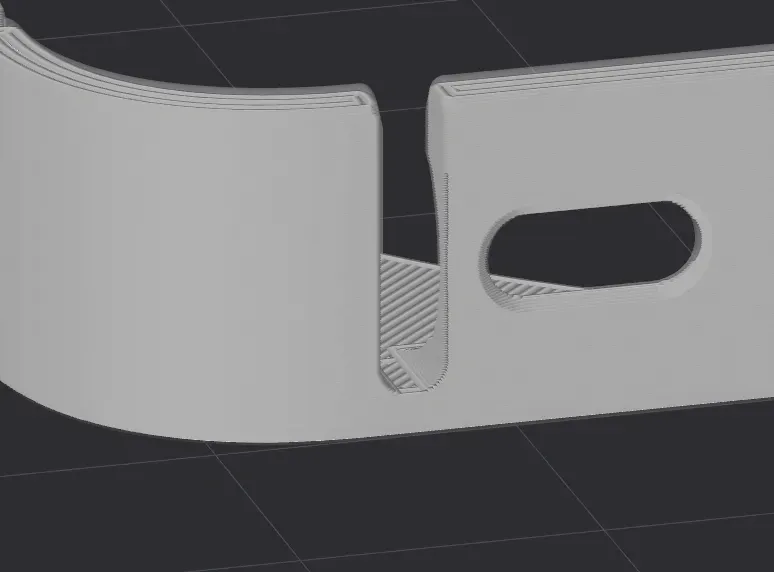
Slicing quality and charging port cutout issues
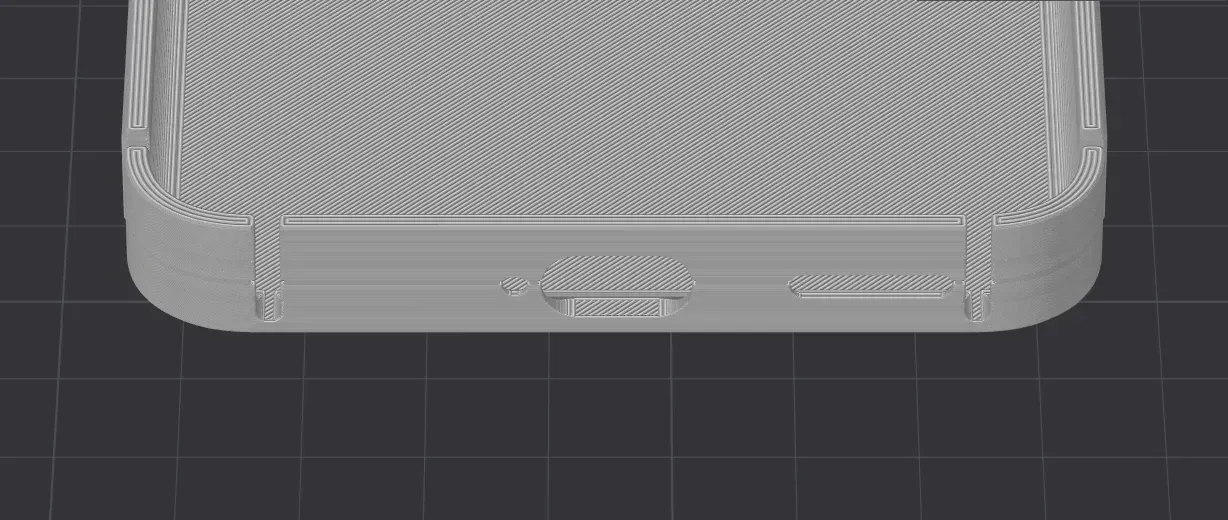
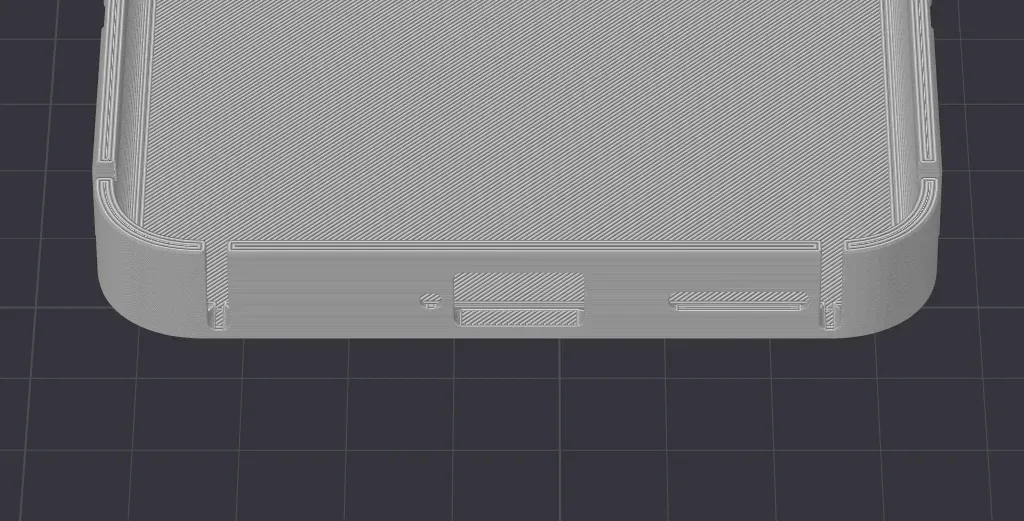
Anti-collision corner prone to breakage issue
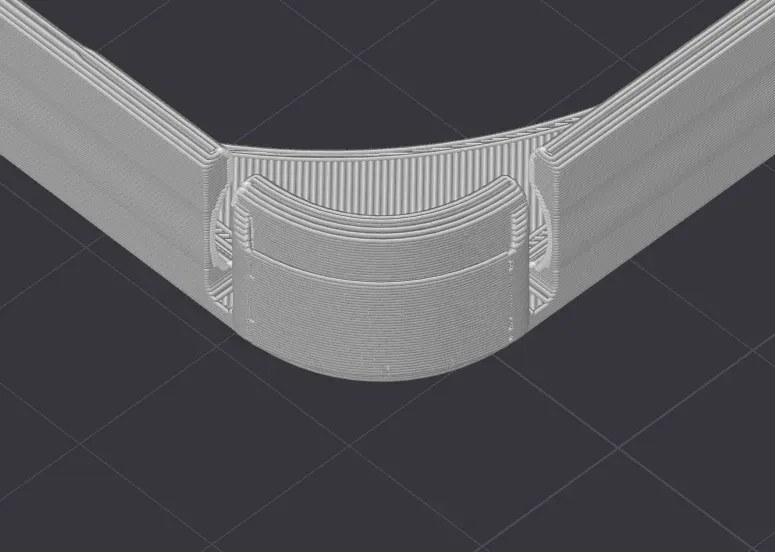
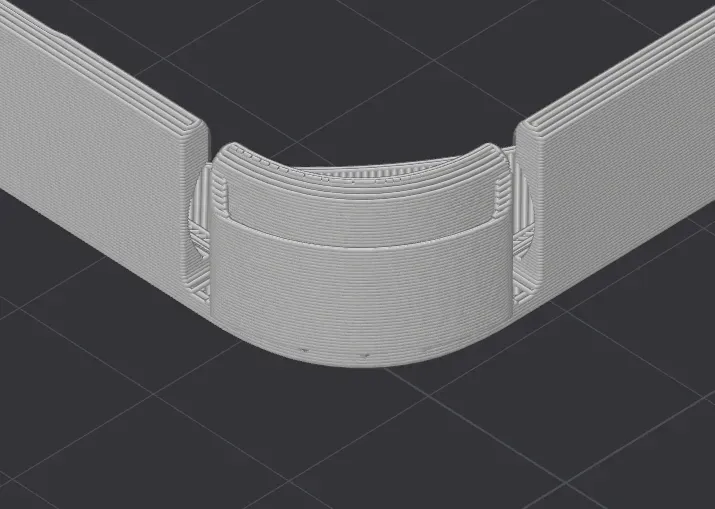
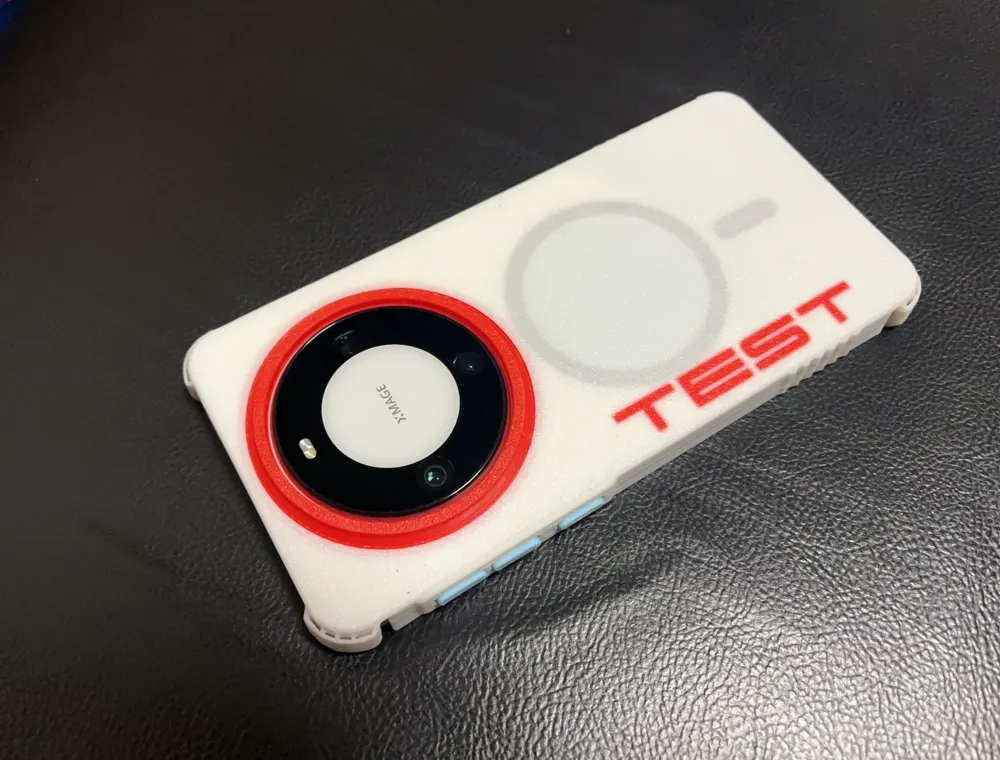
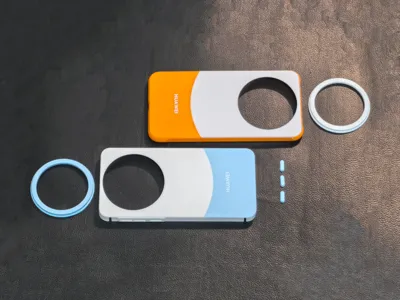
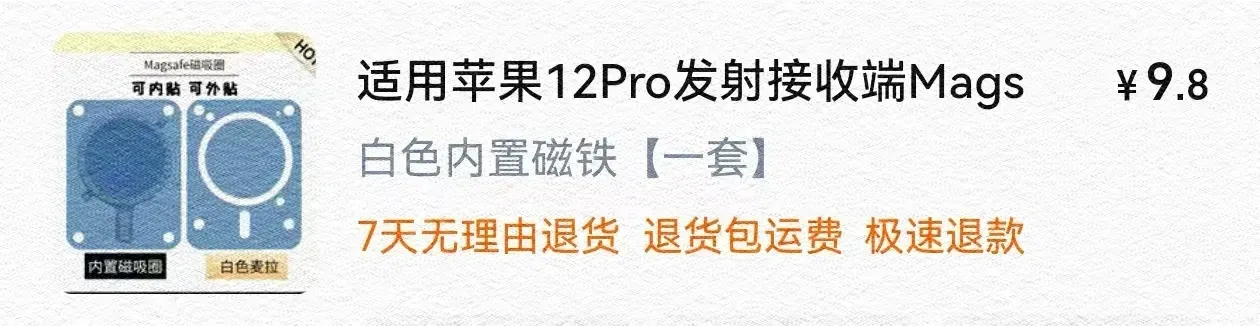
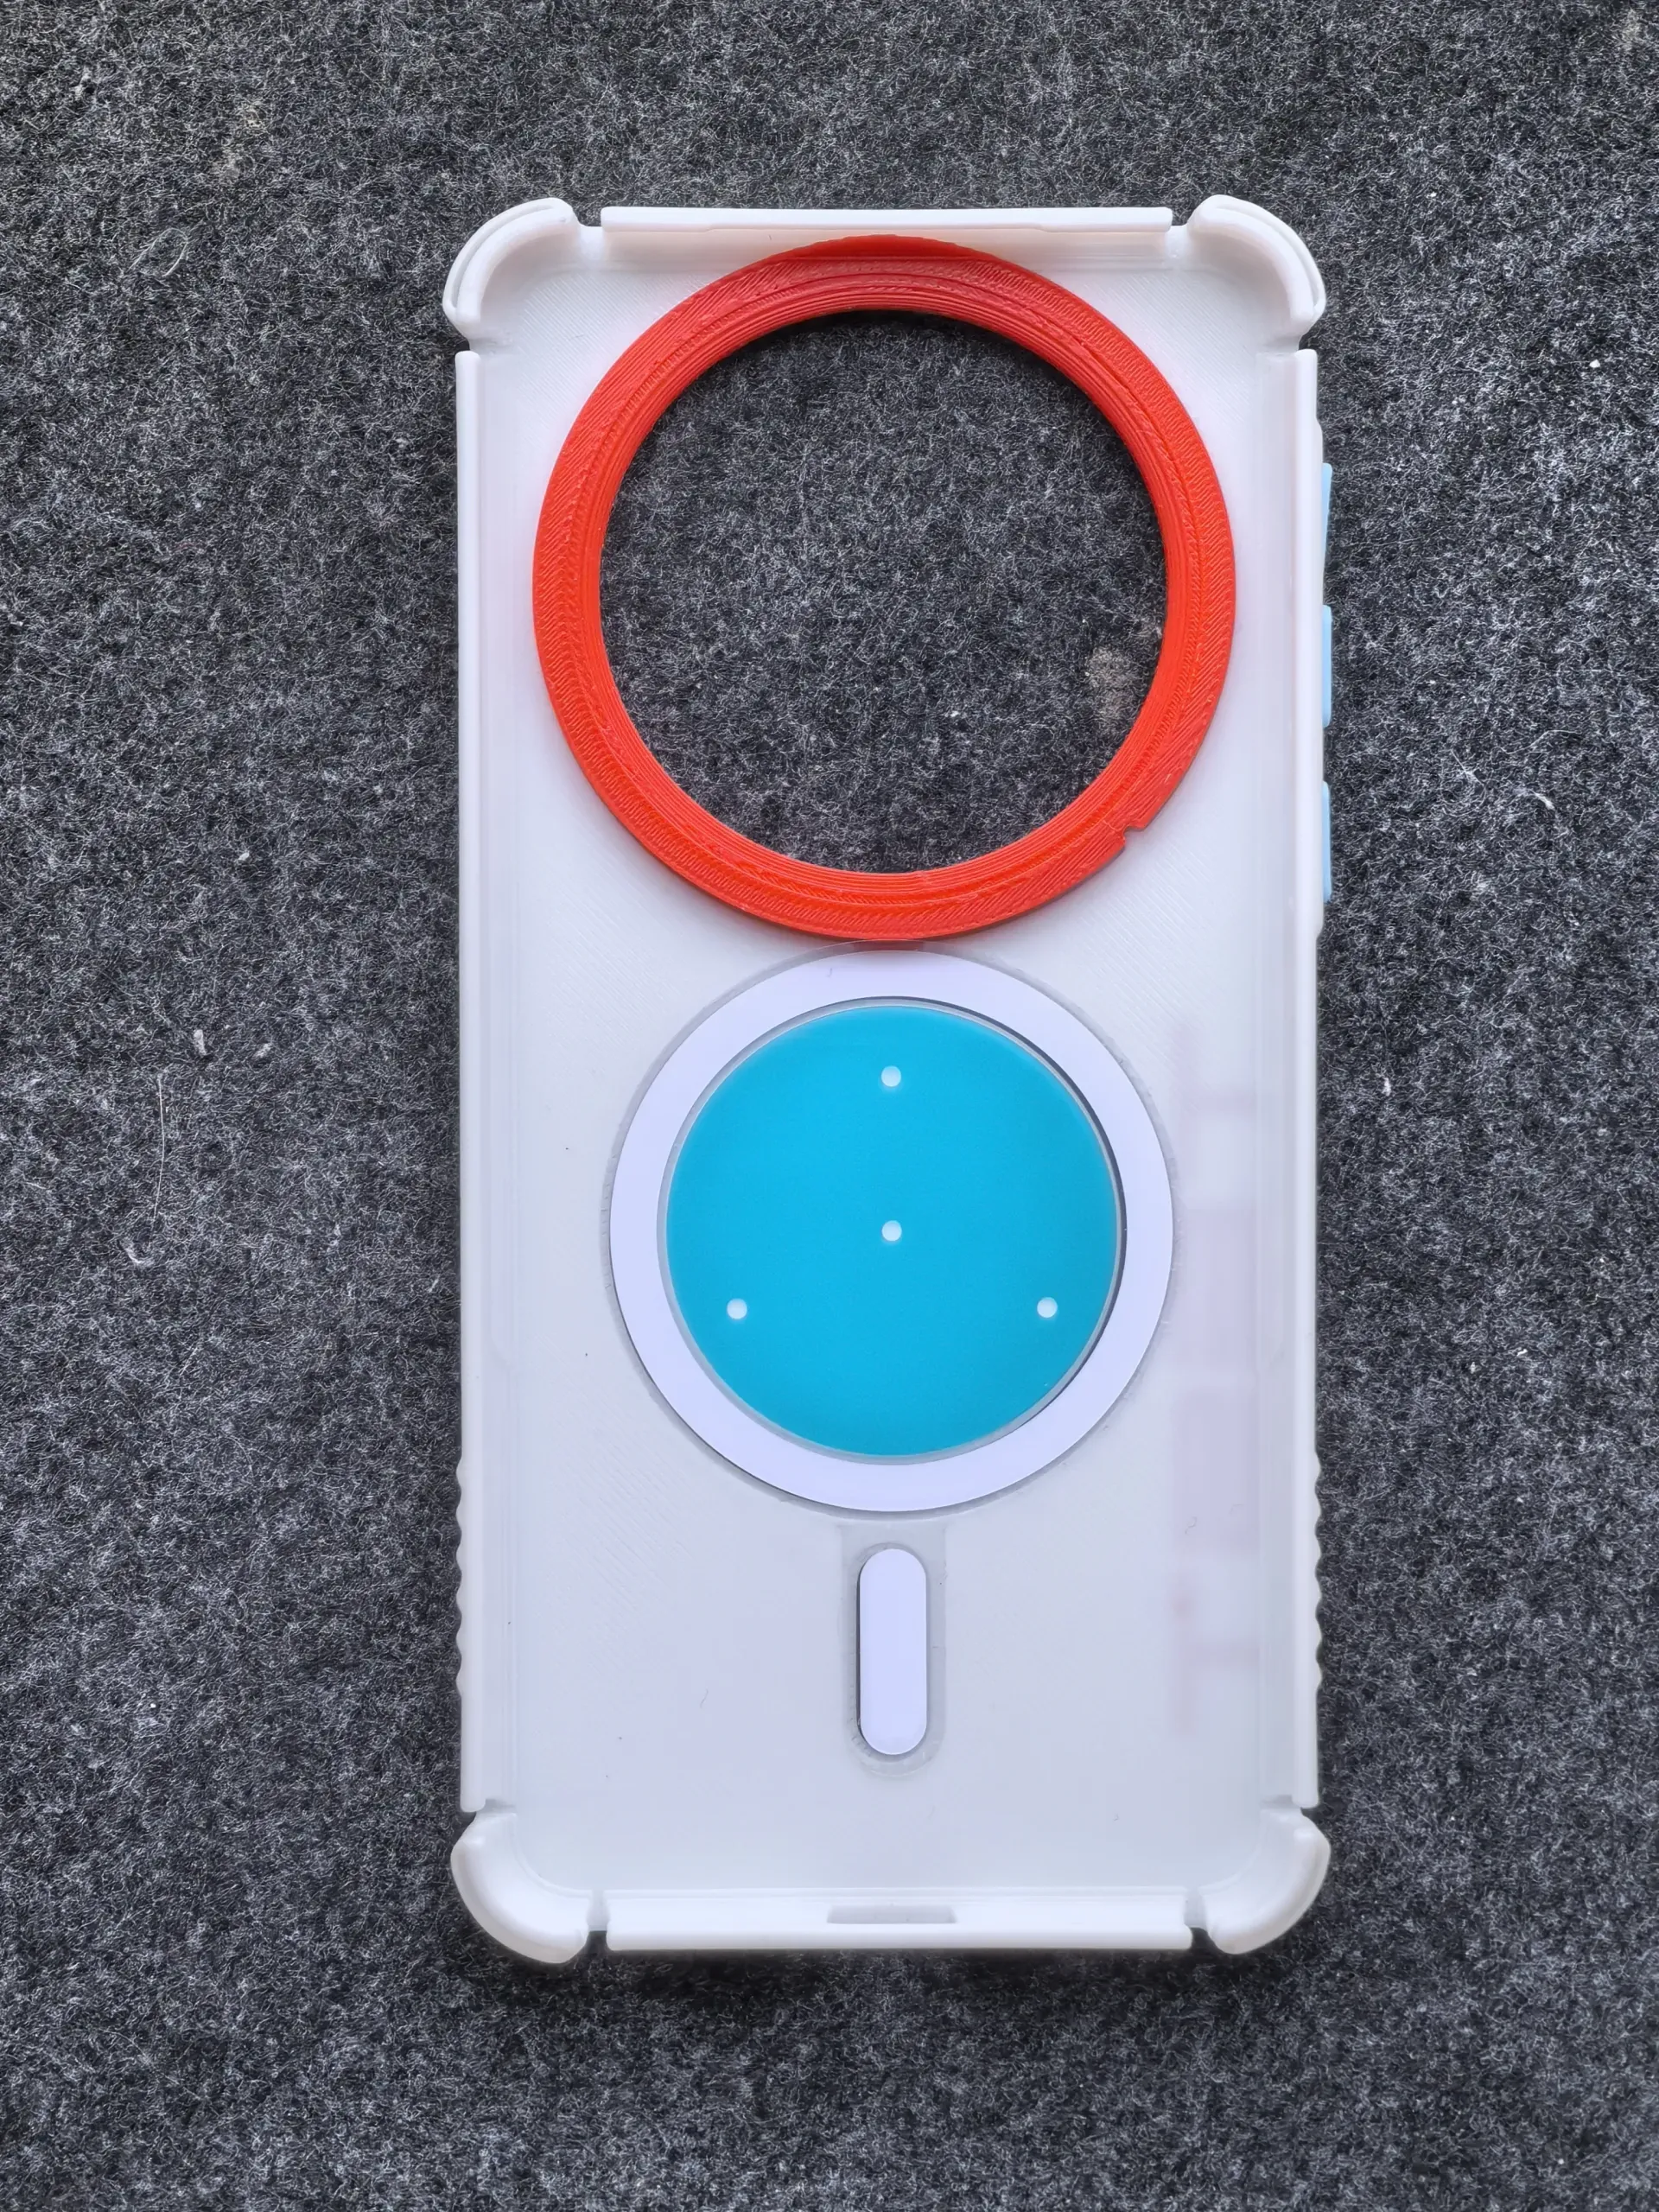
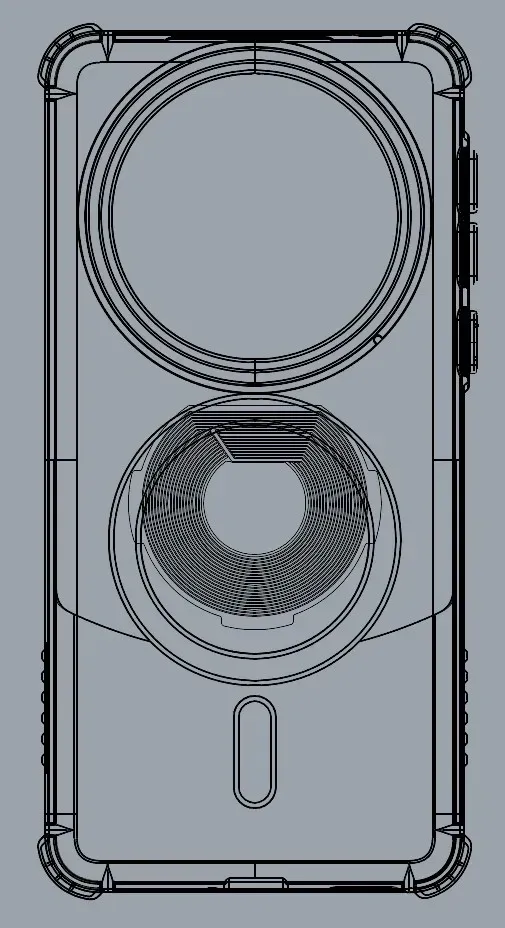

25.3.5, V1.4: Added Magsafe compatible version, requires purchasing a magnetic ring, as shown in the figure; modified the camera protection ring to fit wireless power banks, added positioning points on the inside; due to the Mate60 series wireless charging coil being positioned higher up, the magnetic ring can only be placed off-center (see figure below for position indication), actual tests show that it does not affect wireless charging when using a magnetic power bank, If you habitually use a wireless charging pad, please do not print this version
p.s: After a week of use and testing, because the back plate is relatively smooth, it is recommended to use a power bank with an anti-slip pad, the one in the GIF does not have anti-slip and will slide a bit if shaken vigorously. Three magnetic power banks have been tested: remax (below), Sharge Space Elevator, Sugarcane Factory Wireless Charger
When installing the magnetic ring, the white sticker should face the phone, first tear off the square release paper on the bottom side, keep the positioning release paper on the top side, first snap in the bar magnet below, then install the ring magnet
26.4.10, v1.5: Added dual-material TPU version (no AMS required), printing has risks, Please read the risk warning in the profile in detail before deciding whether to print.
License

You shall not share, sub-license, sell, rent, host, transfer, or distribute in any way the digital or 3D printed versions of this object, nor any other derivative work of this object in its digital or physical format (including - but not limited to - remixes of this object, and hosting on other digital platforms). The objects may not be used without permission in any way whatsoever in which you charge money, or collect fees.


Comment & Rating (1)