Desiccant container with thermometer hygrometer


Print Profile(4)


Bill of Materials


Description
Boost Me (for free)
I usually don’t ask for this, but I’ve noticed that many creators actively encourage it on other platforms—and it makes sense, as it helps increase visibility. So, if you can follow me, it would make difference. It’s a great way to support my work and show appreciation. For more insight subscribe my blog at: https://designrepcom.com/ This design is freely available for the community, but if you enjoy my work and would like to show your support, you can boost this project. Thanks!
Membership
This model is available for personal use. To obtain a commercial license, please check the available options.
Introduction
In the first use of the AMS of bamboo, I found that the humidity level was very high, so I put all the bags of silica I had inside it and tried to solve the problem. After having dried all my material in an oven at 60ºC, yes, I know it is dangerous, but the truth is that it worked—I put it back on the AMS.
The silica bags remained on the AMS, giving a horrible look to a piece designed with so much care in mind...
Eventually, the extra desiccant will no longer be needed. But in the meantime, the best place will be inside the spools. In this case it can accompany the spool when I put it outside the AMS, when I no longer need it.
Some time ago, I made a container for desiccant storage; this one:

Now, after many requests, I bring to you the same design you like, with the nice thread and logo, but now with a mini thermometer/digital hygrometer embedded in the lid.

Assembly instructions
In this case you may need to buy this very cheap and strangely reliable:
- thermometer/digital hygrometer.
You can find it everywhere on the internet; I've bought it in the link above.
Version with Isolation of the hygrometer
If you are willing to sacrifice a little of the space on the desiccant volume, then there is a new version for you. This one is unique in a way, since the hygrometer compartment is physically separated from the desiccant; the air admission is taken from the top.
 |  |
Thanks to Takitus for bringing this issue to my attention and “forcing” me to find a solution to this conundrum, as he calls it. His help was inestimable in controlling and comparing results. Kudos to him.
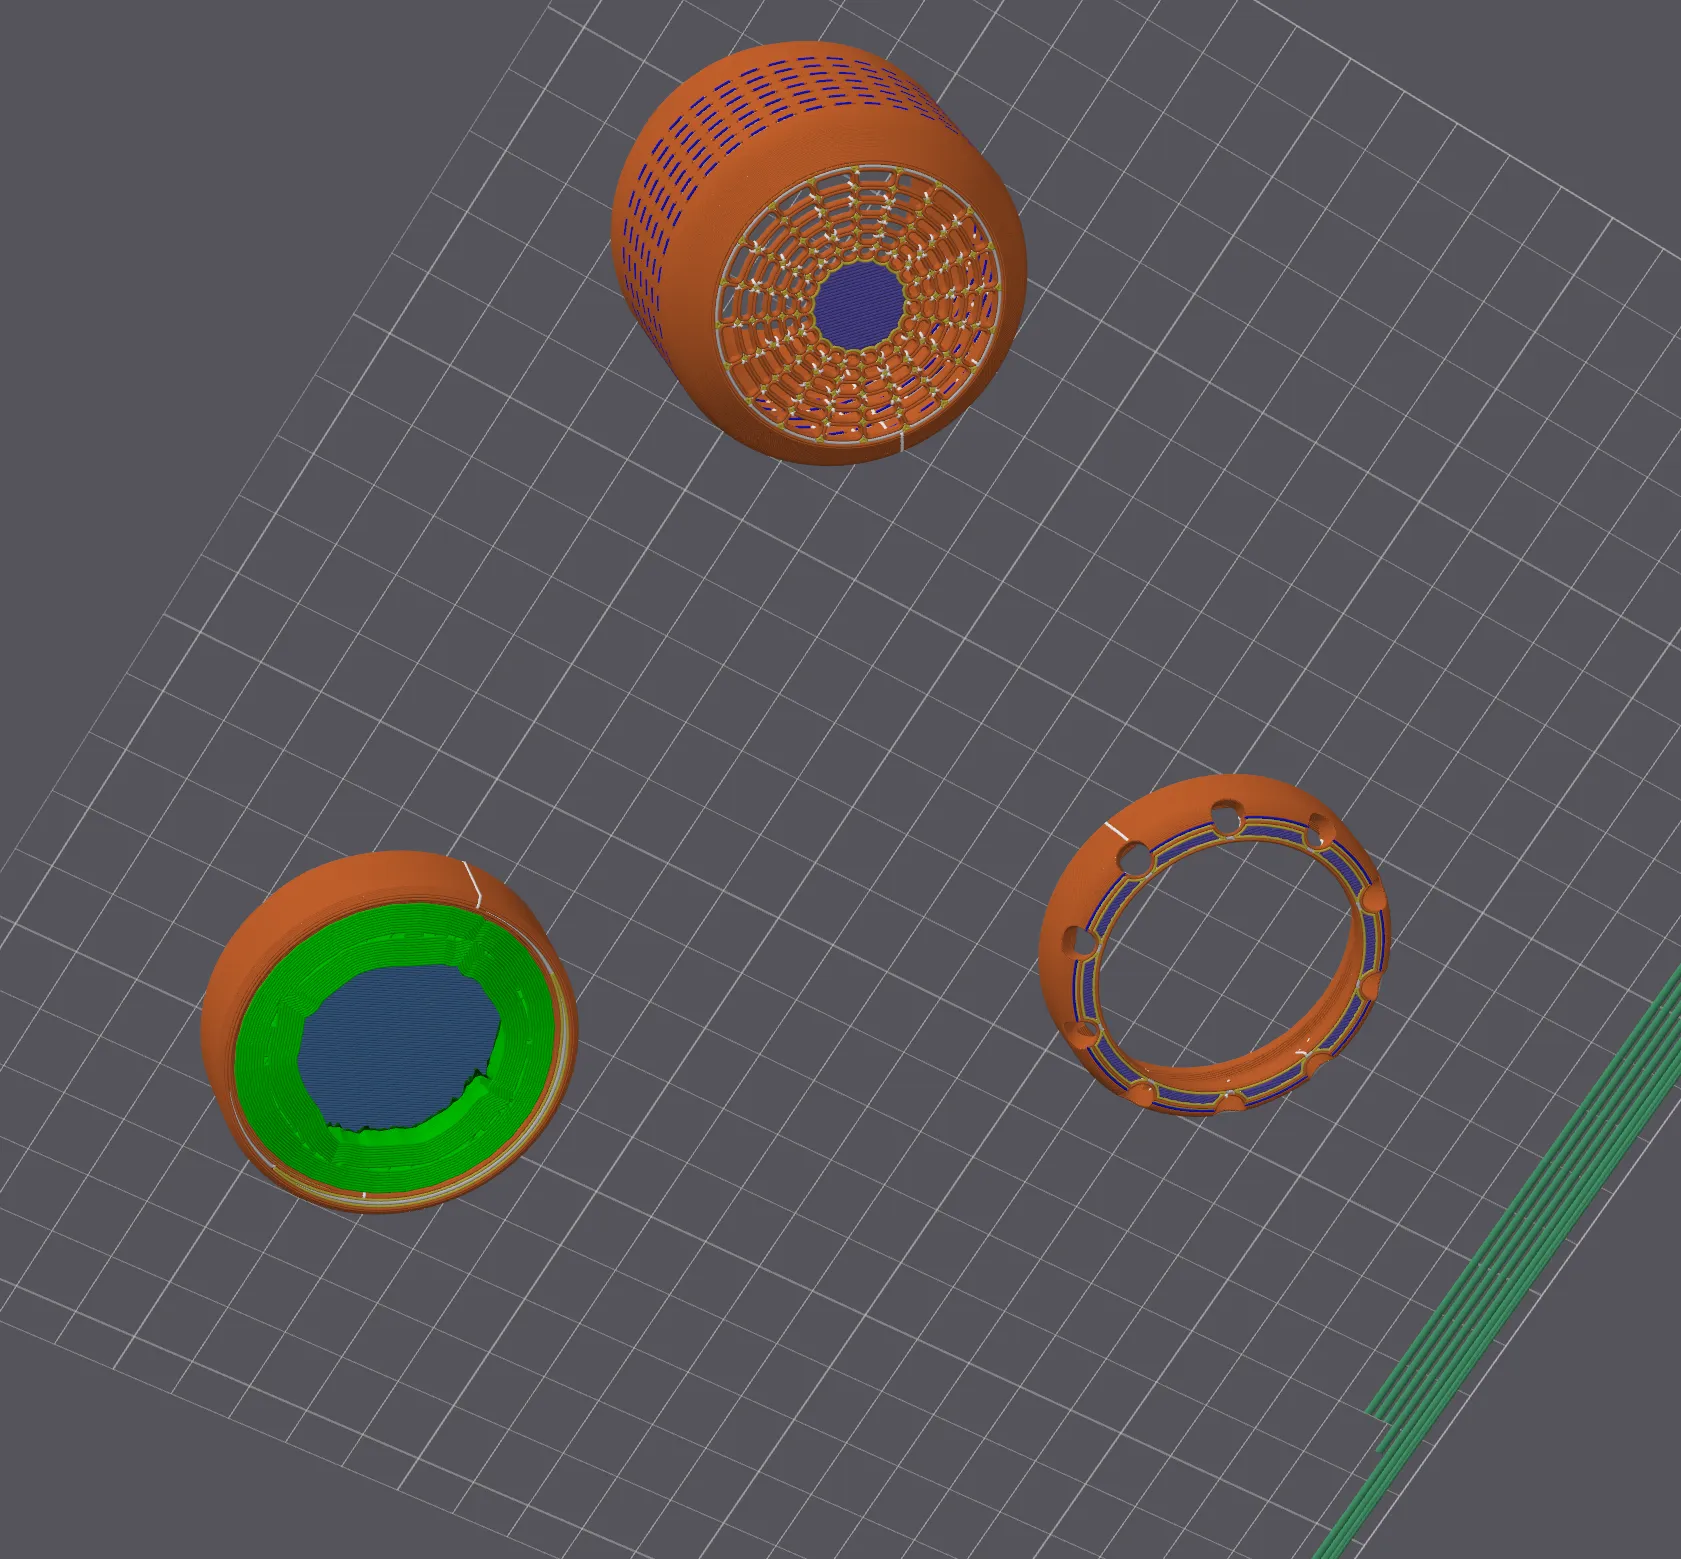
Note:
The structures in green are supports; you should remove them.
You can find this variation by following these instructions:
- Sometimes I update or add more print profiles; they can be found under the section “Download STL/CAD Files.”

Change log
- Version added without the Bambu Lab logo for those with other machines.
Curious About My Tools? Check This Out!
For those of you who often ask about the tools I use to bring ideas to life, this article, The Journey From Idea To Object (Part I), offers some insights into the initial stages. It highlights the use of various tools, including software like Autodesk Fusion for CAD design, Blender for render and Bambu Studio for 3D printing preparation, and other... So, if you're curious about the software and hardware too, that I've incorporate in my workflow, take a look at the link for more details!" – Visit https://designrepcom.com/ for much more.
License
You shall not share, sub-license, sell, rent, host, transfer, or distribute in any way the digital or 3D printed versions of this object, nor any other derivative work of this object in its digital or physical format (including - but not limited to - remixes of this object, and hosting on other digital platforms). The objects may not be used without permission in any way whatsoever in which you charge money, or collect fees.
Comment & Rating (756)