Search models, users, collections, and posts

AMS Lite Stand vertical
IP Report
Print Profile(1)

0.2mm layer, 3 walls, 20% infill
Designer
10.1 h
2 plates
Open in Bambu Studio
Boost
37
106
3
1
60
12
Released
Bill of Materials
List other parts
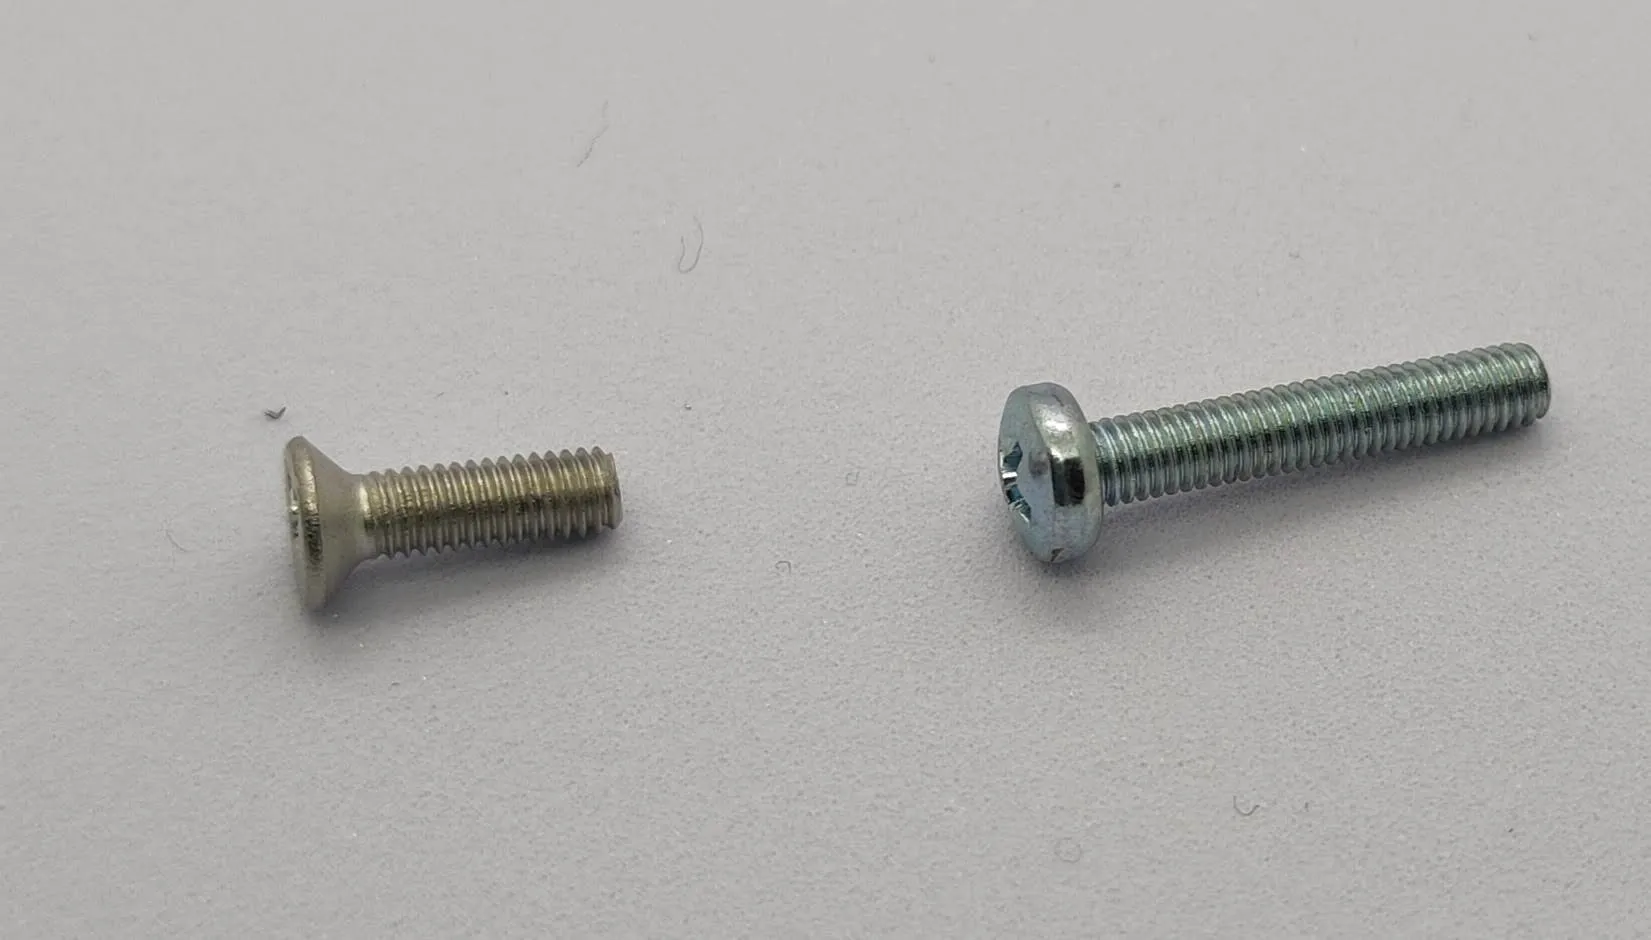
- Gewindeschraube3.0x16 x 15:
- Gewindeschraube3.0x10 x 18:
- Anti-Rutsch-Matte x 1:
Description
Content has been automatically translated.
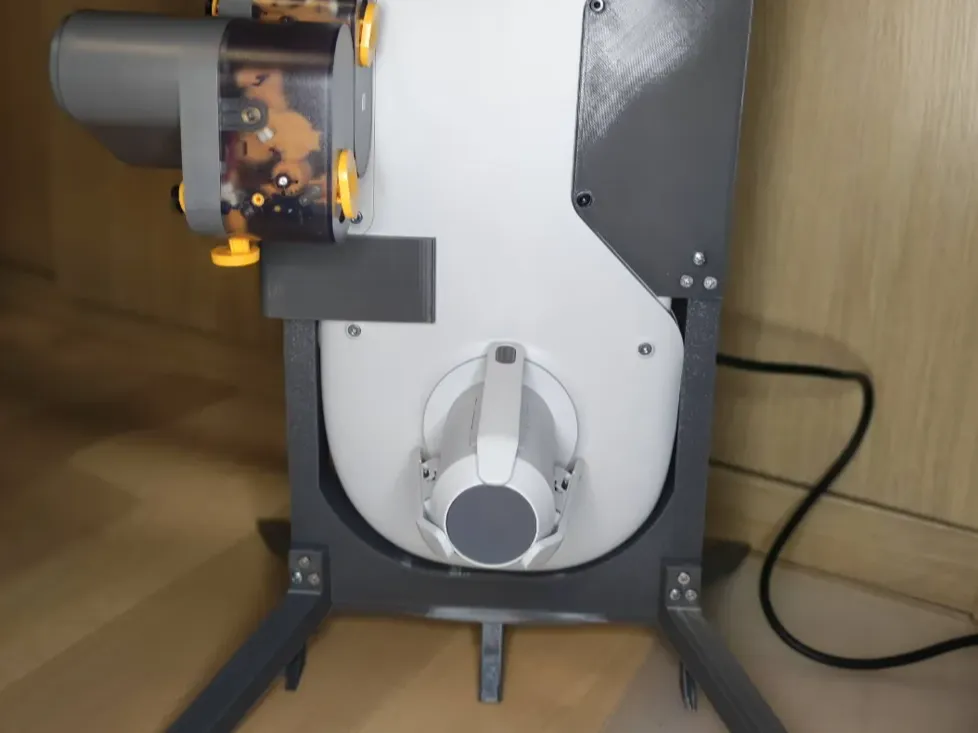
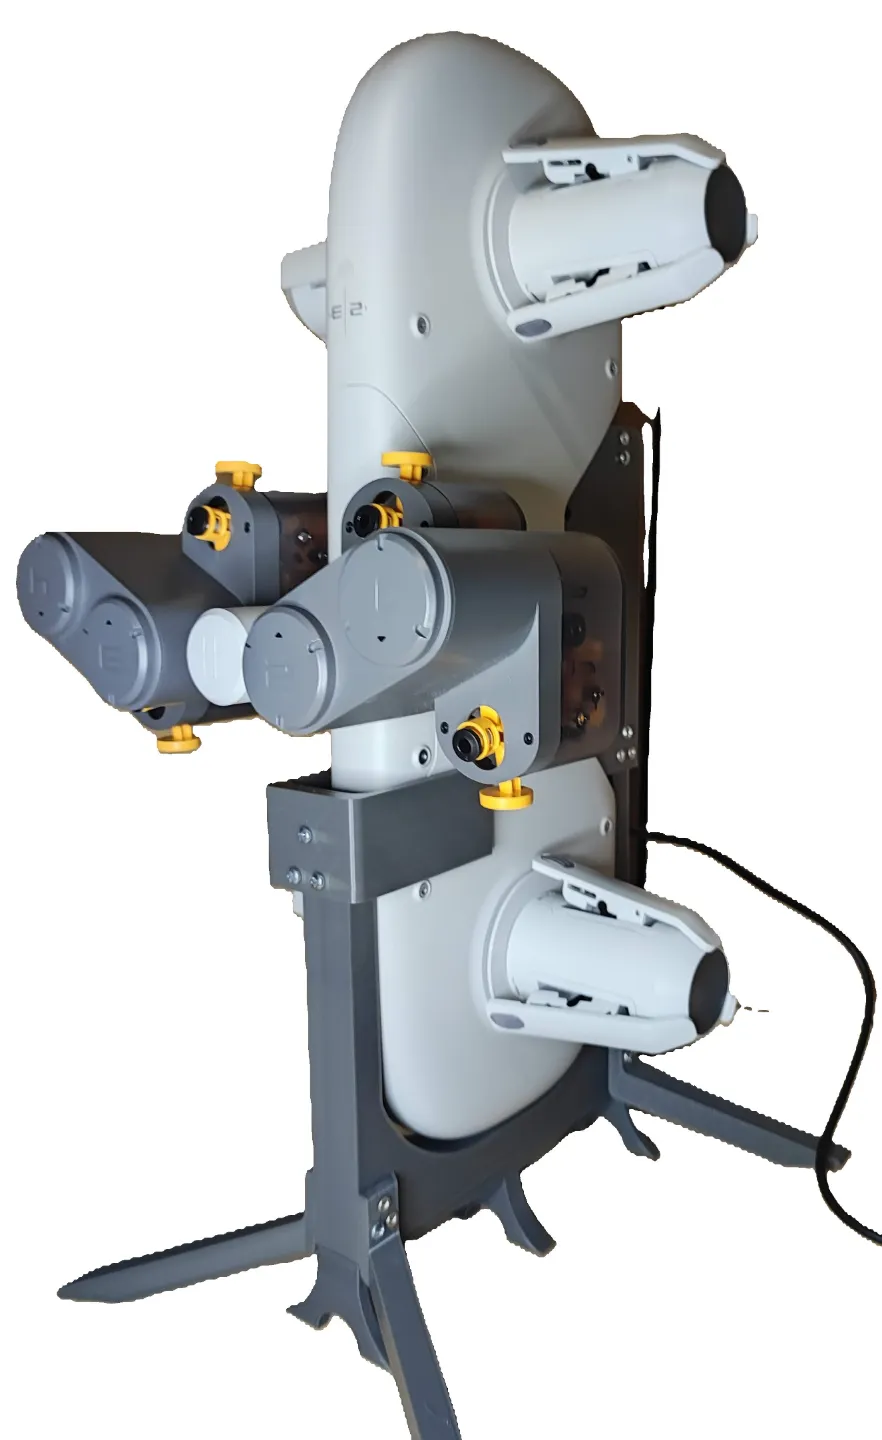
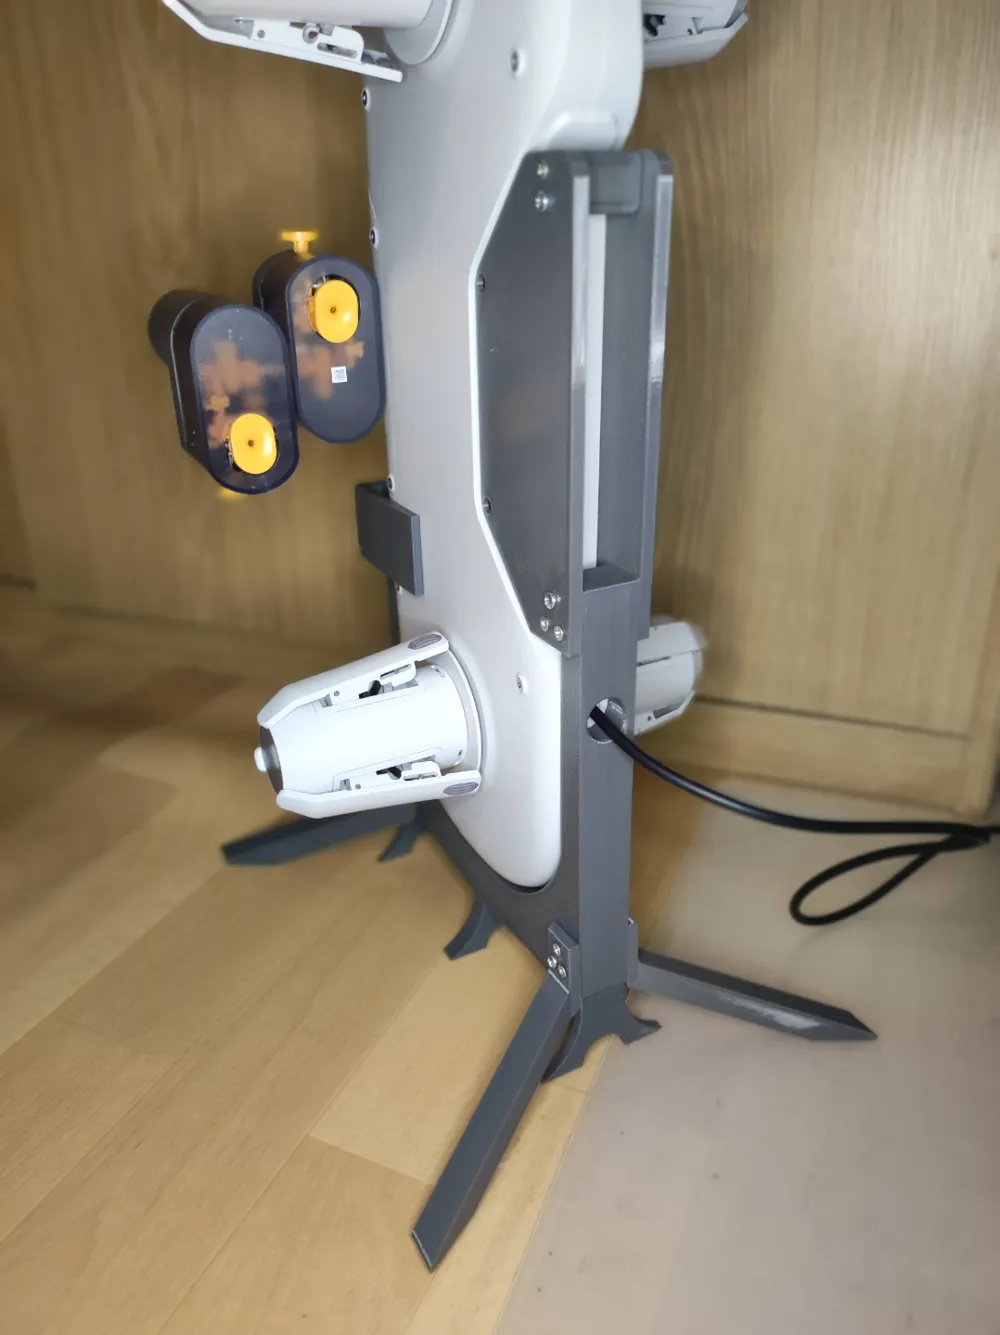
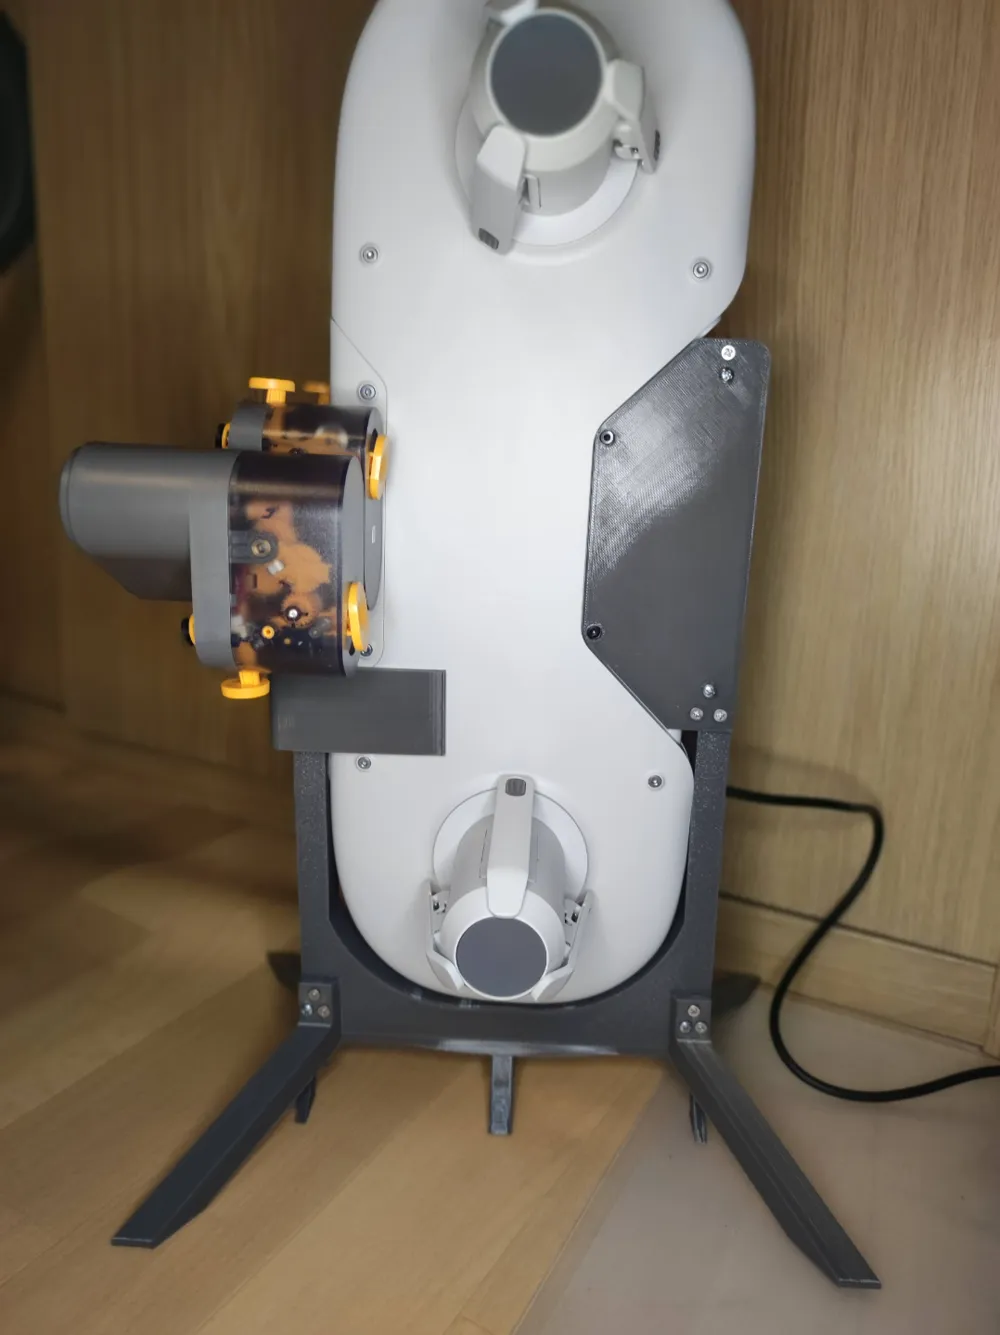
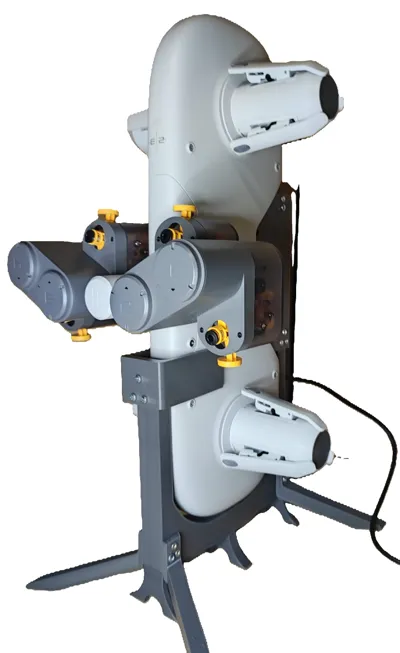
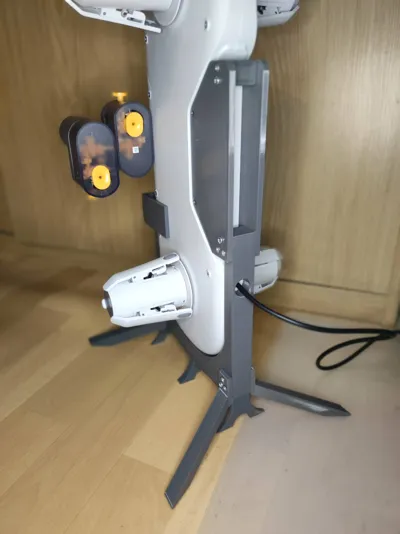
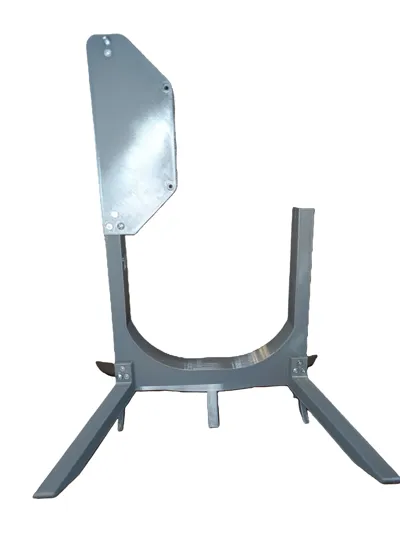
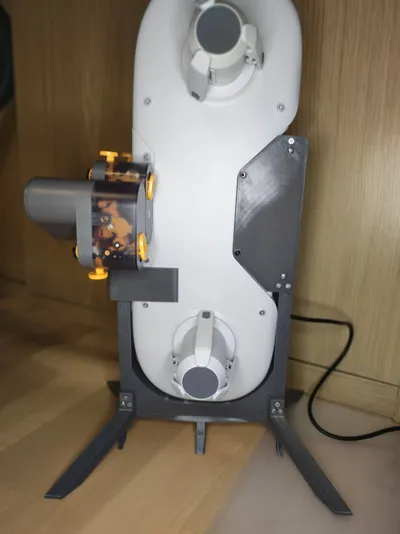
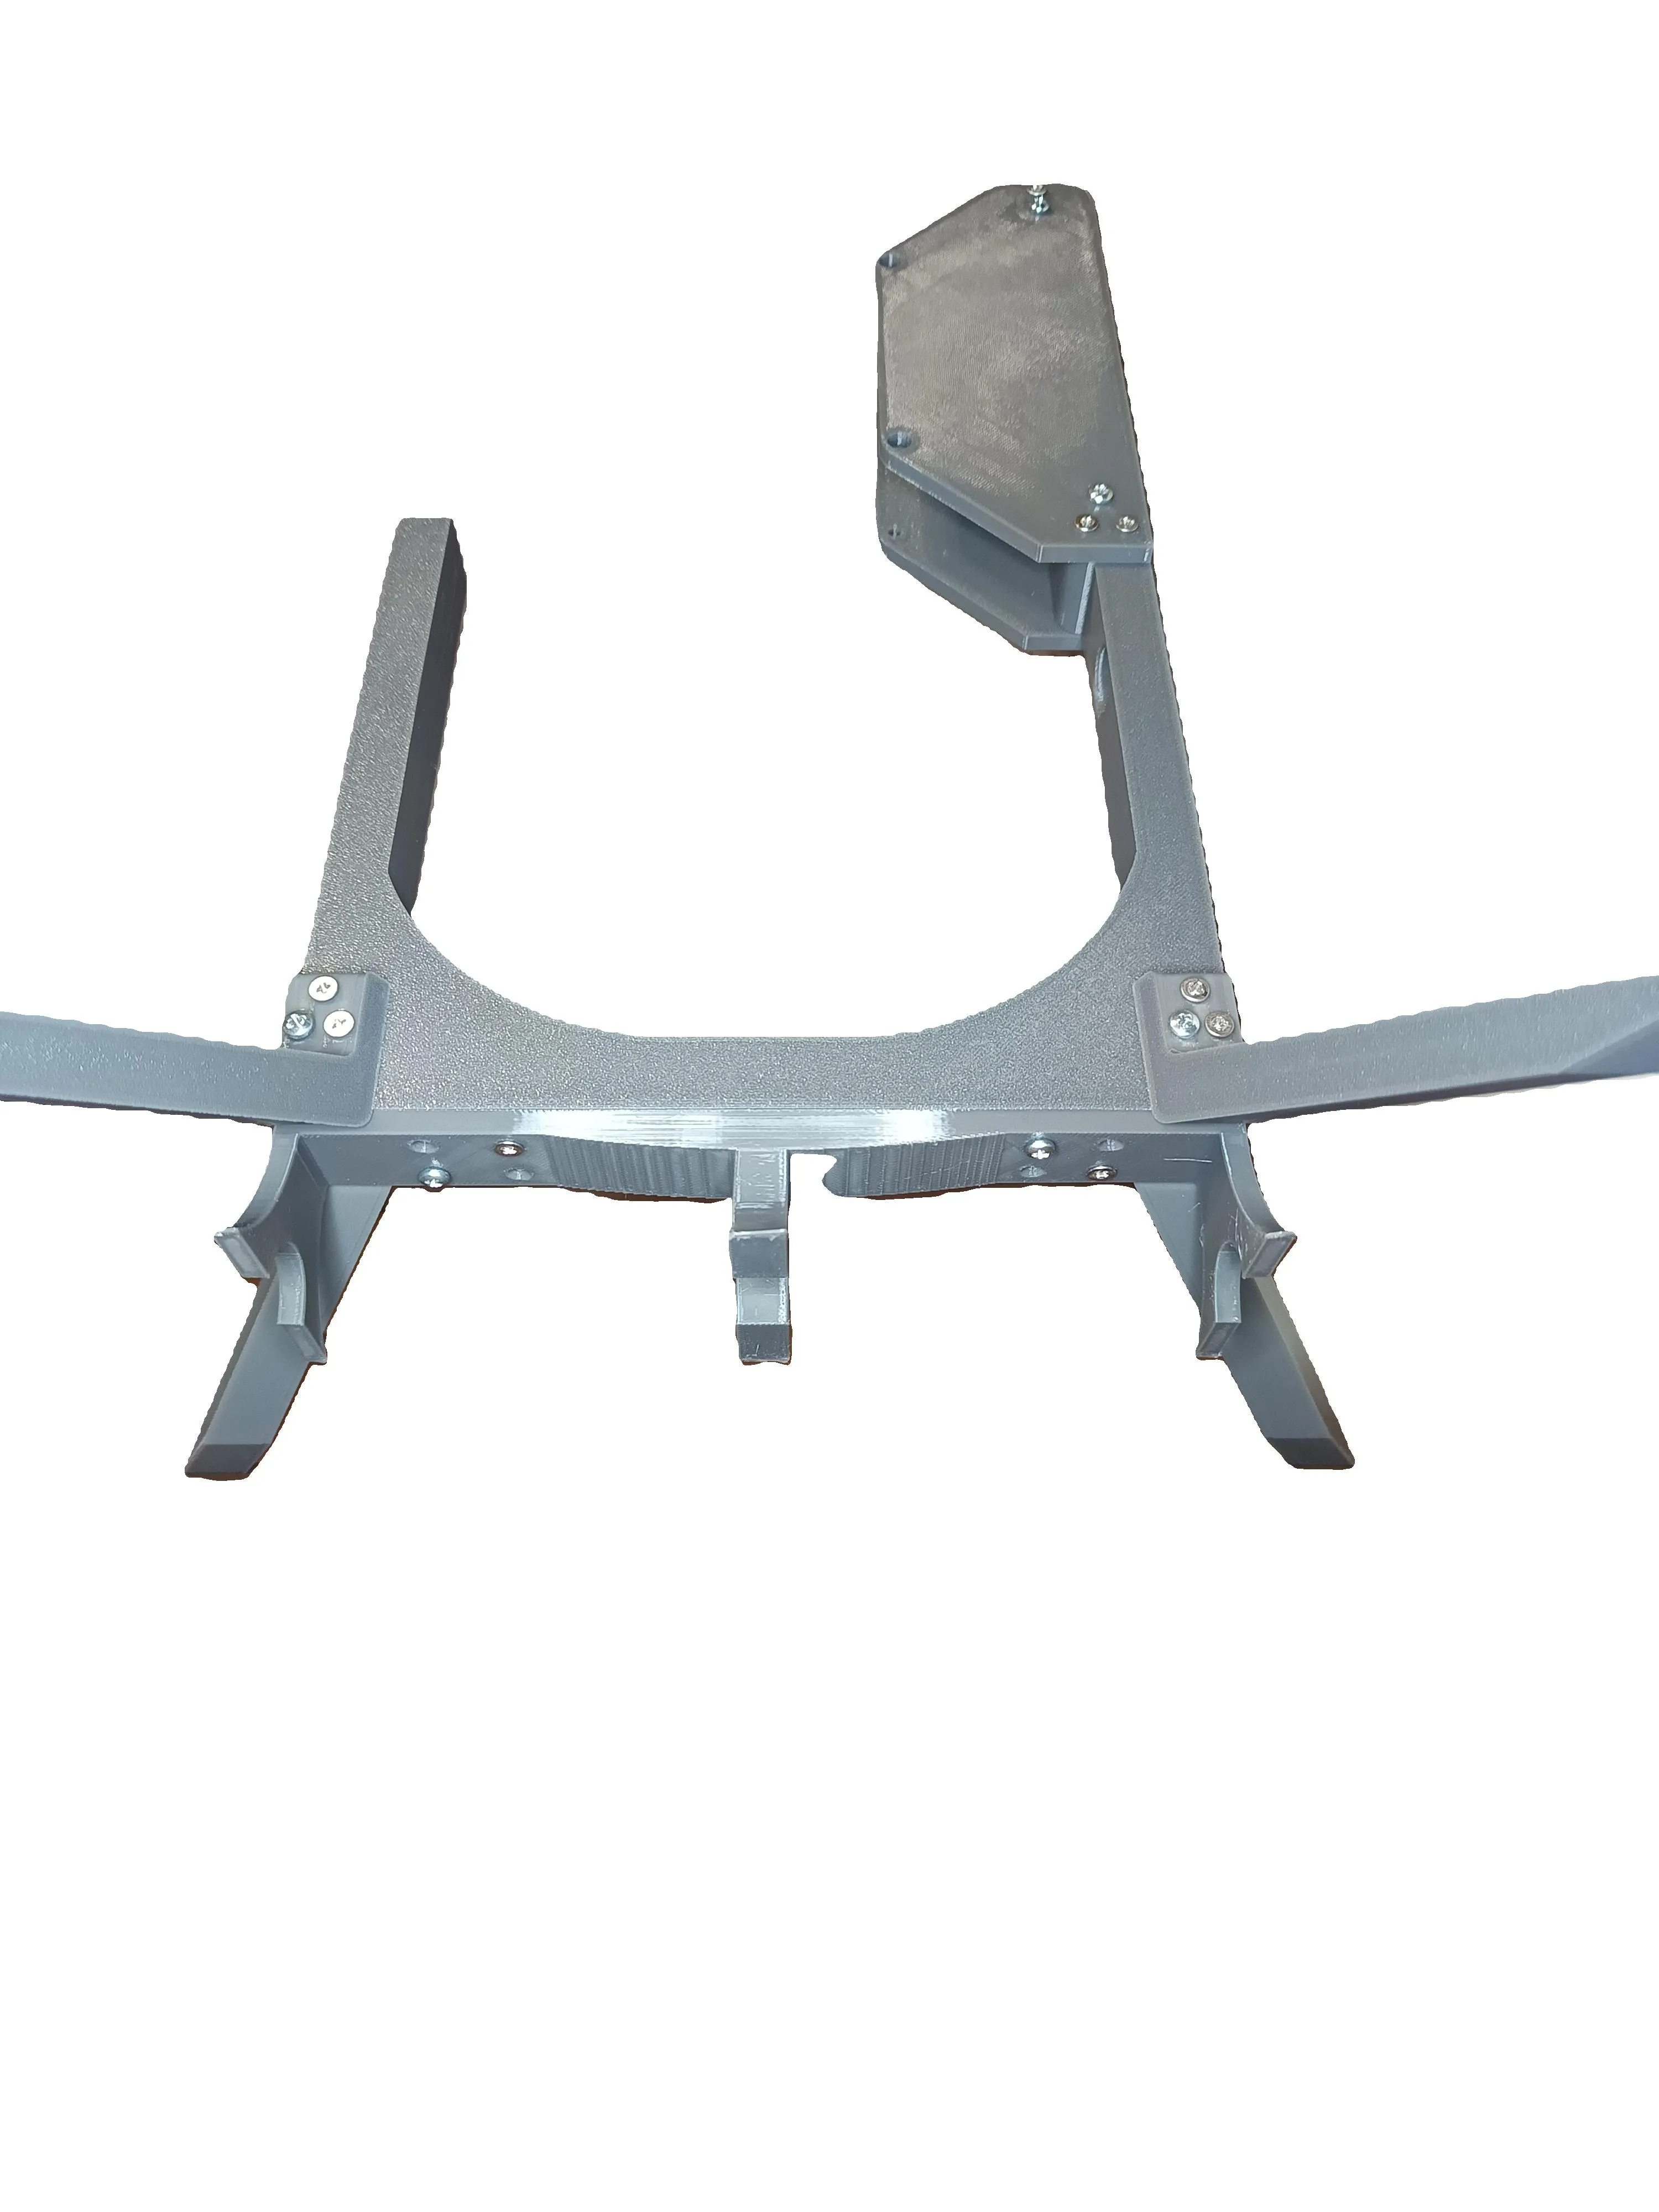
This mount allows for a vertical setup of your AMS Lite.
- Filament insertion is easier.
- The AMS Lite requires significantly less space compared to the original mount.
- The AMS Lite mount is firmly attached to the AMS Lite.
- The four original screws are used to connect the mount to the AMS Lite.
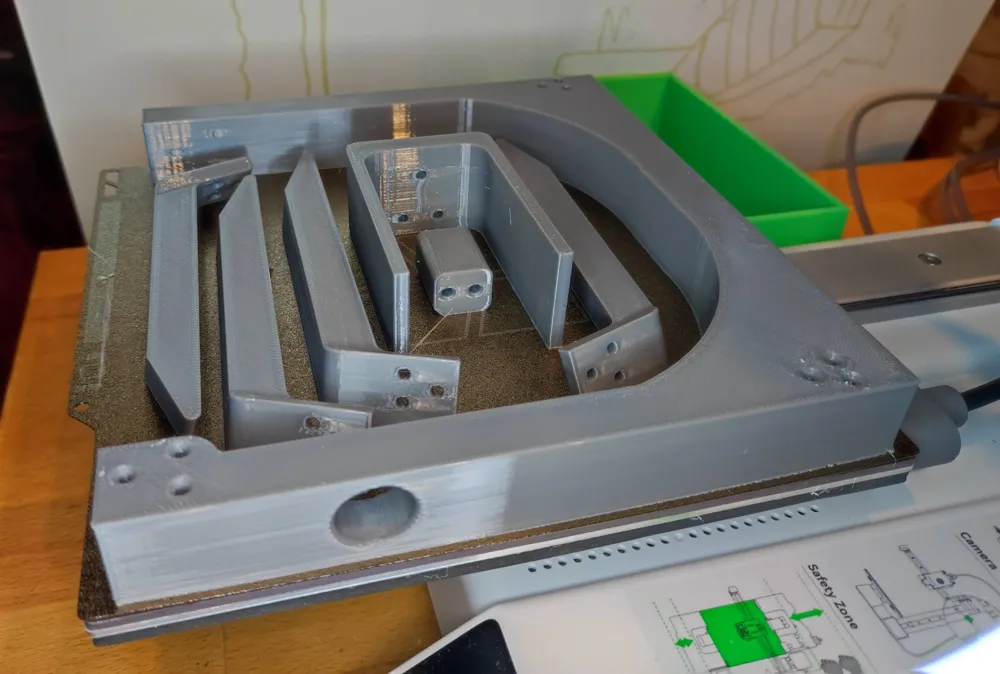
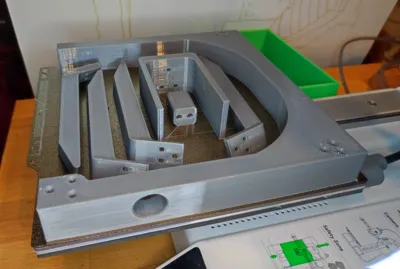
- Printable on the A1 Mini.
- Best used with a non-slip mat underneath
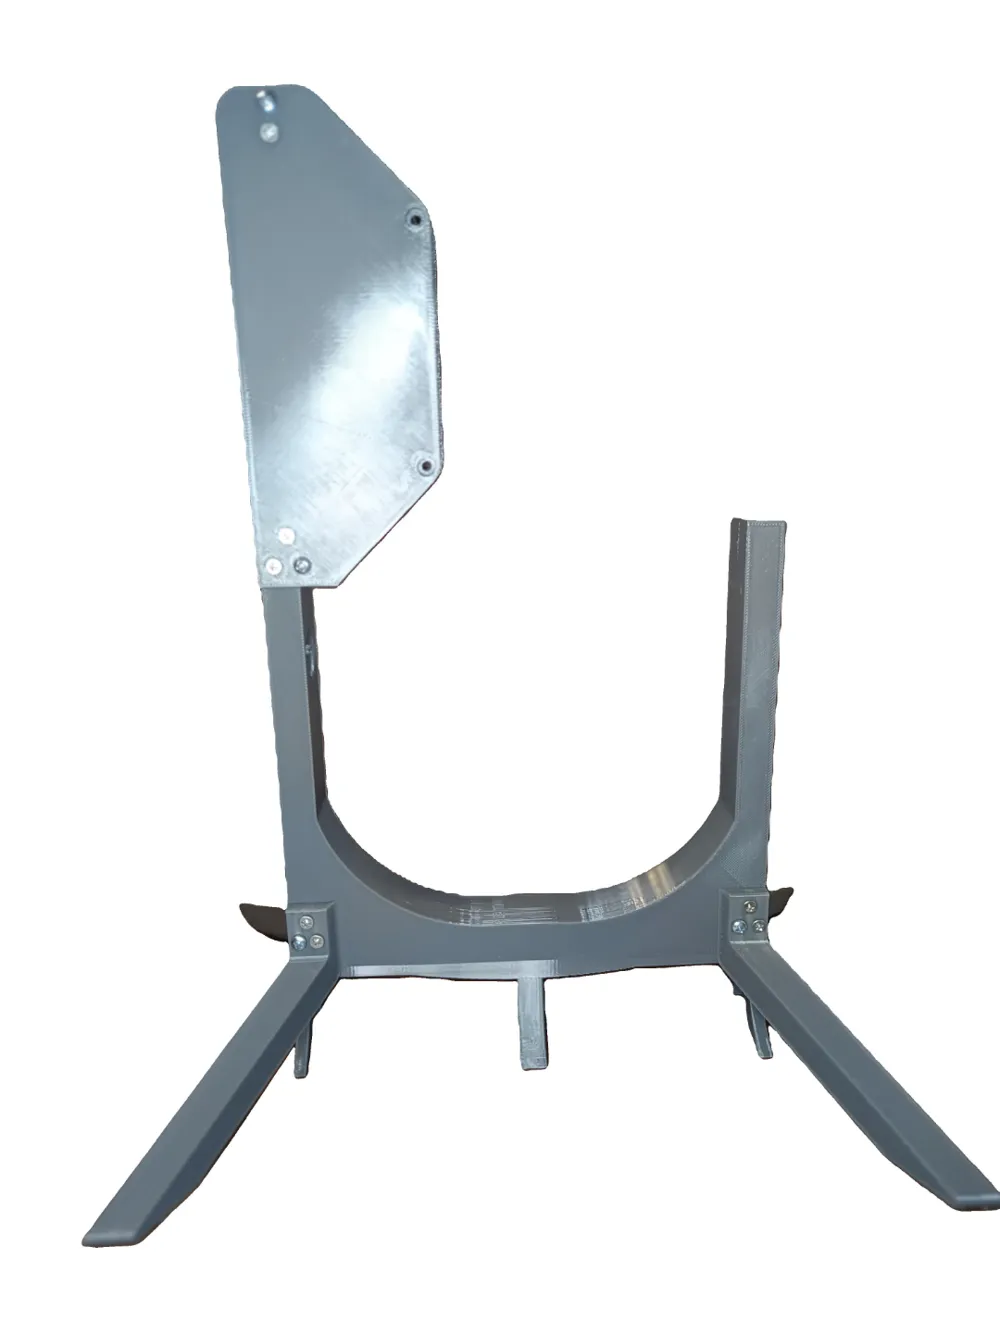
I printed all parts in PETG.
The threaded holes are M3 0.35 fine thread for screws with a maximum length of 16mm.
Such threaded screws are available at DIY stores and are labeled, for example: Phillips 3.0x16 DIN7985 or 3.0x10 DIN965 stainless steel.
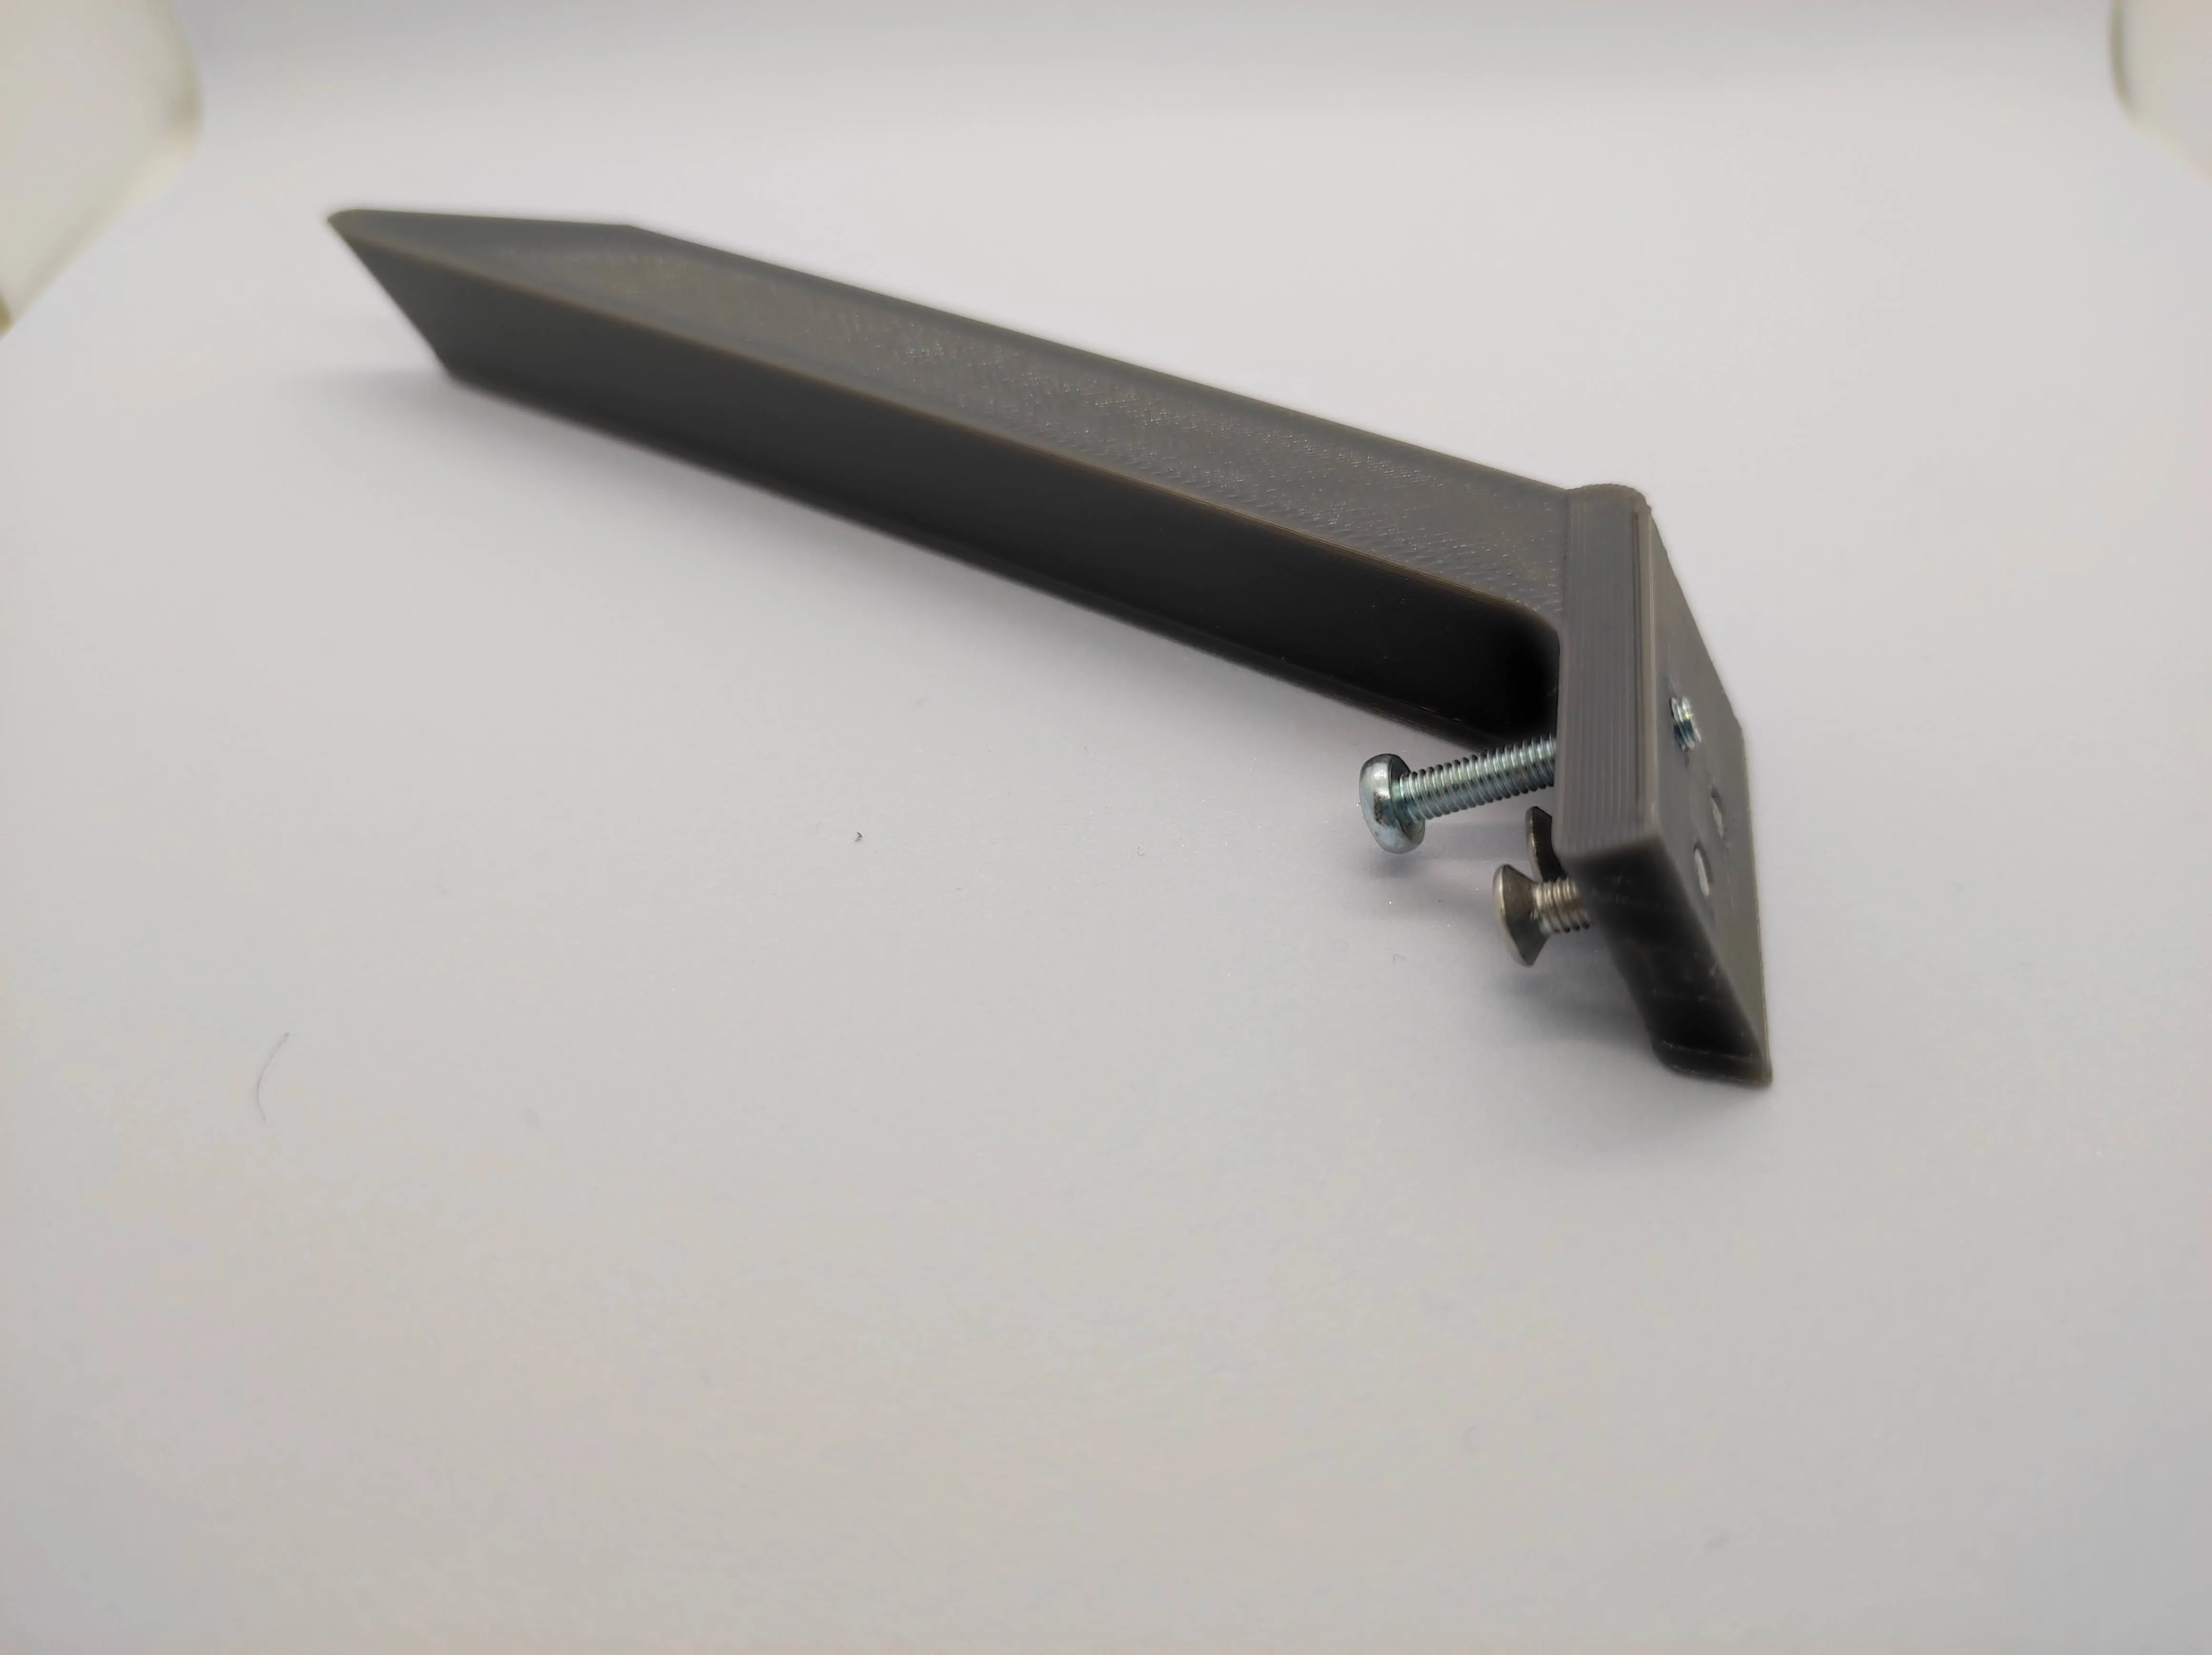
I used one 16mm screw and two 10mm screws for each of the three holes.
Assembly is very simple:
- Loosen the original screws from your AMS Lite mount; these will be reused in step 7.
- Screw all purchased screws into all legs and plates until the screws protrude slightly on the inside.
- Place one leg on the large mount. The chamfer will help you locate the hole in the large mount.
- Tighten the screws until they are flush.
- Attach all parts EXCEPT the rear mount.
- Carefully pull the cable of your AMS Lite through the eyelet and simultaneously insert the AMS Lite into the mount.
- Screw the original screws through the mount into the AMS Lite.
- Attach the rear mount as well.
And your vertical AMS Lite setup is complete.
License

This user content is licensed under a
Creative Commons Attribution-Noncommercial-Share Alike


Comment & Rating (3)