
Tin Whistle
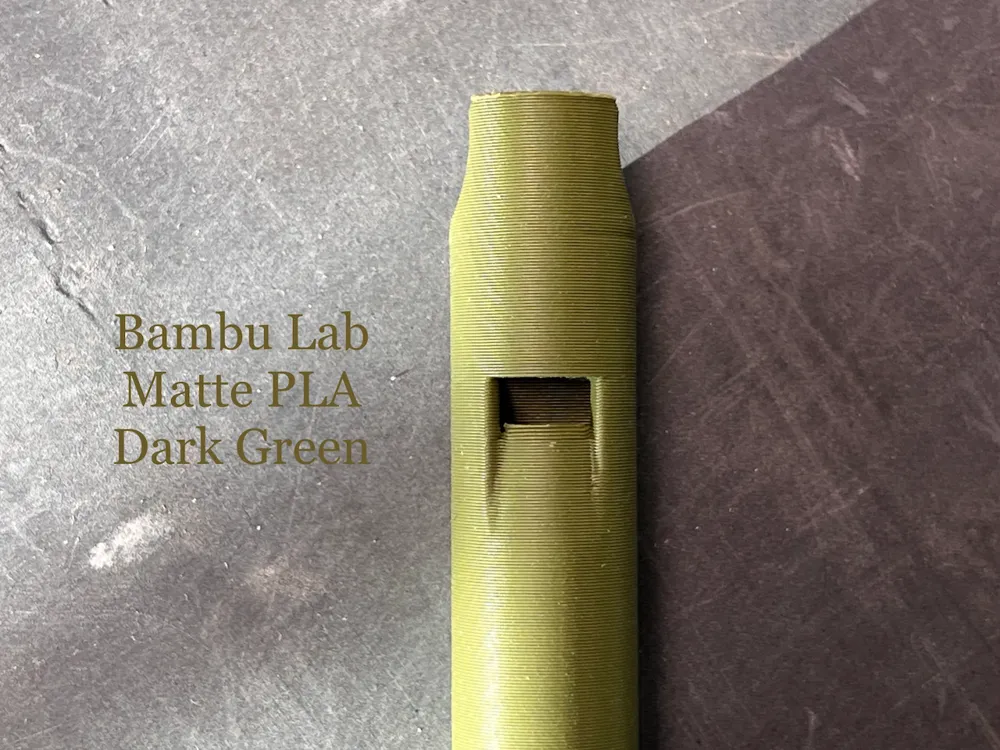
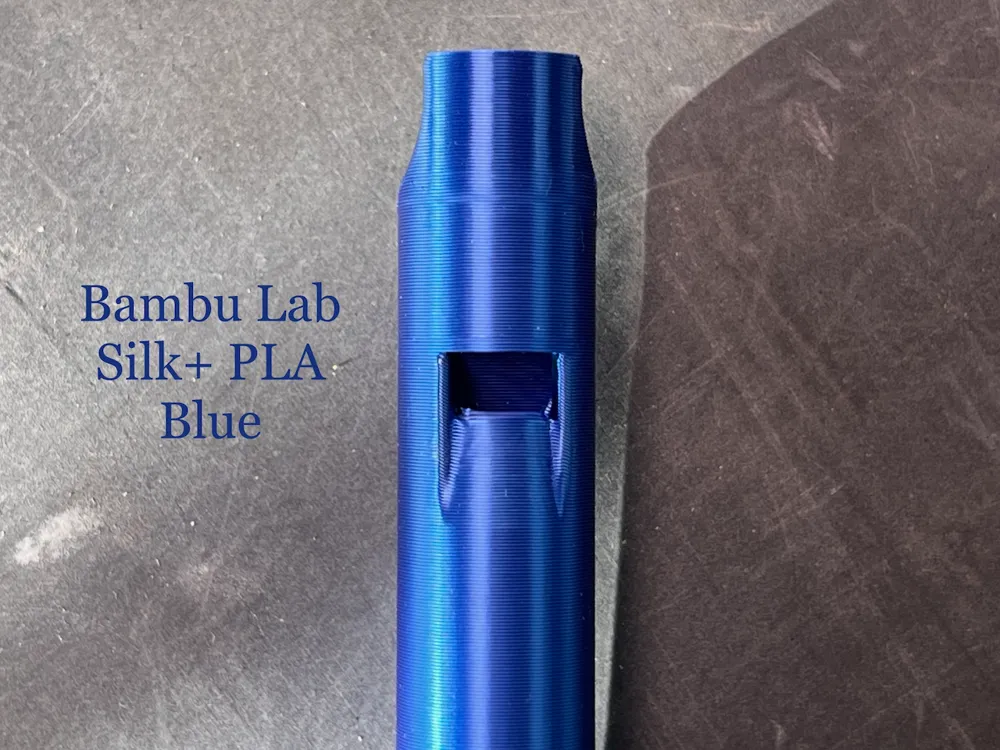
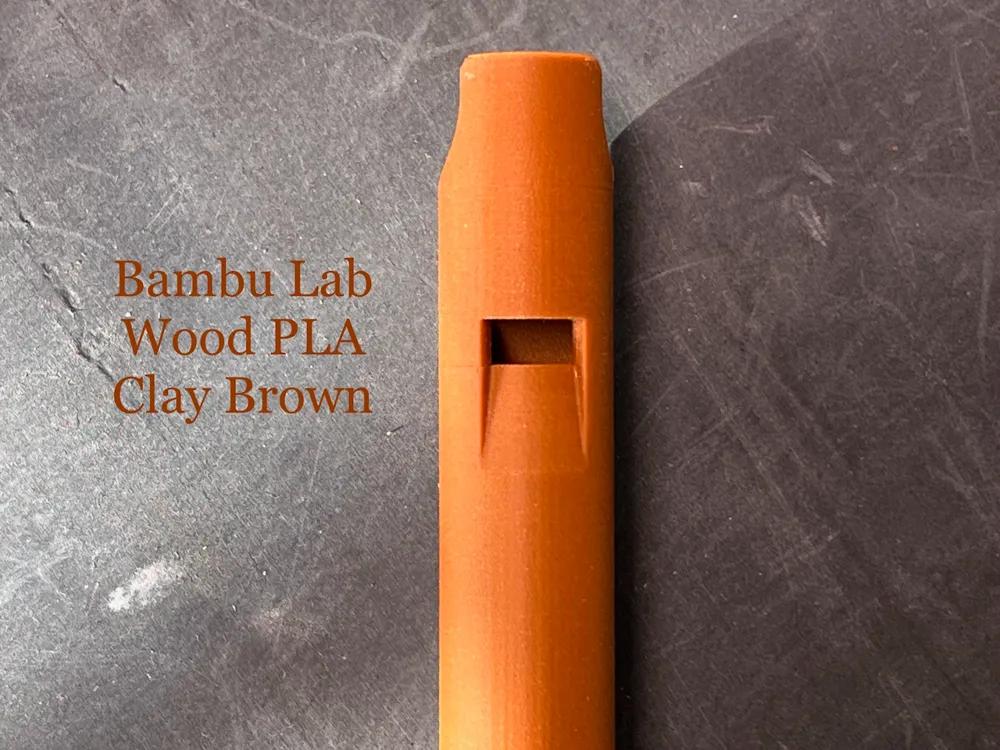
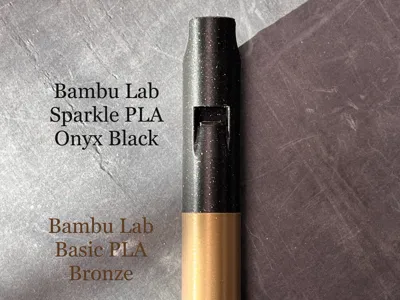
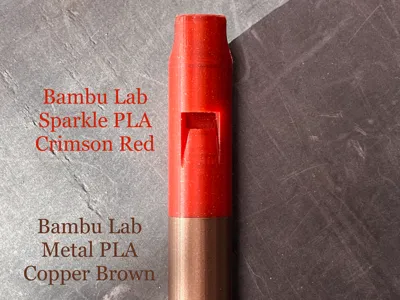
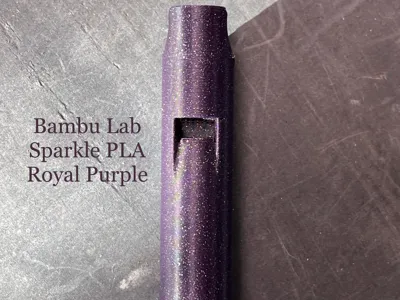
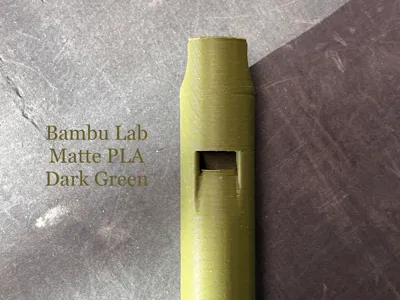
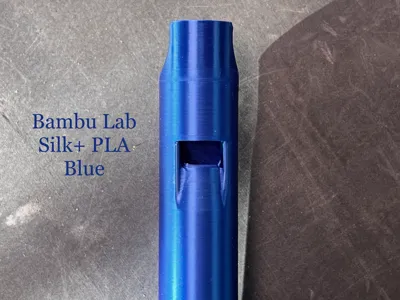
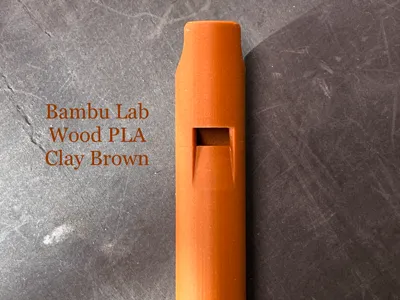
Print Profile(4)


Bill of Materials






Description
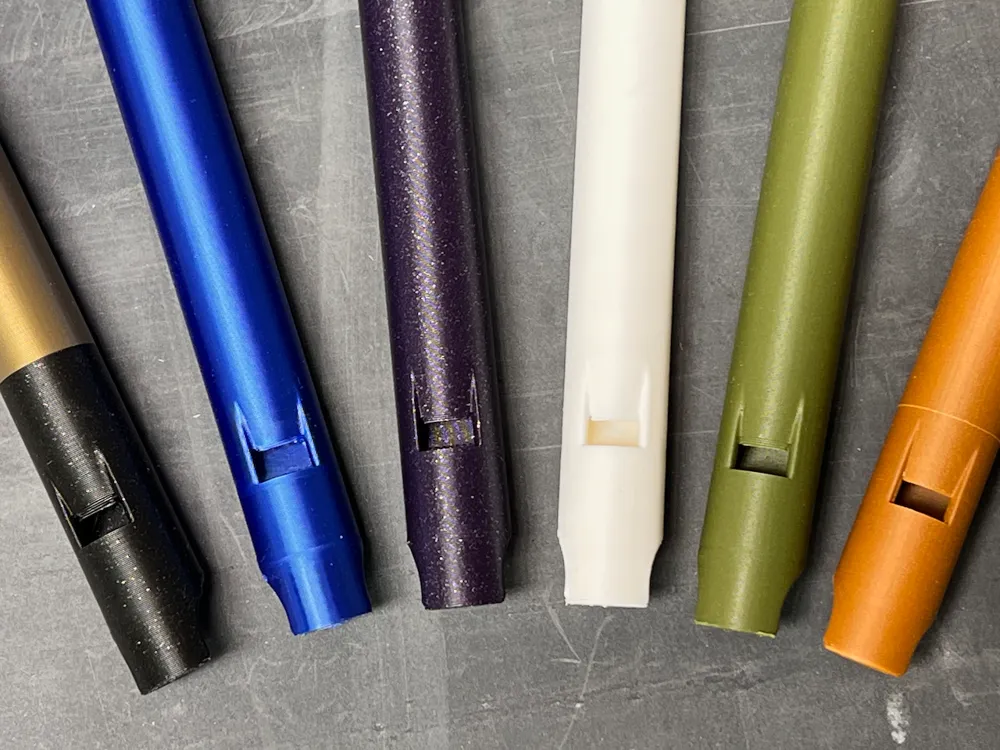
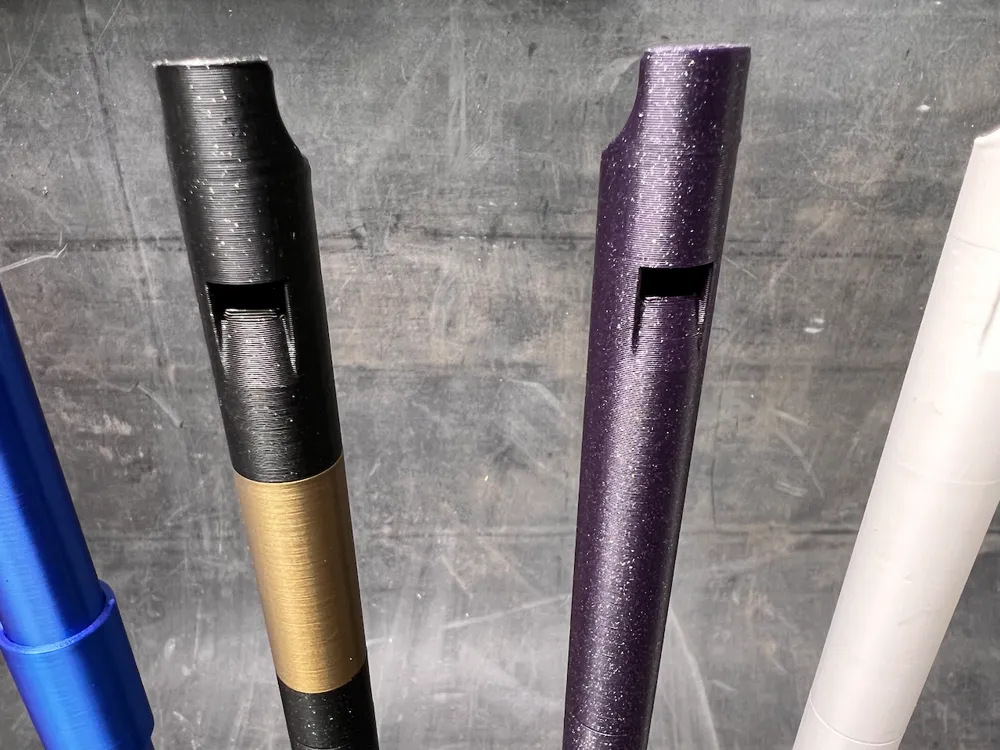
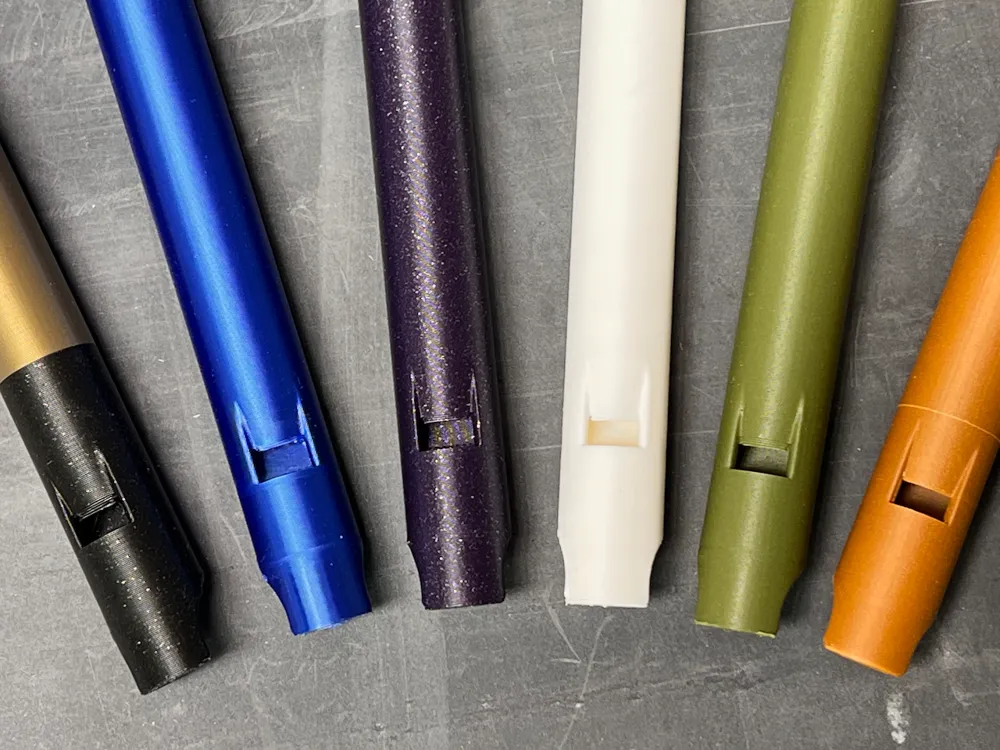
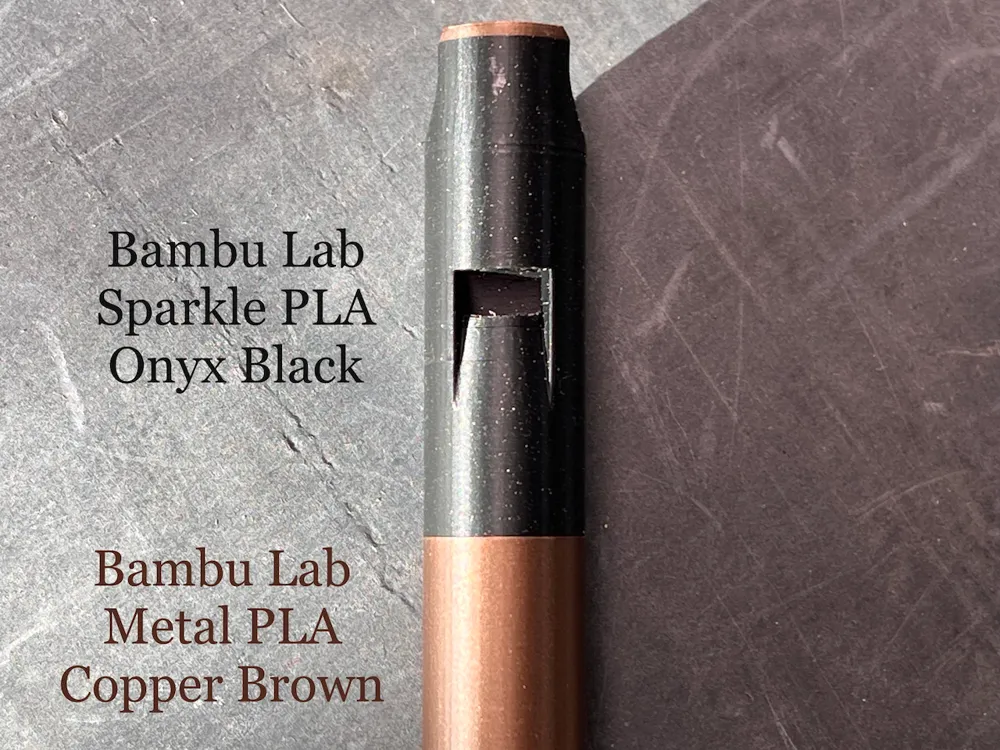
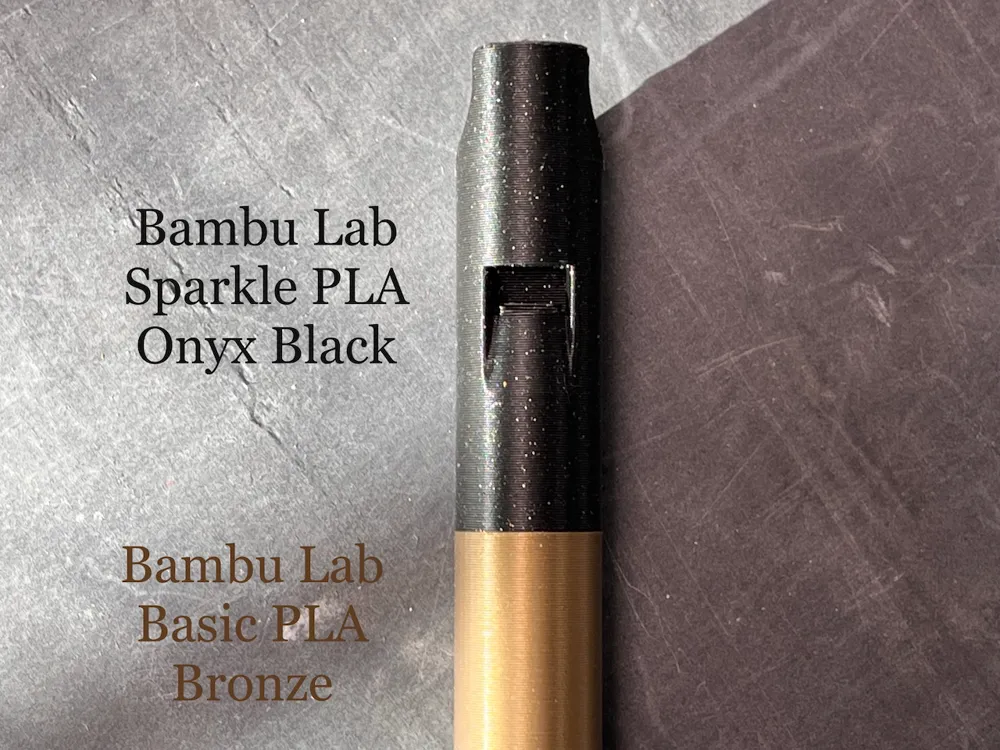
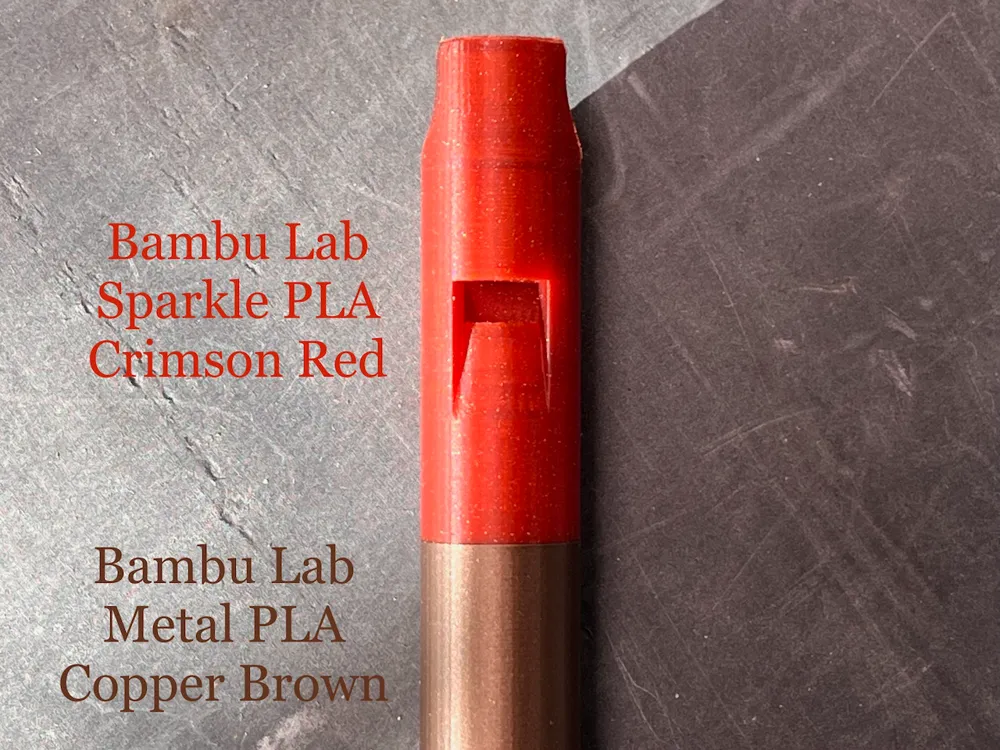
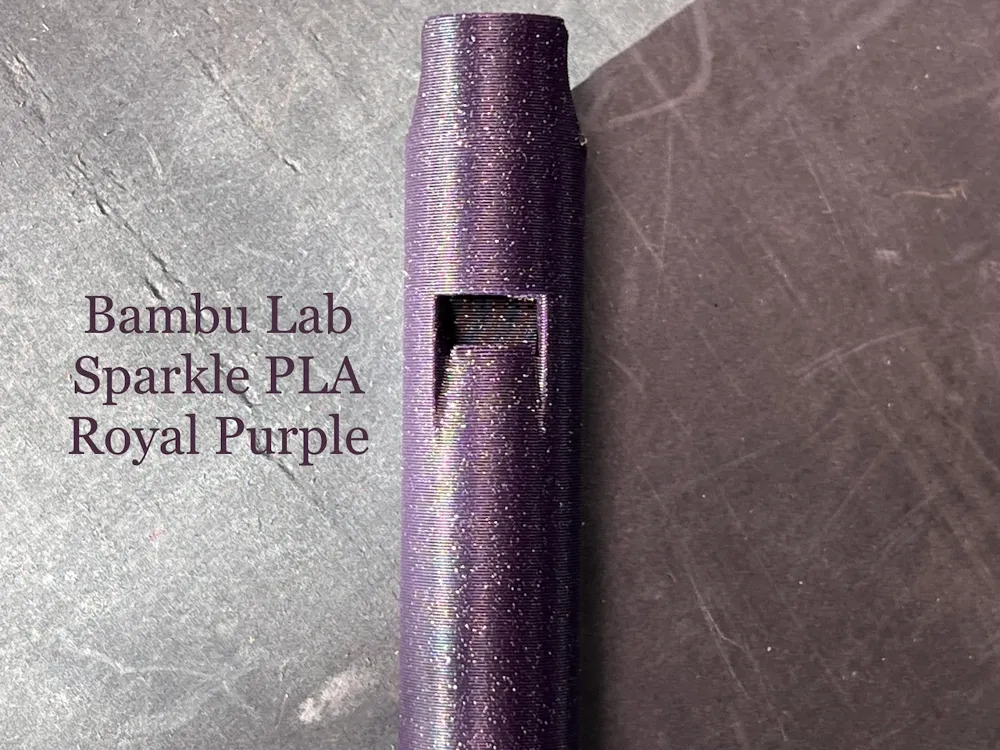
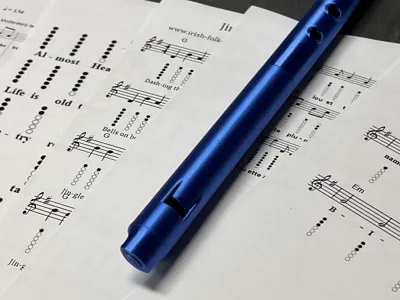
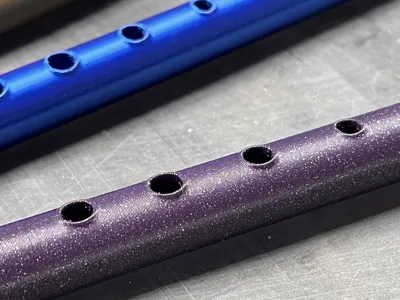
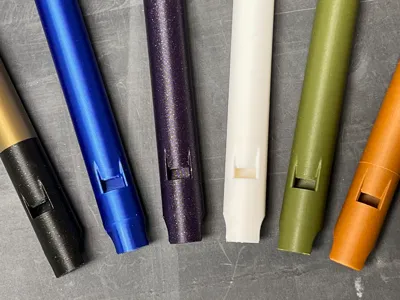
Bring the joy of music to life with this instrument, a fully functional tin whistle in the key of D! Designed for easy printing and assembly, this instrument offers excellent playability, smooth tone, and ergonomic enhancements for both beginners and experienced players alike.
Designed for Easy Printing & Assembly
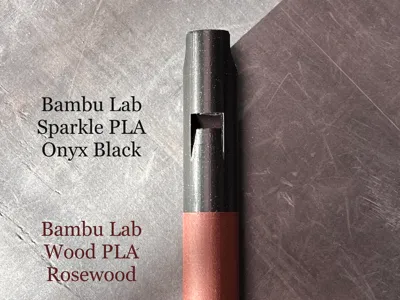
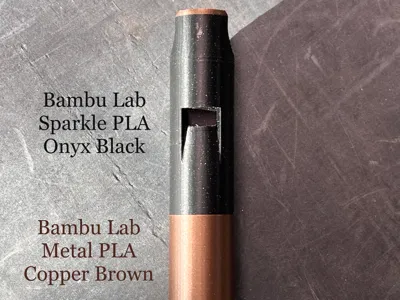
✅ Prints in Two Pieces – Designed for Bambu Lab X1, P1, A1, and A1 Mini printers (or similar).
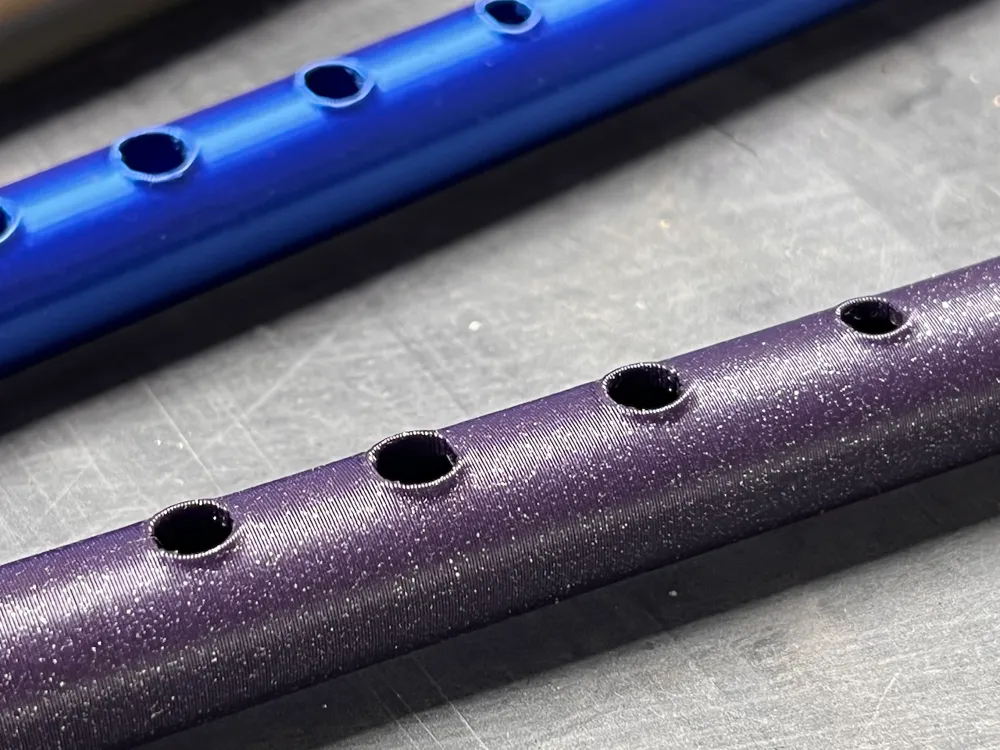
✅ Flat-Top Tone Holes – Improved finger coverage and comfort for a better playing experience.
✅ Easy to Assemble – Just two pieces to put together with no gluing required and no extra parts to purchase.
✅ Easy Cleanup & Assembly – Includes detailed instructions to ensure a smooth post-processing experience.
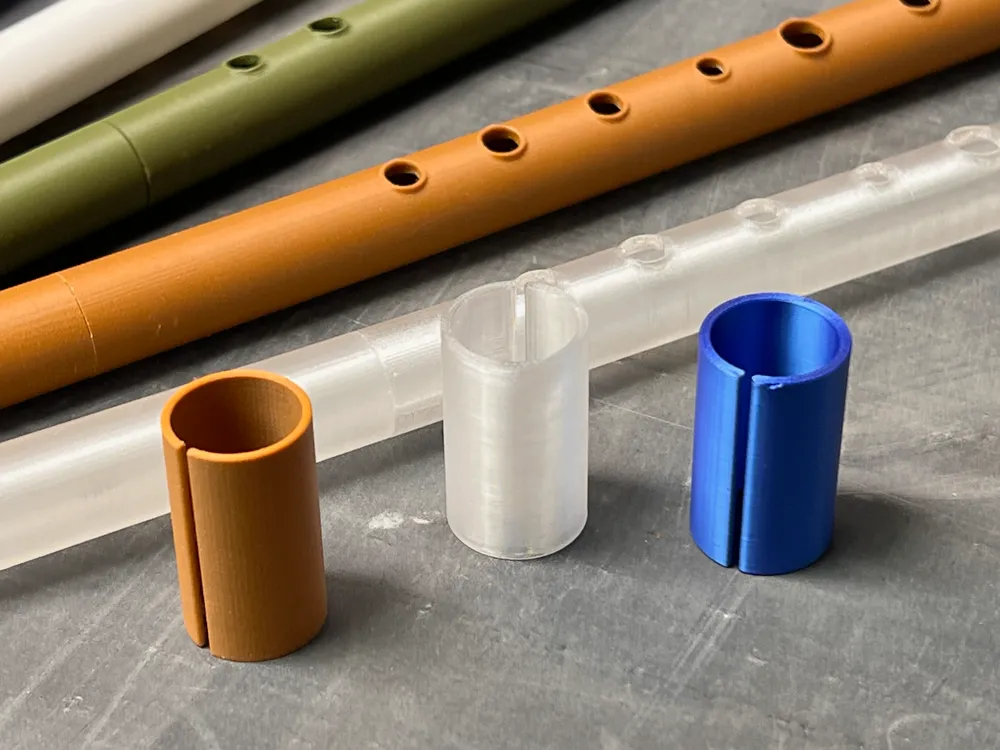
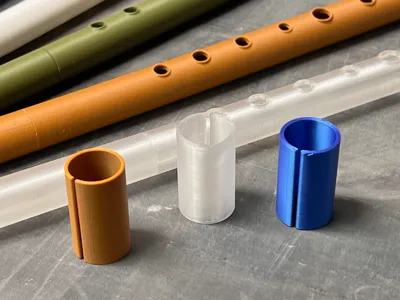
✅ Silencer Included – Need to practice quietly? Use the split ring silencer to cover the labium for muting.
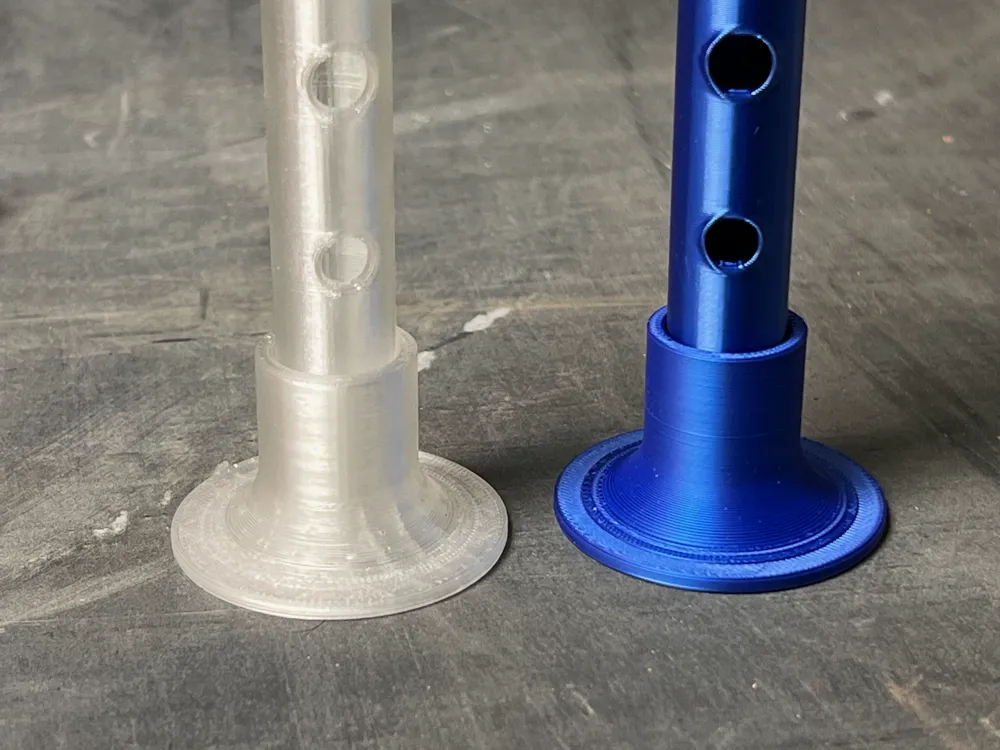
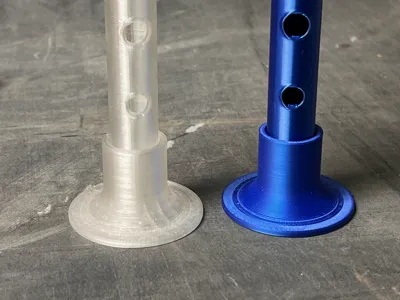
✅ Includes a Display Stand – Display your whistle when not in use.
🎵 Playability & Sound Quality
🔹 Tuned in the Key of D – Ideal for folk, Irish, and traditional music.
🔹 Smooth Bore for Clear Tone – Thoughtfully designed to produce a balanced and expressive sound.
This fully 3D-printable tin whistle is a fantastic addition to any musician’s collection.
Printing
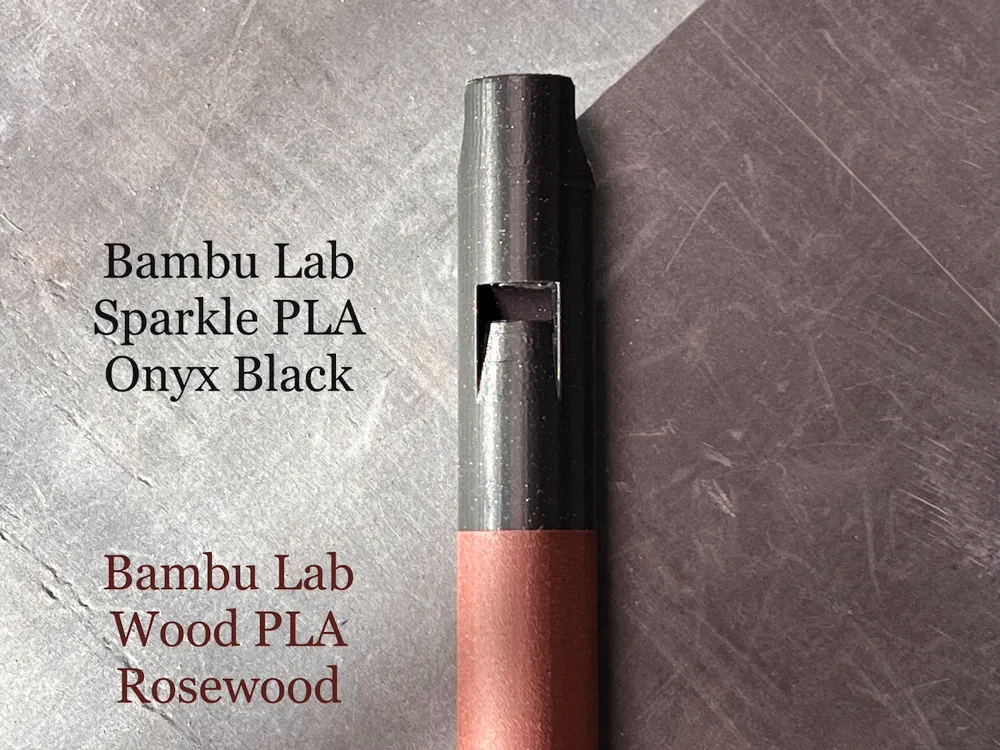
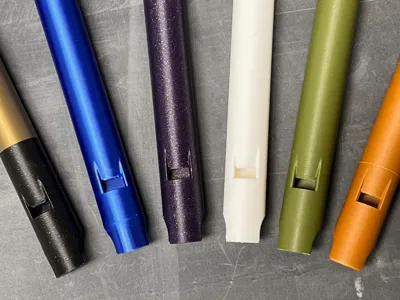
🔹 PLA & Specialty Filaments – Works great with standard PLA.
🔹 Stiffer Filaments Work Best – Materials with higher stiffness improve responsiveness and playability.
For best results when printing the tin whistle, enable Scarf Seams in Bambu Studio. This improves the interior surface quality, enhancing playability. To do this, open the filament settings, click Edit, and set Scarf Seam Type to Contour and Hole. The provided print profile already supports scarf seams—just update the filament profile accordingly. Learn more here: Bambu Lab Wiki.
Post-Printing Cleanup Guide for the Tin Whistle
Congratulations on printing your Tin Whistle! Before you can play it, follow these simple steps to clean up the print and make sure everything works properly.
Step 1: Clear the Bore (Main Tube of the Whistle)
The bore is the long, hollow part of the whistle where the air flows. You need to make sure it is completely open so the sound can resonate properly.
🔹 Check for any loose plastic bits inside.
🔹 If needed, gently run a small cylindrical tool (like a pen, dowel, or pipe cleaner) through the bore to remove any leftover material.
Step 2: Clean the Finger Holes
The finger holes need to be round and open so you can cover them properly while playing.
🔹 Check each hole for stringy bits or small plastic edges.
🔹 Use a craft knife, needle file to carefully remove any excess material.
🔹 Be careful not to enlarge the holes, as this can affect tuning.
Step 3: Remove Support Material from the Labium (The Sharp Edge That Creates Sound)
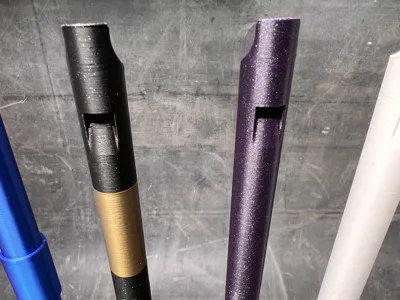
The labium is the small sharp edge inside the mouthpiece that splits the air and creates the sound. There will be a piece of tiny support material attached to it after printing.
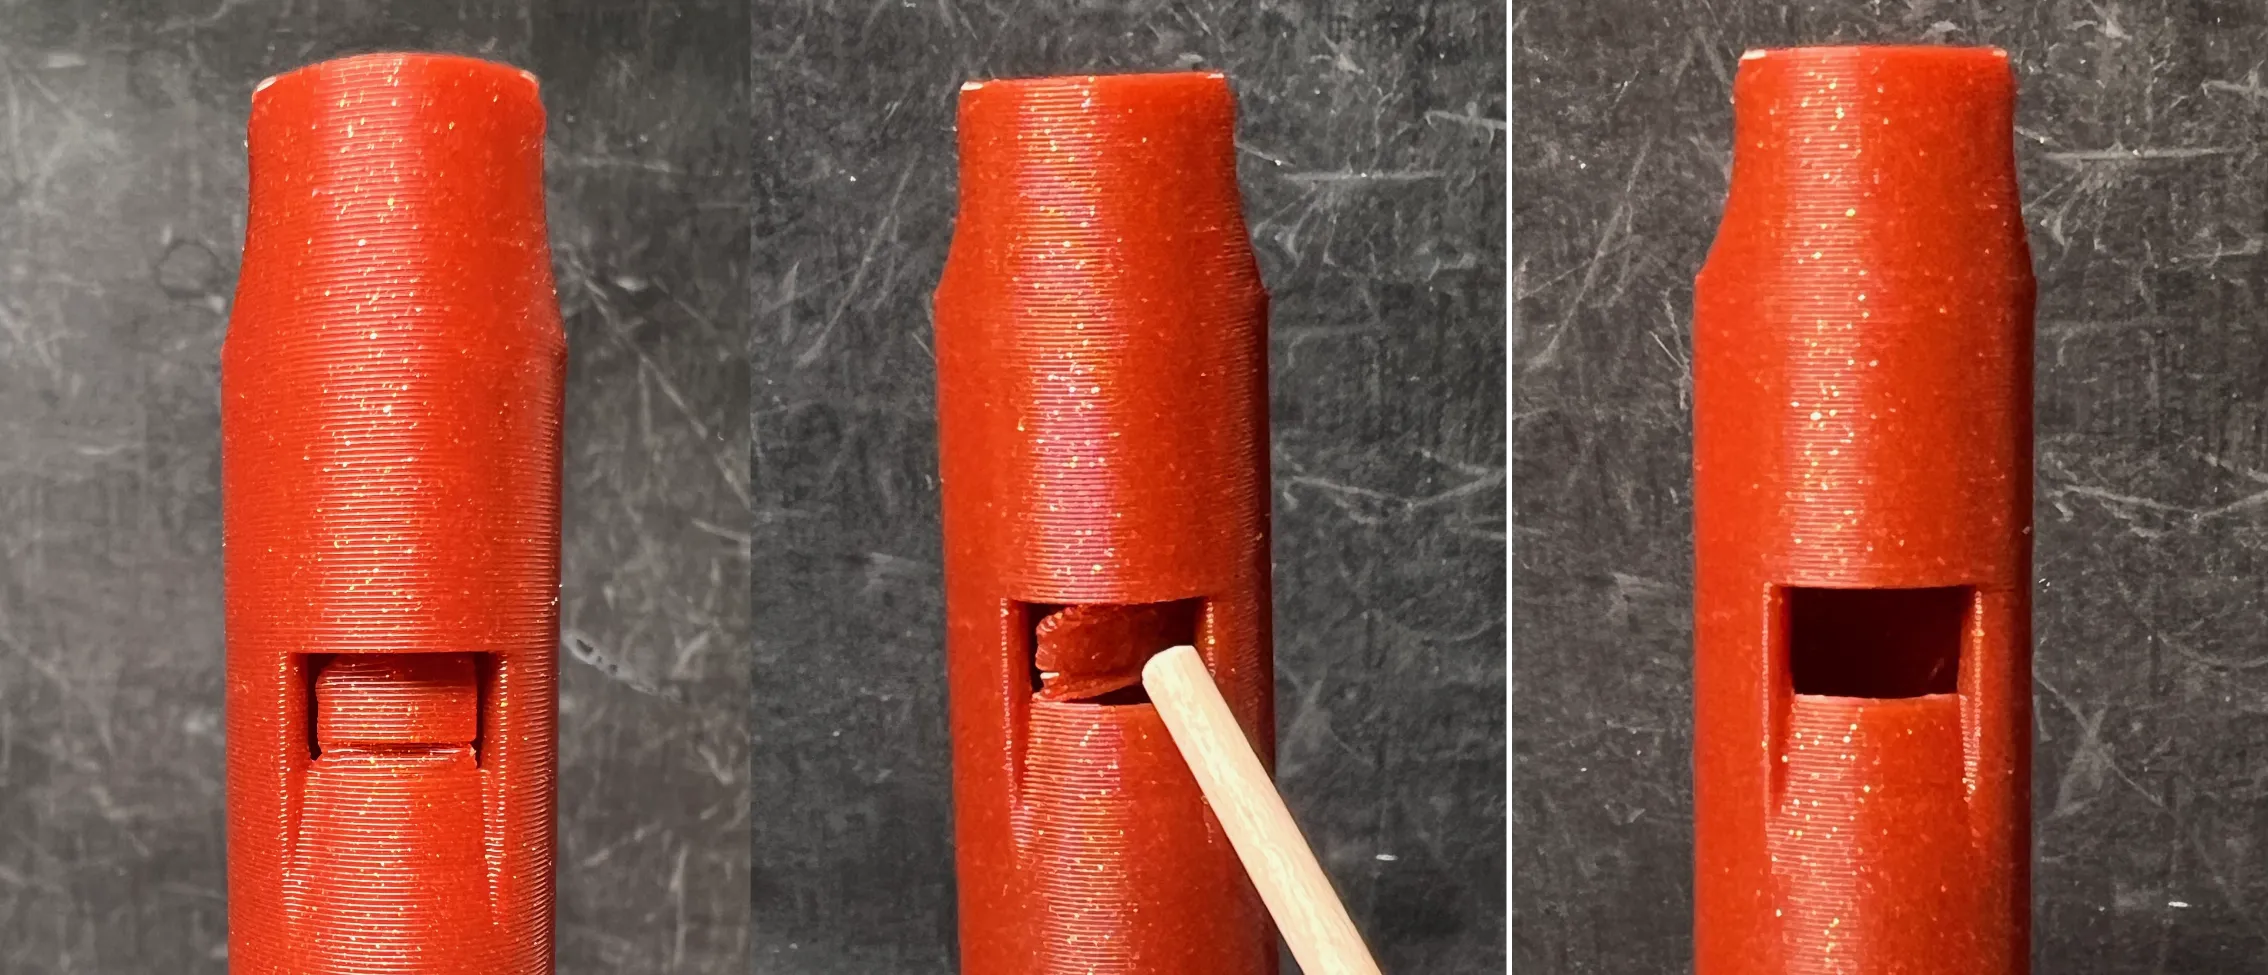
🔹 Carefully push the support material INTO the whistle.
🔹 Make sure you don’t push on the labium, just on the support material.
🔹 Do not pull or scrape it aggressively, as this could damage the delicate lip.
🔹 Check that the labium is clean and sharp, with no extra plastic blocking the airflow.
⚠️ Warning: The labium is very fragile—be gentle when cleaning it! A damaged labium can make the whistle sound weak or airy.
Step 4: Clear the Windway (The Narrow Air Channel in the Mouthpiece)
The windway is the small gap inside the mouthpiece that directs air toward the lip when you blow. If it’s blocked, the whistle won’t play properly.
🔹 Hold the whistle up to the light and look through the windway to check for obstructions.
🔹 If you see small plastic bits inside, carefully slide a thin piece of paper, paper clip, or a toothpick through the windway to clear them out.
🔹 Avoid using excessive force—just enough to remove any debris.
Step 5: Remove the Brim from the Mouthpiece
Step 6: Test the Mouthpiece
Before assembling or playing the full whistle, test the mouthpiece by itself.
🔹 Blow into the mouthpiece (without the whistle body attached).
🔹 You should hear a clear, strong whistle sound.
🔹 If the sound is weak or airy, check that the windway and labium are clean.
Step 7: Assembling the Mouthpiece
The mouthpiece fits into the body of the whistle. If it’s too tight or misaligned, follow these precautions to avoid breaking the connector inside the whistle body.
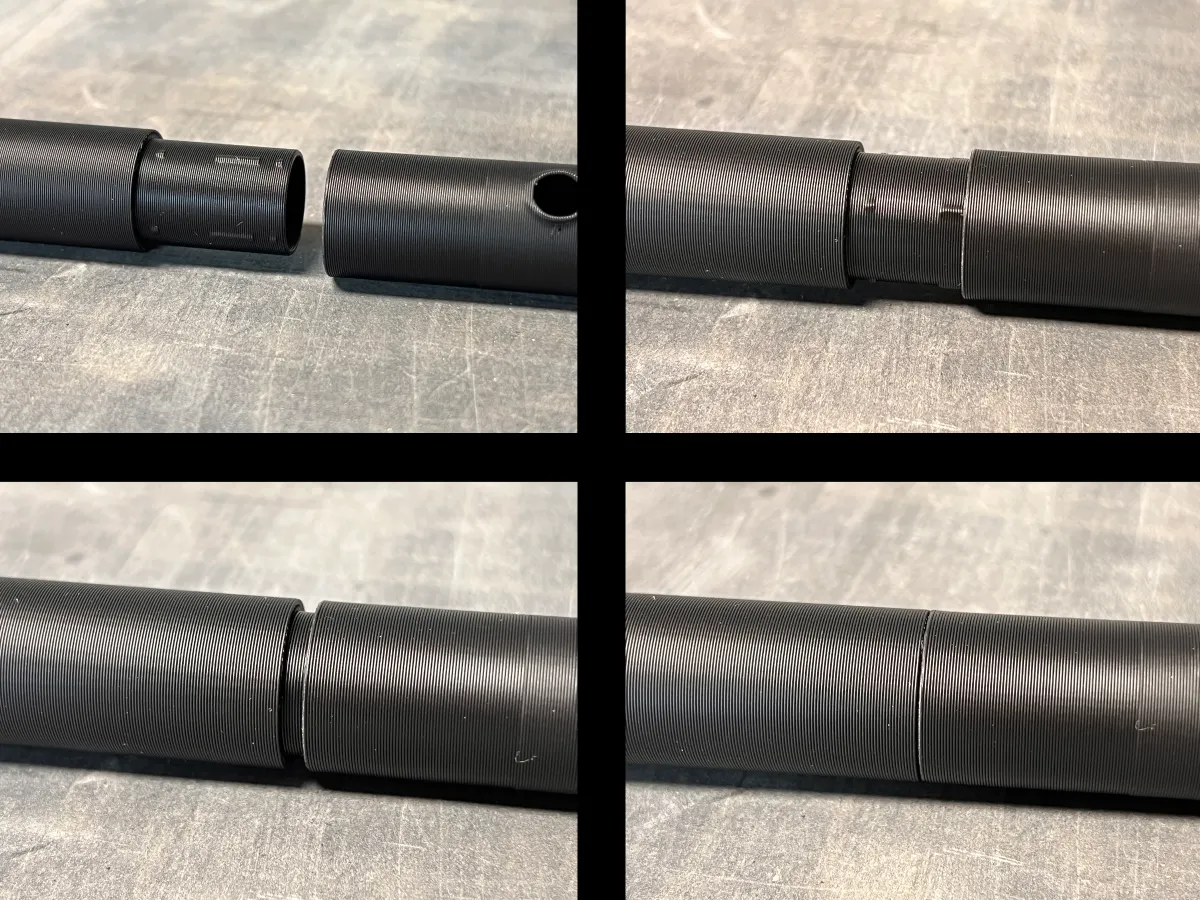
🔹 Line up the mouthpiece to the body and insert them together.
🔹 If you insert it and it’s not lined up, pull it straight out and try again.
🔹 When they are just a few millimeters from being fully seated together, you’ll feel a little resistance. Give it a little extra push and they should lock tightly together.
🔹 In addition, DO NOT twist the mouthpiece if it’s off-center—the plastic is weakest in this orientation and could snap inside the whistle body (ask me how I know).
🔹If you do remove the mouthpiece for some reason, be careful to pull it straight out to minimize the chance of the connector between them breaking.
Step 8: Play!
Getting Started with Your Tin Whistle 🎶
Now that your Tin Whistle is printed and cleaned up, it’s time to start playing! Here are the basic steps to help you get started.
Step 1: Holding the Whistle Properly
✅ Left hand on top, right hand on bottom
✅ Thumbs support the back of the whistle
✅ Fingers should be relaxed but cover the holes completely
Finger Positioning 🖐️:
• Left hand: Index, middle, and ring fingers cover the top three holes (for notes B, A, G).
• Right hand: Index, middle, and ring fingers cover the bottom three holes (for notes F#, E, D).
• Thumbs rest on the back to help balance the whistle.
Step 2: Making Your First Sound
✅ Place the mouthpiece gently between your lips (not your teeth).
✅ Blow 💨 softly at first—too much air will jump to a higher octave.
✅ Keep your breath steady to get a clear, strong note.
Try playing a low D by covering all the holes and blowing gently.
Step 3: Playing 🎶 Your First Notes
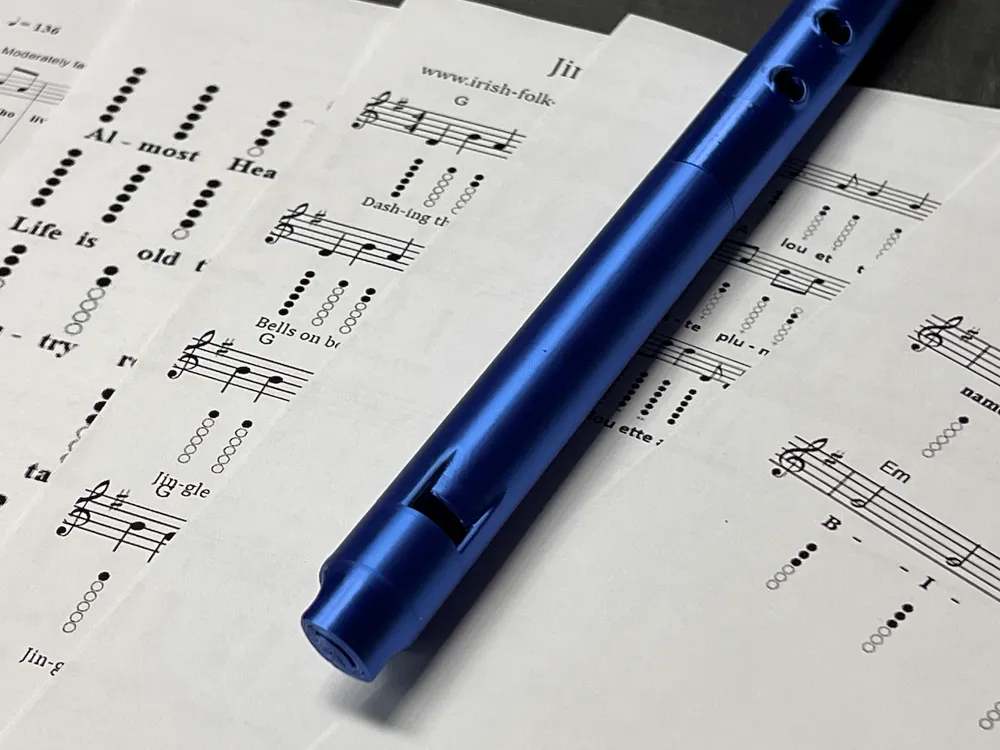
You can play a full D major scale by lifting one finger at a time, starting from all holes covered (low D) and going up:
D Major Scale (First Octave)
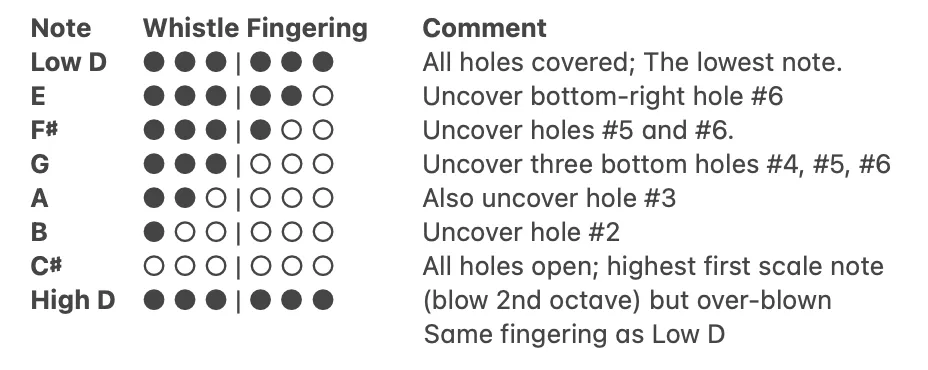
How to Interpret this
• ● = Covered (finger pressed down)
• ○ = Uncovered (finger lifted)
• The vertical bar (“|”) in the fingering column visually separates the left hand holes (1–3) from the right hand holes (4–6).
• Moving from Low D up the scale, you gradually lift holes, starting with the bottom ones (right hand).
• For the second‐octave notes (above High D), the fingerings are typically the same as in the first octave.
Tip: If a note sounds weak or breathy, check that your fingers are sealing the holes completely.
Step 4: Playing Higher Notes (Second Octave)
To play higher notes, simply blow slightly harder while using the same fingerings.
• The air speed, not finger changes, shifts the notes into the second octave.
• If a note is too squeaky, ease up on the air pressure until it stabilizes.
Step 5: Practice Simple Tunes
Once you’re comfortable playing the scale, try simple songs like:
✅ Mary Had a Little Lamb
✅ Twinkle, Twinkle, Little Star
Start slowly, focusing on clear notes, then increase speed as you get more comfortable.
Step 6: Experiment with Breath Control & Dynamics
🎵 Soft breath = deeper, warmer tone
🎵 Stronger breath = higher octave, brighter sound
🎵 Smooth airflow = clean note transitions
Try long, even notes to practice breath control before moving to faster tunes.
Now You’re Playing! 🎶
Enjoy your Tin Whistle and have fun making music!
Boost Me (for free)
Fuel the Filament Fund!
License

You shall not share, sub-license, sell, rent, host, transfer, or distribute in any way the digital or 3D printed versions of this object, nor any other derivative work of this object in its digital or physical format (including - but not limited to - remixes of this object, and hosting on other digital platforms). The objects may not be used without permission in any way whatsoever in which you charge money, or collect fees.


Comment & Rating (52)