Mini 3D Guitar – A Rockin’ Addition to Your Desk!


Print Profile(2)


Description
Boost Me (for free)
🙌 Love this model? Support my work with a BOOST and help bring more epic designs to life! 💥
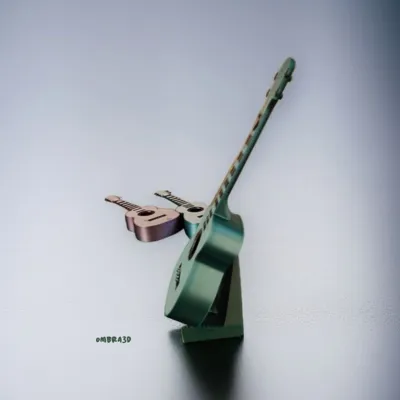
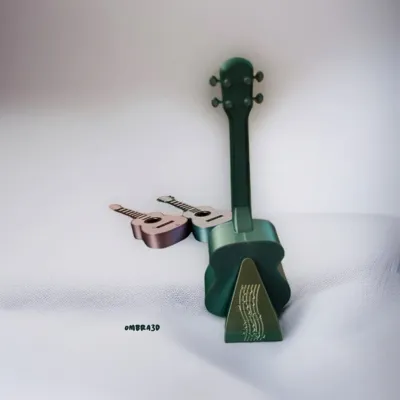
🎵 Love music and 3D printing? Then this mini guitar is for you! 🎸✨
Designed to impress, this miniature guitar combines detailed craftsmanship and creativity, making it a perfect display piece for your desk, bedroom, or even a store showcase. With its included stand, you can proudly show it off anywhere!
🔹 Realistic design with intricate details ⚡ Bonus! Want a different type of stand? I’ve also created a minimalist geometric stand, available separately for those who prefer a sharp and modern look! Check it out in my uploads.
🎶 Bring the spirit of rock to 3D printing! Download now and share your version! 🎸🔥
🛠 Assembly Instructions – Mini 3D Guitar 🎶Materials Needed:✅ Fishing line or sewing thread (for the strings) 🔧 Assembly Steps:1️⃣ Insert the Bridge Pins:
2️⃣ Stringing the Guitar:
3️⃣ Securing the Strings at the Headstock:
4️⃣ Final Adjustment & Locking:
🎵 Done! Now your mini guitar is ready to rock! 🤘🔥 |

|
Boost Me (for free)
Hi everyone! If you like my STL model, a boost would be greatly appreciated! 🚀 Every bit of support helps grow the community and motivates me to create more designs. Thanks a lot! 🙏
Membership
🥷 Join the Ninja Creator License and unlock your exclusive commercial rights to sell physical prints of my models. No file redistribution. Just pure print power. ⚡
License
You shall not share, sub-license, sell, rent, host, transfer, or distribute in any way the digital or 3D printed versions of this object, nor any other derivative work of this object in its digital or physical format (including - but not limited to - remixes of this object, and hosting on other digital platforms). The objects may not be used without permission in any way whatsoever in which you charge money, or collect fees.
Comment & Rating (34)