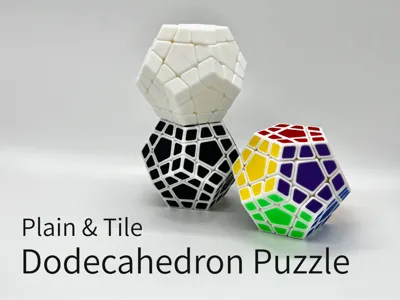
Dodecahedron Puzzle (Fullly 3D Printed)


Print Profile(3)


Description
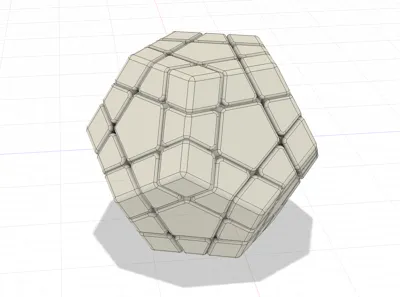
This 12-sided dodecahedral twisty puzzle is offering a greater challenge compared to traditional cubic puzzles. It provides a fresh and exciting solving experience for puzzle enthusiasts. This fully 3D-printable version requires no screws or springs, making it easy to assemble and perfect for both casual solvers and advanced cubers looking for a unique twist.
Yes, this puzzle has a 12-axis structure made with 3D printer!!!
Boost Me (for free)
Check out more Rubik Cube Style Puzzle designs:
Classic 3x3x3 (So-called Rubik's Cube)
Series 3x3x3 Variations:
Series 3x3xN:
Series NxNxN:
Others:
Parts List
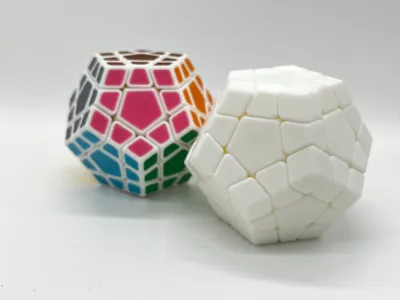
Common for Plain and Tile:
- 1 Core
- 6 Axis Pieces
- 12 Center Pieces
- 20 Corner Pieces
- 30 Edge Pieces
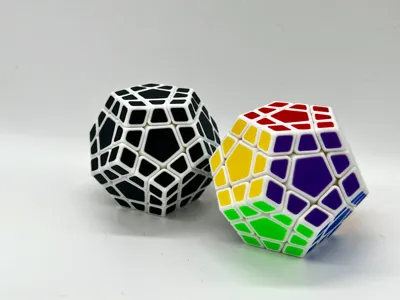
For Tile:
- All above, plus
- 11x12 Tiles
Print Instruction
- Clean your plate before printing!!!
For Plain:
- Print Plate 1 once.
For Tile:
- Print Plate 1 once.
- Print Plate 2 with 12 colors, 12 times.
- Alternatively, print Plate 2 with any color you like. e.g. check my all black version. It's cool and you will never be worrying about mixing it up.
Assembly Instruction
Please remember that this is a puzzle model. Assembly is also a part of the puzzle experience.
- Remove all support and brim from pieces.
Attach 2 Center pieces to Axis pieces. Repeat for 6 times.

Clip the 6 Axis pieces to the Core Piece. You should hear a click sound when the Axis Piece is clipped properly.

Slide 2 Edge pieces between the Center Pieces, add 1 Corner pieces between Edge pieces, and slide the third Edge piece.

Repeat adding Edge pieces and Corner pieces to finish the bottom part.


Keep adding more Edge and Corner pieces. Leave the top layer empty for now. You should have 5 Edge pieces and 5 Corner pieces left.

Add 4 Edge Pieces and 5 Corner Pieces to the last layer.

Insert the last Edge piece. This step is very difficult. You need to find the right direction to slide the Edge piece in, and apply some force to make the Edge piece to final position.


- For Tile style: Apply Tile pieces.
- Optional: Apply some silicone based lubricants to your new puzzle.
Boost Me (for free)
License
You shall not share, sub-license, sell, rent, host, transfer, or distribute in any way the digital or 3D printed versions of this object, nor any other derivative work of this object in its digital or physical format (including - but not limited to - remixes of this object, and hosting on other digital platforms). The objects may not be used without permission in any way whatsoever in which you charge money, or collect fees.
Comment & Rating (121)