


Print Profile(3)


Description
This model is a miniature lifting platform with a 100x100mm platform and a lifting height of 60mm-170mm
It requires no hardware, is compact and portable, and boasts robust aesthetics
*Assembly requires adhesive and patience due to the numerous components
Features:
- Requires 157g of filament; its 100x100mm size allows for comfortable handheld manipulation
- Meticulous assembly and patience are required; consider this before printing to avoid disappointment
- No hardware is needed, but adhesive is required (exclusively for non-load-bearing applications)
- Specifically designed for FDM 3D printers, all parts require no supports and are optimized for load-bearing capacity
- Customize the color scheme to your preference

Assembly Notes:
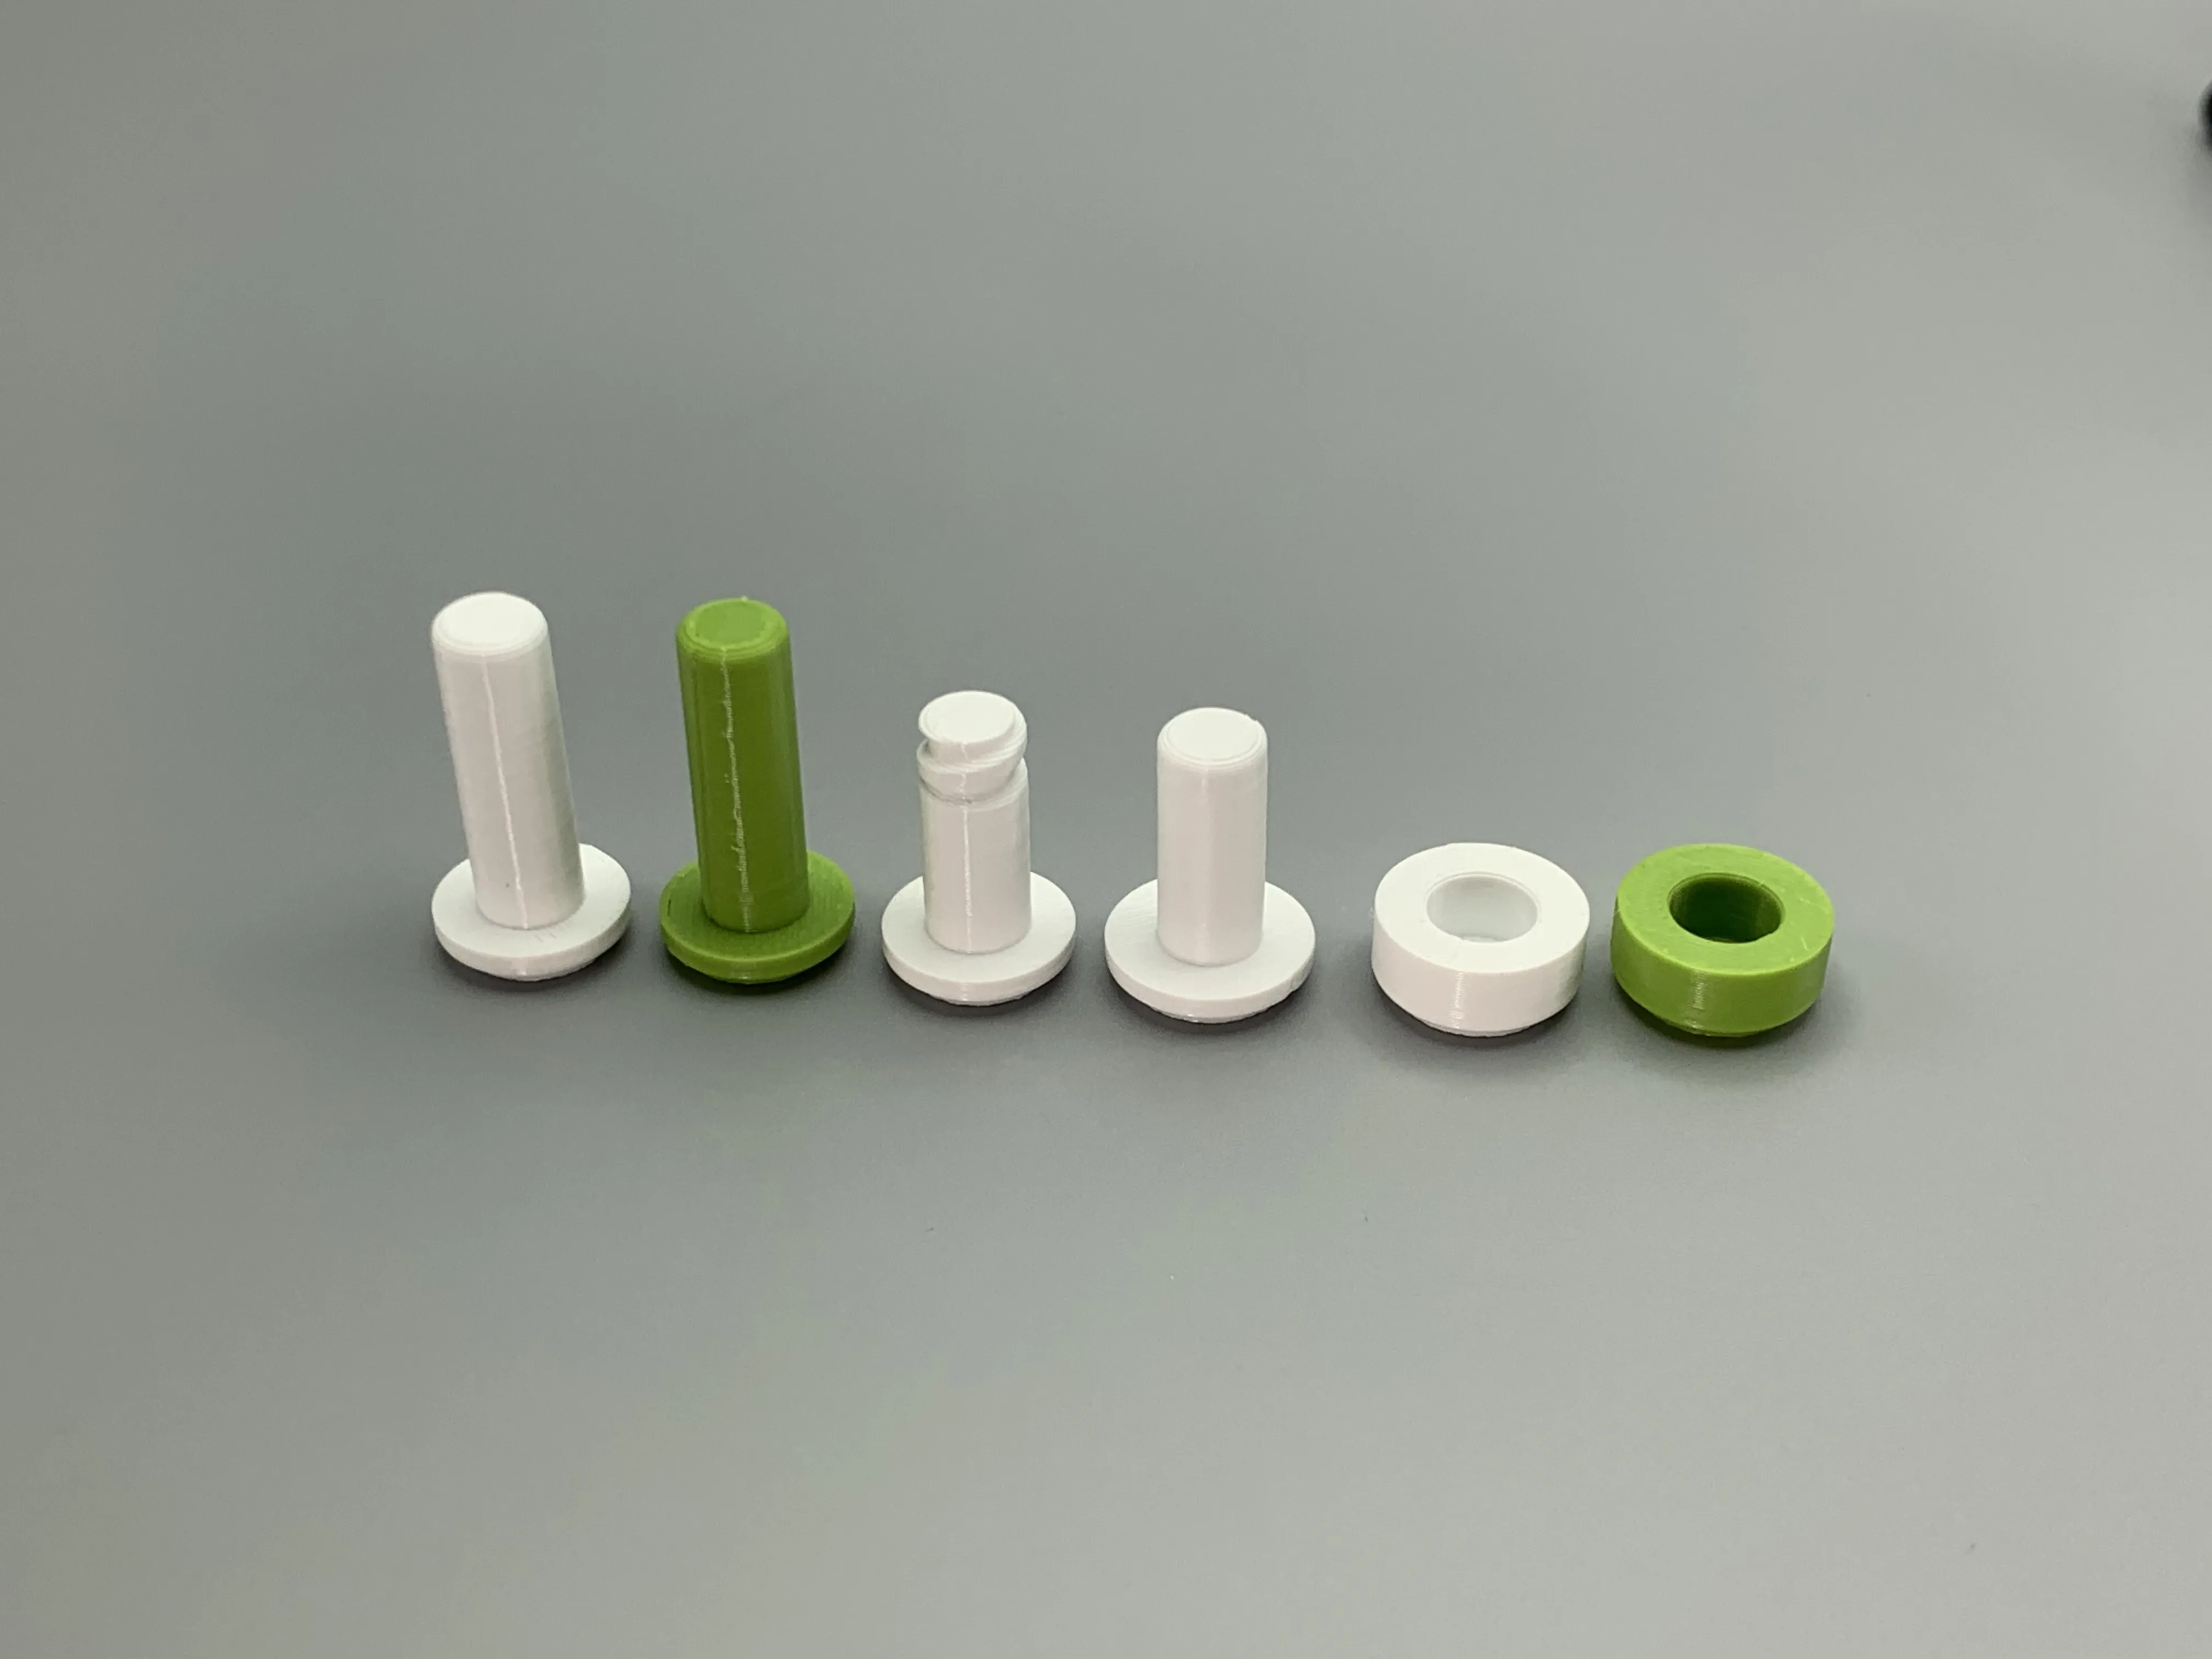
- Many small parts; exercise care to prevent loss
- Secure all axles and covers, along with the upper and lower shells, using adhesive
- Observe knob orientation, thread and slider alignment; incorrect assembly will result in an unappealing aesthetic
- Two types of connecting rods and axles of varying lengths exist; ensure correct orientation and placement to maintain functionality
- Apply greater force for tight fits; if assembly remains impossible, material shrinkage discrepancies may necessitate proportional scaling
- While adhering to the provided diagrams is recommended, careful component identification is crucial (this is my first attempt at step-by-step instructions; please excuse any shortcomings)
- Alternative assembly methods exist beyond the one presented


*Component numbers are shown in the assembly steps below; avoid selecting incorrect parts

*Pre-secure axles and covers with adhesive to prevent detachment during subsequent steps; the slides are symmetrical; correct placement is sufficient; attach the connecting rods within the slides

*Observe slider and nut block orientation and position; use the slide placement as a reference; two of the number 5 connecting rods are utilized

*This step may be complex due to intersecting connecting rods and crossed slider and threaded block positions; re-verify component placement

*Near completion; ensure consistent slide orientation, attach long connecting rods to the slides, and secure all axles and axle covers with adhesive

*Insert the long bolt from the slider side and tighten; perform a functional test and allow the adhesive to fully cure
*This model underwent extensive testing and iterative refinement throughout its development, encompassing multiple revisions
All components are designed for load-bearing capacity and printed without supports, ensuring robustness
Connecting rods, axles, and handles underwent various design iterations; threaded connections eliminating adhesive were considered but ultimately rejected due to inferior assembly precision compared to adhesive bonding; one-piece printing was also explored but discarded due to support-related limitations

Design challenges included tolerance issues, print quality, platform stability, and aesthetics; careful consideration led to this final iteration (the sixth version tested)
While not perfect, this version represents the optimal balance of considerations; the absence of hardware may compromise precision and load-bearing capacity compared to commercially available alternatives; however, for a 100mm platform, this is sufficient
Consider this model as a stress-relieving assembly toy, a practical tool, an educational toy for children, a decorative display piece, or a mechanical teaching aid; I sincerely hope it proves helpful!
License
You shall not share, sub-license, sell, rent, host, transfer, or distribute in any way the digital or 3D printed versions of this object, nor any other derivative work of this object in its digital or physical format (including - but not limited to - remixes of this object, and hosting on other digital platforms). The objects may not be used without permission in any way whatsoever in which you charge money, or collect fees.
Comment & Rating (150)