
Gridfinity Custom Label Sweep Bins
Print Profile(1)
Description
What is it?
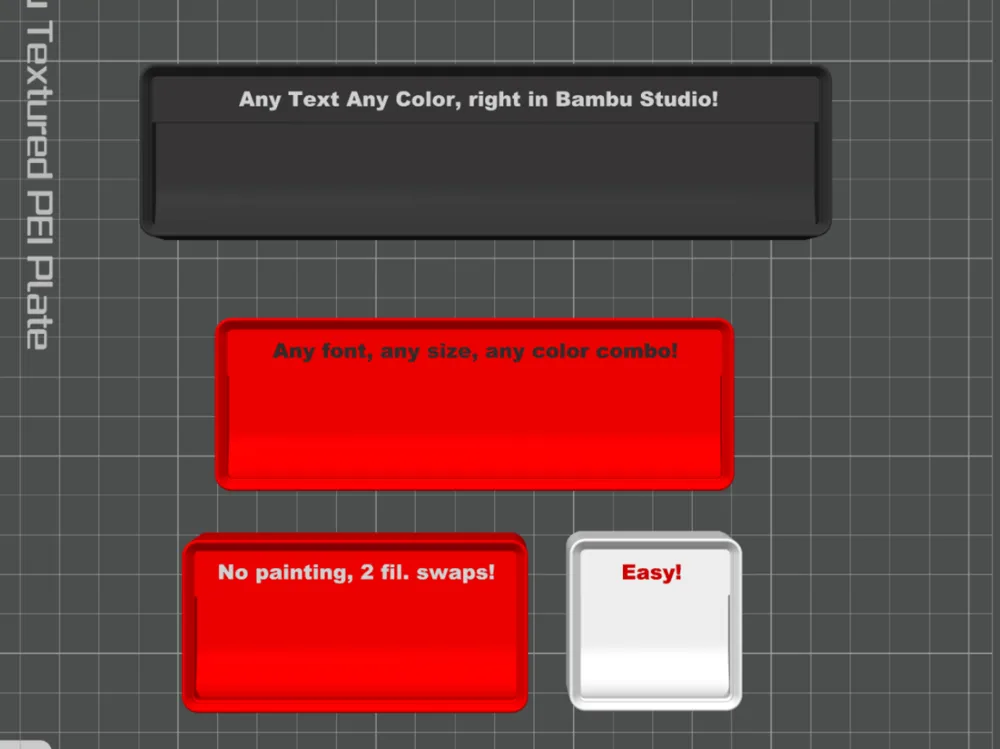
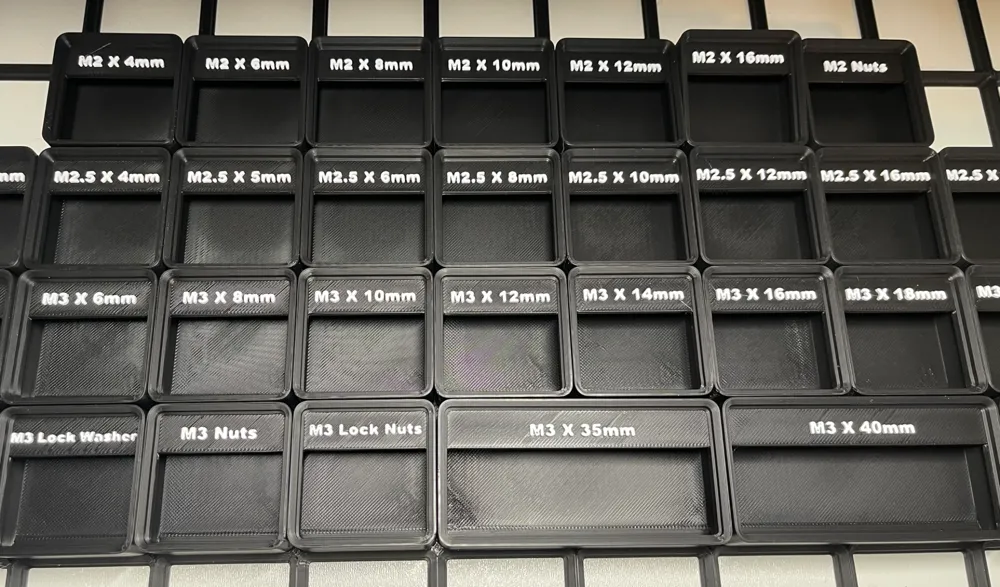
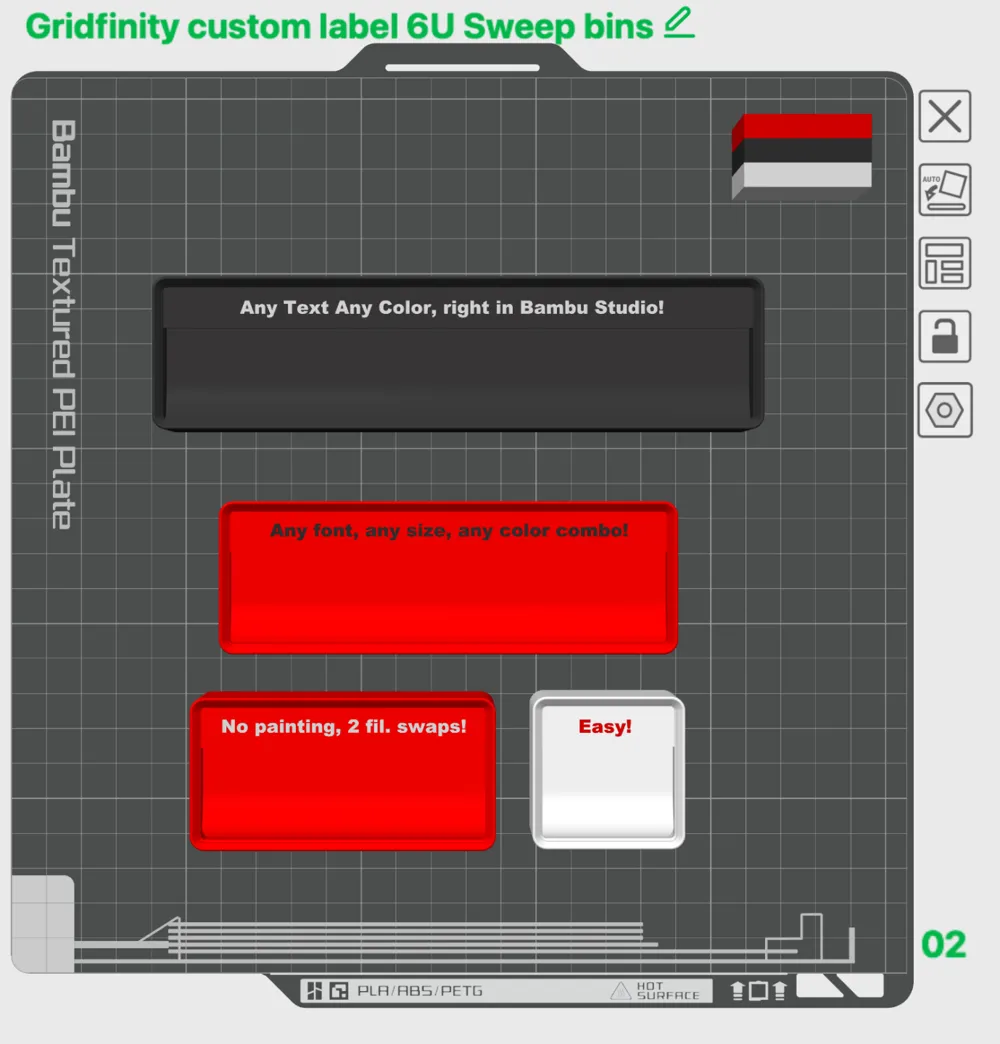
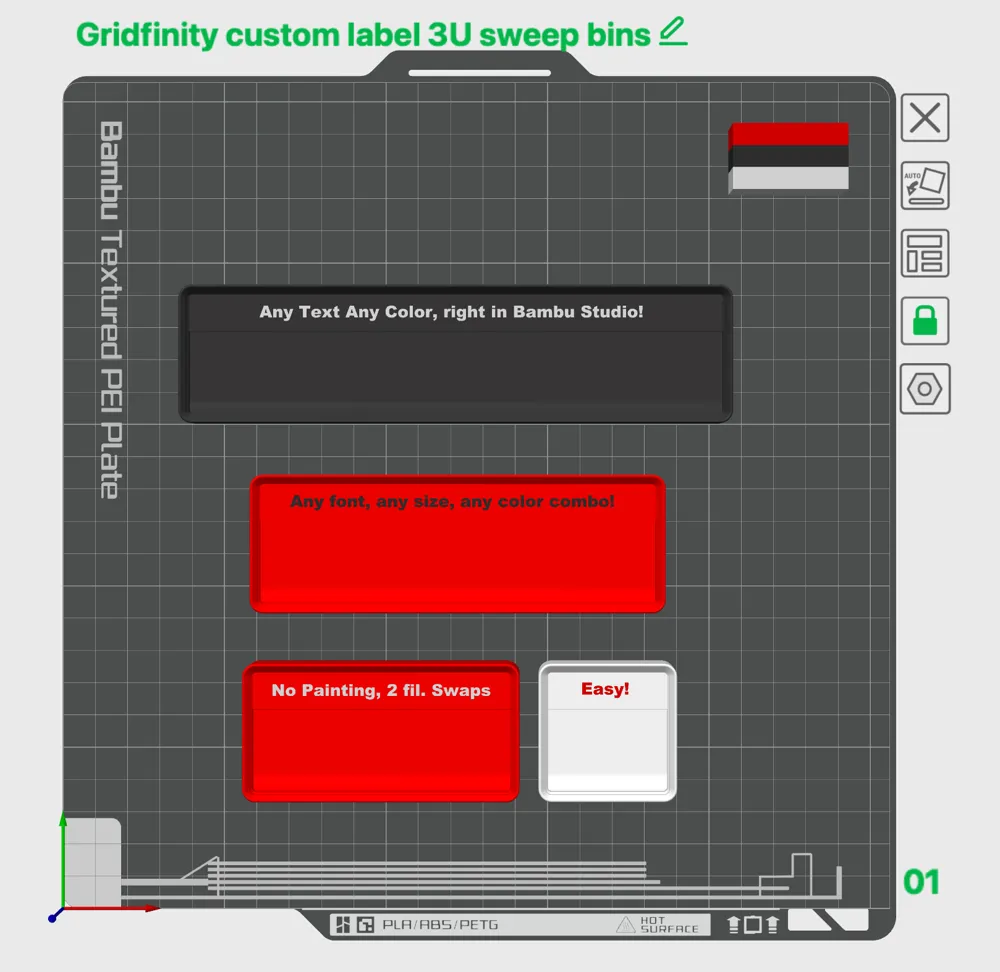
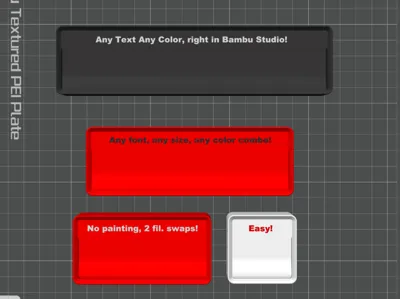
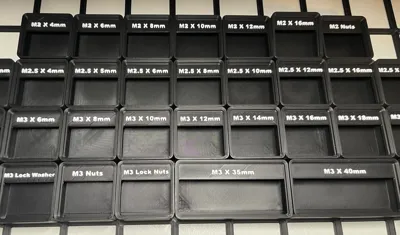
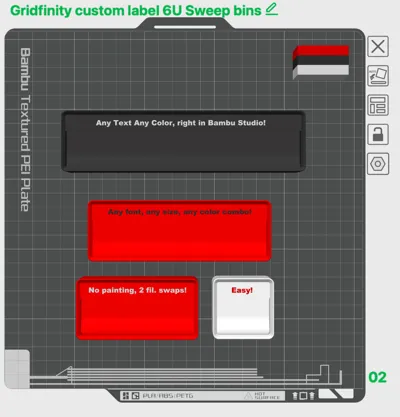
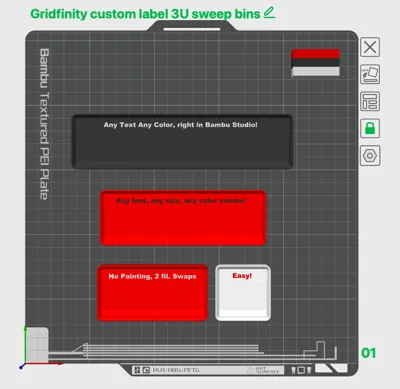
A fully customizable 3D printed label right on Gridfinity 3U and 6U bins.
Features
- Only needs 2 filament swaps, only 2 poops wasted
- Uses Zack Freedmans' Gridfinity Sweep bins that feature a front wall radius to small parts easy to take out with sausage fingers
- Done natively in Bambu Studio, no other software needed
- Extremely easy for any Bambu Studio User
- No hassle custom text
- Text and Bin colors only limited by available filaments
How To Use
- Clone the bin or bins you need and add it to plate #3. If you need a plate full of bins, only use 1 model at a time
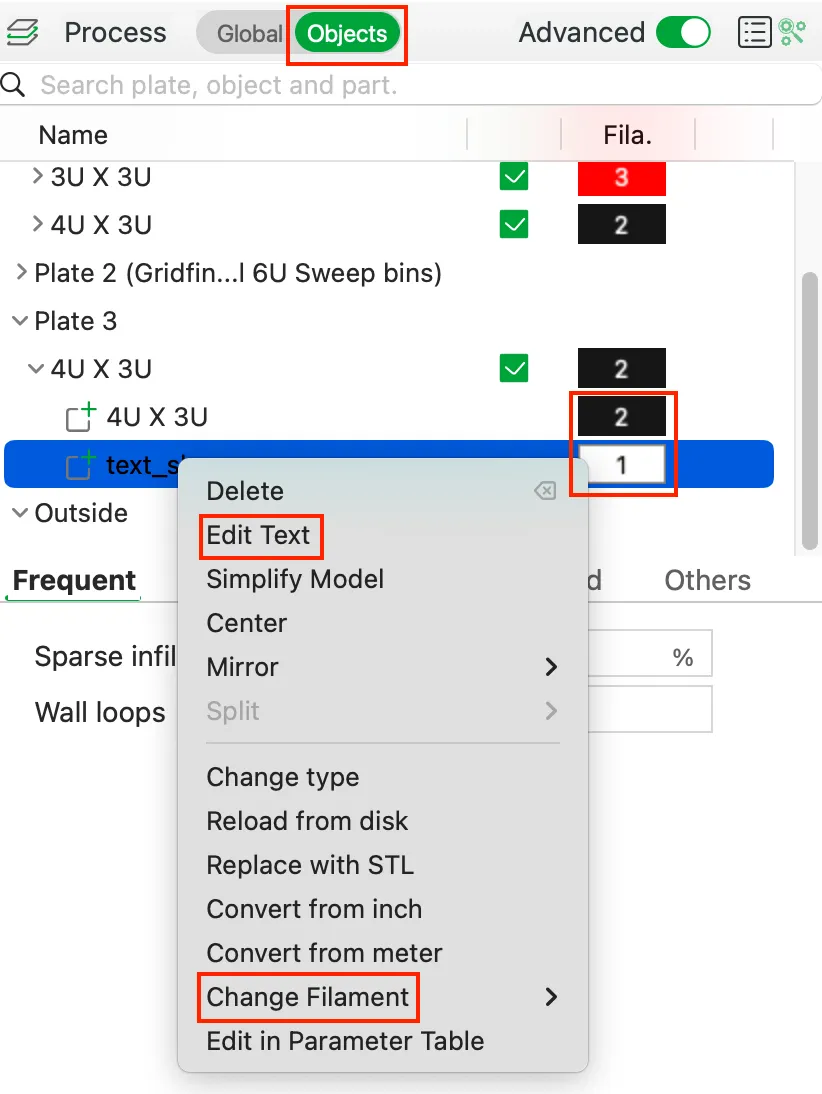
- In the Bambu Studio Prepare screen, select Objects
- Select the model you are working on and look for the highlighted object. Click on the expand key to see the object parts. In my example, I am using Plate 3 → 4U X 3U
- To change the bin color, click on the filament color next to the part and select the color you want. You can also right click on the part for more options
- To change the text color, select the text_shape part and repeat the previous step
- To edit the text, right click on text_shape part and select Edit Text. A new window will open where you can change the font, size, text, etc.
- Make your changes and hit enter. You will see a yellow square representing the center of the text. You can now move or put the text where you want
Pro Tips
If you are making a full plate of bins (see my Metric bins project) that only have slight changes for each bin, then do the following to save time, effort, and keep things consistent:
- Place a bin on the setup plate
- Select the text color you want
- Select the Bin color
- Edit the text to your needs. In my case I used M3 X 4mm.
- Once the bin is setup to your liking, right click on the part and select Fill bed with copies. If you only need a few then use Clone and enter the amount of copies you want
- Repeat step 6 in the How To Use section to edit all the bins.
Questions?
Feel free to ask away. I am happy to provide other sizes if you need but please don't get carried away.
Please follow if you like my stuff, I am releasing a new tool stand and revamped filament dry box system soon.
Boosts are very appreciated and I welcome tips via Paypal.
Enjoy!
This remix is based on

License

You shall not share, sub-license, sell, rent, host, transfer, or distribute in any way the digital or 3D printed versions of this object, nor any other derivative work of this object in its digital or physical format (including - but not limited to - remixes of this object, and hosting on other digital platforms). The objects may not be used without permission in any way whatsoever in which you charge money, or collect fees.


Comment & Rating (3)