


Print Profile(2)


Bill of Materials
- screws x 1: M2-screws
- heatedinsert x 1: M2-heatedinsert
Description
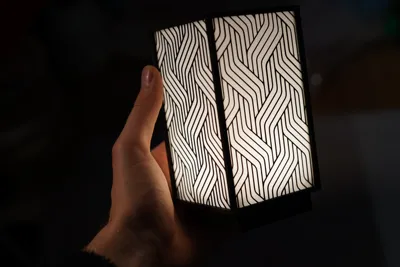
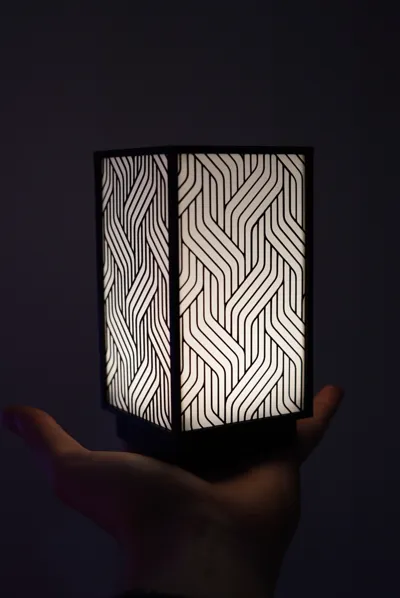
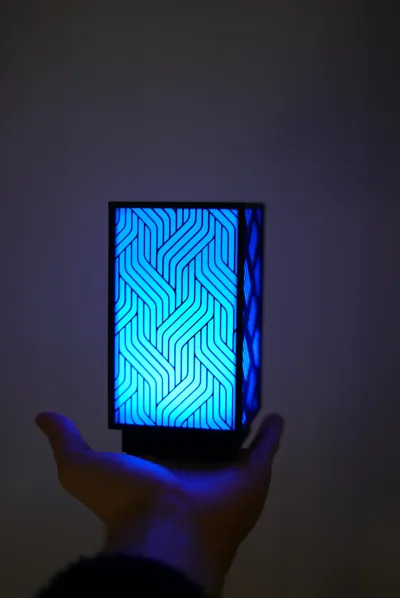
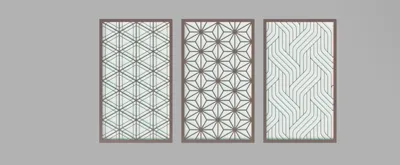
This is a lantern designed to work with the bambulab wrgb puck. There's 3 different patterns to choose from.
I used white and black pla for this lamp.
Assembly requires glue and optionally M2 screws and heated inserts.
NEW: I added a file for a base made for the bambulab kit 001. The process is exactly the same.
look for the new base in the files.
Assembly instructions:
- Choose the pattern that you like most and print it and the top and bottom of the lamp and the internal frame parts. Remove supports from the base and deburr any excess material.

2. Add double sided tape to the bottom of the puck and stick it to the base.
It will still be easy to swap out batteries as you can simply twist it open and tilt it out.


3. Insert the threaded inserts into the holes as shown below.

4. Place the legs in their position and screw them in place. Optionally you could just glue them in position. Be careful to align them properly in that case. Make sure to screw them in from the bottom, this will be important later.

5. Flip over the frame and glue it into the slots of the top of the lamp. I recommend super glue or contact adhesive.
6. Once the glue is set from the previous step start glueing the panels in place as shown in the pictures below. It's very important to insure proper alignment so take your time with this step, making sure everything is properly aligned before glueing in place.


7. Unscrew the screws if you've used them.

8. Install the base with the puck and screw it in place. If you're not using screws you can simply set the shade onto the base.

9. Install the feet into the screw holes. Ideally printed in TPU.

9. The lamp is now complete!

Boost Me (for free)
A boost means a lot. If you like this model please consider leaving a like and a boost. Thank you :)
License
You shall not share, sub-license, sell, rent, host, transfer, or distribute in any way the digital or 3D printed versions of this object, nor any other derivative work of this object in its digital or physical format (including - but not limited to - remixes of this object, and hosting on other digital platforms). The objects may not be used without permission in any way whatsoever in which you charge money, or collect fees.
Comment & Rating (40)