
Bosgame Mini PC Cooler
Print Profile(1)
Description
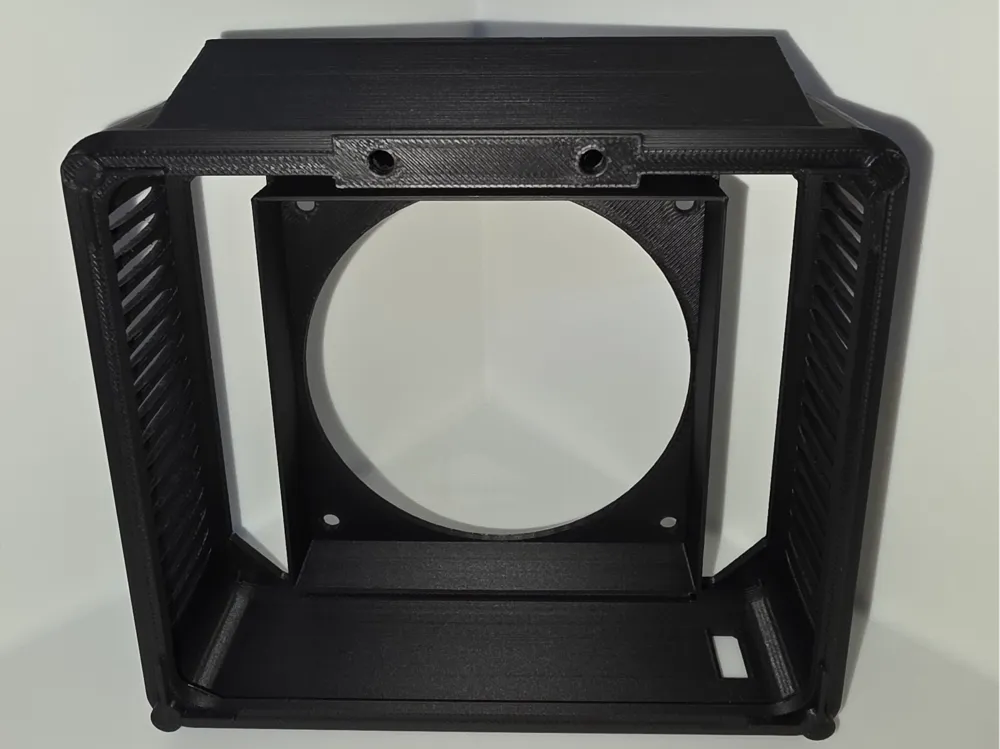
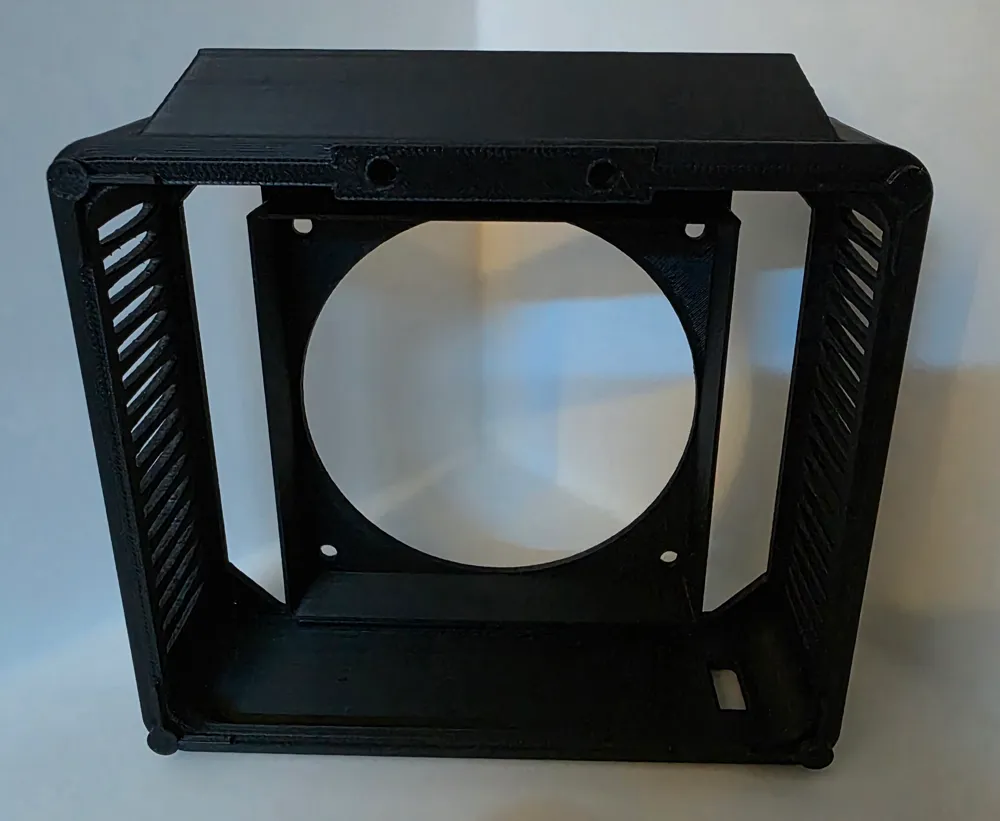
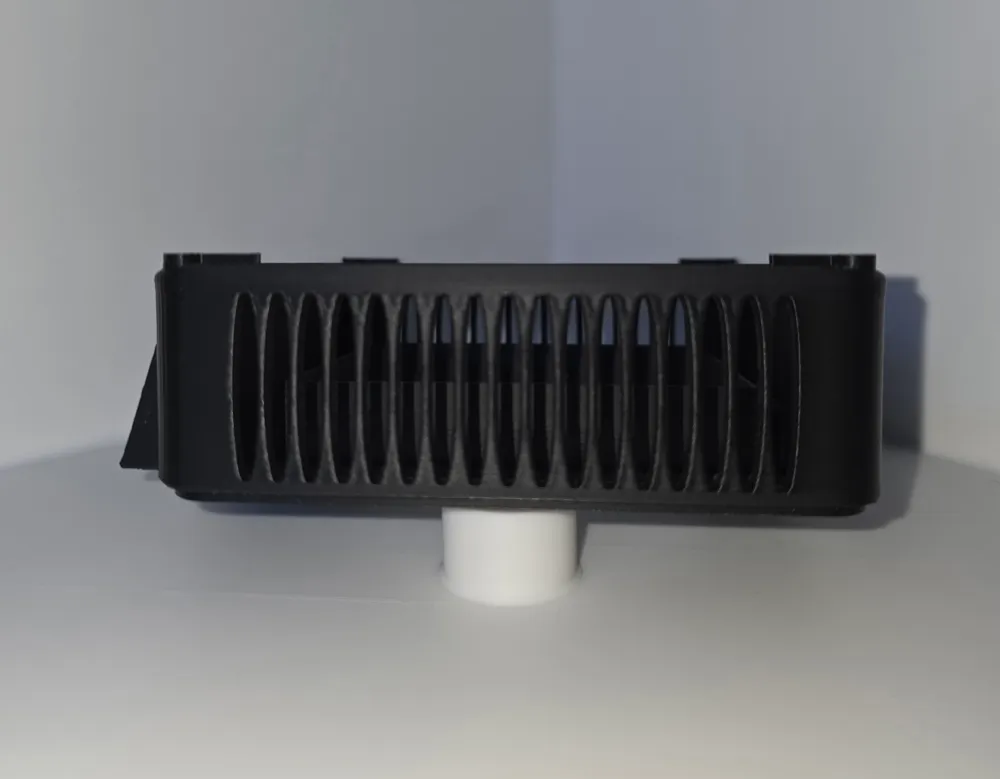
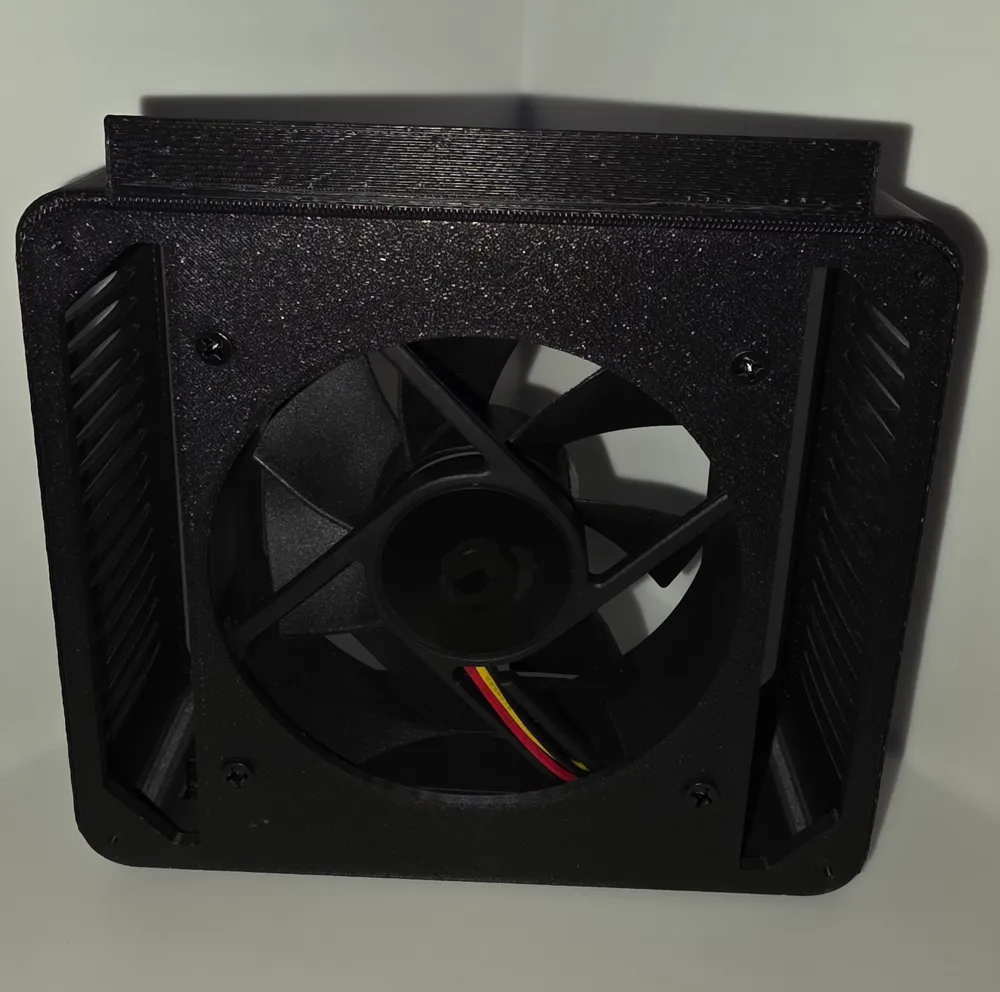
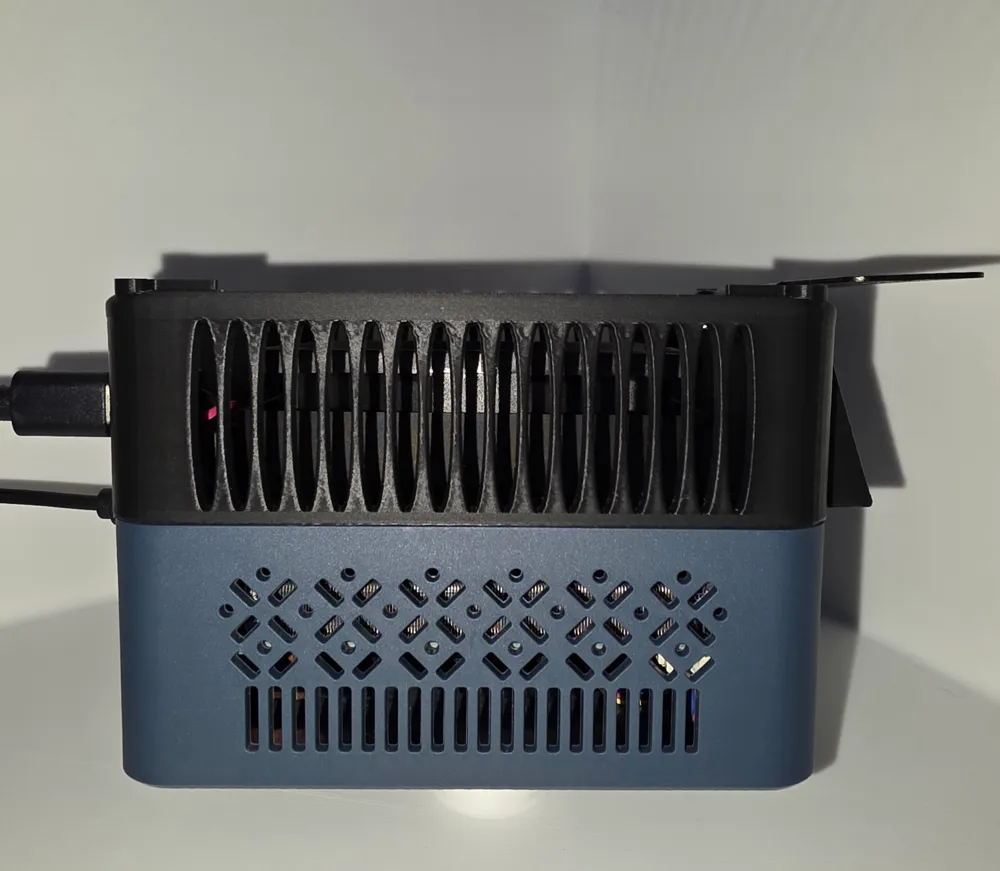
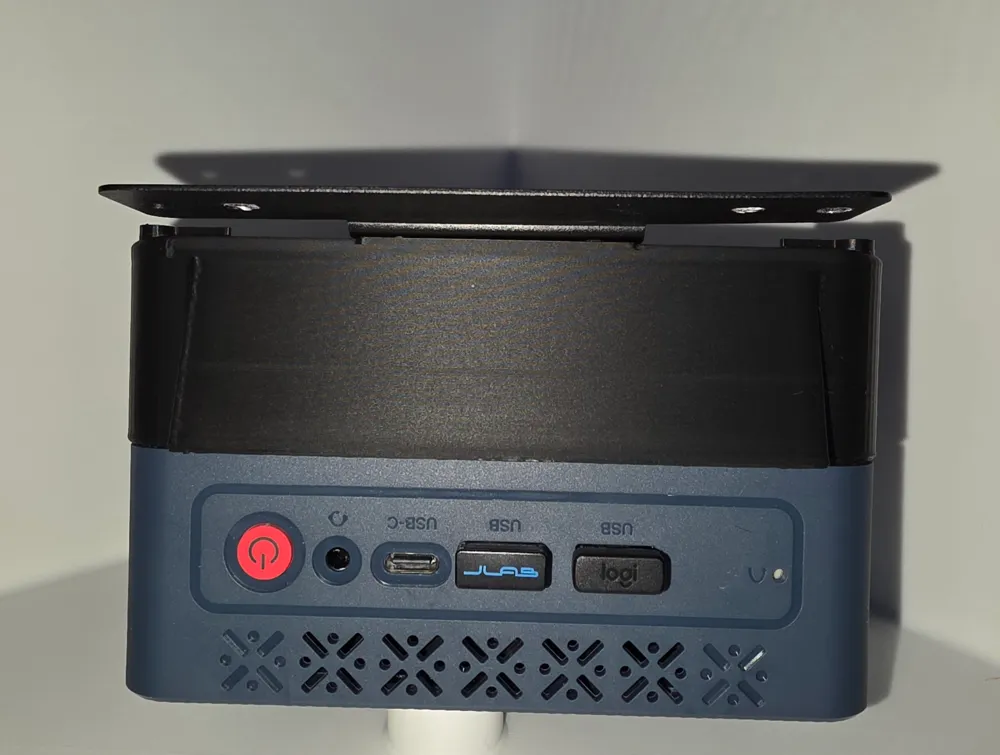
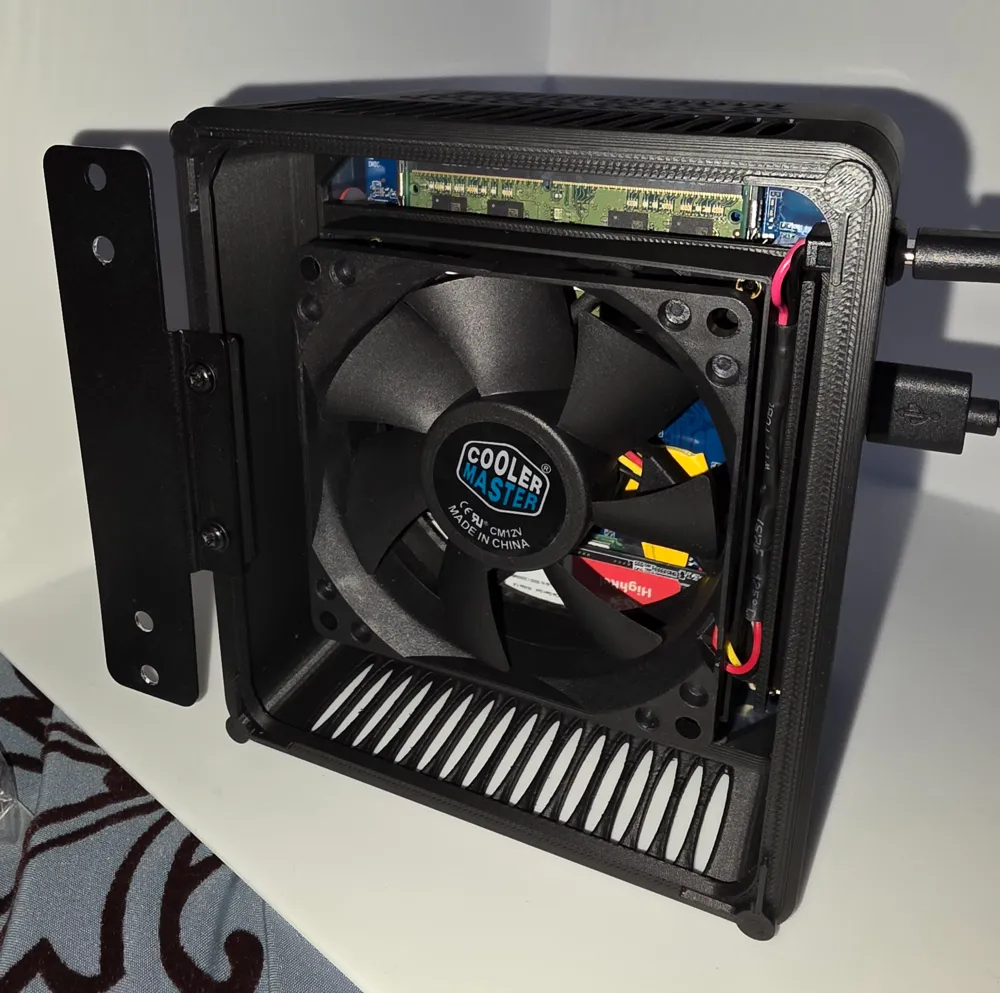
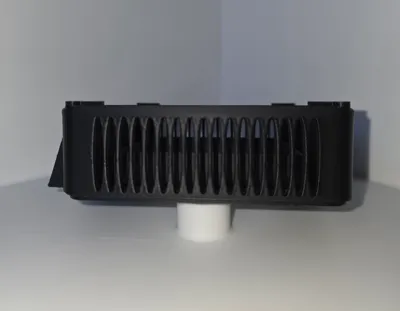
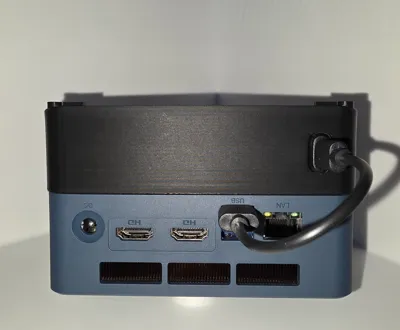
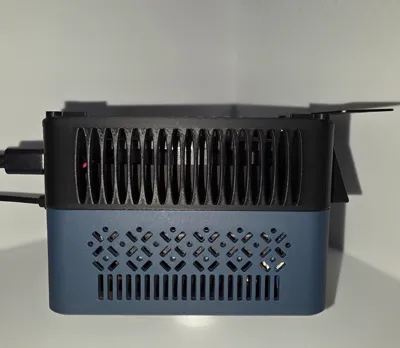
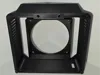
I wanted a way to better cool my Bosgame Mini PC, but without modifying the original case and with a simple fan. So I went on tinkercad and came up with this. I know there probably aren't too many people out there needing this, but since I already made it, I figured I might as well share it. I'm sure there is a possibility of this fitting on other mini PC's but the only one I have and tested it with is a Bosgame with AMD Ryzen 5.
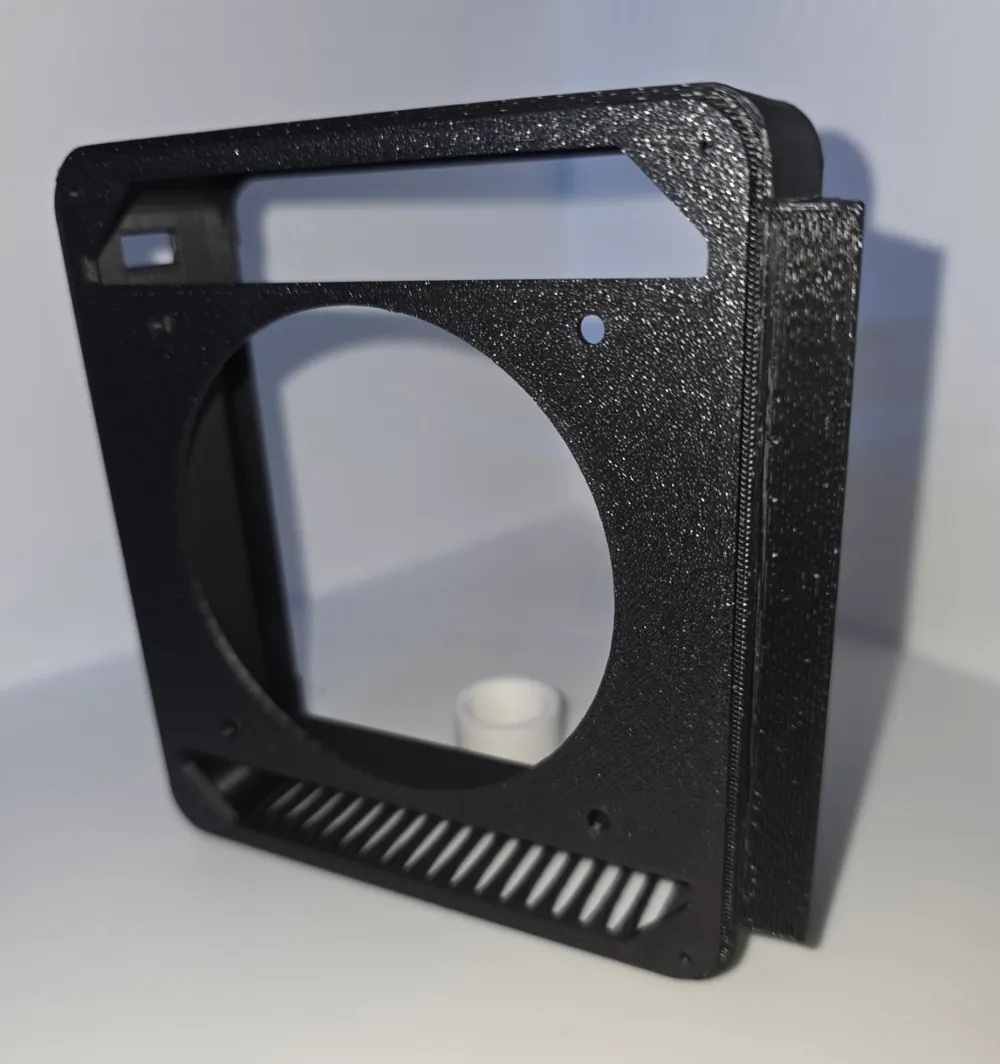
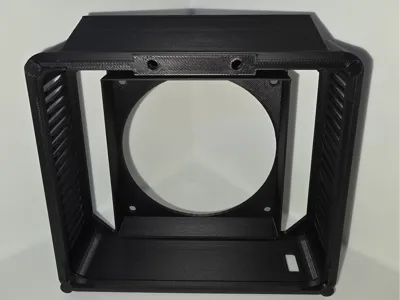
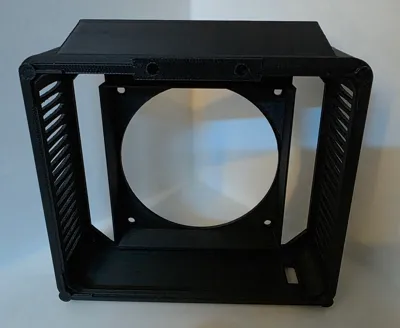
This is a very simple design consisting of only a couple of parts. I have printed it in PLA and PETG and both turned out just fine. You will need tree supports.
The parts are as follows:
- 80 Grams of filament of your choice.
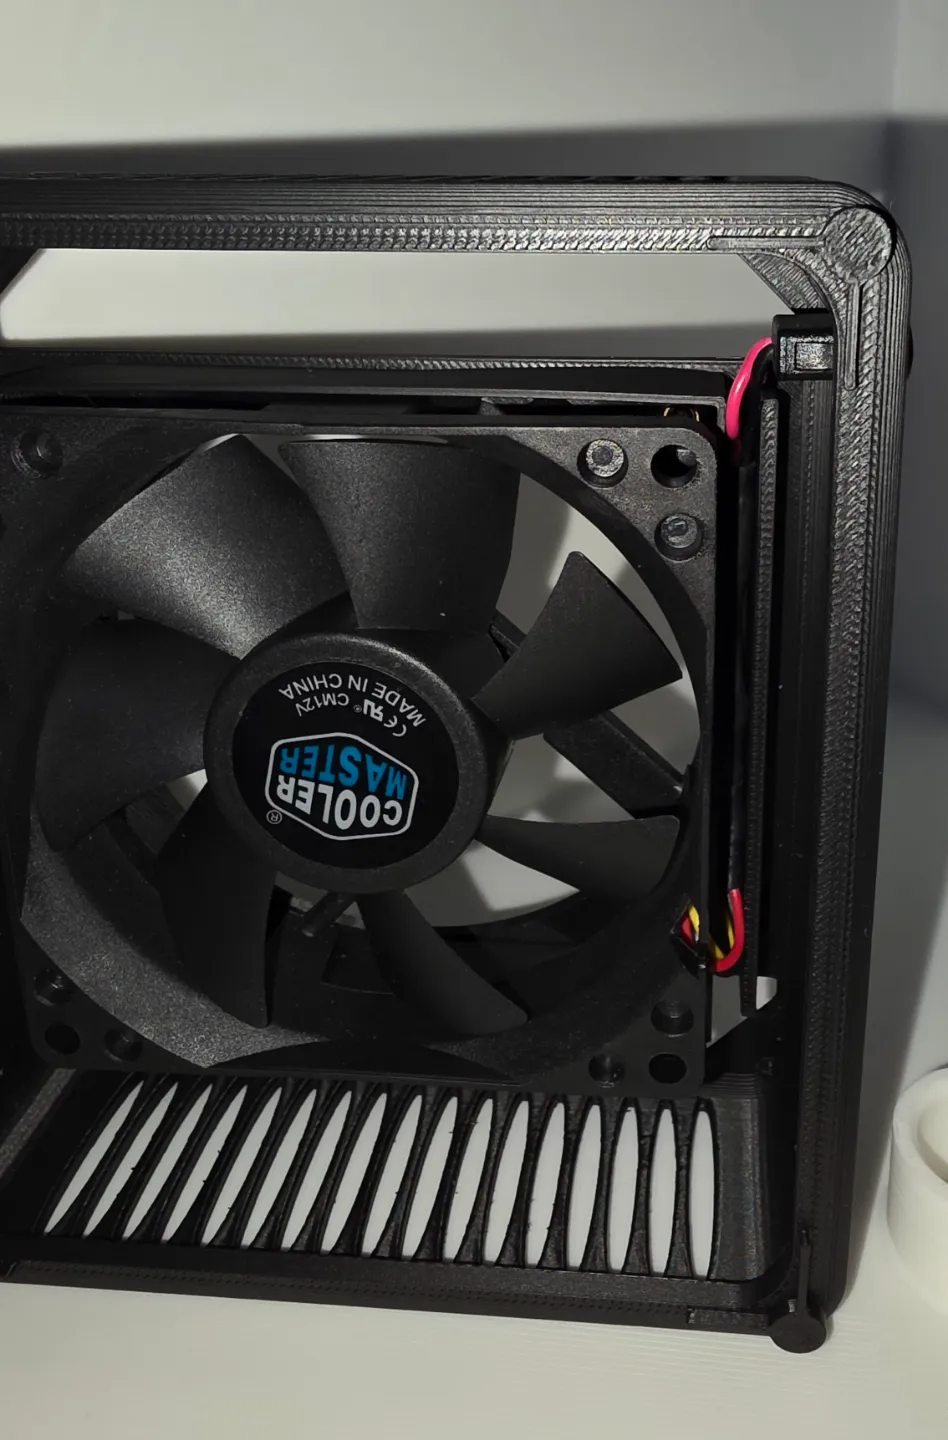
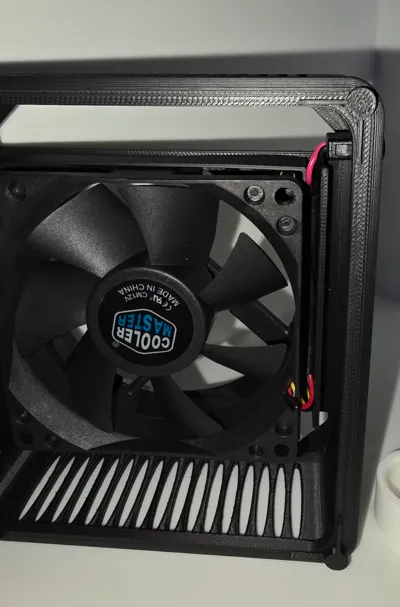
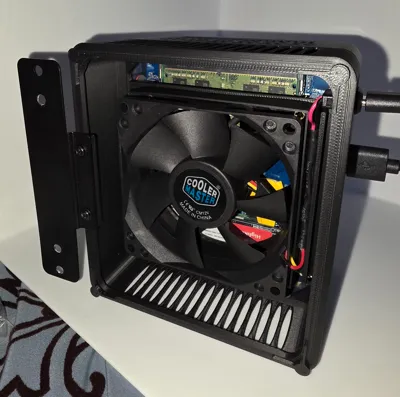
- 1 computer fan - 80mm x 25mm (The 25mm isn't really important if you have something a different size)
- 1 USB C female port (Like this - https://www.amazon.com/dp/B0CHDS9NMD?ref=ppx_yo2ov_dt_b_fed_asin_title&th=1)
- 1 very short USB A to USB C cable (length doesn't matter, but the shorter the better)
- x4 M3 x 5mm Screws
- x6 M3 x 4 x 5 heat set threaded inserts (M3 x 5 x 5 will work too)
This mod reuses the 4 (M2) screws that hold the back plate on and also the 2 (M3) screws that hold the mounting plate on.
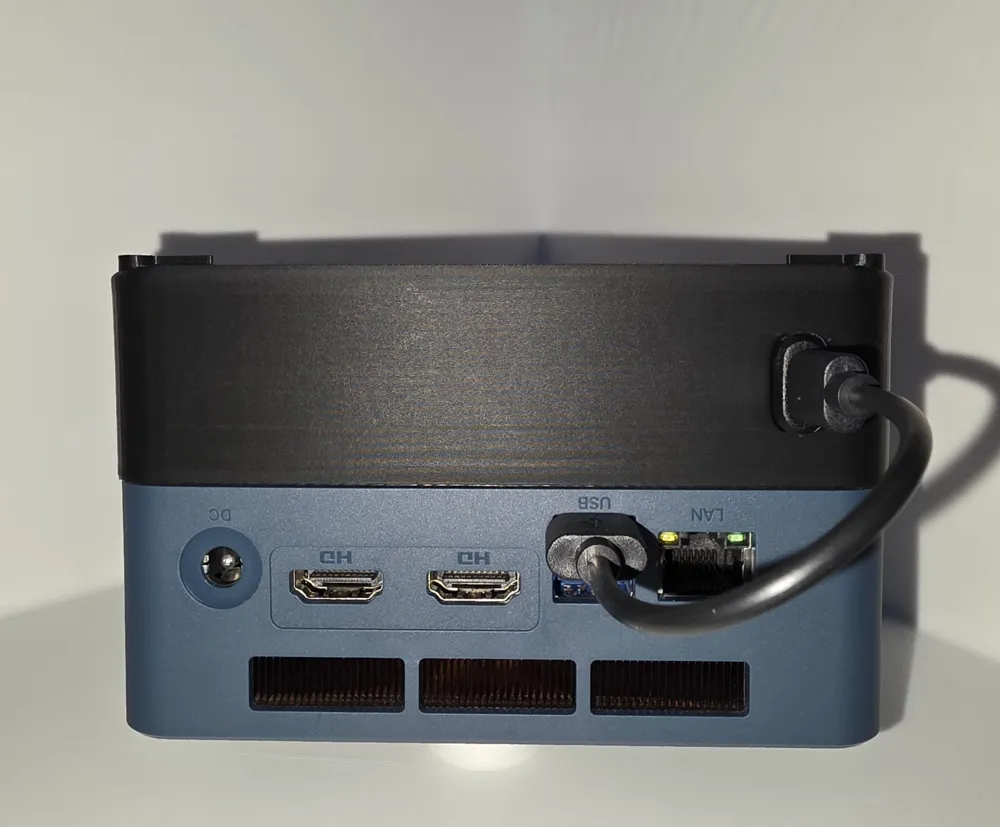
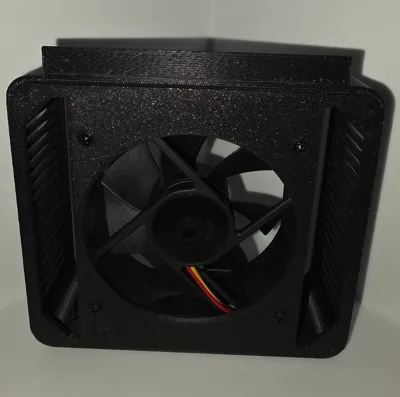
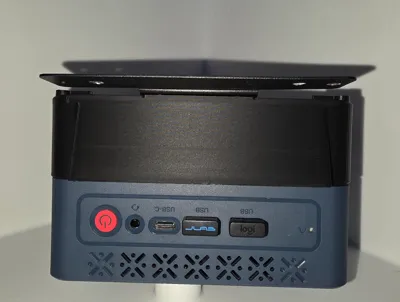
Once fan is installed and wired to the USB C port, all you have to do is plug a short USB cable from the USB on the bottom of the PC to the USB C port on the bottom of the cooler to power it. Since it is only using 5V from the USB, the fan stays very quiet.
I added a slope to what is the top of the cooler because I am adding a USB splitter hub to my computer and I wanted a spot for it to sit and be usable but out of the way. I got this from Amazon: https://www.amazon.com/dp/B09RZP7QPB?ref=ppx_yo2ov_dt_b_fed_asin_title
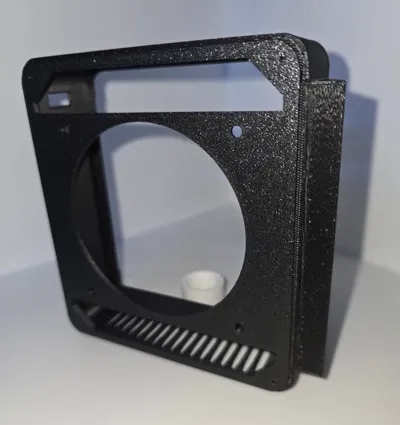
Install 2 heat set threaded inserts on the cooler for the mounting bracket (there are holes in the print where these go)
Install the other 4 heat set inserts directly into the fan.
Place the fan where its spot is and from the back side, screw in your M3 x 5MM screws into the fan through the back of the cooler.
You can mount the cooler onto the computer itself using the 4 M2 screws that held the back cover on the PC. There are holes in the print that you can thread the M2 screws into before you start to make it easier.
Add your mounting bracket using the screws that were originally used to hold it on.
That should be it. Very simple and easy.
I know this won't be a popular print, but if it does happen to help you, Please be sure to like, rate, share and boost. I appreciate that.
Please feel free to reach out if you have any questions or need any modifications.
License

You shall not share, sub-license, sell, rent, host, transfer, or distribute in any way the digital or 3D printed versions of this object, nor any other derivative work of this object in its digital or physical format (including - but not limited to - remixes of this object, and hosting on other digital platforms). The objects may not be used without permission in any way whatsoever in which you charge money, or collect fees.


Comment & Rating (7)