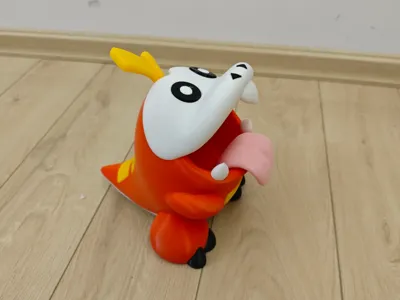
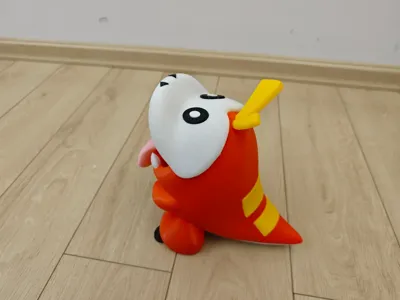
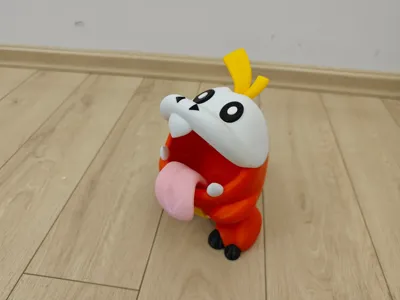
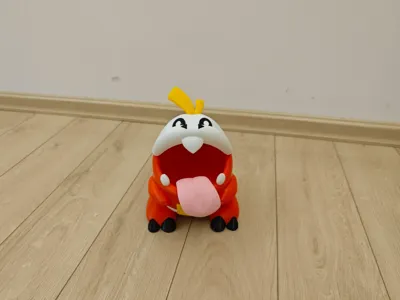
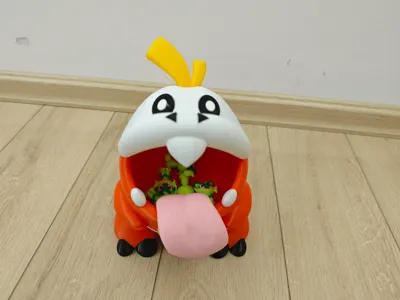
Pokemon—Fuecoco (Disassembled) Storage Bin


Print Profile(2)


Description
Surprise! It's me again, highly productive!
This time, I've gathered all the necessary colored filaments, and physical images are available for reference.
A 20cm Fuecoco storage bin (disassembled) requiring no AMS or painting, allowing you to create your second Pokémon model (the first being Sprigatito, of course)
I haven't uploaded a multi-color, single-print AMS version this time; it seemed unnecessary. However, if you'd like one, please leave a comment, and I'll create it.
As for why it's a storage bin, don't ask. I initially intended to make a tissue box, but the model size proved unsuitable; it wouldn't fit inside.
This model is compatible with Bambu P1S, P1P, X1, and A1 series printers. As usual, A1 mini users will need to adjust the model size themselves, as I don't own an A1 mini.
The filaments used in this model are: orange-red, mango yellow, white, pink, and black.
Monochromatic printers will require printing in batches and subsequent assembly.
I used Eryone PETG and AMZ3D PLA filaments, but you can choose filaments based on your color scheme (as I only stock these two, tears of poverty ensue).
For monochrome printing, a 0.2 layer height with 8% or 10% infill is sufficient. For multi-color AMS printing, a 0.16 layer height is recommended (I haven't attempted this, but if needed,) although a 0.08 layer height will yield superior results, albeit at the cost of increased printing time.
Glue is required for assembly, although some parts require none. Assembly diagrams are provided below, indicating parts requiring glue. I recommend hot glue; it works better with larger models, and that's what I used.
Disassembled model
Assembly steps are as follows: (Refer to the annotations)


License
You shall not share, sub-license, sell, rent, host, transfer, or distribute in any way the digital or 3D printed versions of this object, nor any other derivative work of this object in its digital or physical format (including - but not limited to - remixes of this object, and hosting on other digital platforms). The objects may not be used without permission in any way whatsoever in which you charge money, or collect fees.
Comment & Rating (48)