
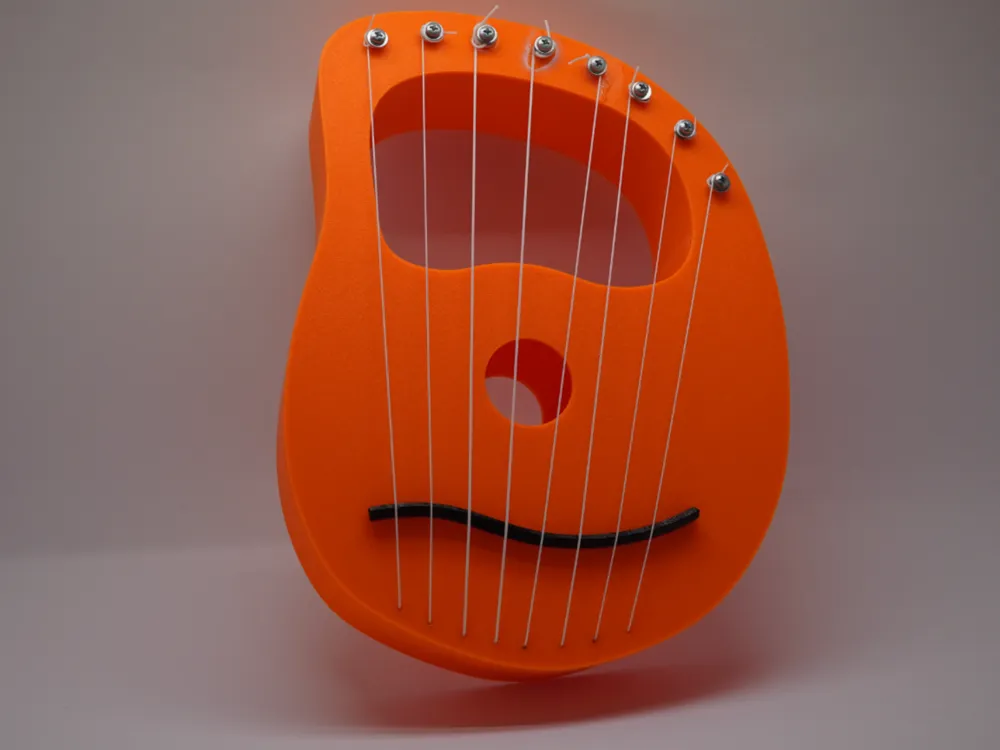
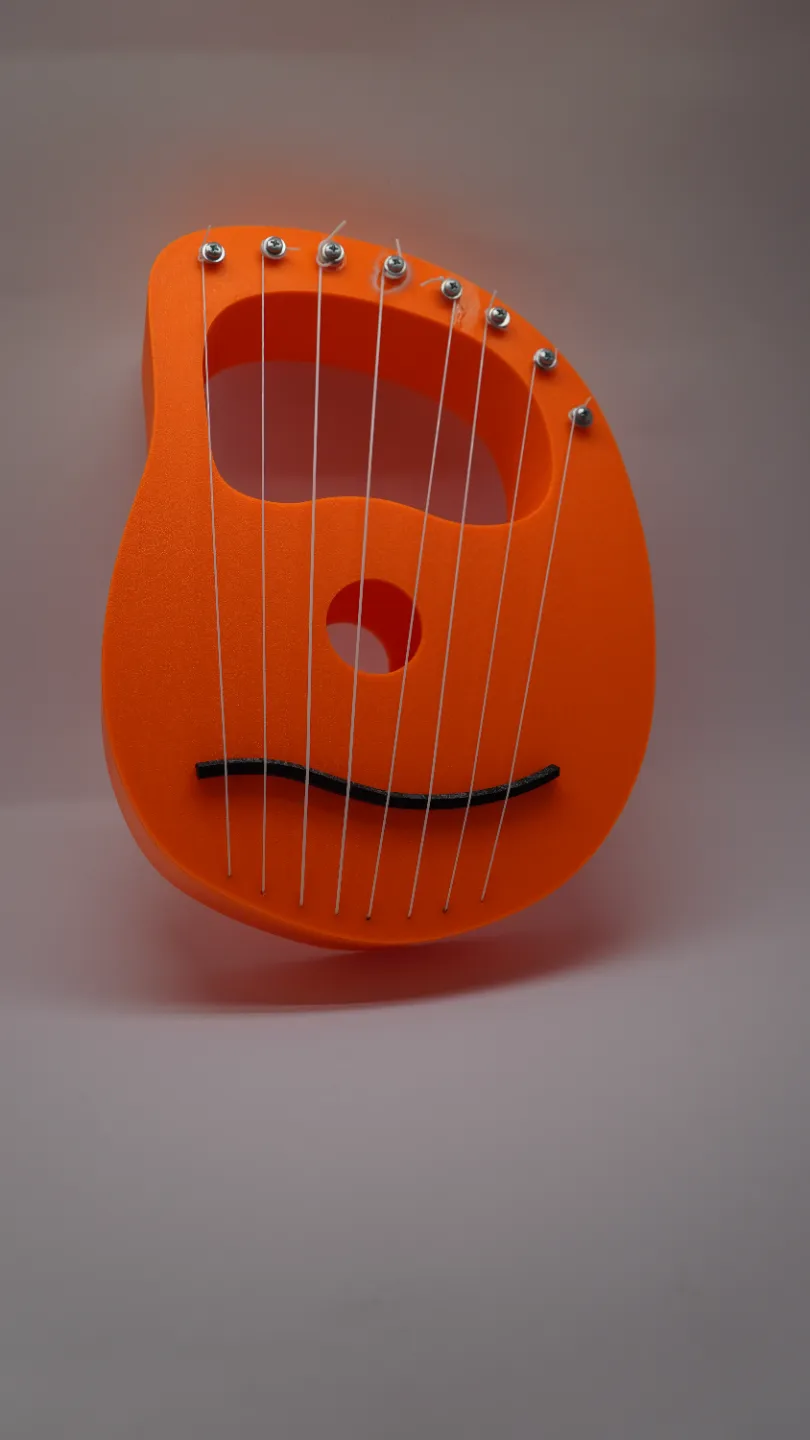
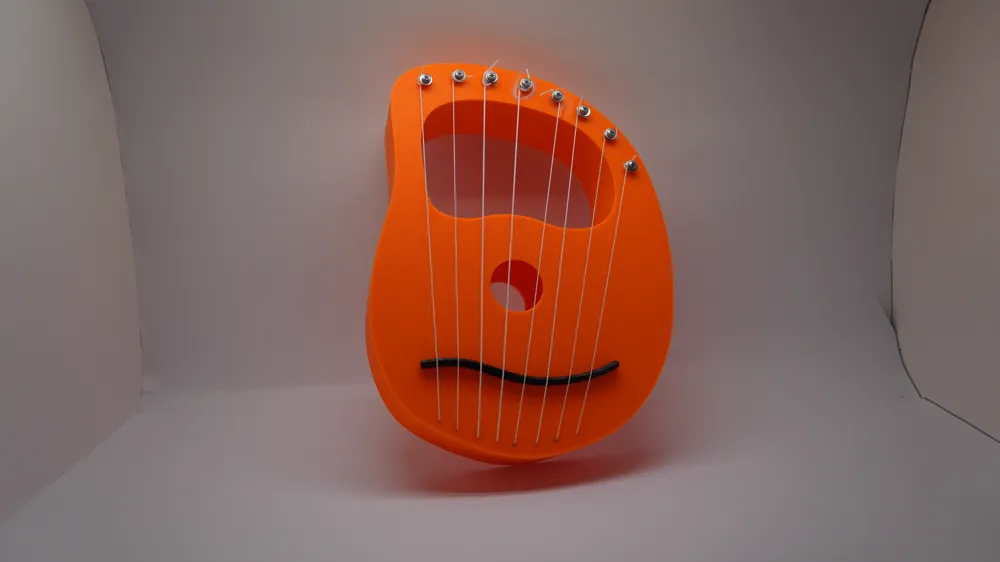
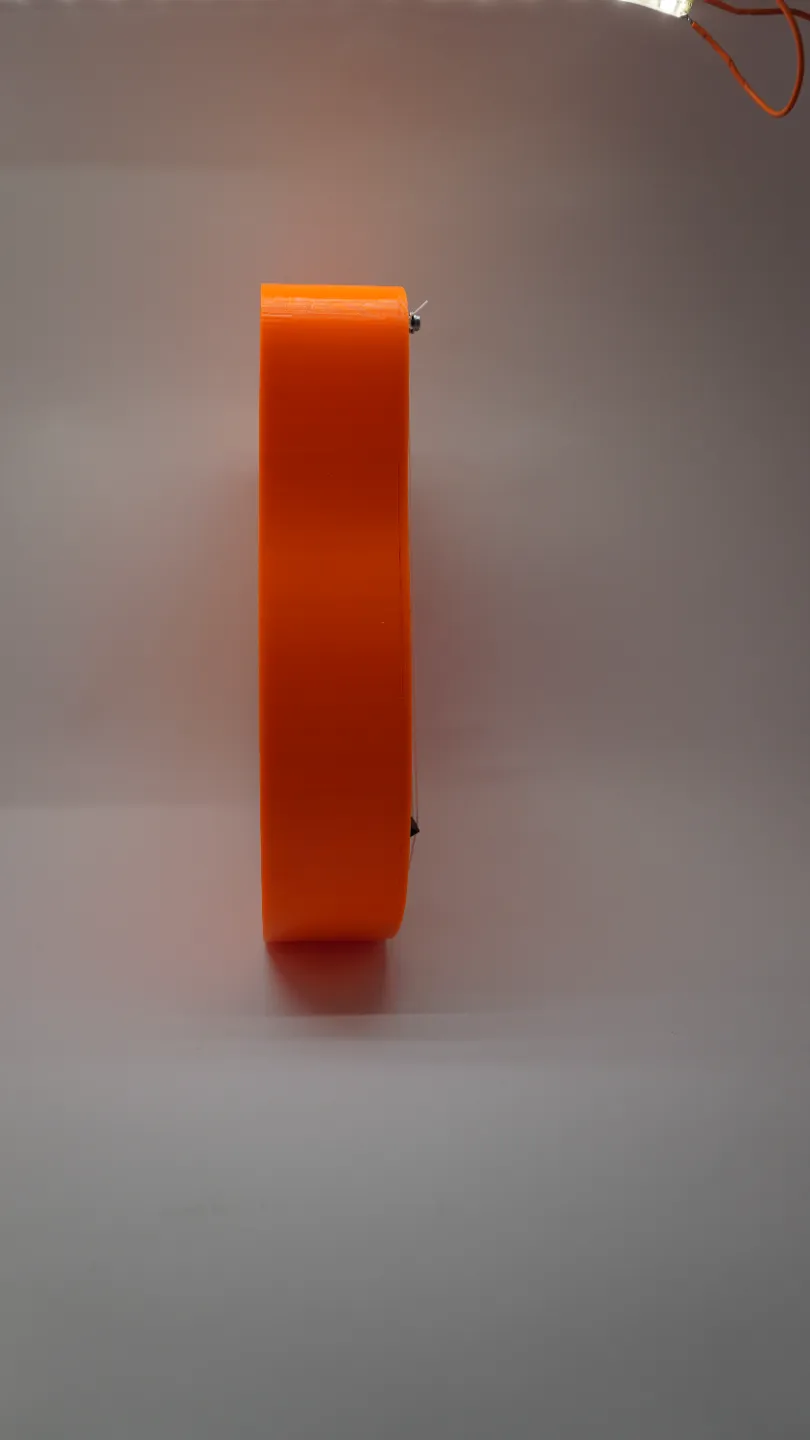
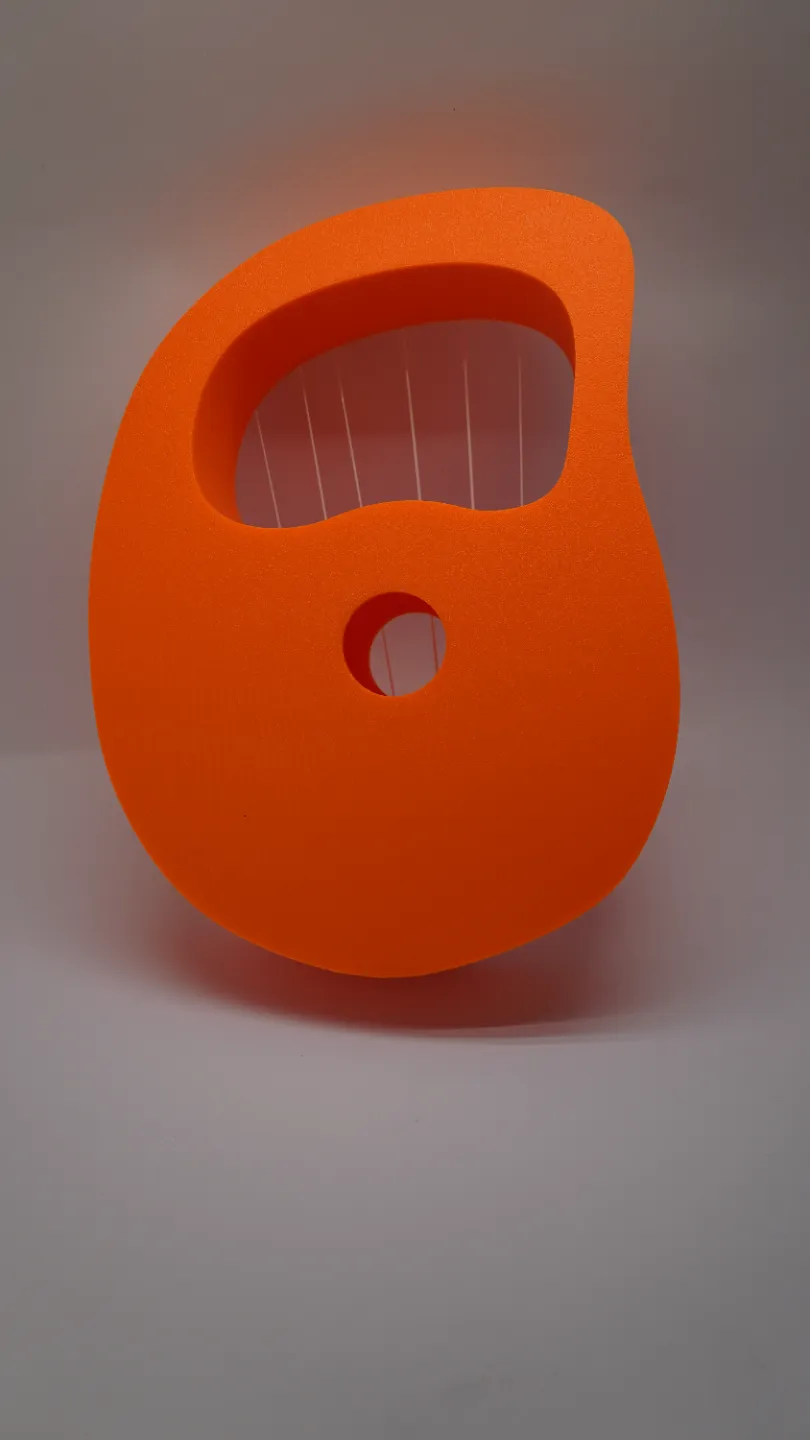
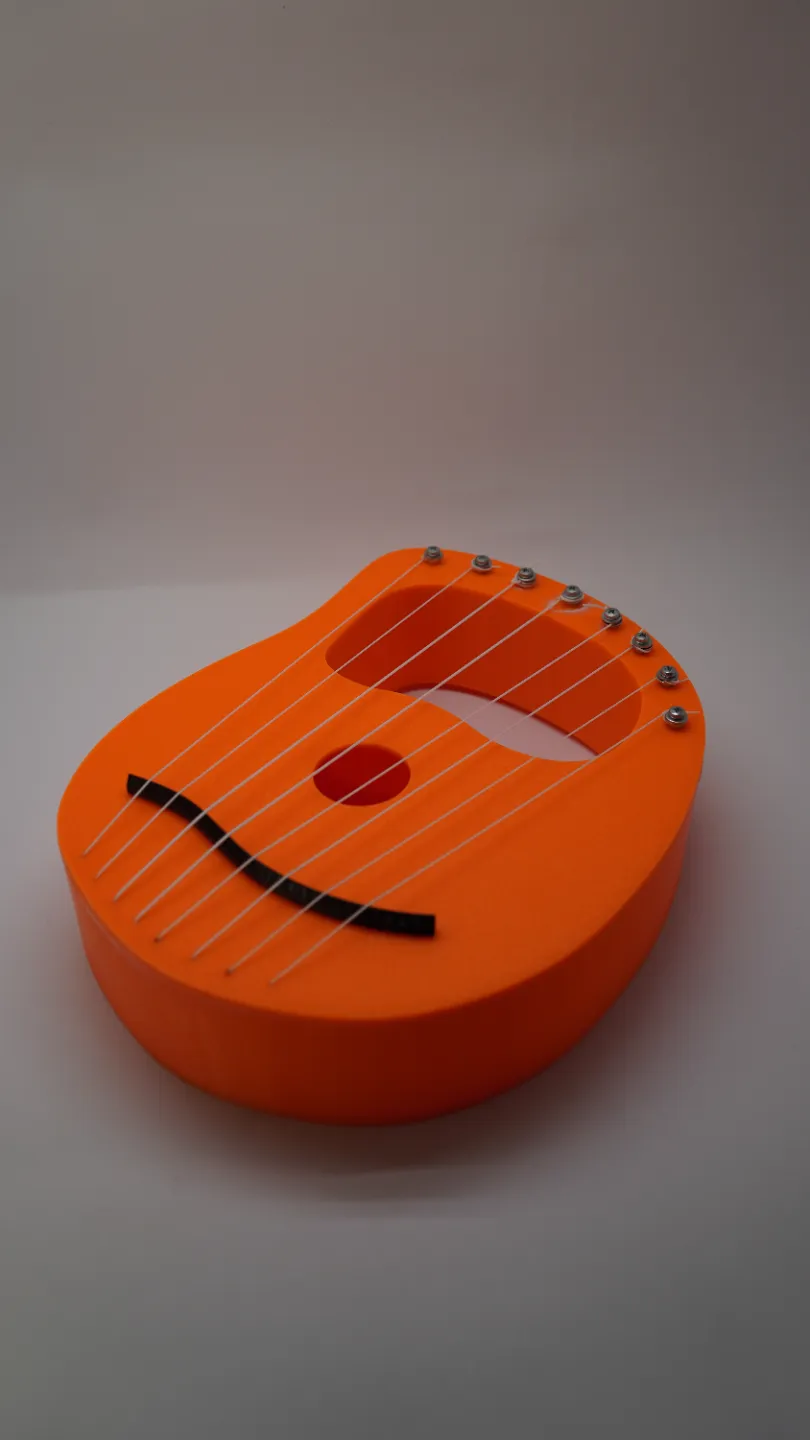
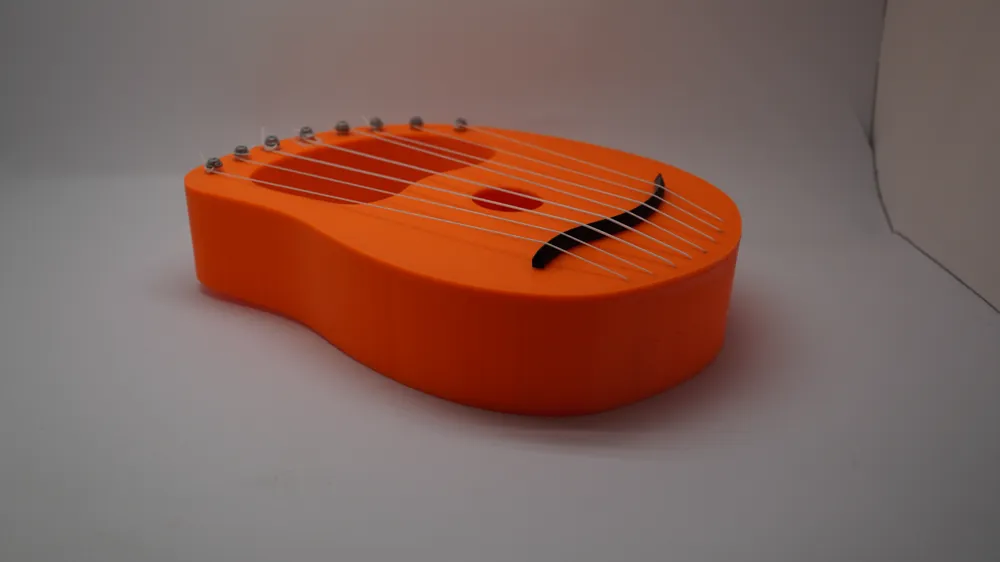
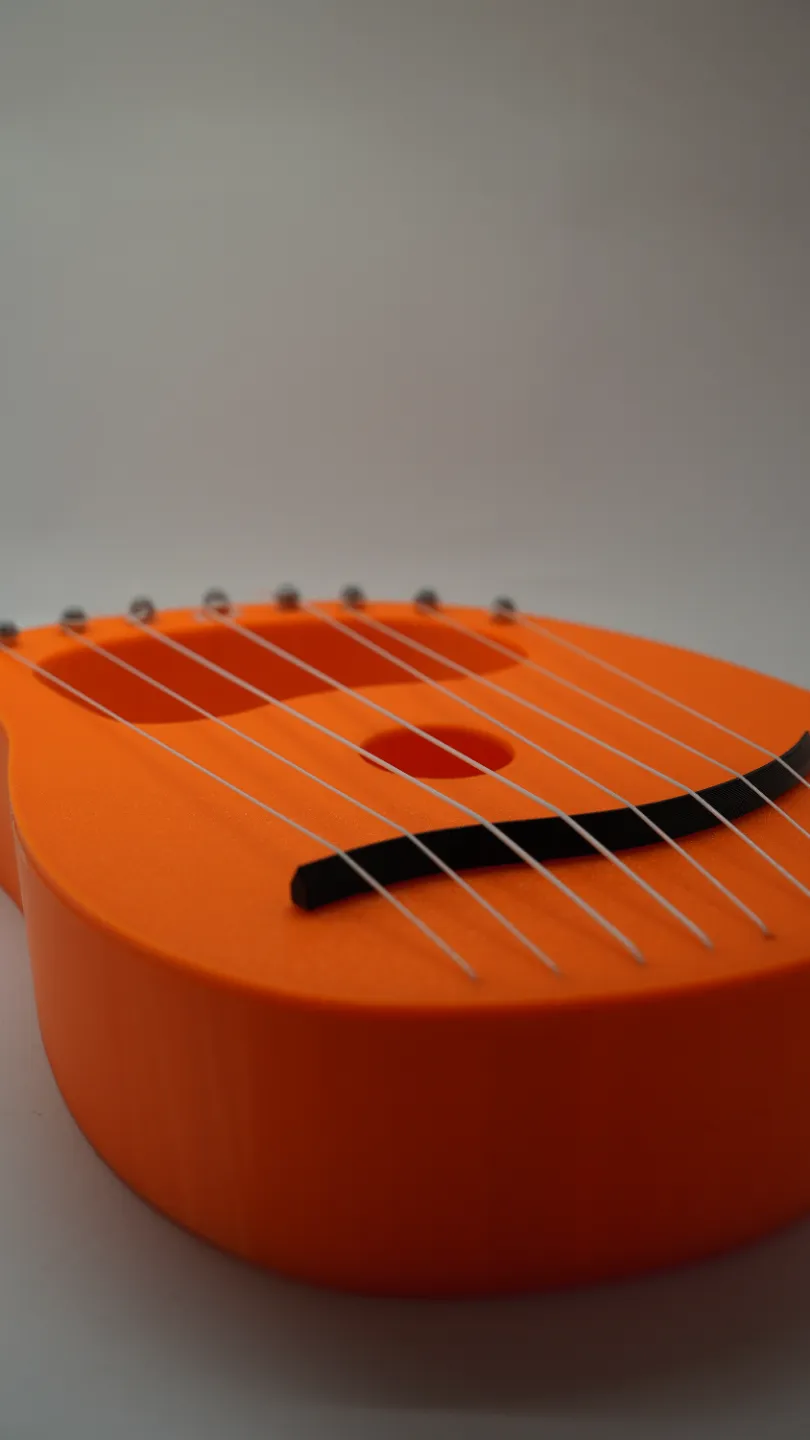
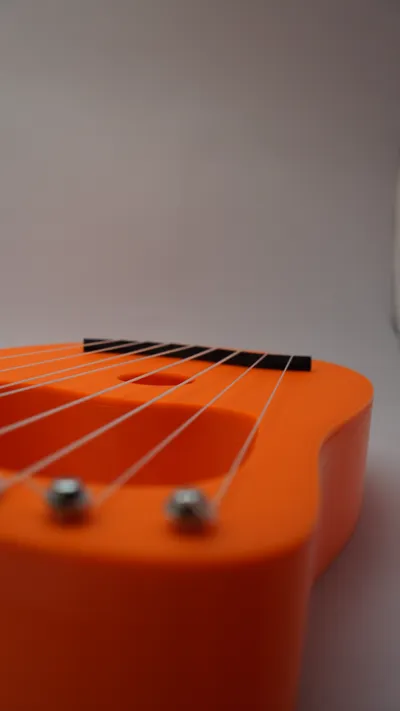
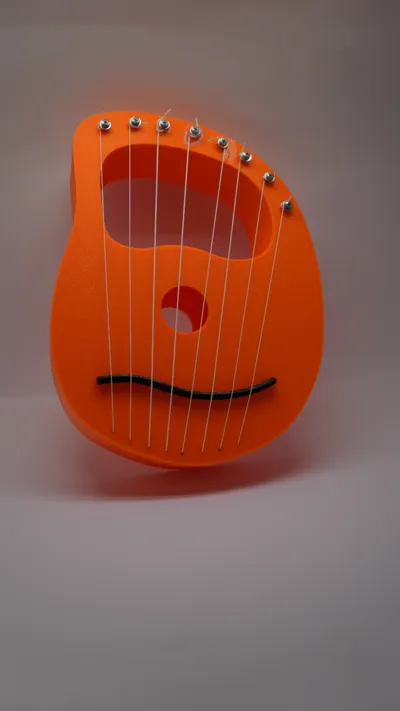
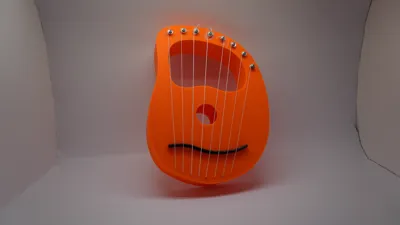
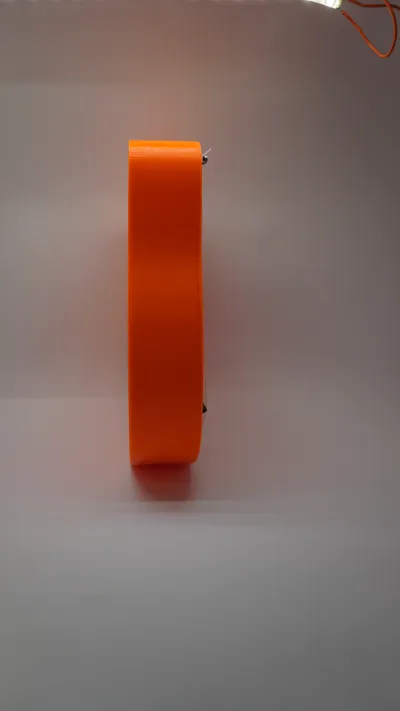
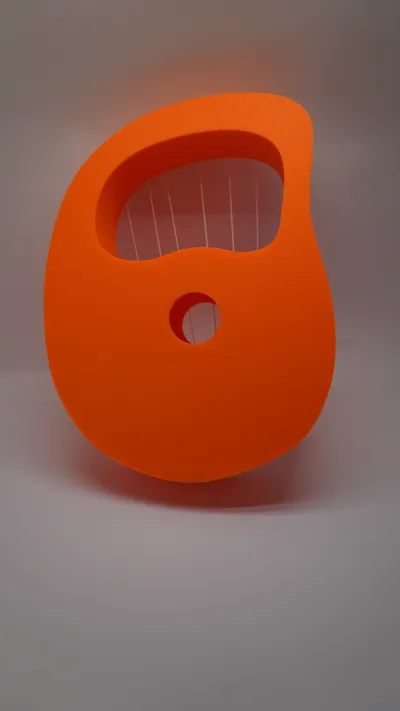
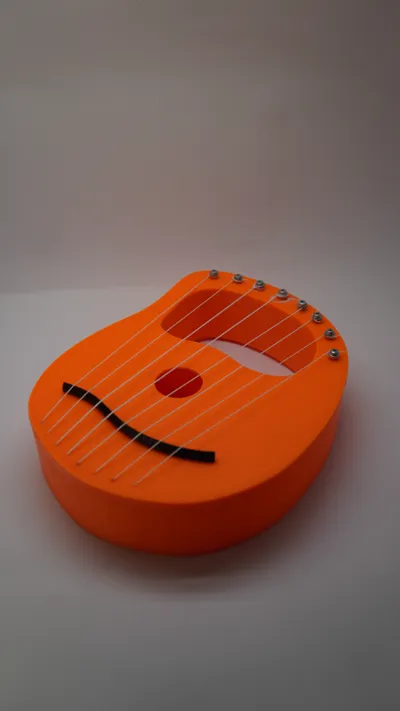
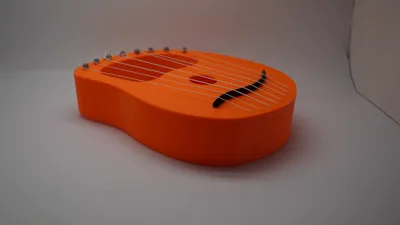
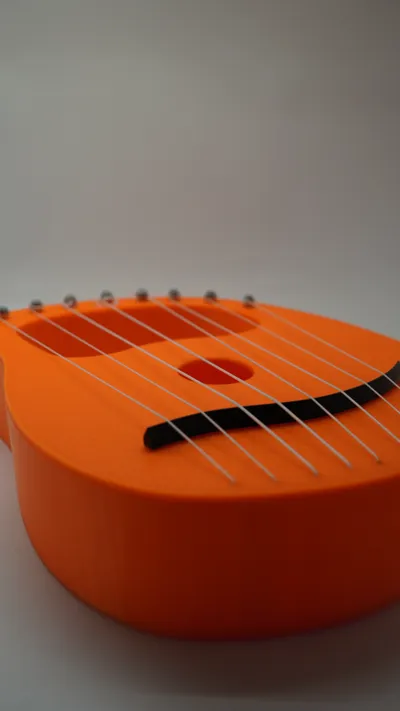
Harp Lyra 8-string fully functional

Print Profile(1)

Bill of Materials


Description
Harp Lyre
The term "harp lyra" doesn't refer to a specific historical instrument, but rather seems to be a fusion of two distinct instruments:
- The Lyre: Originating in ancient Mesopotamia (around 2500 BCE) and later adopted by the Greeks and Romans, the lyre was a U-shaped stringed instrument often associated with Apollo, the god of music. It had a wooden soundbox and gut strings, played either by plucking or with a plectrum.
- The Harp: One of the oldest stringed instruments, with origins in ancient Egypt, Mesopotamia, and Ireland. Harps evolved separately from lyres and typically had a triangular frame, with strings that could be played by plucking with fingers.
A "harp lyra" likely refers to a modern hybrid instrument inspired by both the lyre’s open frame design and the harp’s tuning and resonance. These designs are often used in folk and neo-classical music today.
DIY Harp Lyre-Inspired Instrument Assembly Guide
Materials Needed:
- 2x sets of ukulele strings
- 8x M4 x 10mm screws
- 16x M4 nuts
- 16x M4 washers
Assembly Instructions:
- Prepare the Strings:
- Tie a knot at one end of each string.
- Insert the black piece onto the flat orange piece.
- Thread the Strings:
- Pass the strings through the bottom holes.
- Arrange them in the following order from left to right: 4 4 3 3 2 2 1 1 (according to string thickness).
- Attach to the Tuning Screws:
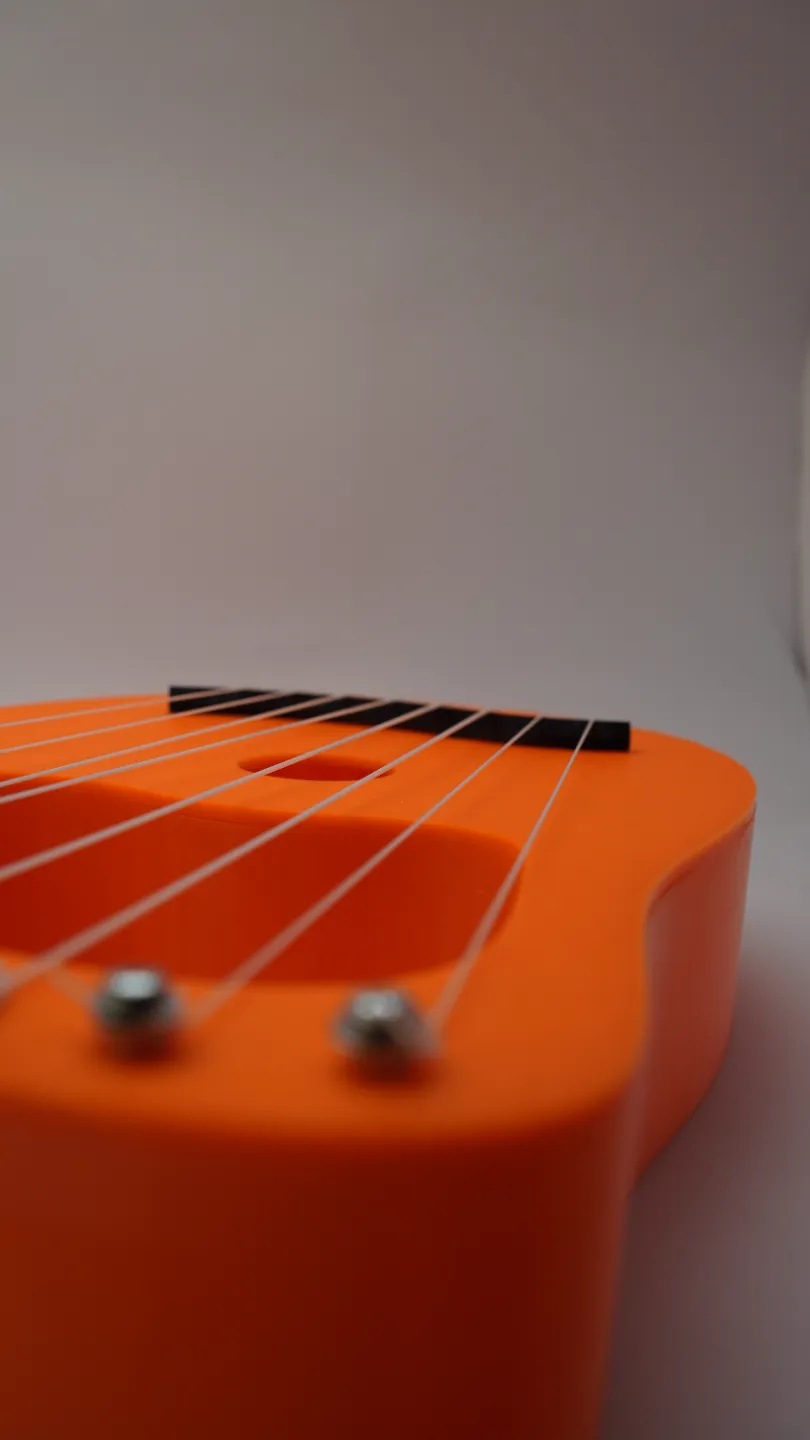
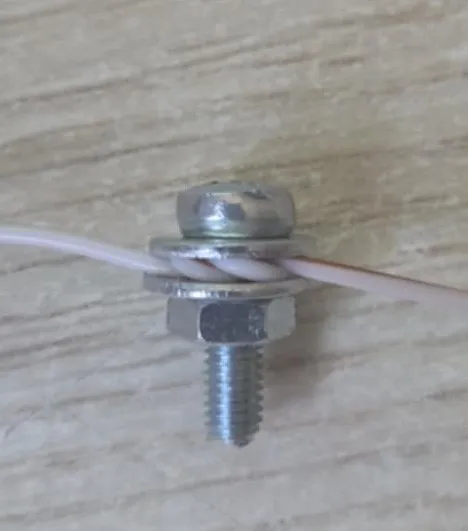
Tie a knot around each screw approximately 10mm above the hole (refer to the provided picture for guidance).
- Secure the Strings:
- Screw a nut onto the opposite side of the flat orange piece.
- These nuts will be used to tune the instrument by adjusting string tension.
- After that cut the remaining parts of the strings.
- Final Assembly:
- Glue the two orange parts together to complete the build.
Your instrument is now ready! Adjust the tension of each string to achieve the desired sound.
License

You shall not share, sub-license, sell, rent, host, transfer, or distribute in any way the digital or 3D printed versions of this object, nor any other derivative work of this object in its digital or physical format (including - but not limited to - remixes of this object, and hosting on other digital platforms). The objects may not be used without permission in any way whatsoever in which you charge money, or collect fees.


Comment & Rating (4)