Air Conditioner Outdoor Unit Model Desktop Fan RTX8090


Print Profile(1)
Description

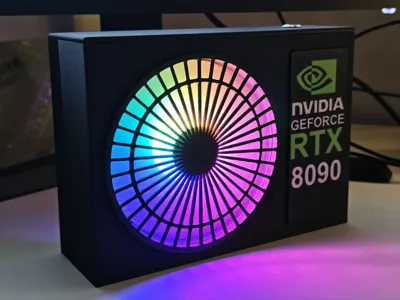
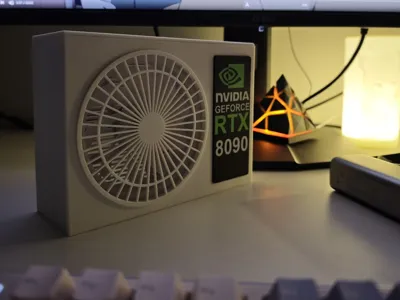
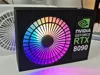
Inspired by the RTX 8090 meme, this desktop fan utilizes a power delivery protocol (PD) compatible charger, with the option of modification for battery power.
Employing a 12cm case cooling fan and a PD trigger, it balances quiet operation with affordability.
Assembly is straightforward, requiring soldering only for the switch wiring. A switchless version is available for those without soldering skills; simply connect the fan's positive and negative leads directly to the PD trigger output. The side nameplate uses magnetic attachment, allowing for personalized customization. The model includes RTX 8090 and RTX 5090 nameplates, plus a blank one for your creative designs (Share your inventive nameplate ideas in the comments!ヾ(≧▽≦*)o)
Printing Configuration Details
The print configuration offers versions with and without a switch. Print only one version; avoid duplication!!!
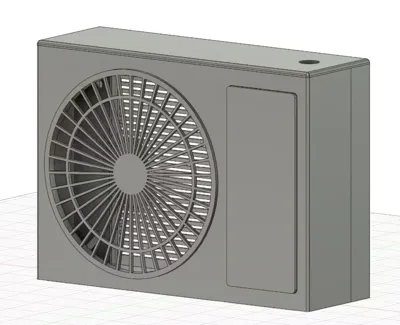
Assembling the complete fan requires printing only three plates:
- Nameplate
- Fan guard and trigger clip
- Front and rear covers (with or without switch)
Bill of Materials:
- 12cm fan x1 (reverse blade, large four-pin connector; avoid PWM fans as they are incompatible with the PD trigger)
- PD trigger x1 (dimensions: 25.7mm x 11mm x 14.2mm)
- 12mm diameter metal switch x1 (required for switch version)
- One length of wire (required for switch version)
- 3mm screws x2
5mm x 0.8mm cylindrical magnets x4

Assembly Instructions


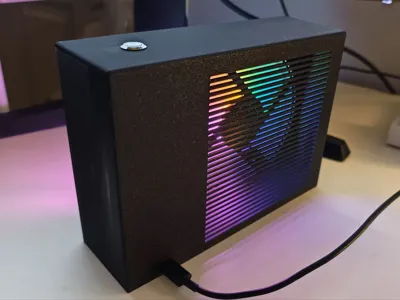
- Install and secure the switch and fan. Do not fully tighten the fan screws; otherwise, the model may crack.
- Disconnect the two wires from the fan's four-pin connector, noting polarity. Connect one to the PD trigger output and the other to the switch. Then, use another wire to connect the switch and the trigger's second output.
- Adjust the PD trigger to the fan's required voltage; case cooling fans typically use 12V.
- Position the PD trigger and secure it using the clip, as shown in the middle image.
- Assemble the front and rear covers, securing the base with two 3mm diameter screws.
- Align the fan cover clip with the front cover's recess, insert, and rotate to secure.
- Attach magnets to the casing and nameplate.
Boost Me (for free)
If you like this model, please consider boosting me. Thank you!
Comment & Rating (1)