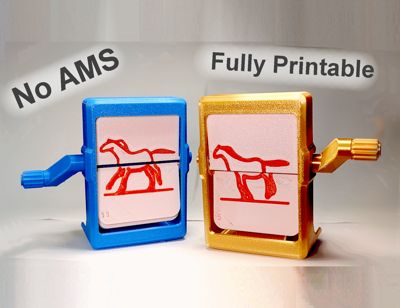
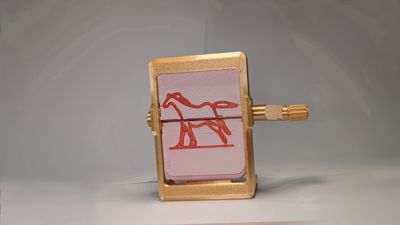
Mechanical Flip Book Horse Running No AMS nedded


Print Profile(4)


Description
Boost Me (for free)
If you want to support this and future design consider donating 100grams of filaments in the form of a boost token.
Thanks for taking a look at this model
Description: This its an amazing flip book mechanism that shows a horse running when turned. Now because I have all the basics parts designed its really easy to change the animation so if you have an animation you want in one of this flipbooks let me know.
Times:
Modeled time: 36 hours
Printing time: 2 hours
Assembly time: <10 minutes if you are smart
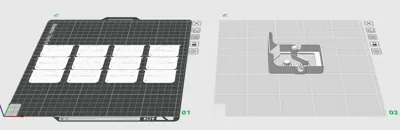
Instructions for printers without AMS:
If you don't have a AMS module the print profile “No AMS” has pauses on the plate of the frames. Every time the printer pauses you should change the filament. For the models you see in the gif the combination was:
Started with: white
The printer stopped after layer 1: I changed the color to red
The printer stopped after layer 2: I changed the color to white
The printer stopped after layer 2: I changed the color to red
Remember that the printer has to purge filament every time the color changes.
Are you interested in fast changing filament I have develop a way of doing this manually and I'm creating a video about that in my channel make sure to subscribe to know when its out.
Assembly Instructions:
I will be uploading a video soon about the model, and it will have the assembly instructions. Make sure to subscribe to know when its out. And it will go here-→
Video(>) https://www.youtube.com/watch?v=h58TYkDQlQI&t=80s
If you don't want to watch the whole video you can follow this instructions.
Familiarize yourself with the names I have given to the different parts I'm sure they aren't the right names but this is what I call them.

- Step 1: Glue the crank and the end cap to both ends of the axle.
- Step 2: Position the axle so the crank its to your right and the end cap its to your left. Position the frames so that you can see the number and the tabs are apposite to you (or in other words the numbers are in the right orientation and not upside down)
- Step 3: Add the frames add the frame 1 to two holes (one in each side) in between the end cap and the crank. the add the frame 2 beside that frame (on different holes) so that the frame 2 its on top the frame 1. Repeat that process for the rest of all the frame sand holes.
- Step 4: Put it all together by positioning the axle with the frames so the crank its to the left and the base so you see the back of it (if you are not sure you know which is the back, its the side that comes up when you print it)
- Step 5: Give me a boost really important for the flipbook mechanism to work. Just kidding I would appreciate it a lot if you would :)
Step 6: Turn the crank anti clockwise and enjoy. Thanks for printing. Let me know how it turns out.
Commercial license:
I'm working on a patreon account let me know if you are interests in a patreon account.
If you see mi model being sold as a file or printed let me know.
If you are still reading it means you have a issue or questions please contact me: 2004marinmax@gmail.com
Boost Me (for free)
Please it make a big difference. If you did thanks

Check my other models!!!

Thanks for looking at this model please make sure to check my other models out.
Marin products
License
You shall not share, sub-license, sell, rent, host, transfer, or distribute in any way the digital or 3D printed versions of this object, nor any other derivative work of this object in its digital or physical format (including - but not limited to - remixes of this object, and hosting on other digital platforms). The objects may not be used without permission in any way whatsoever in which you charge money, or collect fees.
Comment & Rating (40)