Chocolate Heart Mould - silicone moulding


Print Profile(1)

Bill of Materials
- FoodSafeSilicone x 1: https://mouldcraft.co.uk/product/food-grade-silicone-mouldcraft-fg-rtv-400-mould-making-rubber-kits/
- CadburysChocolate300g x 1: https://www.cadbury.co.uk/
Description
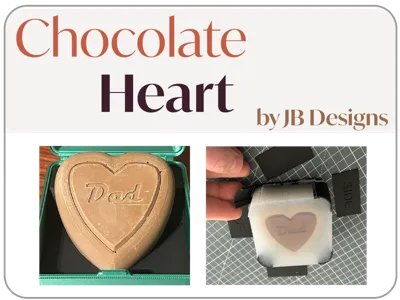
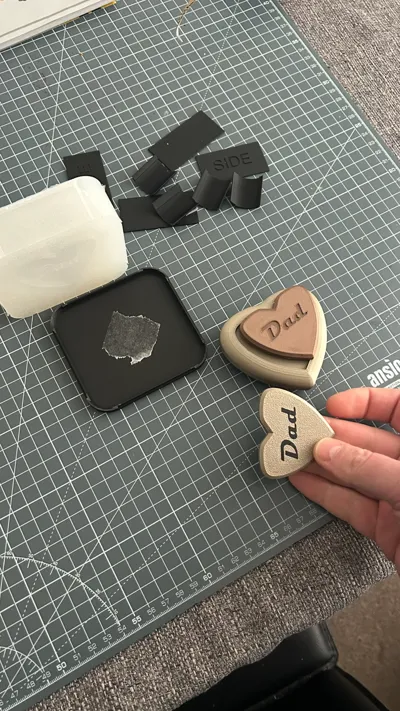
3D Printed Chocolate is one step closer thanks to this design. The chocolate heart this mould makes will perfectly fit the gift box and tray on my profile here (https://makerworld.com/en/models/1203586-heart-gift-in-box-customisable-text-mother-s-day#profileId-1216996).
How do you make a chocolate heart with customised text? Well follow these steps and you will soon have one:
- Order some FOOD SAFE silicone mix - you will need about 250g for this mould, and a nice big chocolate bar around 250 to 300g.
- Download this print profile to your Bambu Slicer.
- Change the text from ""Mum" to whatever you would like on Body 2.
- Print it all
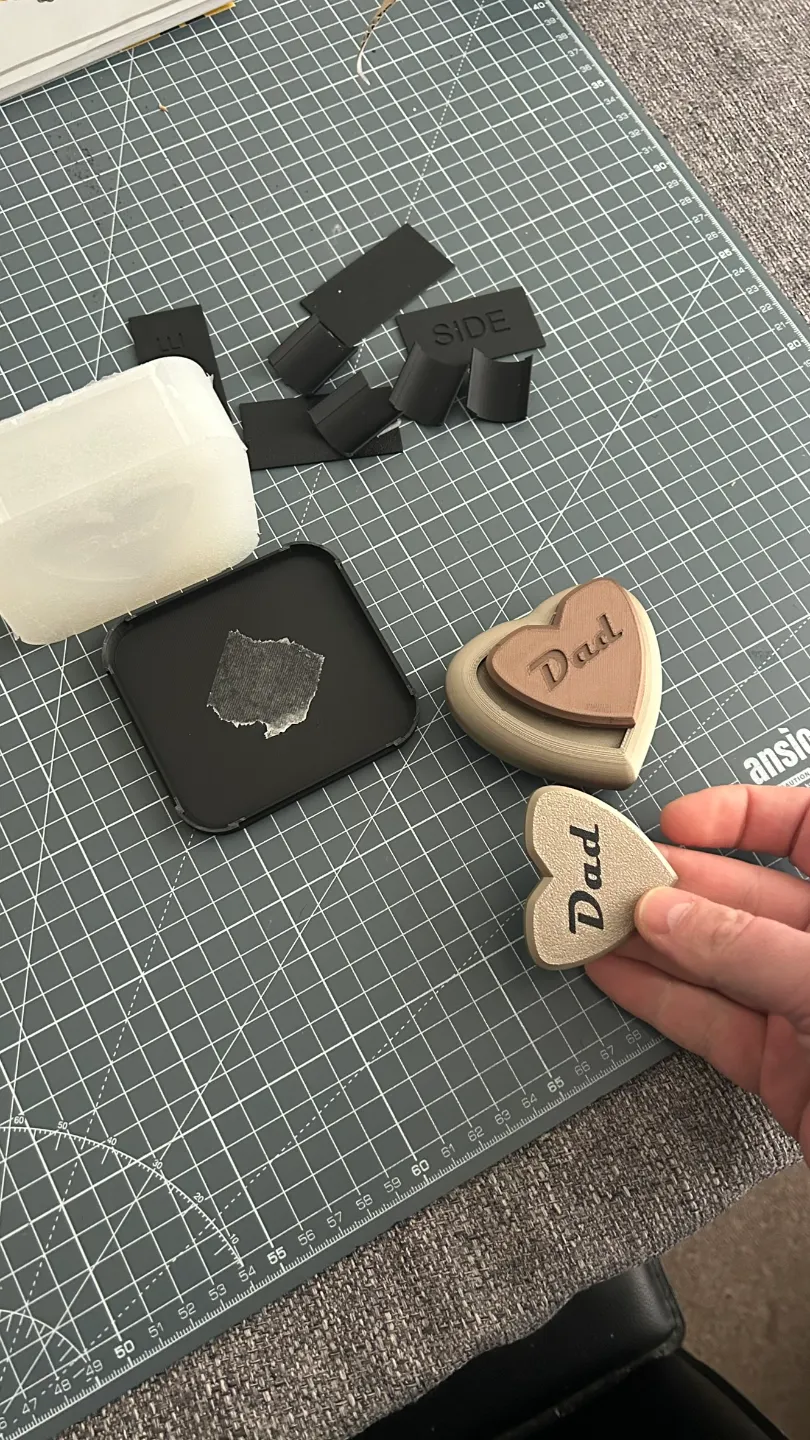
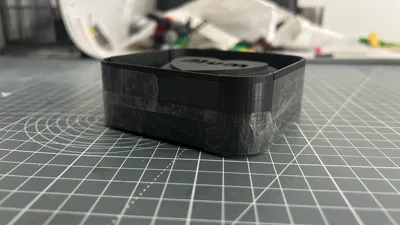
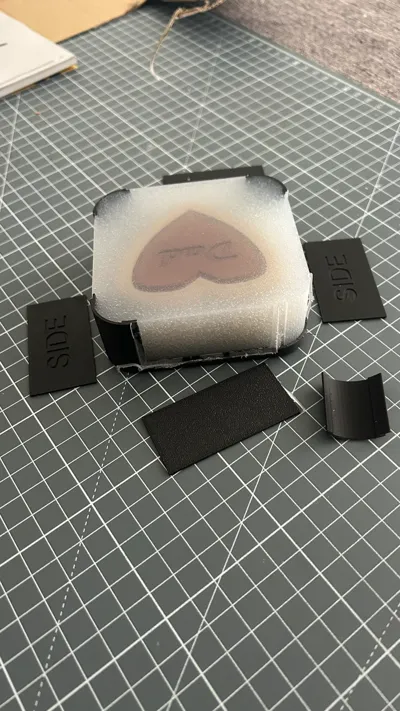
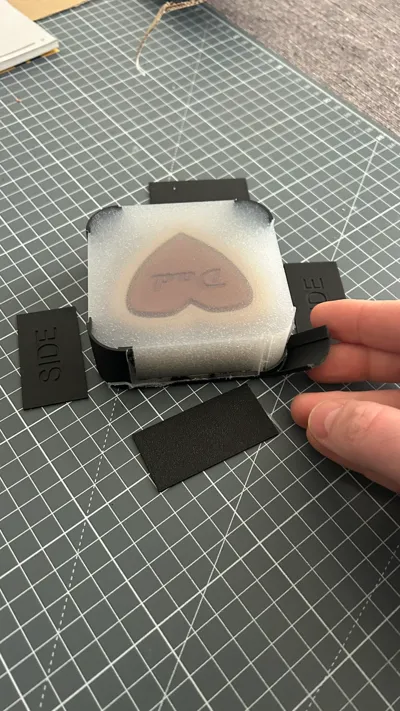
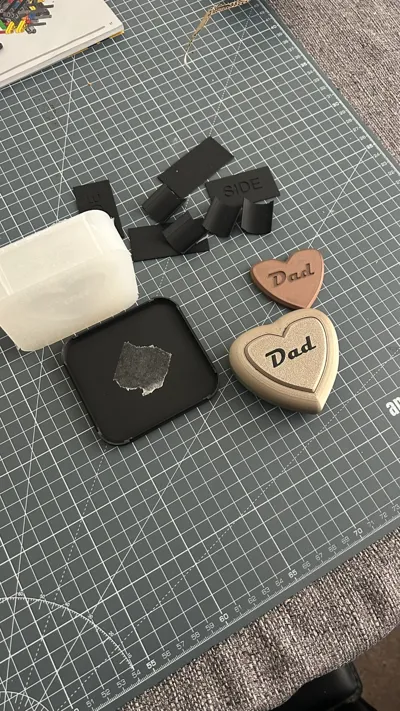
- Assemble the mould by sticky taping the sides on, and then the top and bottom parts. The sides have “SIDE” marked on them so you can easily tell them from the others. ***Tip - make sure you seal the sides and top/bottom parts thoroughly with tape all the way around (see photos).
- Use double sided tape to stick the name plate to the heart.
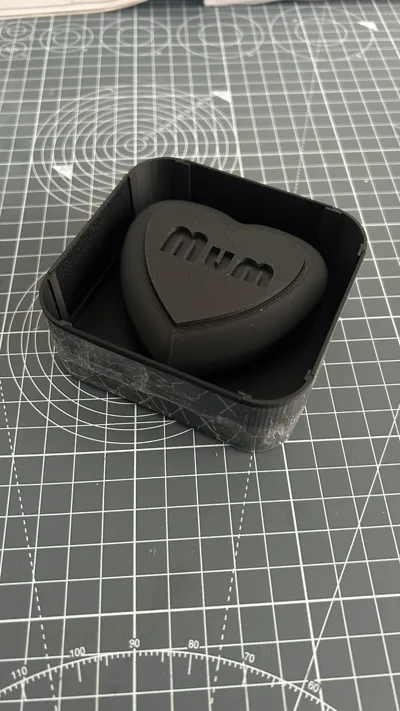
- Then use double sided tape to stick the heart to the middle of the moult plate (as per photo above).
- Thoroughly xix 250g of food safe silicone.
- Pour the silicone into the mould at a height of 25 to 50cm from the mould - you want a thin bead of silicone pouring into the mould so that you eliminate bubbles.
- Wait 12 hours or until your silicone is fully set.
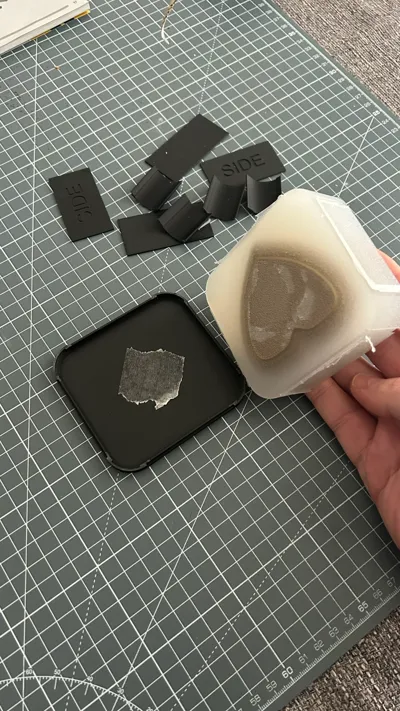
- Remove the sticky tape and gently peel off the sides, top and bottom panels.
- Then gently snap the corners off (see photo).
- Starting from the corners gently pry the silicone away from the mould, working your way around it will eventually come away from the PLA mould!
- Thoroughly wash your new silicone chocolate mould, and start pouring melted chocolate in!!
- Give said customised chocolate heart to your loved one and rejoice in happiness with a Clarkson style smug grin!
License
You shall not share, sub-license, sell, rent, host, transfer, or distribute in any way the digital or 3D printed versions of this object, nor any other derivative work of this object in its digital or physical format (including - but not limited to - remixes of this object, and hosting on other digital platforms). The objects may not be used without permission in any way whatsoever in which you charge money, or collect fees.
Comment & Rating (0)