


Print Profile(1)

Description
Couldn't find any LED tealight design that can be switched on/off, requires no additional hardware, no soldering, could last long on a single battery (and can be easily changed), so… I decided to design my own :).
This tealight has the same size as popular LED tealights. The main advantage is that it is being powered by a single CR2032 battery (instead of 3x CR1130) that is easily accessable. It only requires 5 mm LED and battery, no additional hardware or soldering. In addition, it can be switched on/off by rotating the bottom part.
Assembly instructions
Prepare the parts. Printed parts, 5 mm LED and CR2032 battery,

Take the LED and insert it's electrodes through the holes. Remember to put the anode (the longer leg) on a side with a deeper sleeve (as on the picture):

Bend the cathode flat:

Bend the anode to the other side. Please note, that the bending point has to be deep:

Push the anode in the middle to create the second bending point (so the end is pointing up):


Adjust the position of the anode end so it is in the correct position and pointing up (just like on the picture):

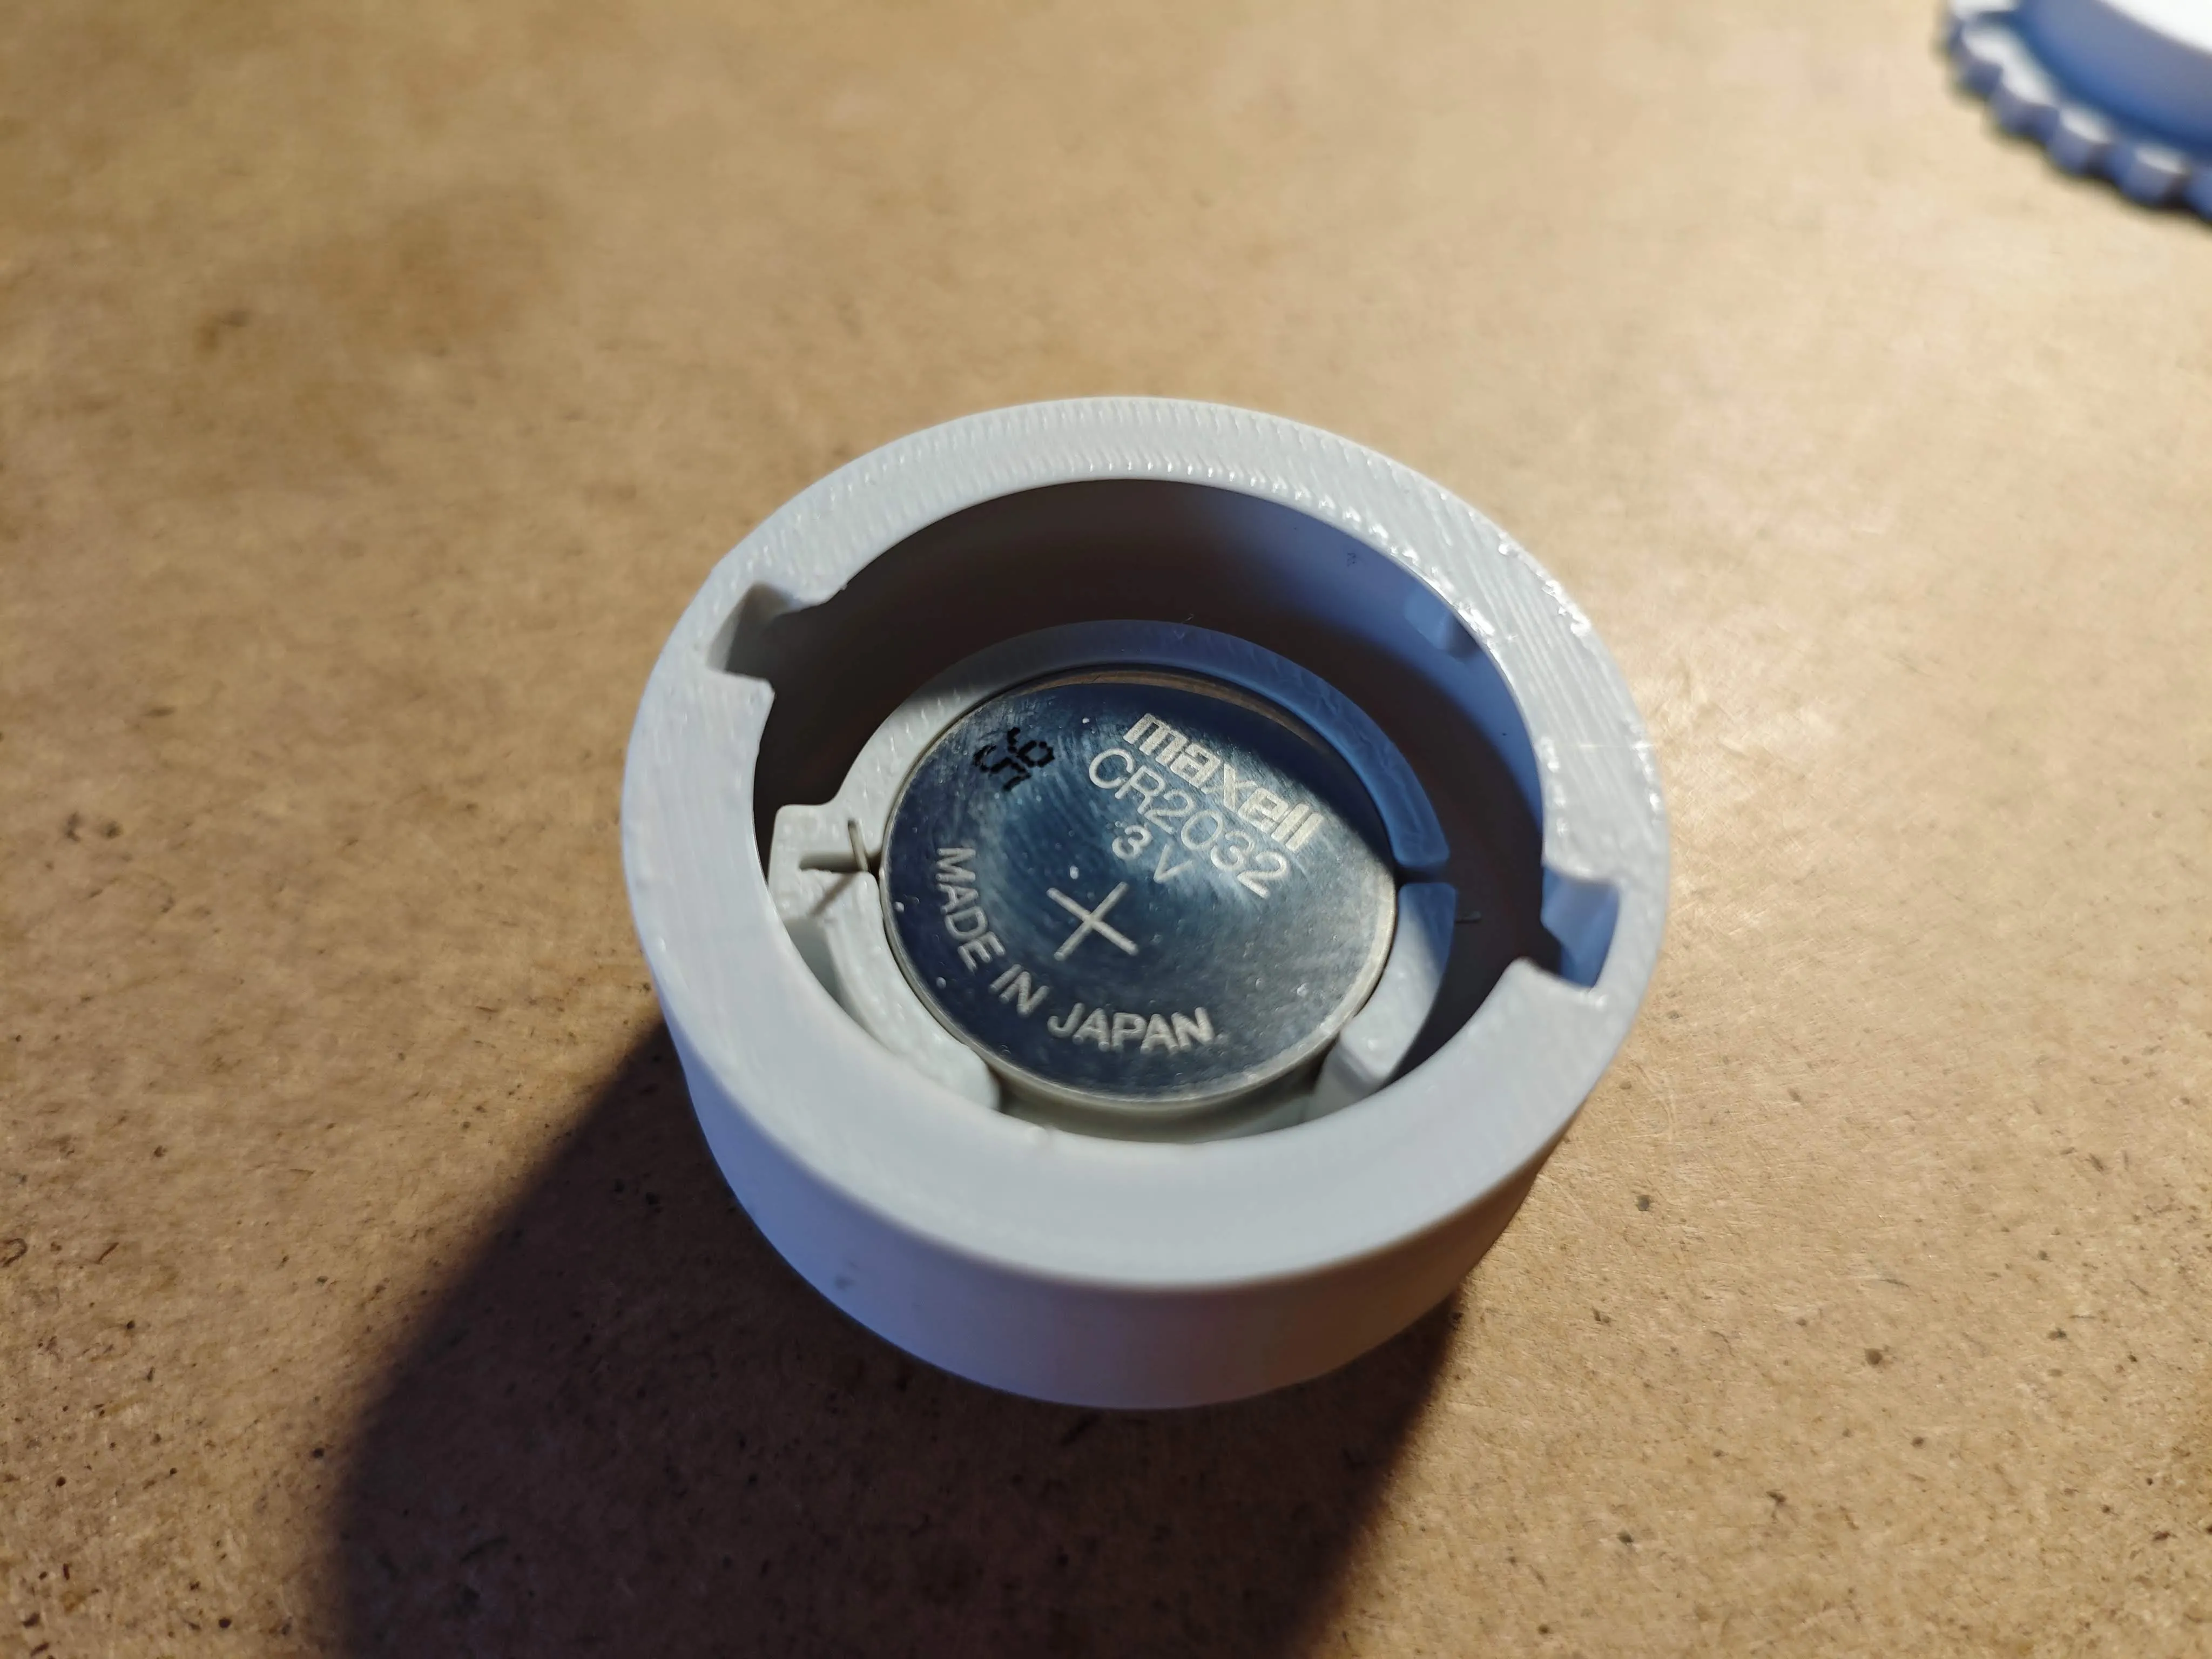
Insert the battery (+ on top):
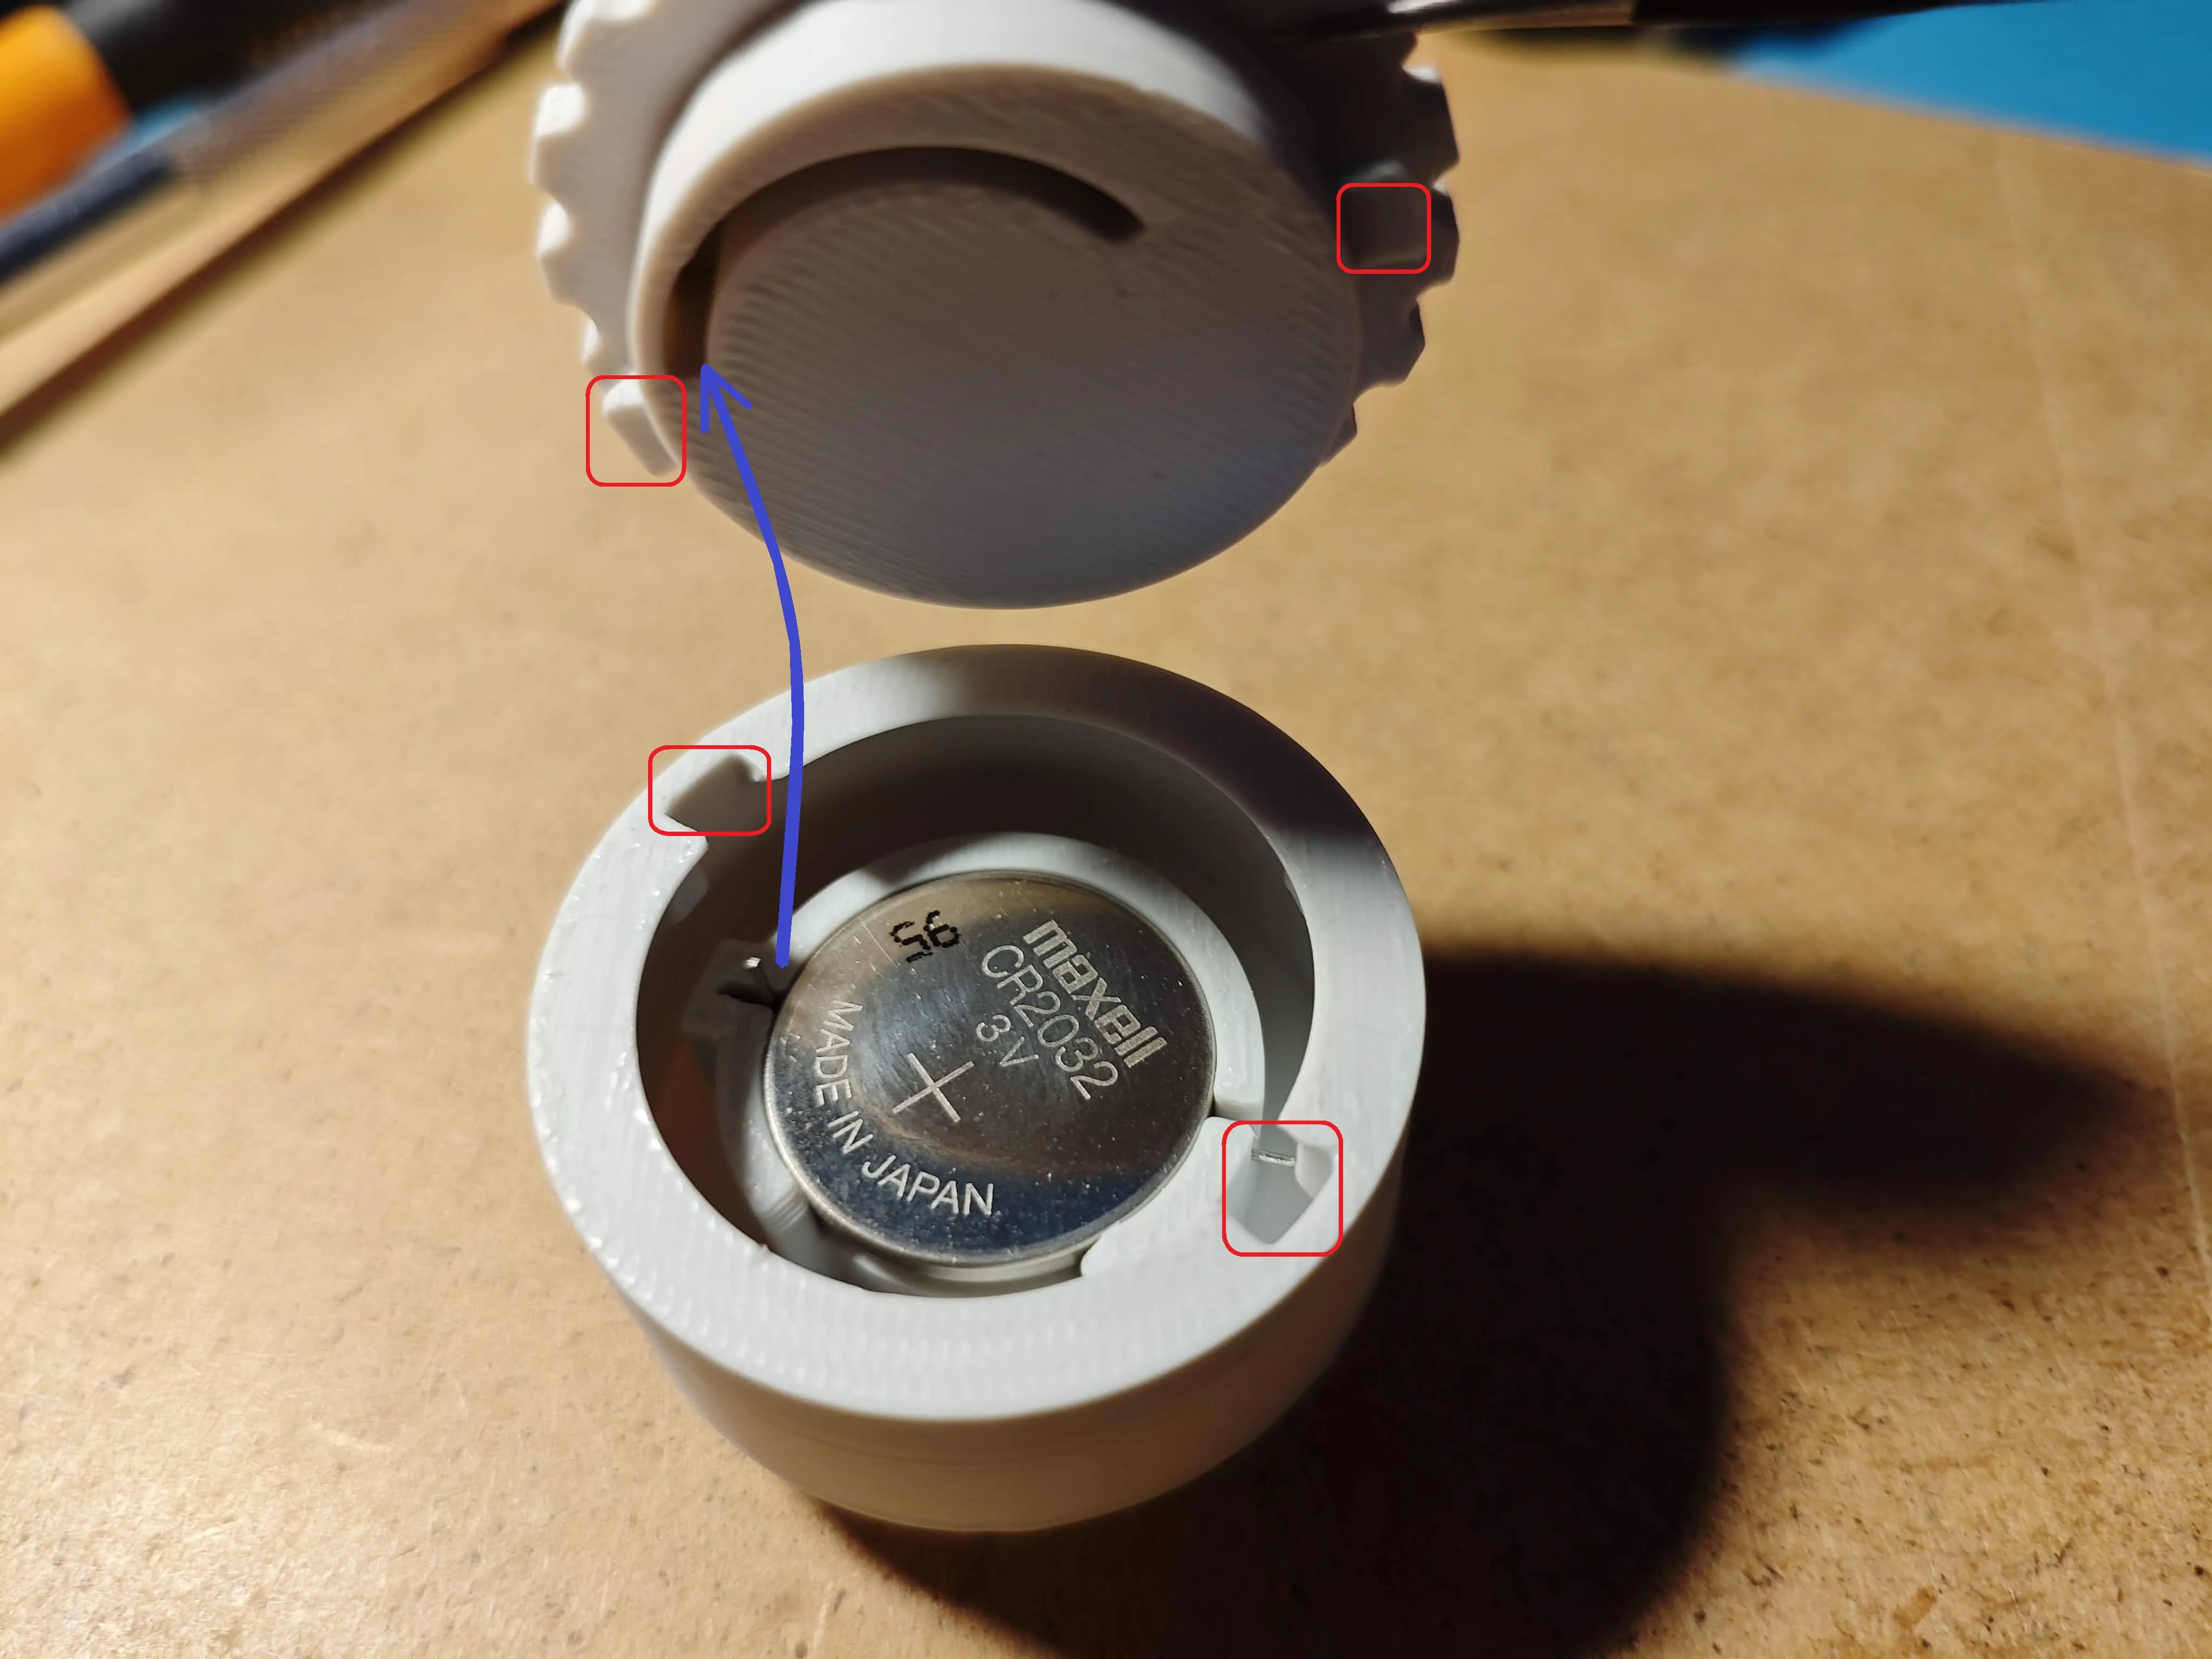
Assembly the both parts. Mind the mounting holes (marked red) and ending of the anode to point the sleeve (marked blue). Do not use too much force, it should fit easily:
Now turn the bottom part of the light clockwise to turn it on (while holding the top). Please note, that the first few turns might seem tight, but after a couple of turns it shoul be much smoother. Tu turn the light off, just turn it anticlockwise:


The last step is to put the flame in place. This is the tight fit:

Done :)

License
You shall not share, sub-license, sell, rent, host, transfer, or distribute in any way the digital or 3D printed versions of this object, nor any other derivative work of this object in its digital or physical format (including - but not limited to - remixes of this object, and hosting on other digital platforms). The objects may not be used without permission in any way whatsoever in which you charge money, or collect fees.
Comment & Rating (12)