
Self-Watering Planter/Lazy Planter/Multiple Sizes
Print Profile(5)
Description
Related Model News:
Two-Tone Self-Watering Planternow released!
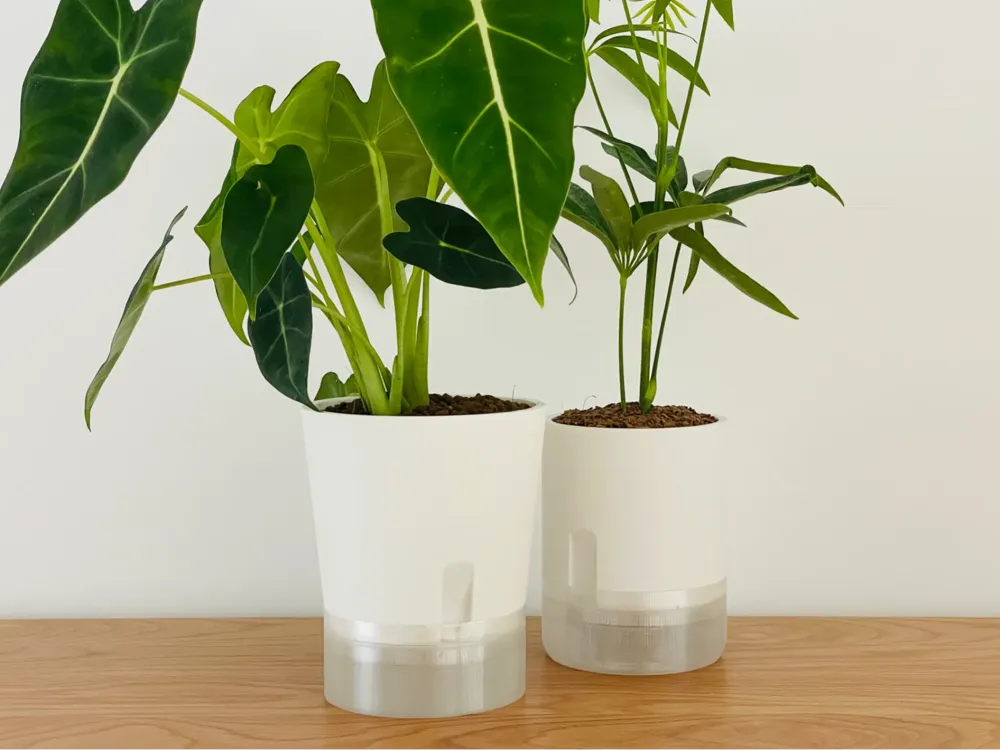
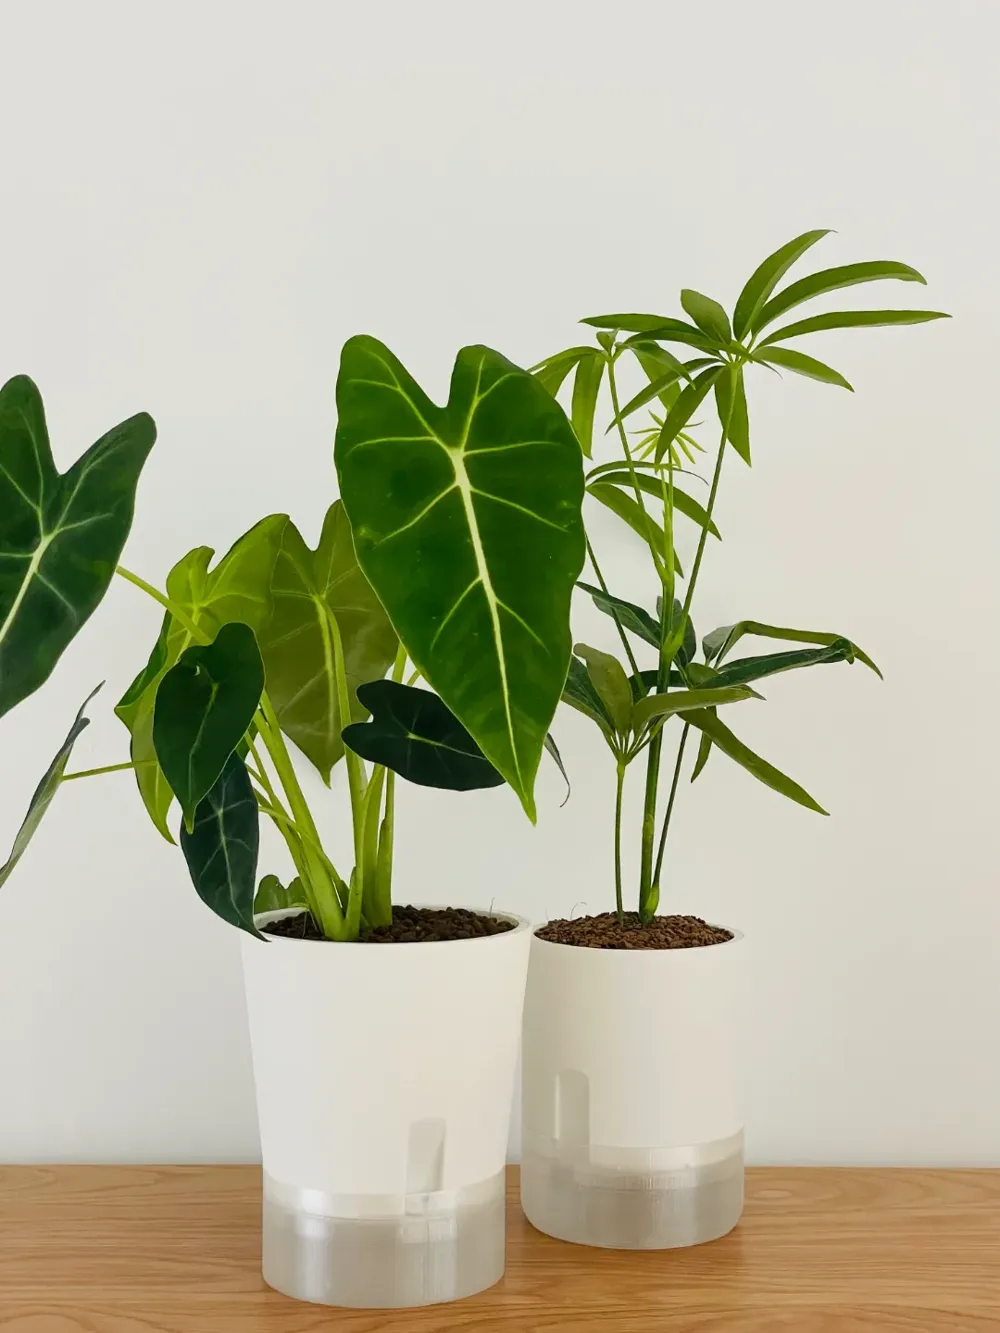
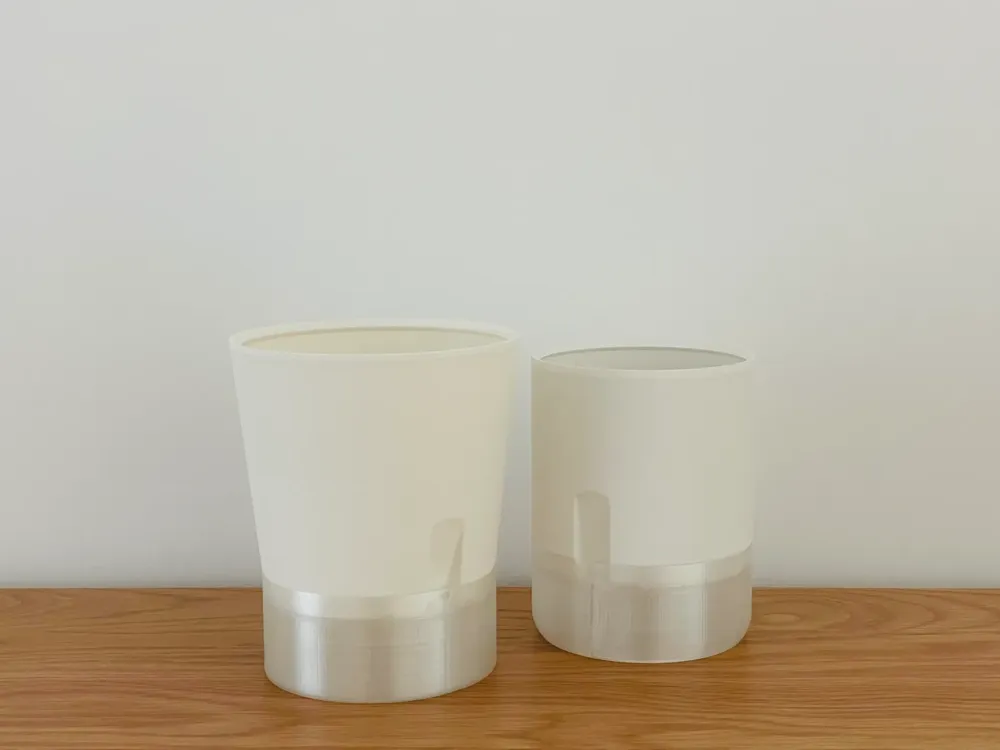
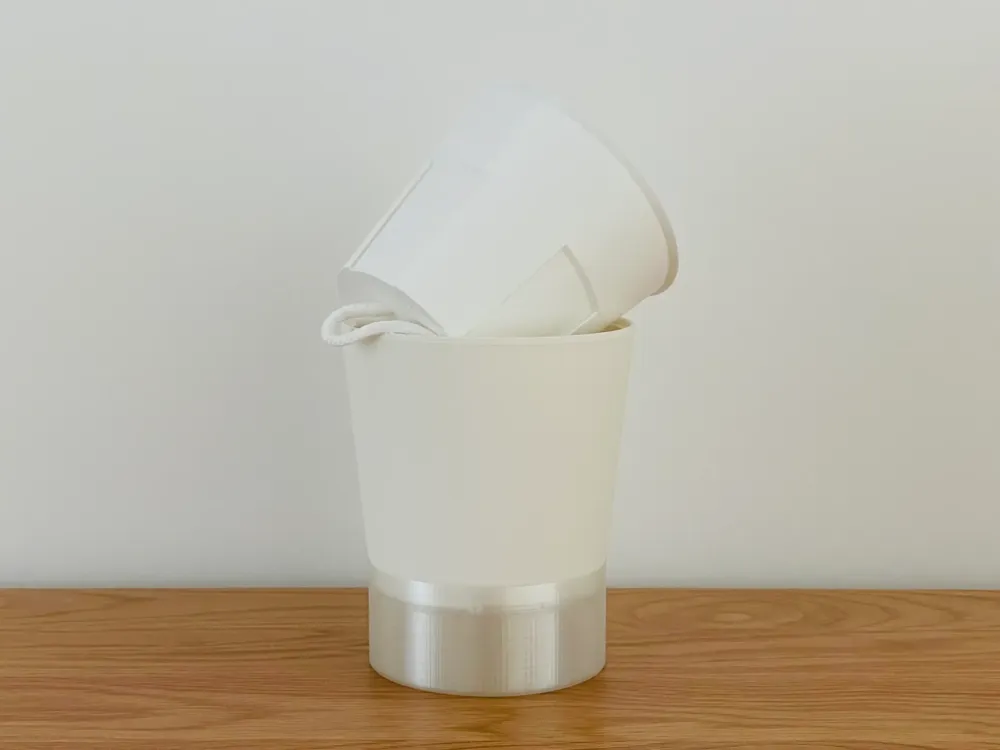
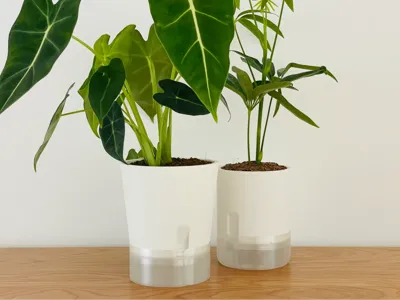
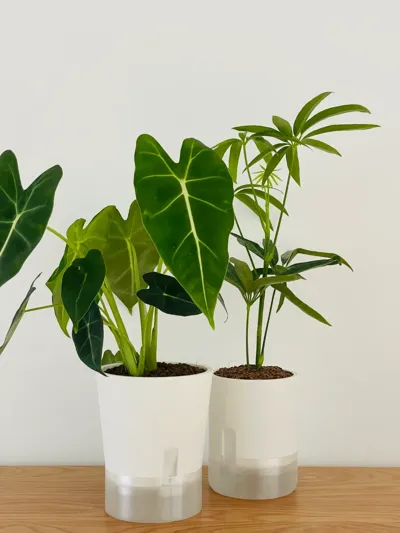
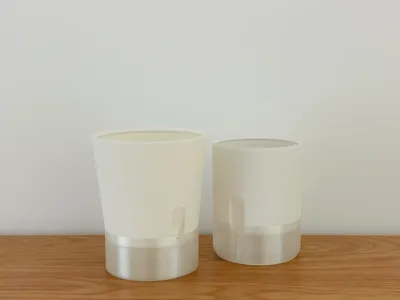
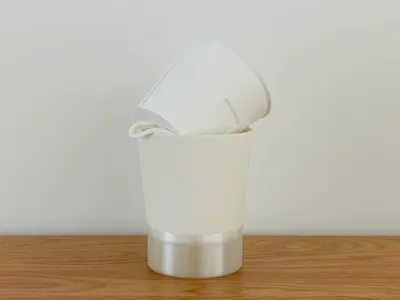
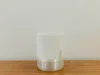
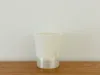
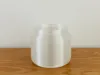
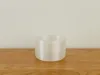
A modular self-watering planter series. The upper and lower planters are secured via a rotating latch. After planting in the inner pot with the wicking cord, simply place it into the upper pot to complete assembly. Water or liquid fertilizer can be added through the water inlet or by removing the inner pot and pouring into the lower pot.
Precautions:
- It is strongly recommended to use PETG for printing the inner and lower pots, as they will be in direct contact with soil and water. Ensure the lower pot is leakproof by filling it with water and letting it sit for a period of time before use.
- Using transparent PETG for the lower pot is recommended to monitor water levels.
- The included print profile offers a suggested combination; you can freely combine different sizes and styles of upper and lower pots. For instance, switch to the larger 1L lower pot when away from home for extended periods.
- The inner pot, a planting pot, can also be used with matching kits for easy switching between standard and self-watering configurations.
Instructions:
1. Prepare 1-2 wicking cords (wicking cords specifically designed for self-watering planters are ideal, but cotton strings or fabric strips can be used as substitutes).
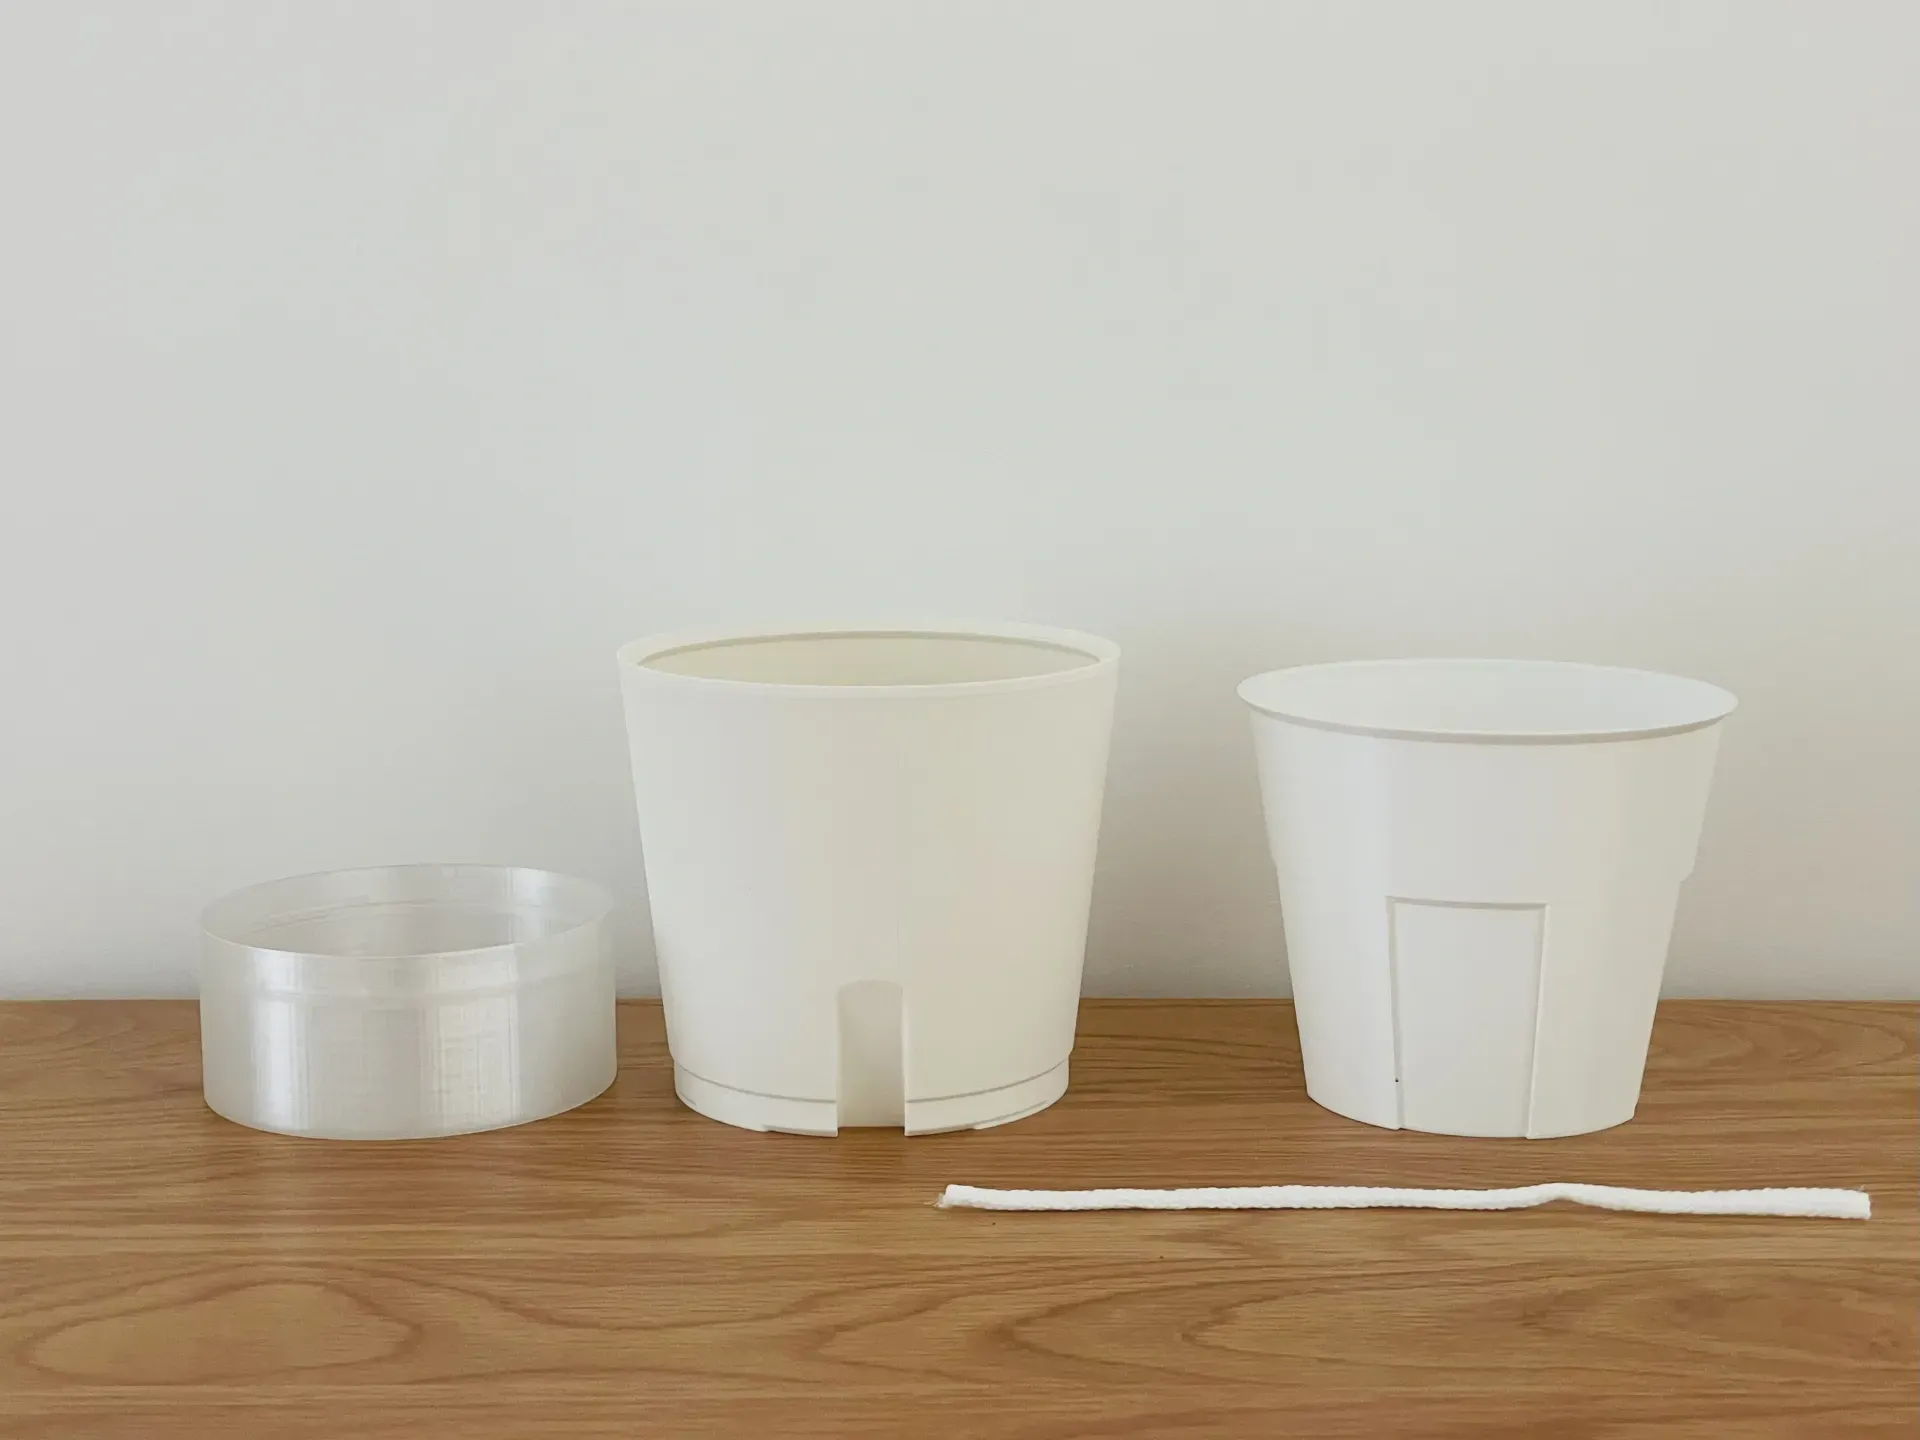
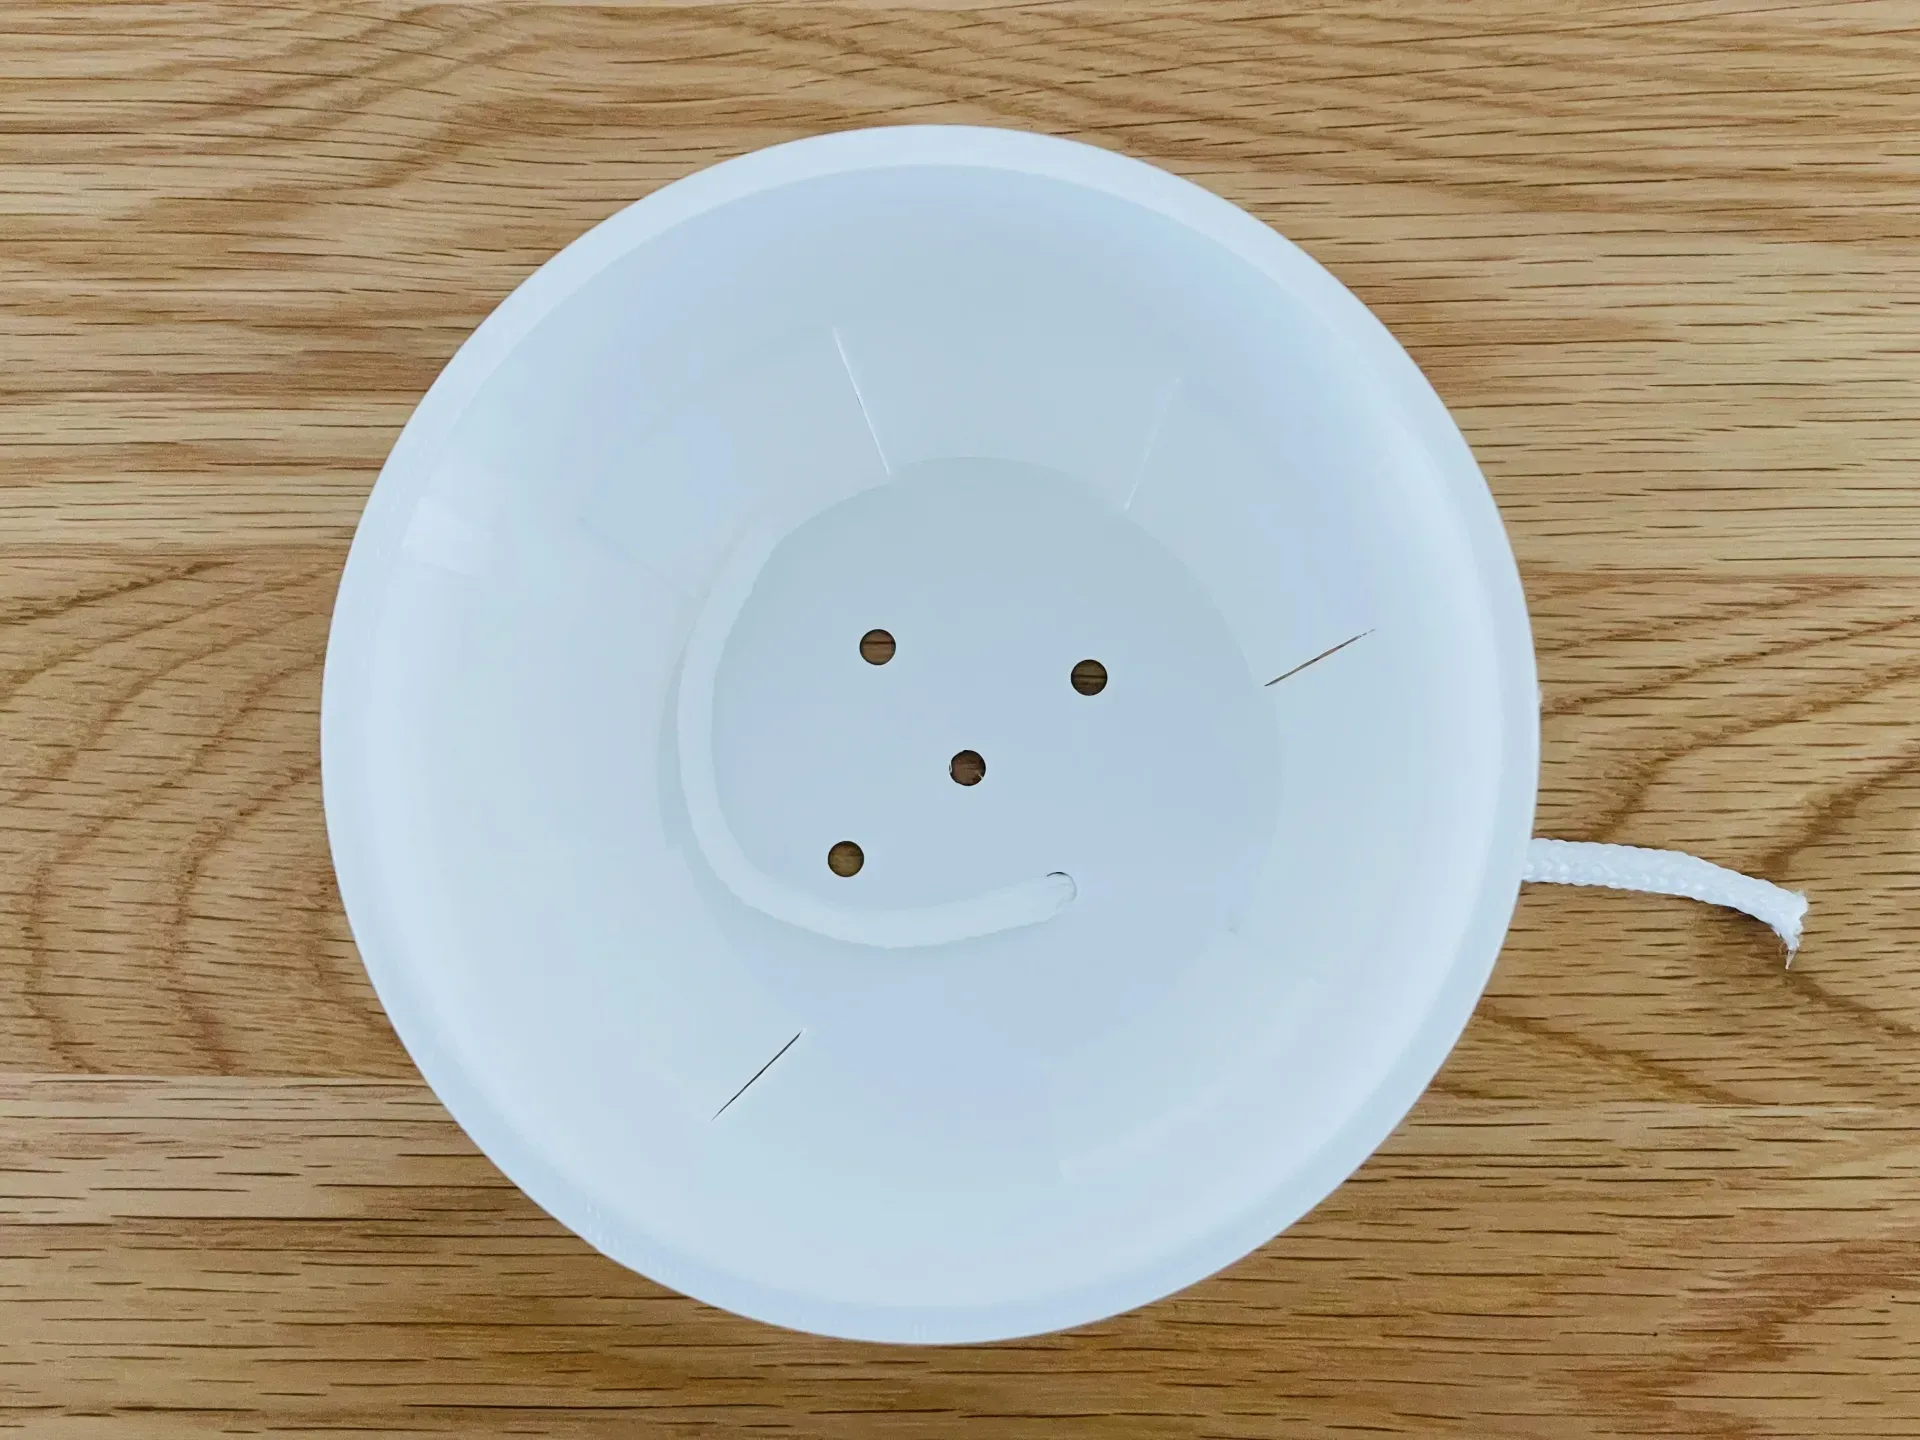
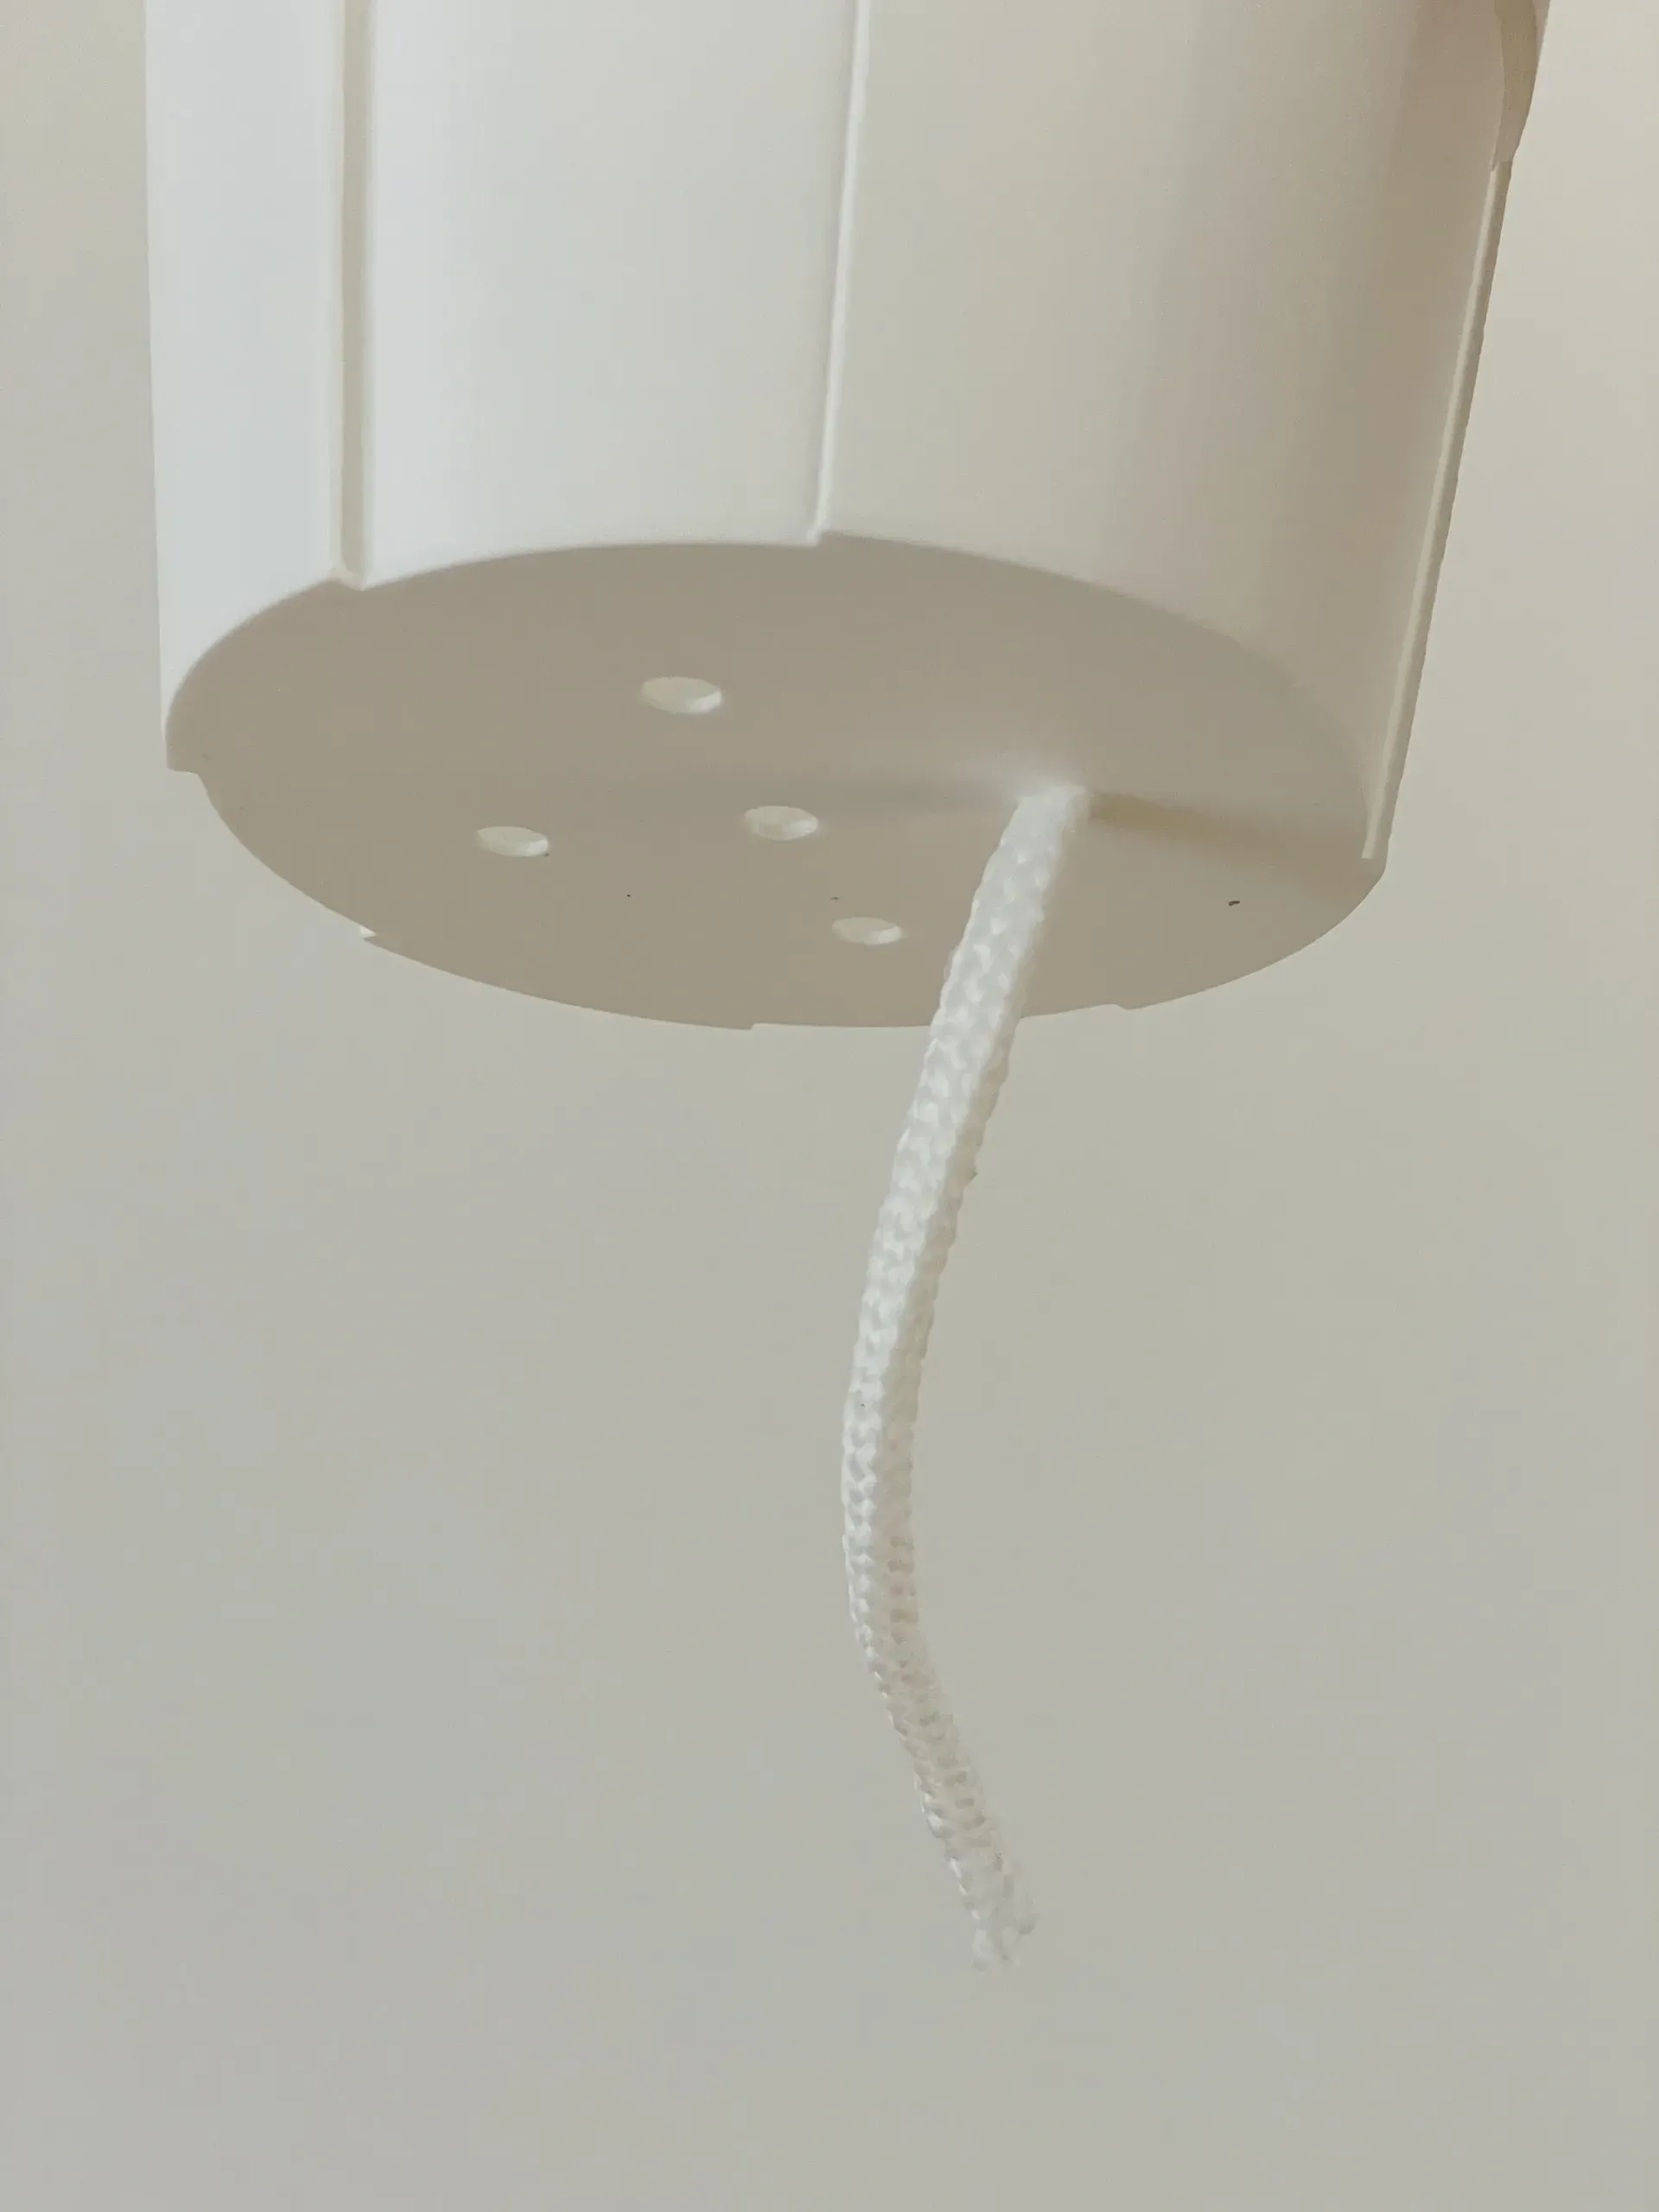
2. Thread the wicking cord through the small hole at the bottom of the inner pot. Wrap one end around the bottom of the inner pot (distribute multiple cords evenly across the bottom). Leave approximately 10 cm of the other end extending outwards. No need for gravel; plant directly.
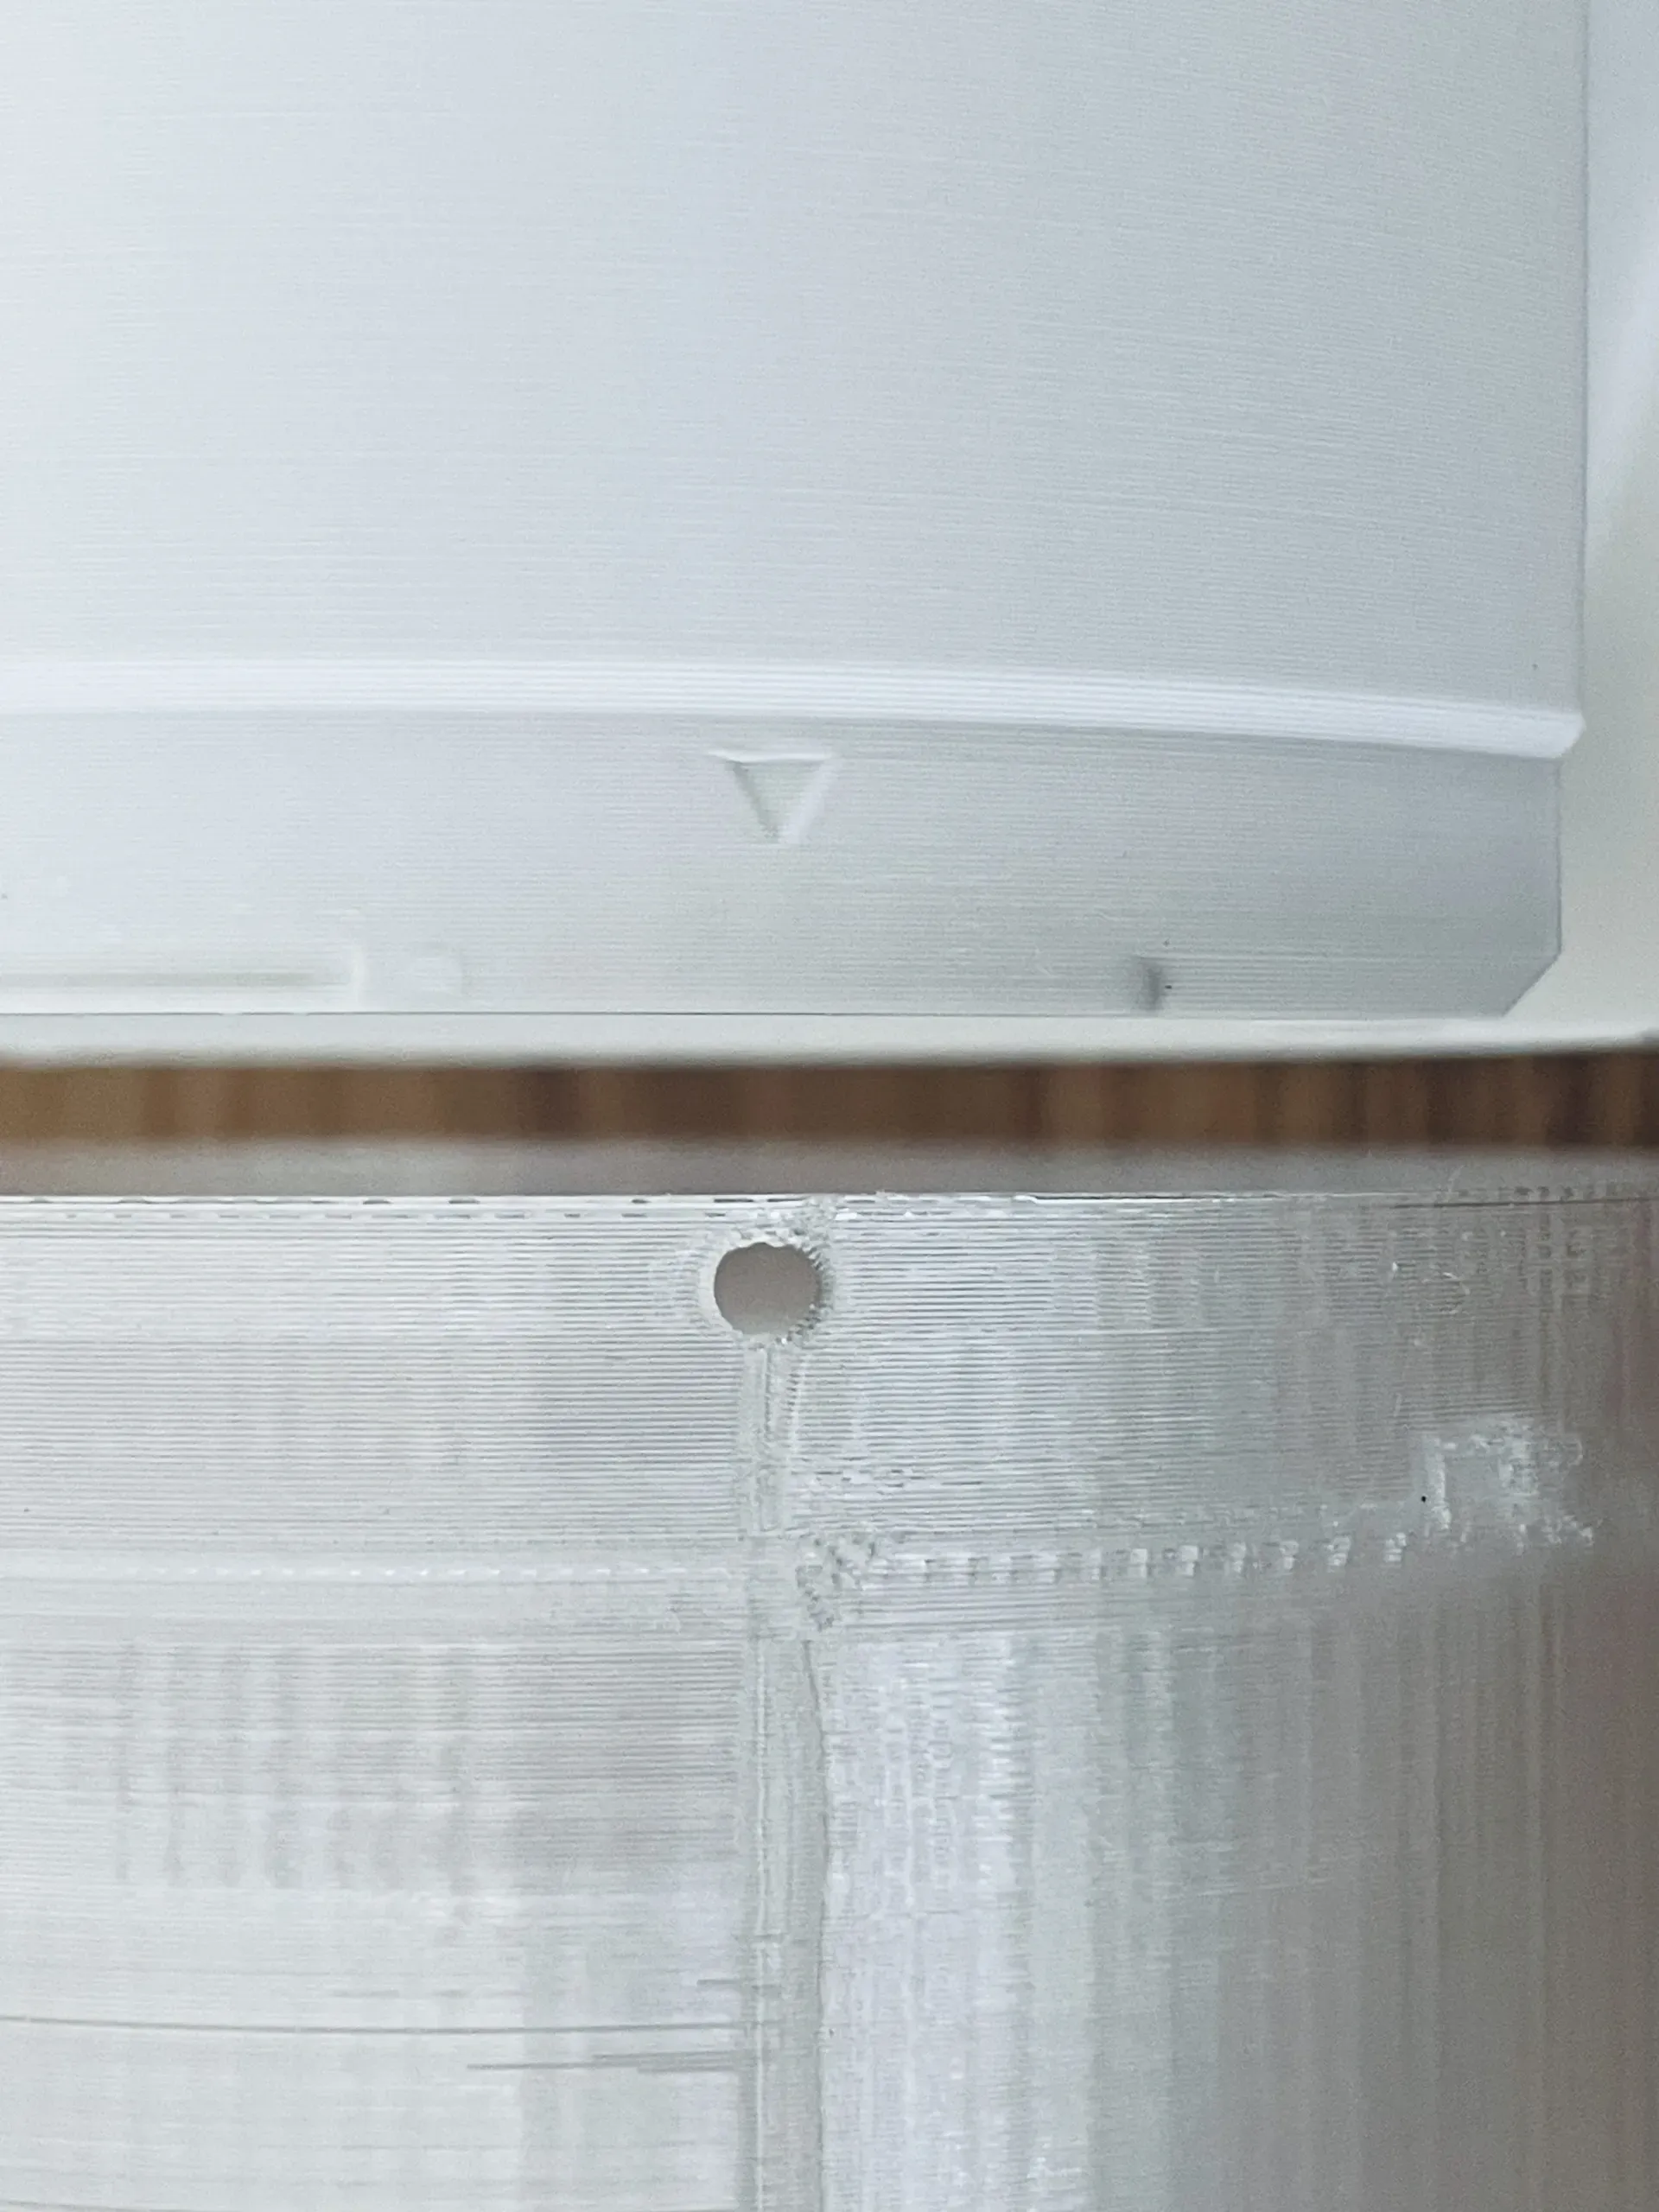
3. Align the upper and lower pots using the indicator marks and rotate the upper pot clockwise to lock it in place (from a top-down perspective).
4. Plant the desired vegetation in the inner pot, thoroughly saturate the soil with water, and then place it in the upper pot.
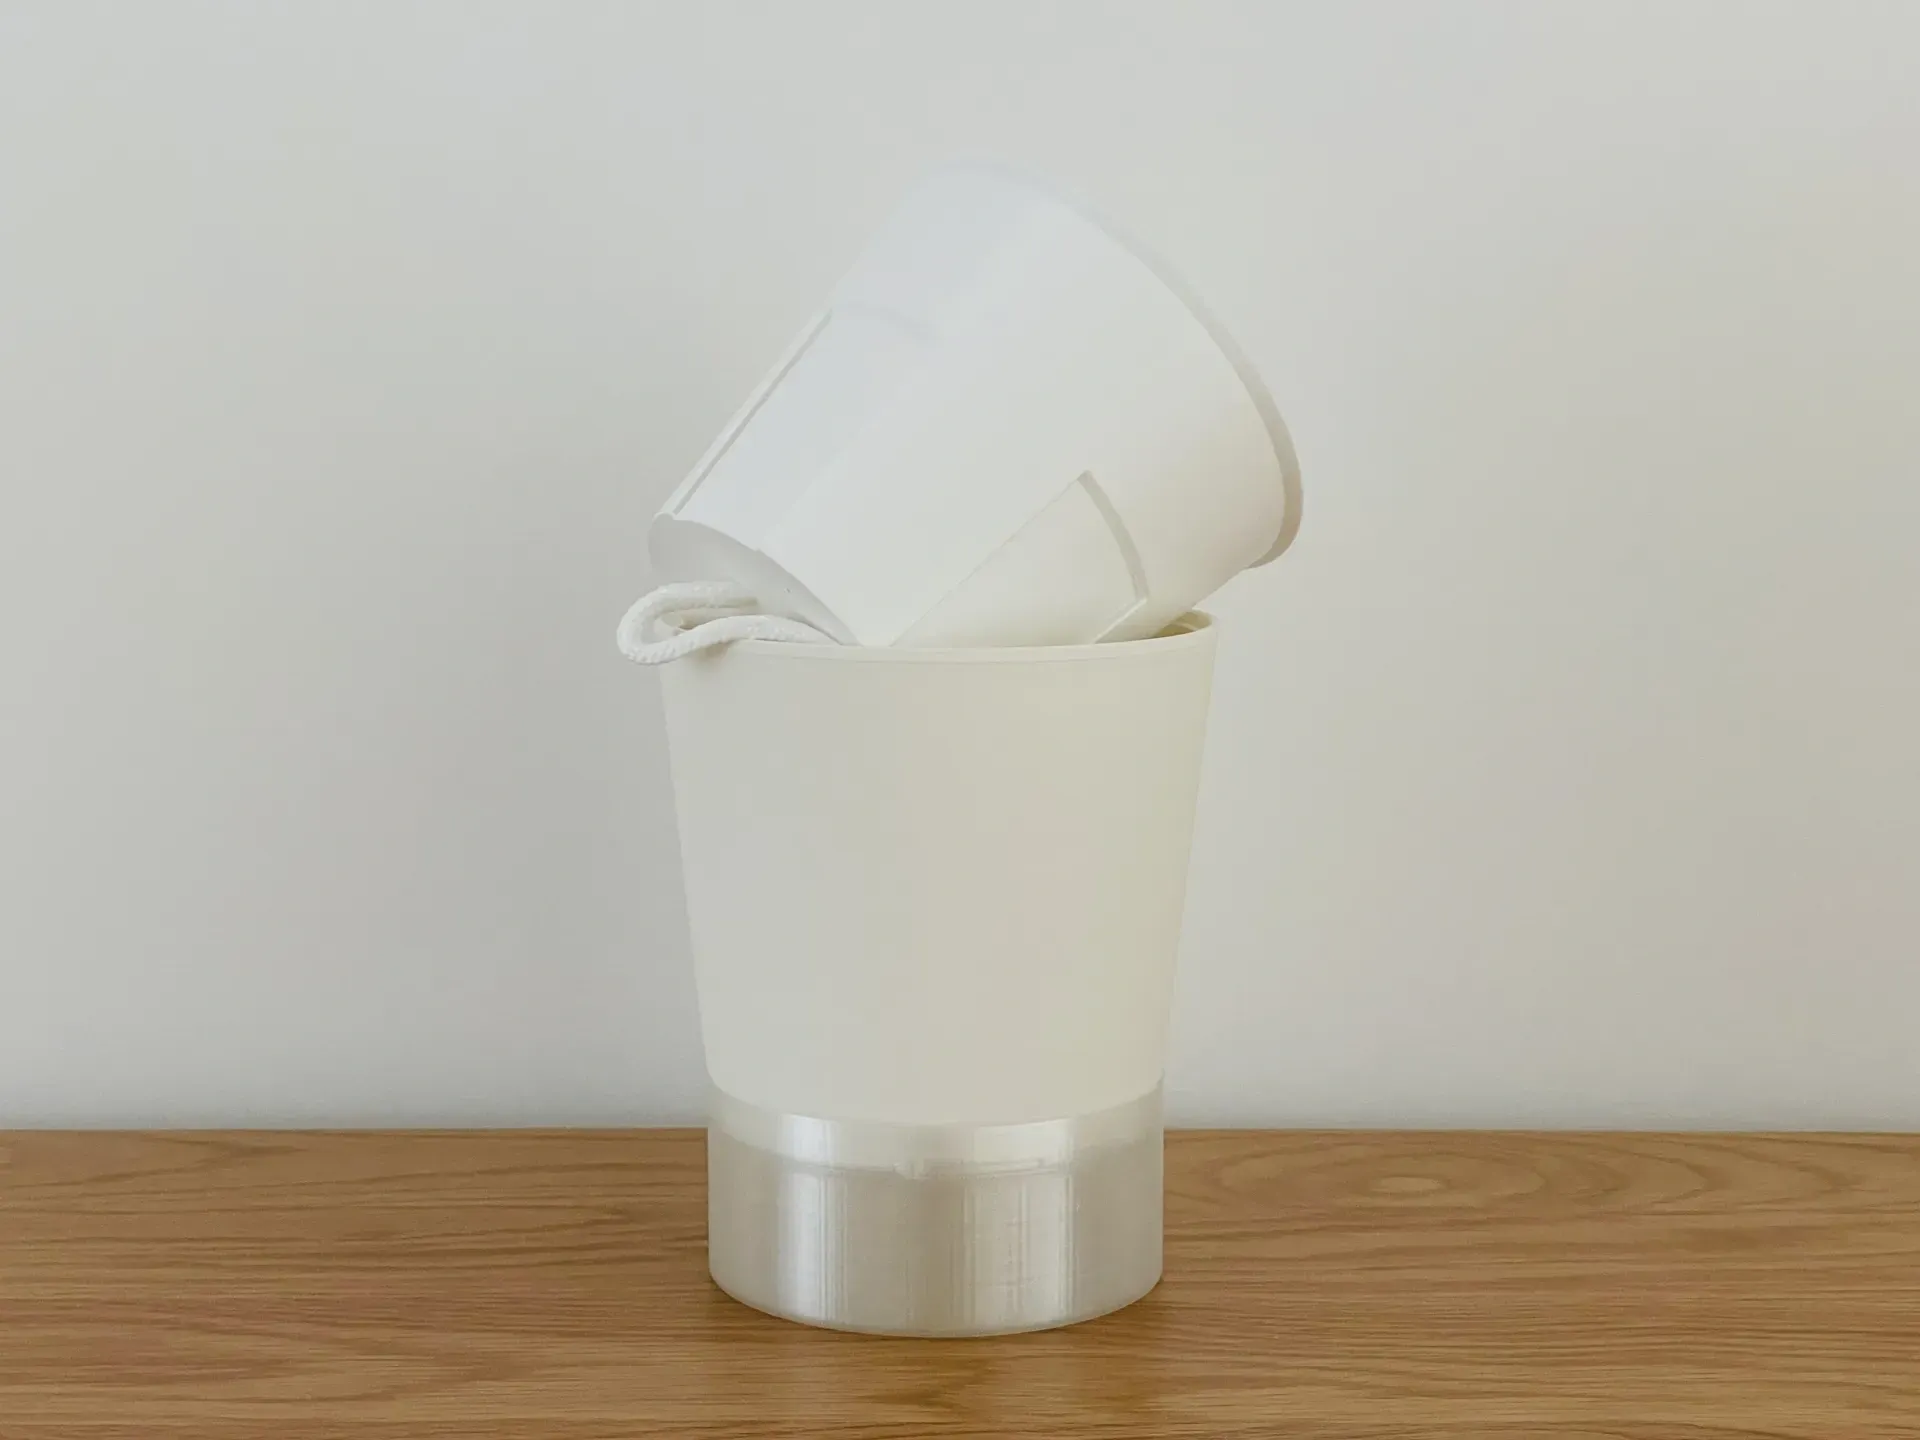
5. Water through the water inlet or by removing the inner pot and adding water to the lower pot; ensure the water level does not exceed the connection point.
Boost Me (for free)
Your free boost is a tremendous encouragement! Thank you!
Membership
Become a commercial authorized member to sell printed finished products and make customization requests to me to help you sell these products
License

You shall not share, sub-license, sell, rent, host, transfer, or distribute in any way the digital or 3D printed versions of this object, nor any other derivative work of this object in its digital or physical format (including - but not limited to - remixes of this object, and hosting on other digital platforms). The objects may not be used without permission in any way whatsoever in which you charge money, or collect fees.


Comment & Rating (9)