
Bed scraper, with stand, pedicure blade, no metal parts required, magnetic, cotton swab version
Print Profile(3)
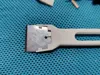
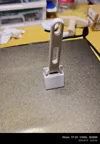
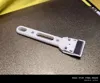
Description
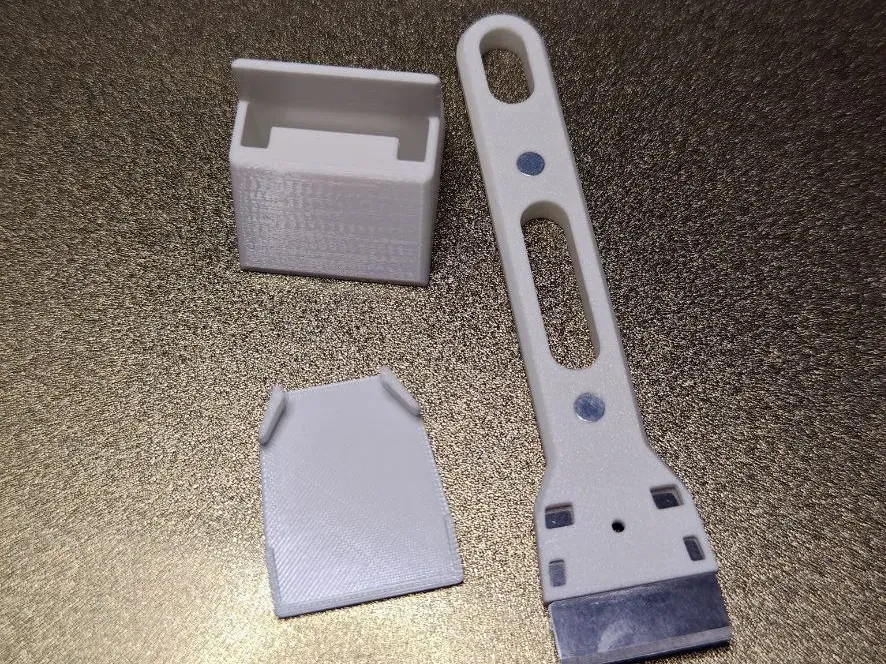
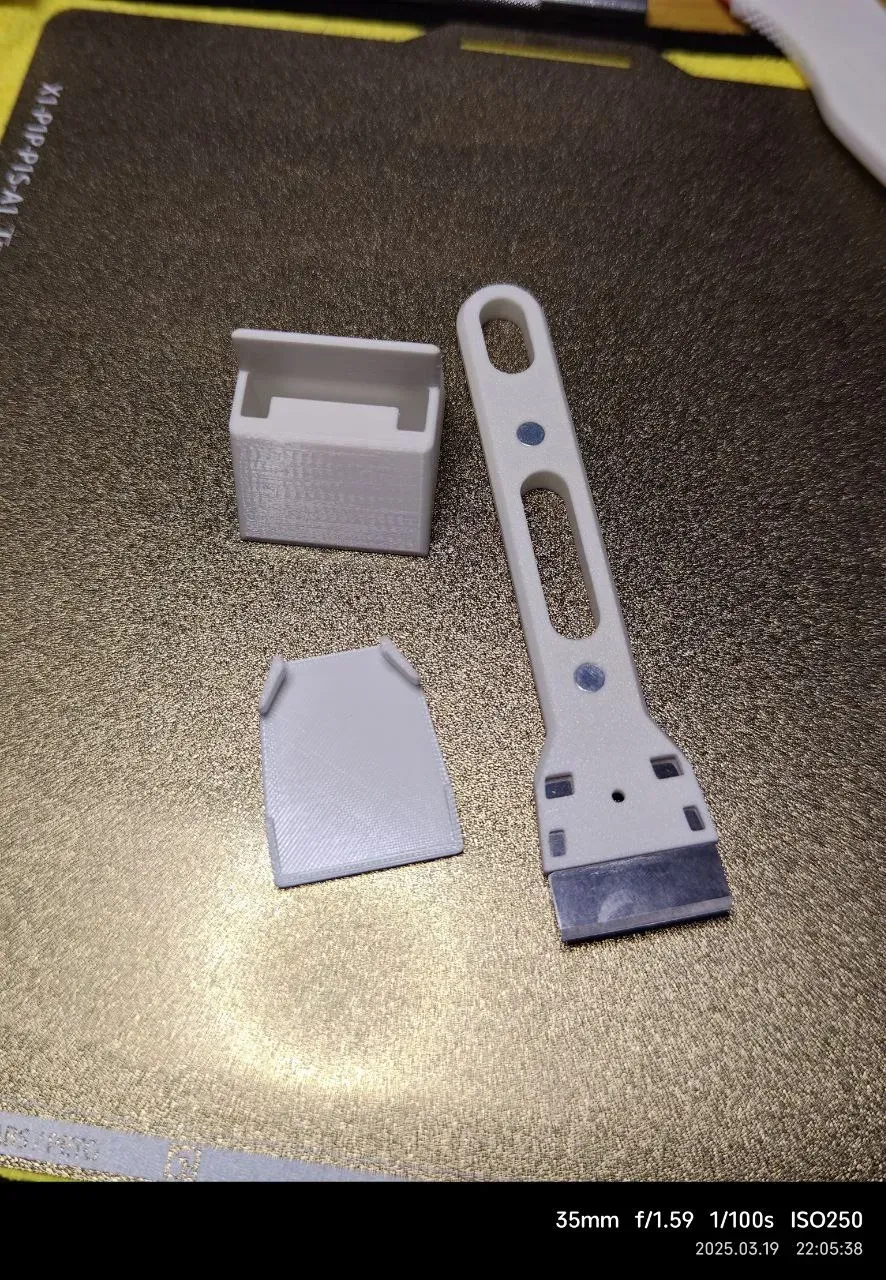
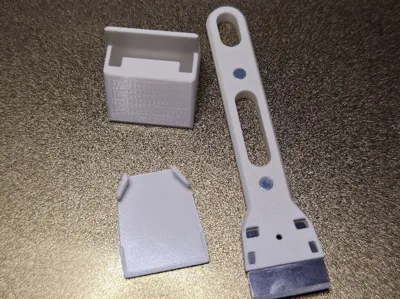
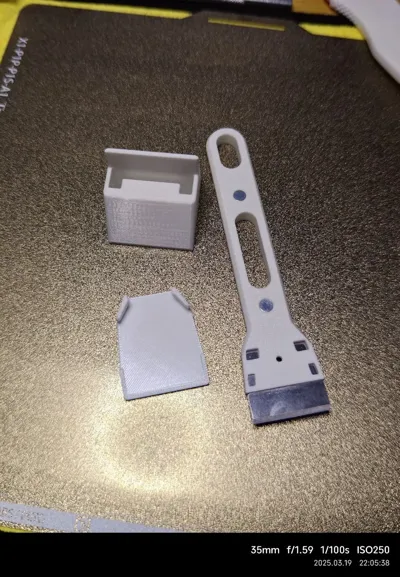
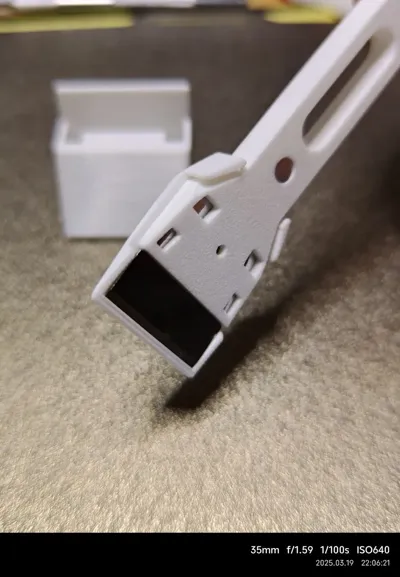
20250319, Added a portable blade cover, used in conjunction with magnets installed on the handle, will not affect the fit between the bottom of the handle and the magnetic adsorption surface. It can also be placed anywhere convenient for easy access.
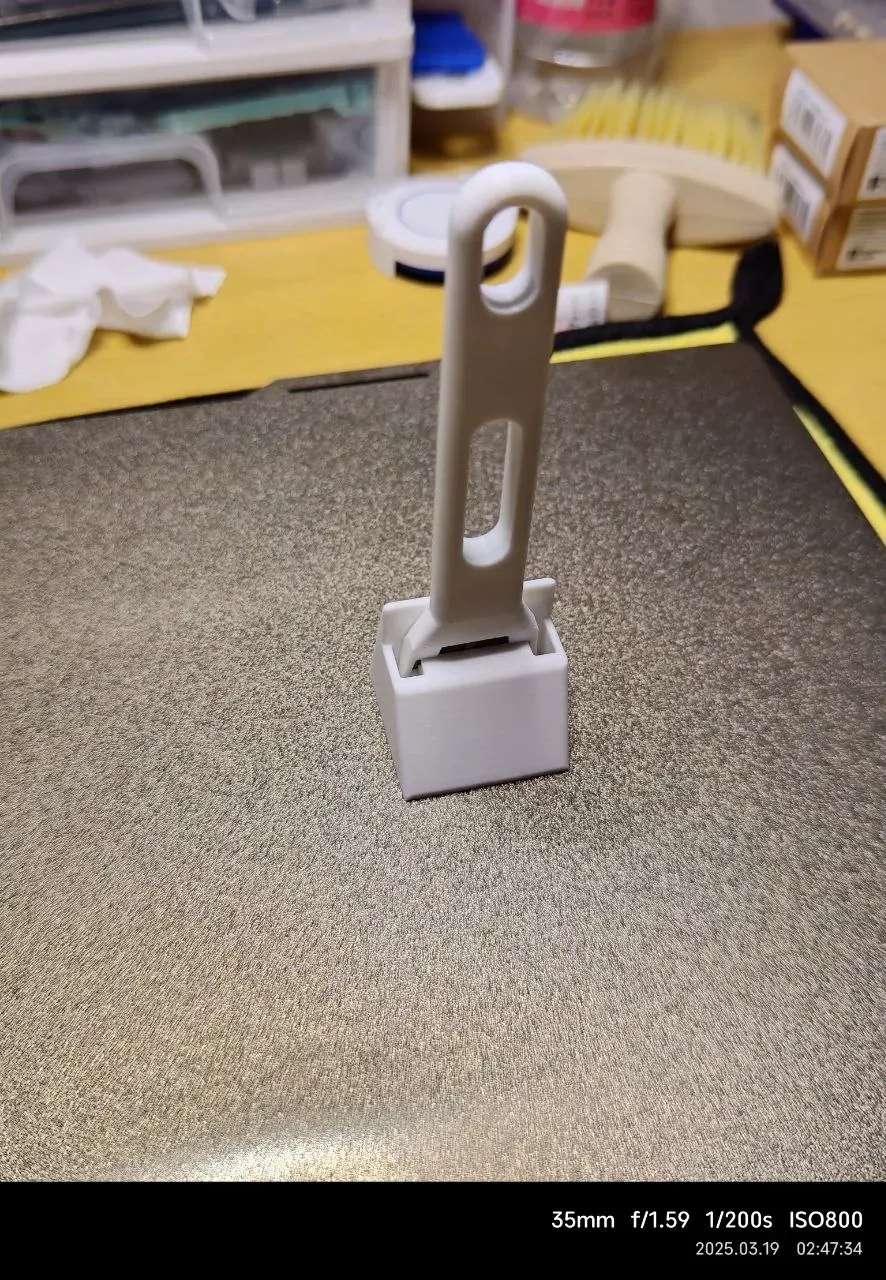
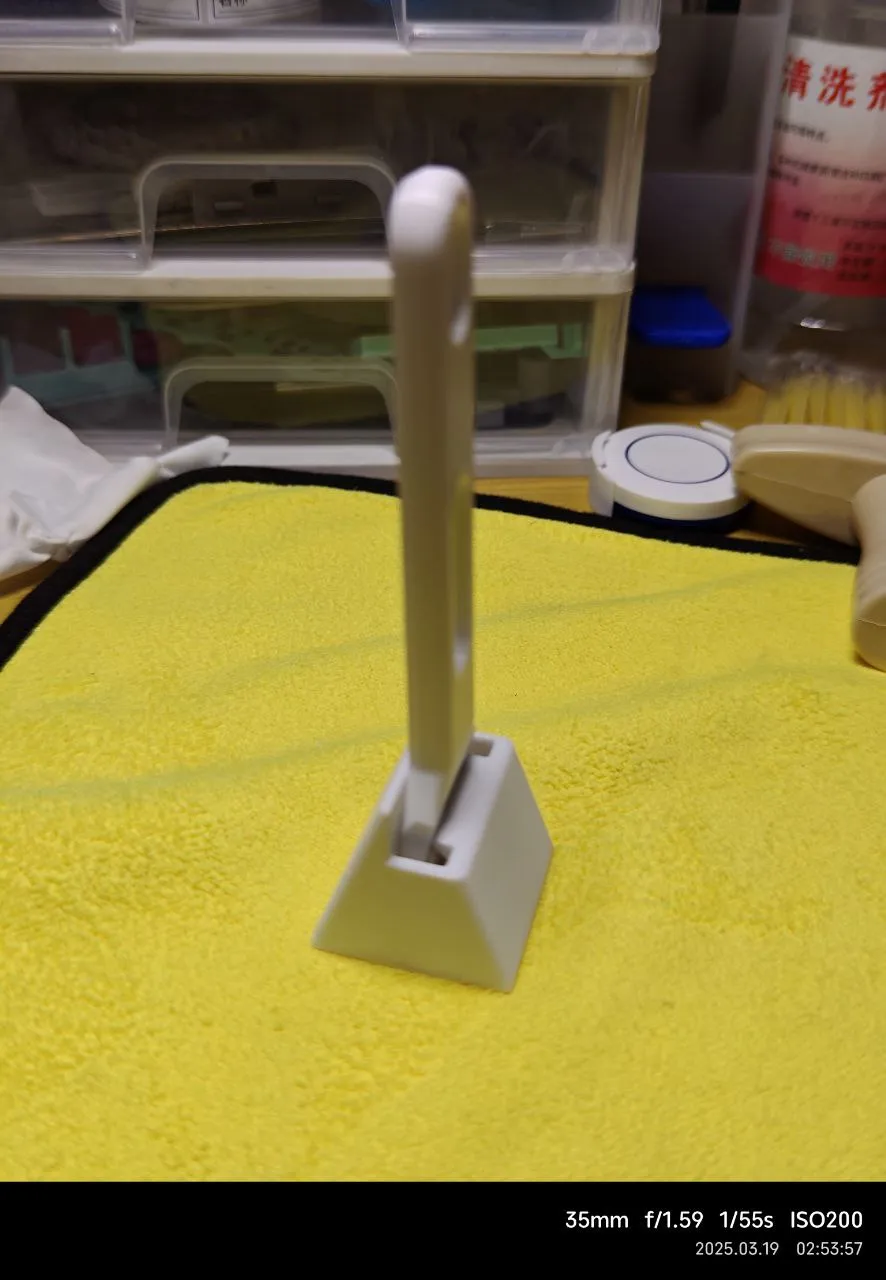
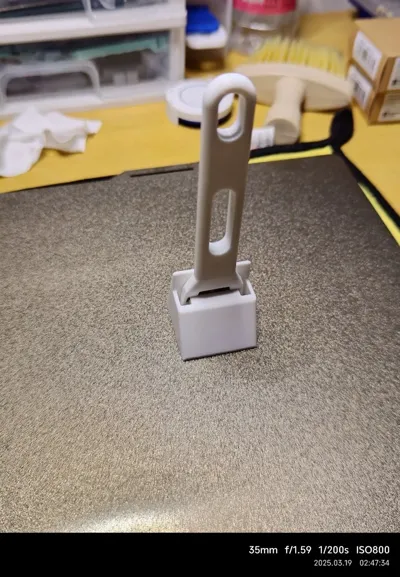
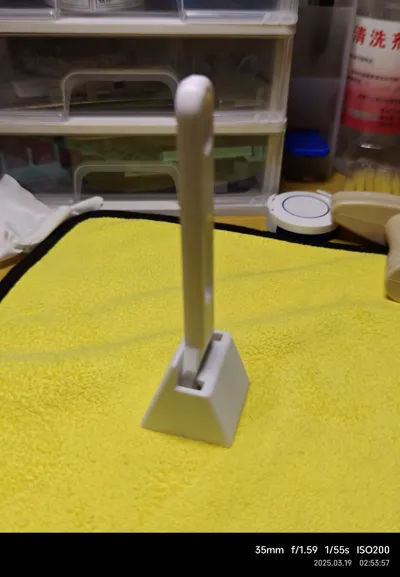
20250319, Added a vertical blade holder, built-in buckle, can be placed directly on the table.
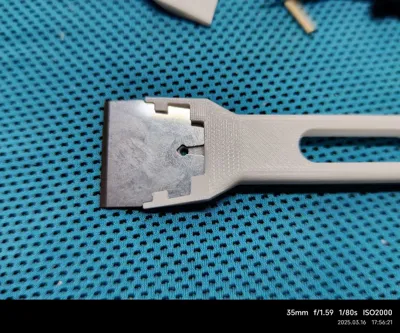
This scraper uses a Jinlish 2# flat-mouth blade.
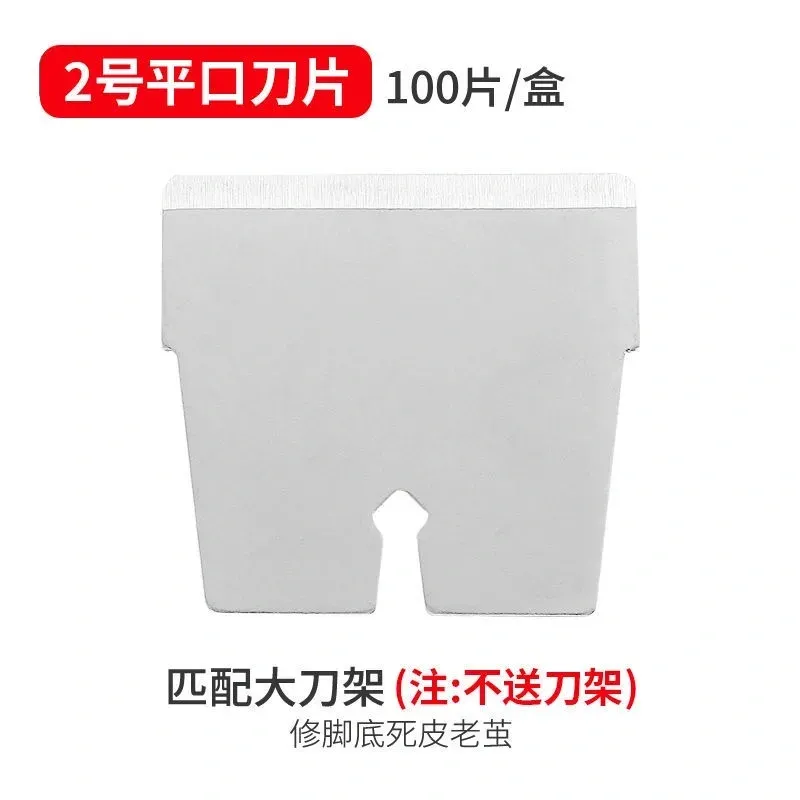
It is called the cotton swab version because the original idea for this version was to use cotton swab sticks to secure the blade.
Of course, cotton swabs are no longer needed now.
Pedicure blades are very cheap and useful metal retrieval blades, offering great value for money. On pdd, 10 pieces only cost 3.8 yuan, including postage, making them the preferred choice for modest households.
Affluent users can continue using Tuozhu, which is positioned as a luxury item. 👍
Previously, using blade holders designed by other makers required metal screws and nuts for fixing. However, the metal parts would rub against the surface of the build plate during use, causing wear and tear on the build plate coating and film.
If the metal parts were to be completely encased, the blade head would become very large and thick, a design I dislike.
I initially considered using a 3D-printed latch structure to lock the blade, but the surface hardness of the printed part is limited and easily deformed. Using engineering-grade material would be too uneconomical for this project.
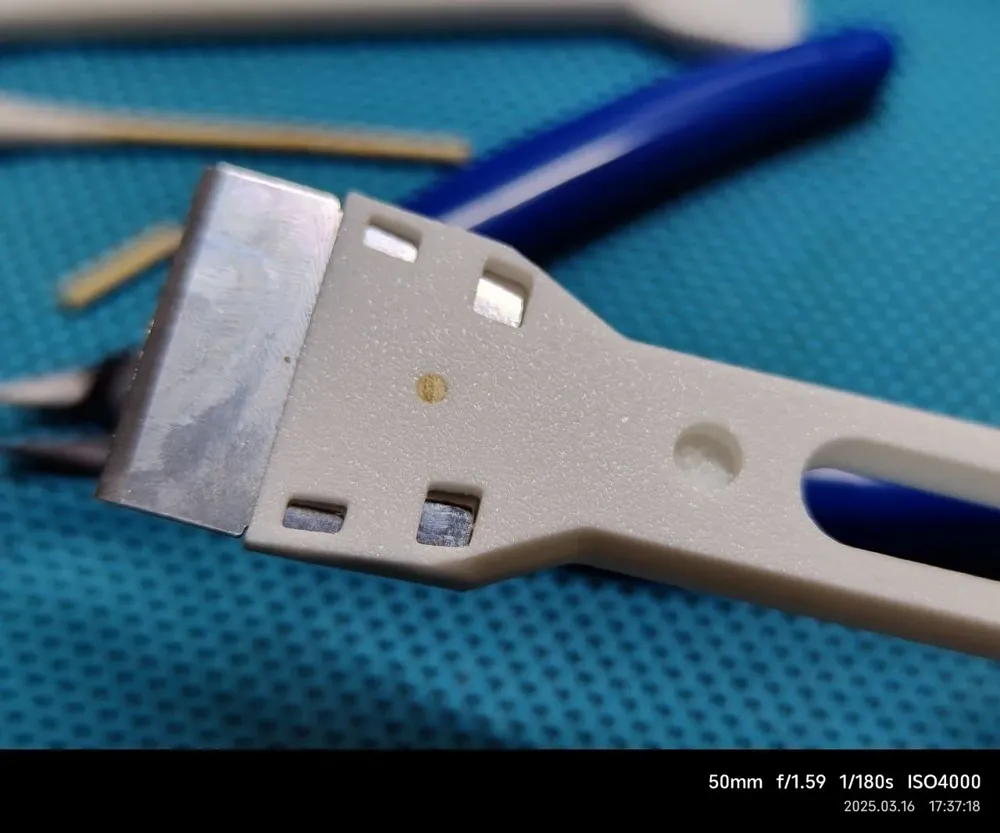
After much deliberation, I turned my attention to cotton swabs I use for ear cleaning. Its wooden stick fits perfectly into the blade's slot, ensuring it won't fall off during regular use. This was indeed the case in the initial version.
During further improvements, I found that the improved blade clamping mechanism already holds the blade very firmly; at least, it cannot be pulled out by hand. So the cotton swab is no longer necessary. However, considering that the clamping might loosen over time, the cotton swab hole has been retained.
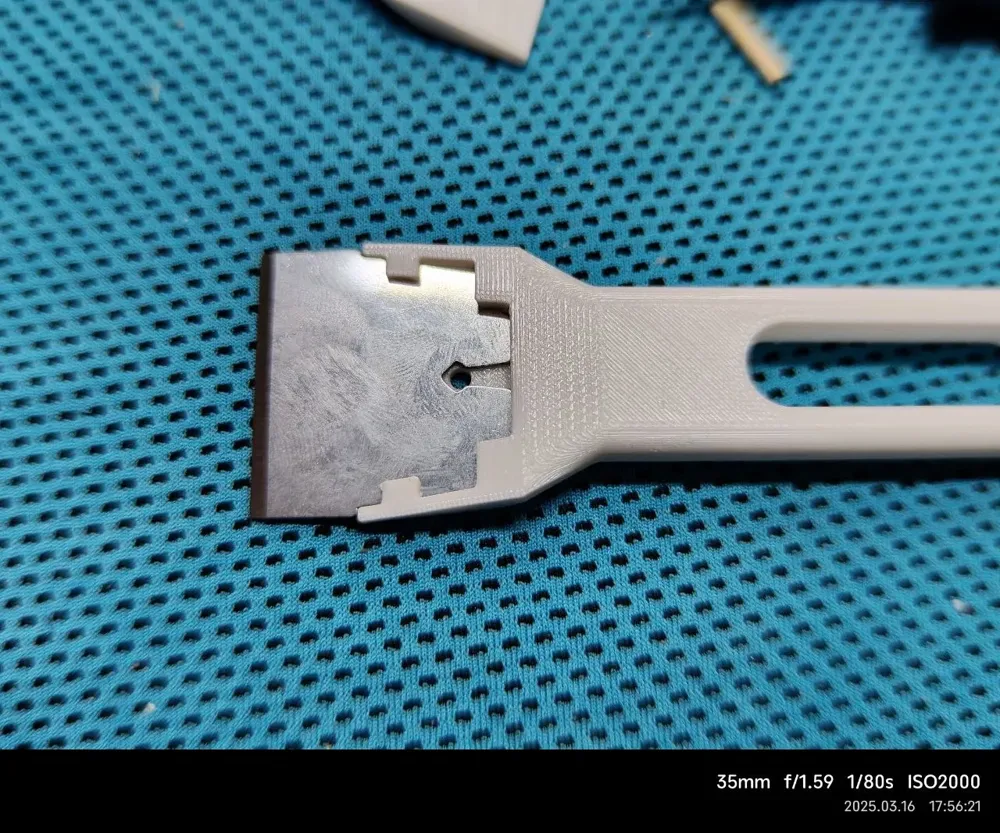
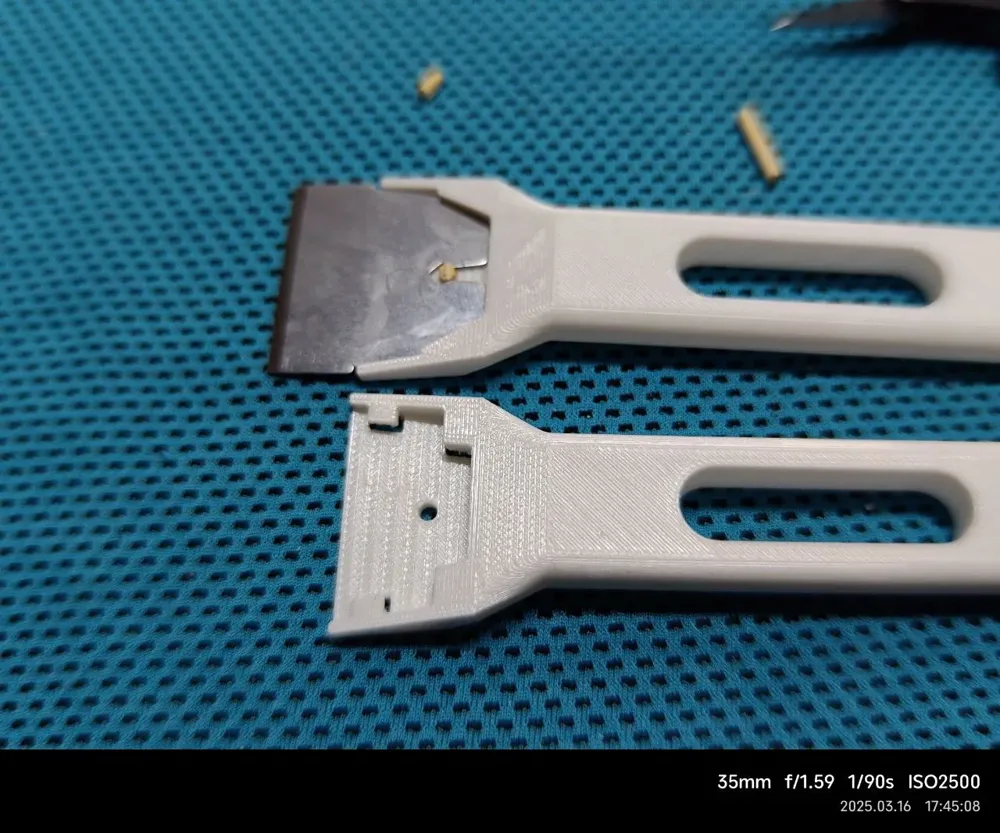
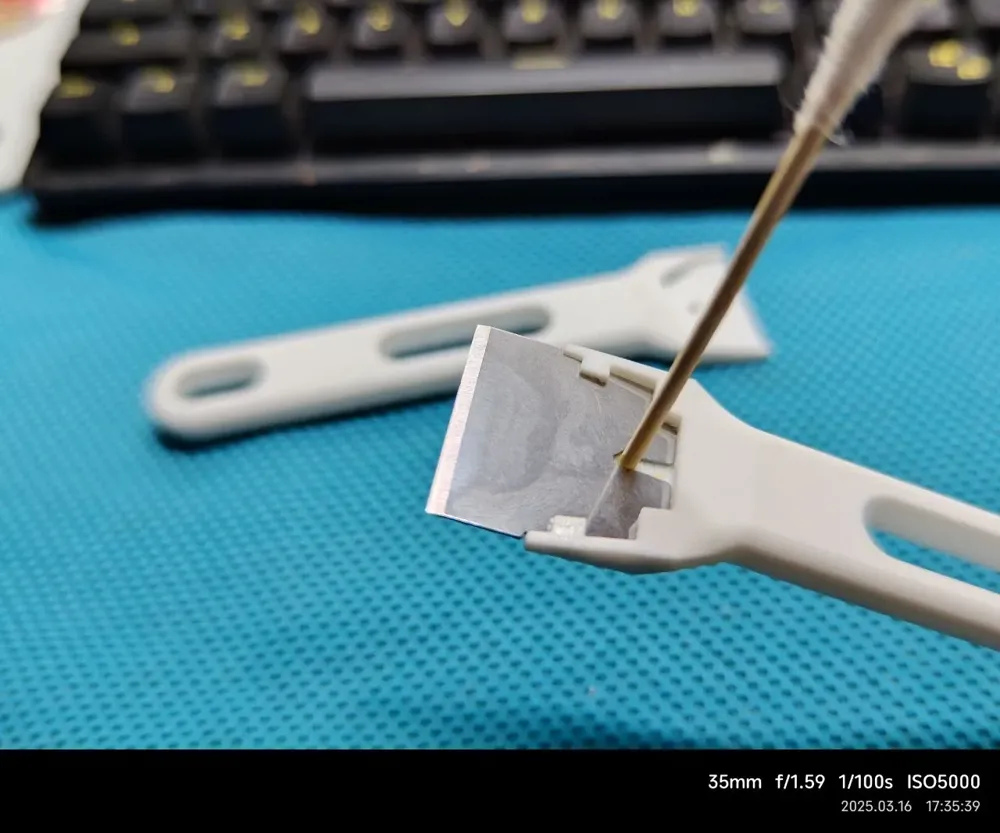
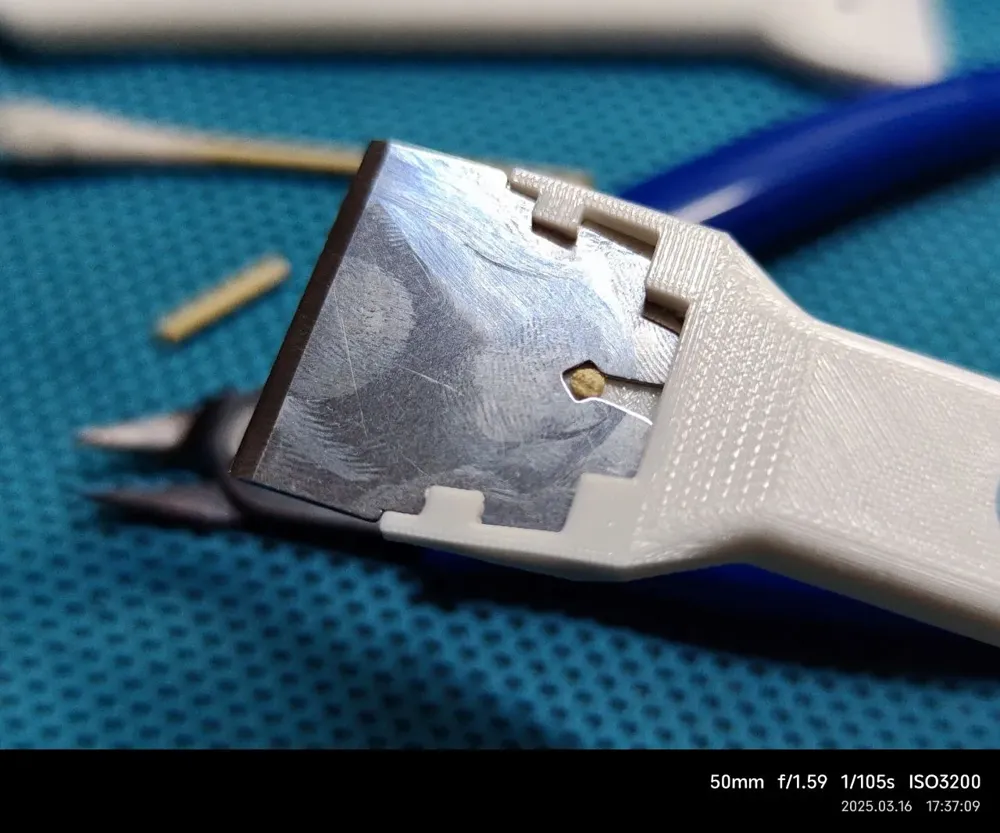
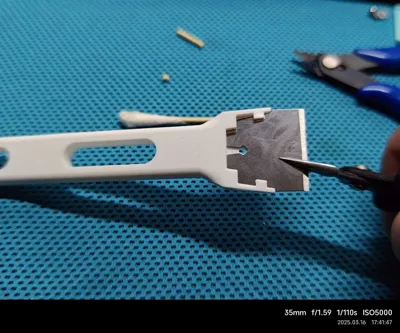
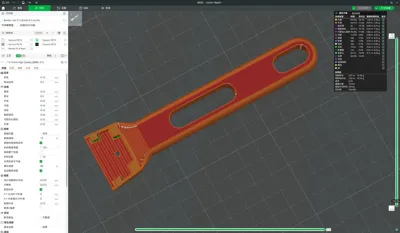
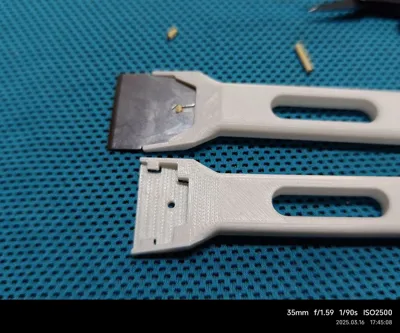
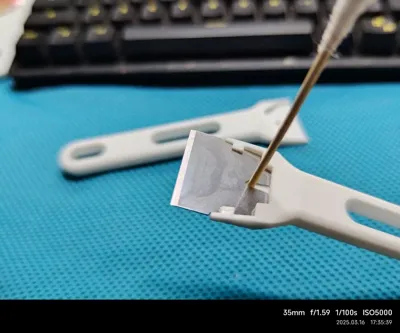
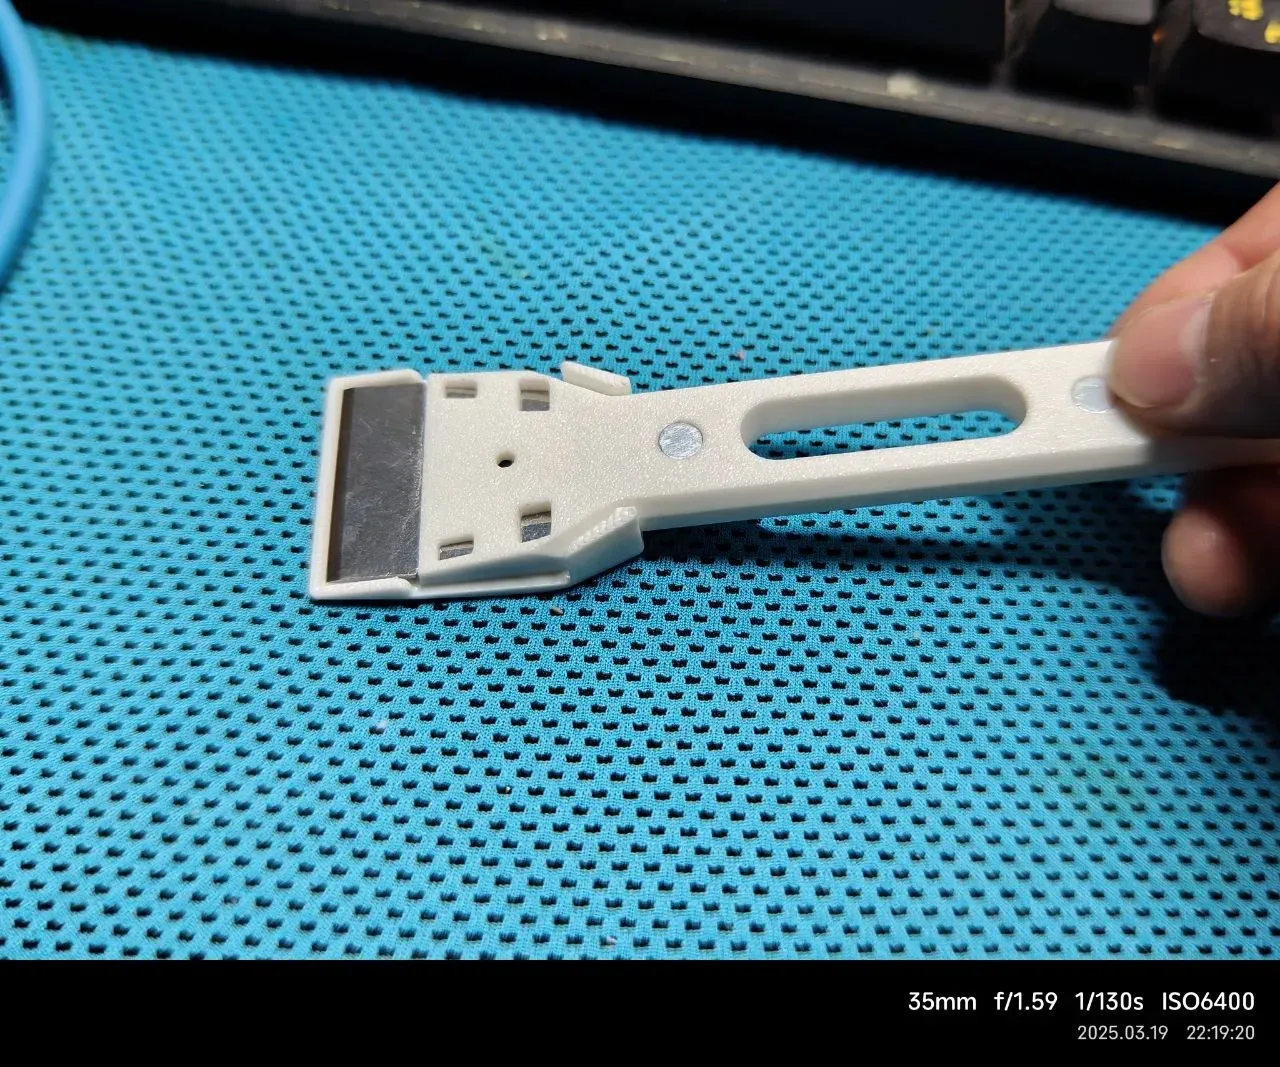
Blade installation is simple. First, use needle-nose pliers to remove the bottom support, then use a small screwdriver to scratch back and forth on the supported surface, and pry off the remaining parts.
A screwdriver isn't essential; needle-nose pliers, a cotton swab stick, or the small hex wrench that comes with the printer can be used.
Simply scratch back and forth inside to remove larger remnants, paying particular attention to the bottom of the slot to ensure the blade doesn't get caught when it's flush with the bottom.
It is difficult to completely clean the supported surface. However, it's not a major issue; just ensure the edges are clean and don't impede blade insertion. The rest becomes part of the process, helping to hold the blade more securely.👍👍👍
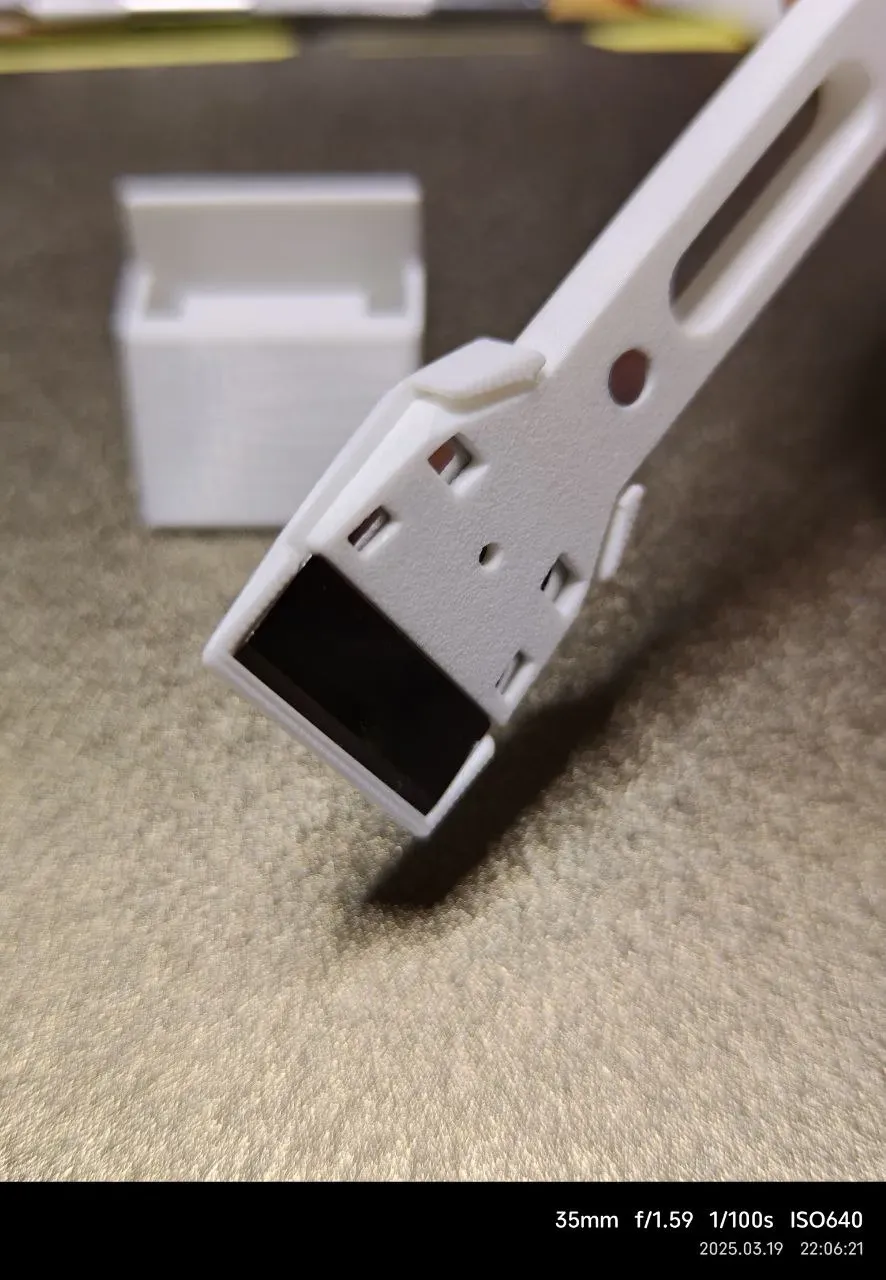
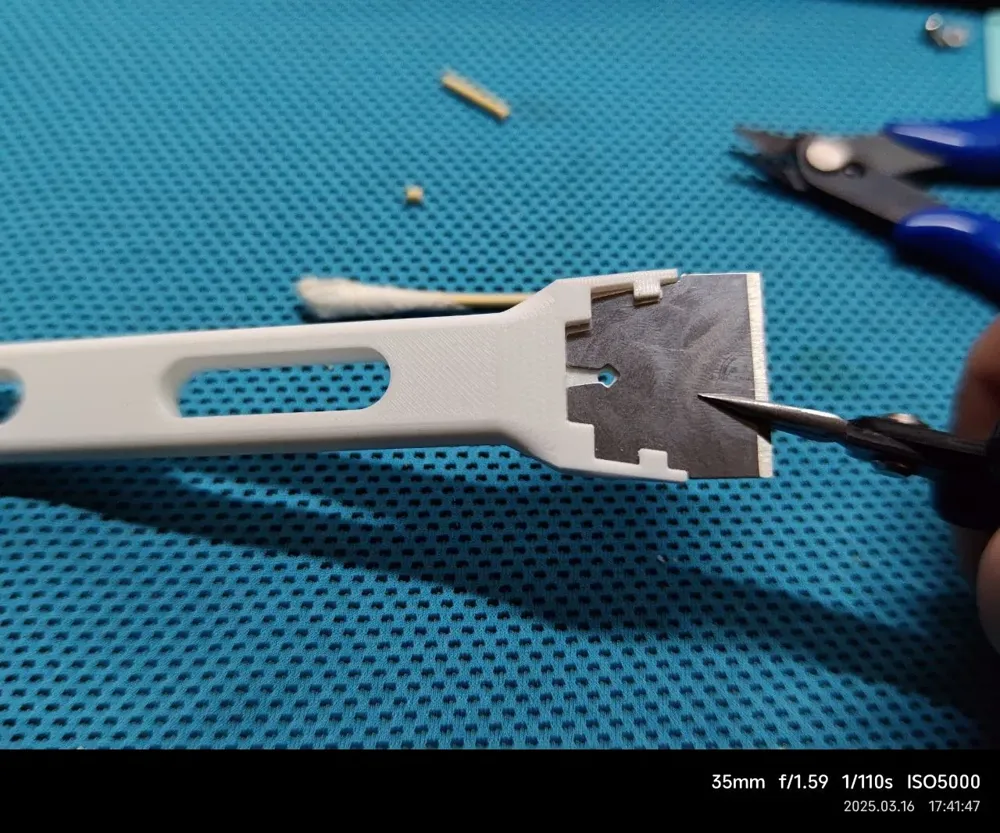
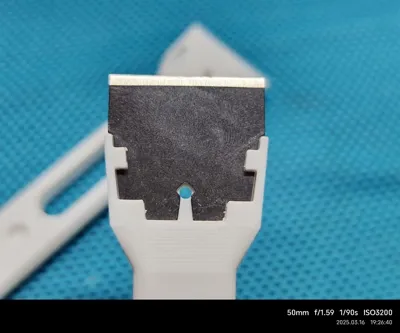
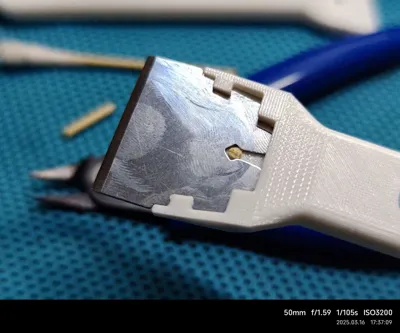
Insert the blade, using needle-nose pliers to assist, being careful not to injure yourself, and observe through the bottom opening until fully inserted.
The blade must be fully inserted; do not be hesitant due to its delicate nature. Use pliers to hold the blade and forcefully insert it.
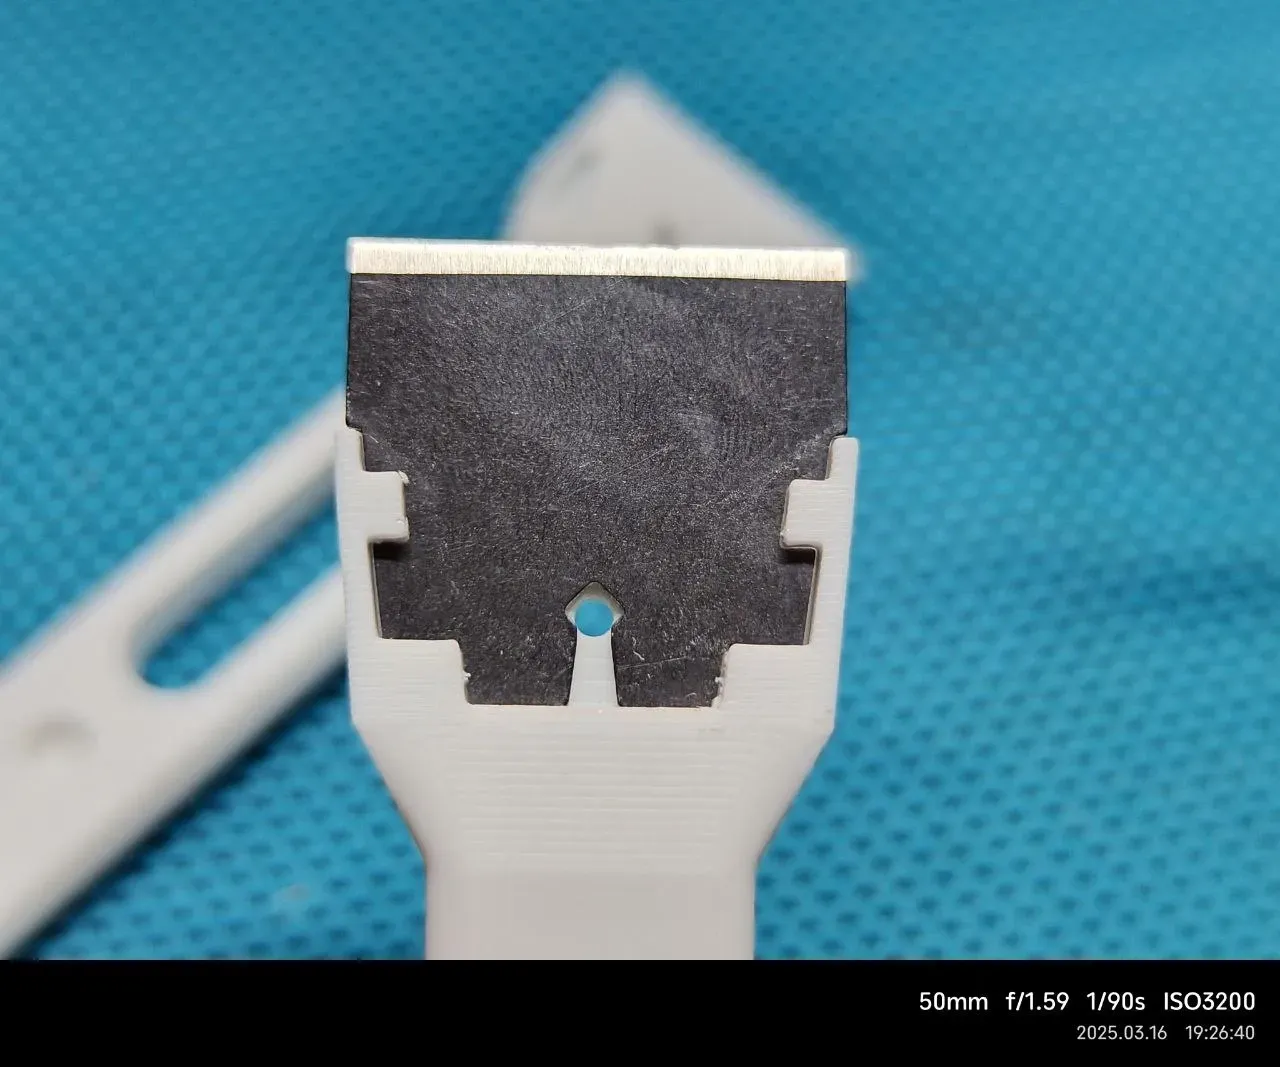
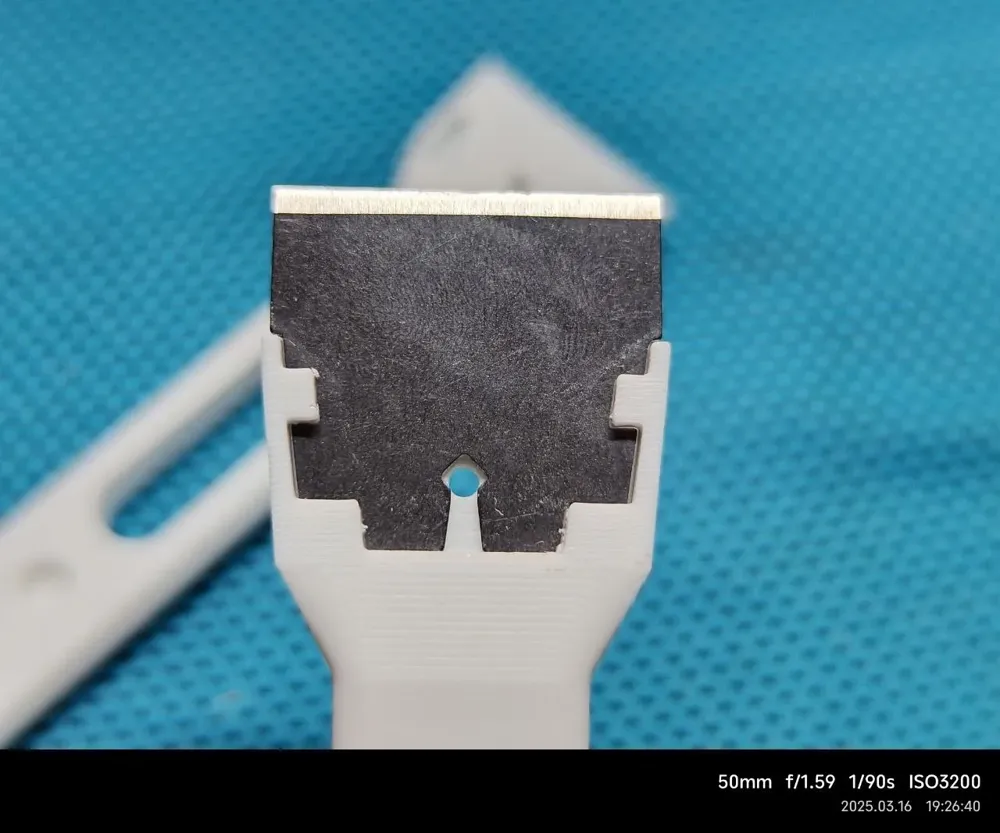
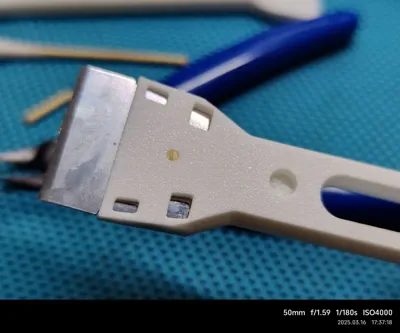
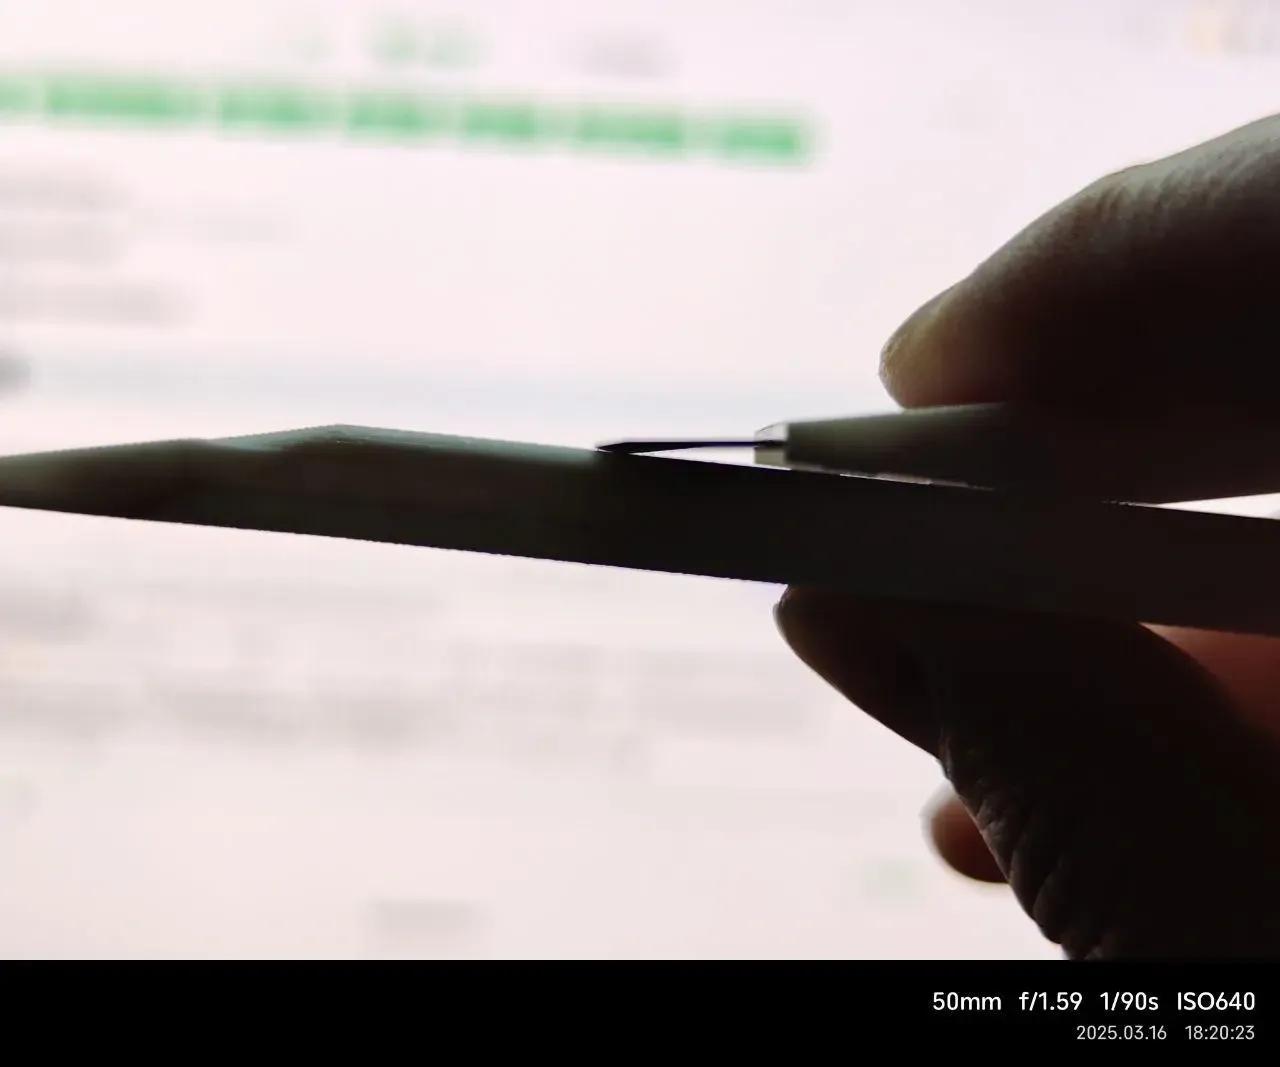
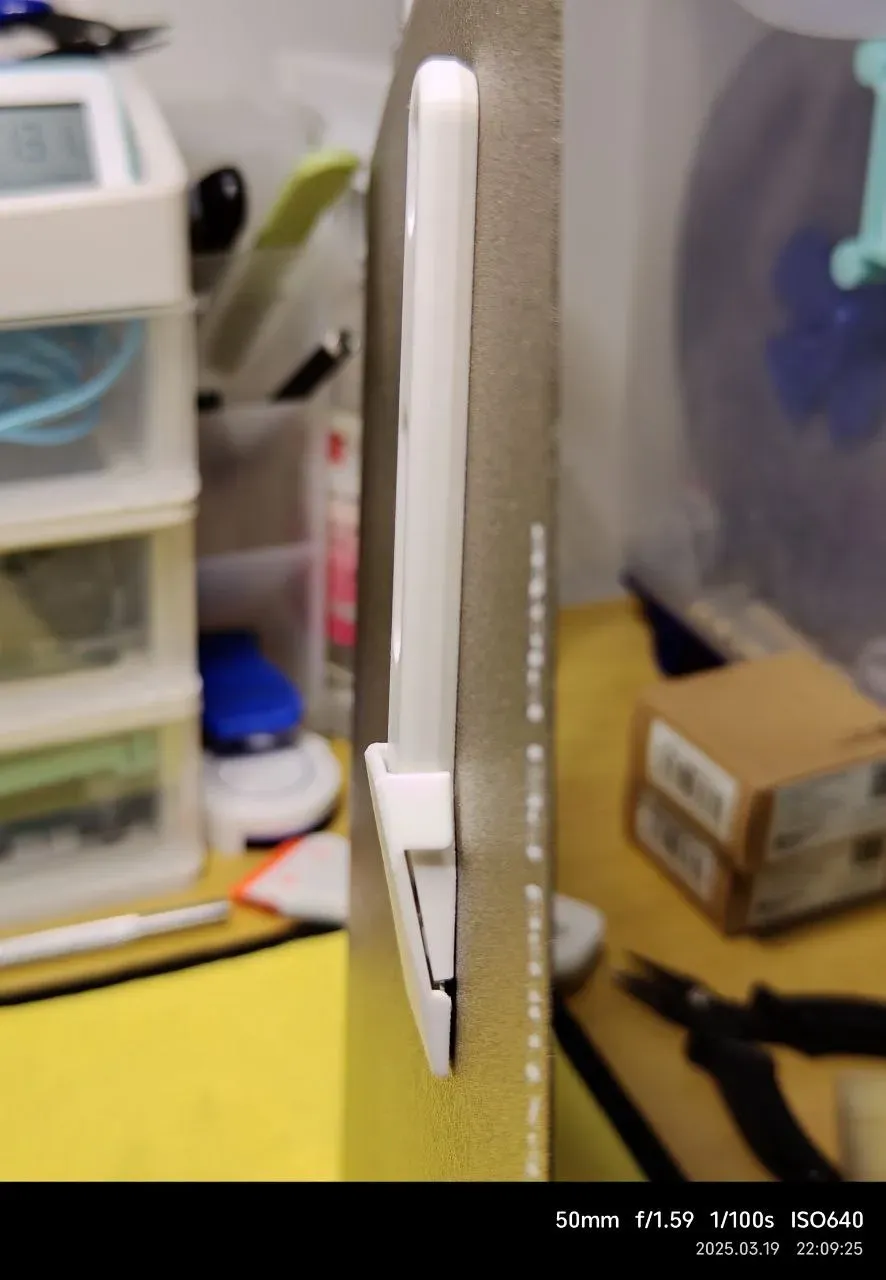
Side view.
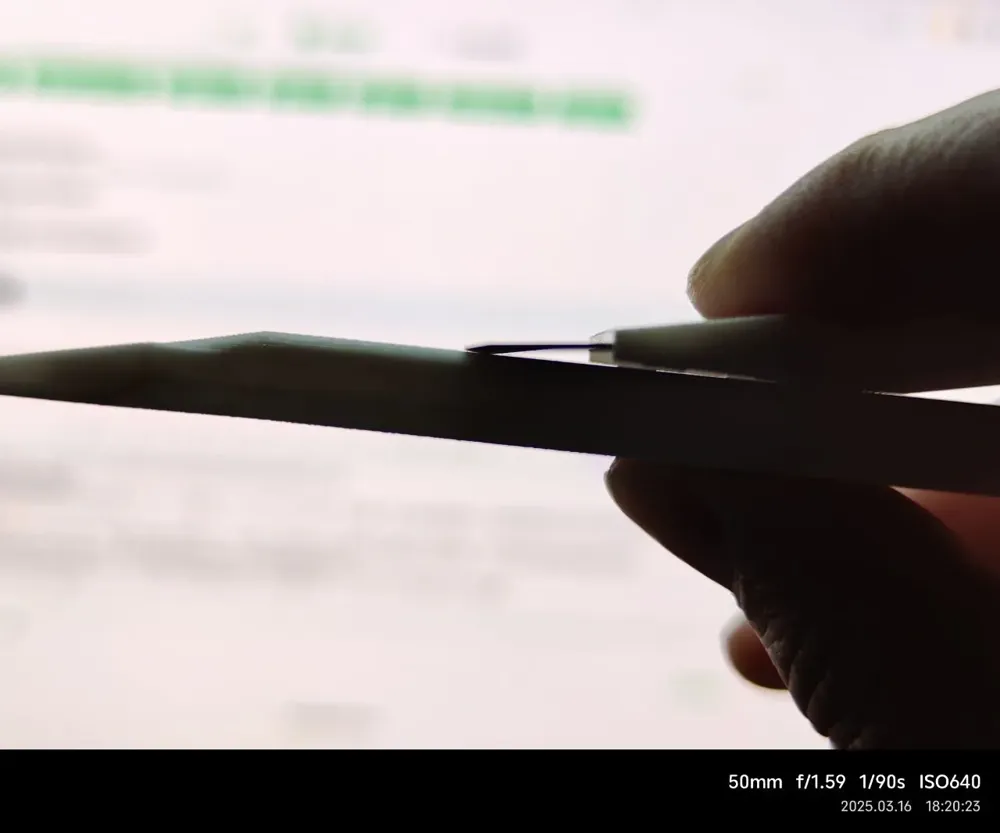
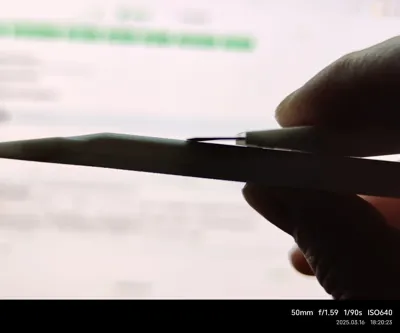
When placed bottom down, a gap of approximately 0.8mm is left between the blade and the bottom surface, preventing damage to the desk and build plate. When using magnetic adsorption, it will not scratch the adsorption surface.
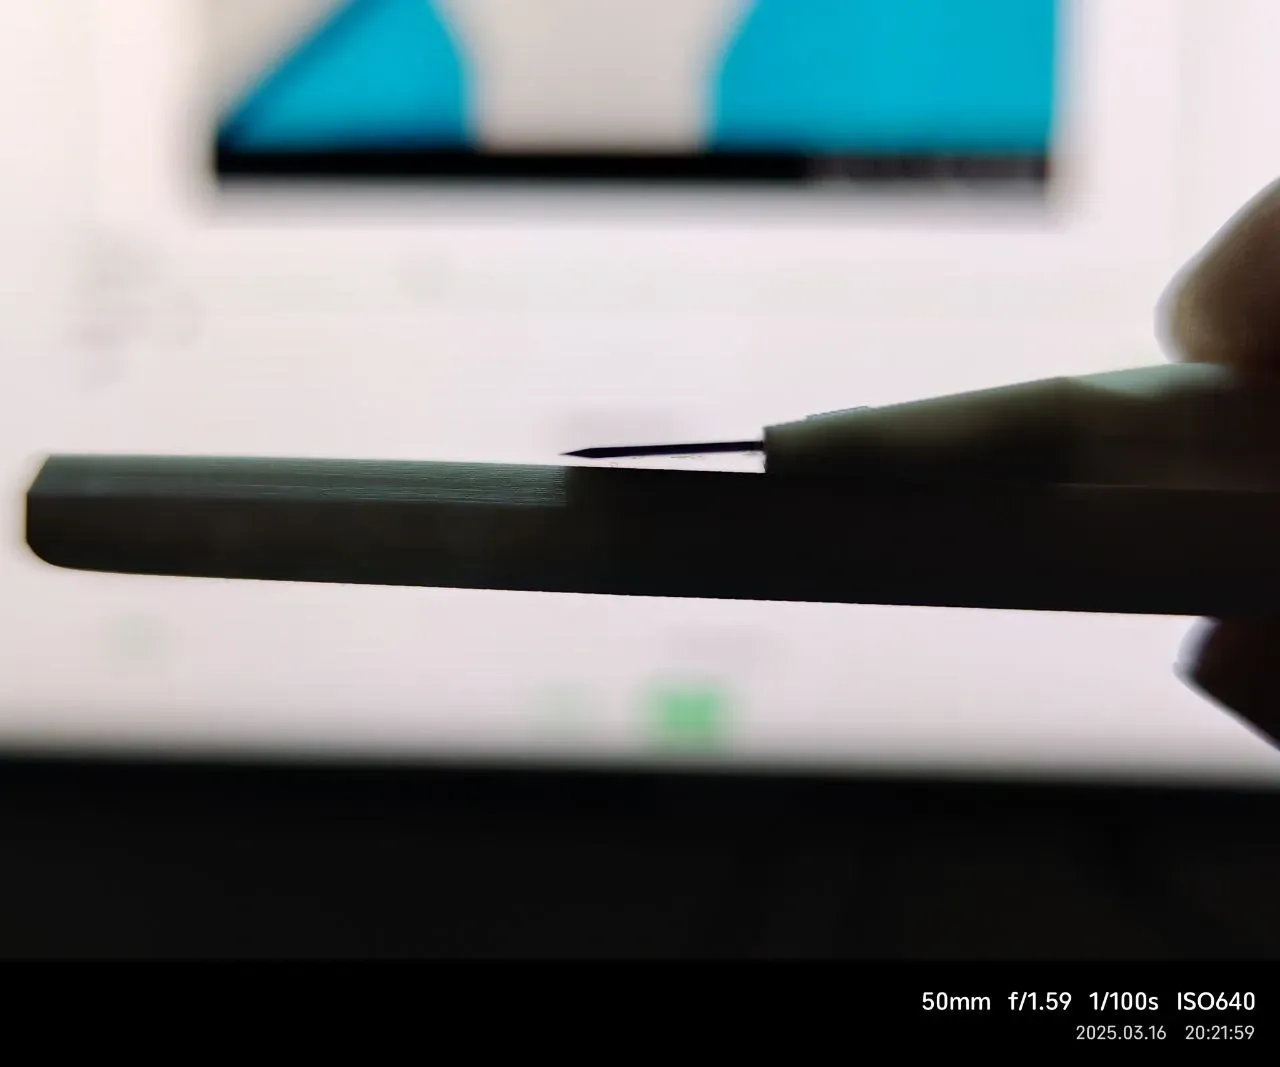
When used top down, the blade will not scratch the build plate.
The initial idea was for one side of the blade to be completely flush with the build plate. However, PEI-coated plates actually have a granular, uneven surface. Although this might be appealing to some, close contact could damage the coating.
Moreover, modeling data was lost mid-way, and I lacked the motivation to start over.
For close adhesion, users need to manually judge the appropriate pressure. This is also the approach for most scraper holder designs and usage.
Additional explanation of the portable blade cover:
During use, position the blade against the inside of the cover, then press down on the handle to secure it.
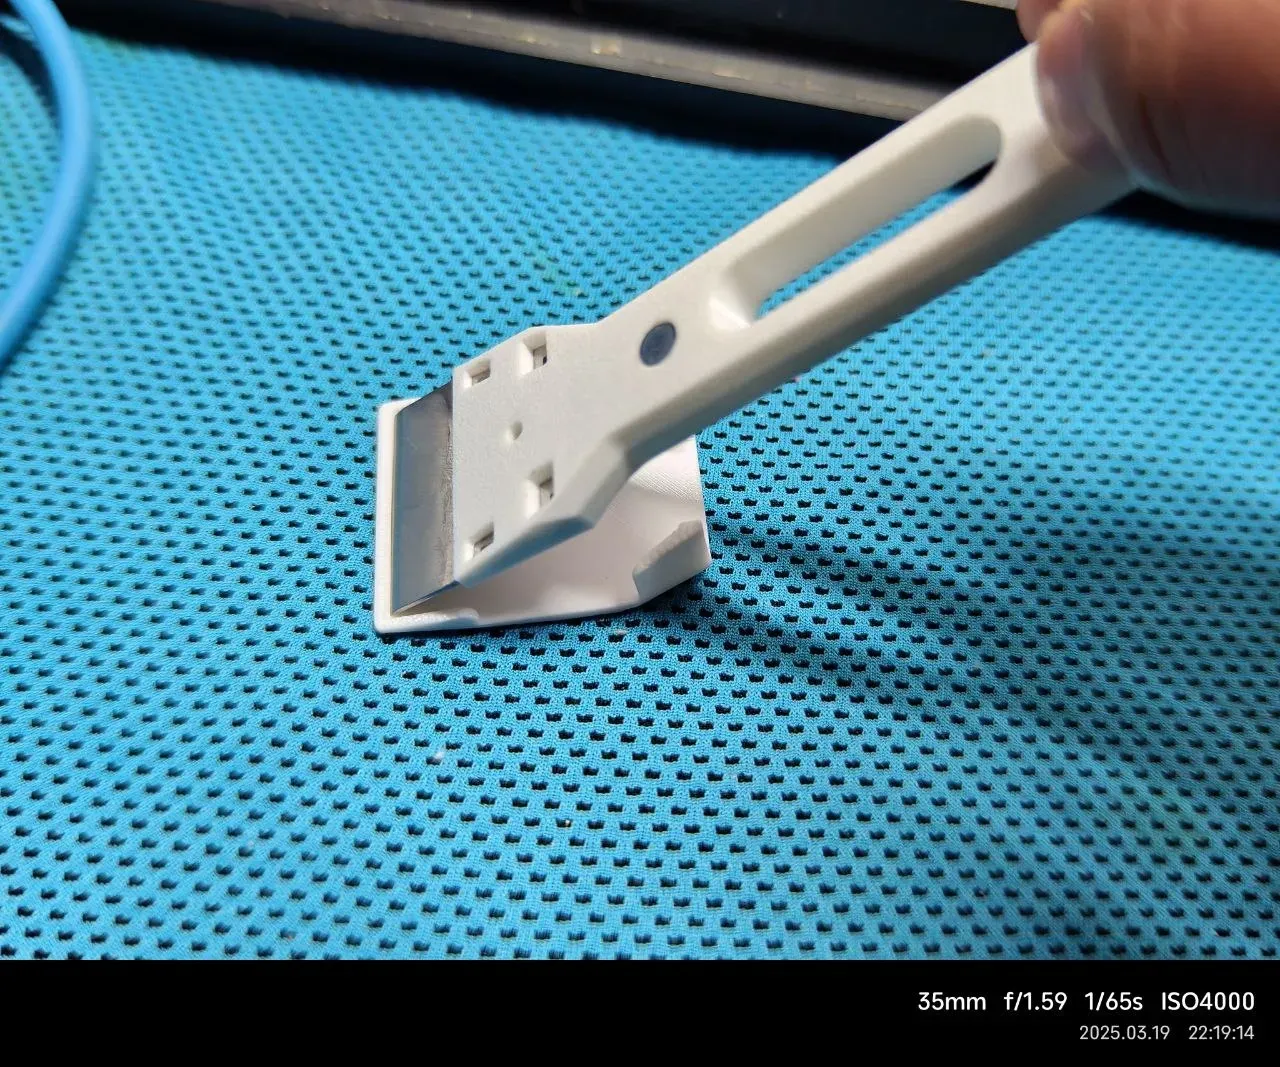
Compared to the vertical blade holder, the portable blade cover is more compact and lightweight, fitting snugly against the blade body, and convenient for placement.
After installing two 6x3mm round magnets on the handle, the portable blade cover will not affect the fit between the bottom of the blade and the magnetic adsorption surface, making it convenient to use.
The bottom has pre-drilled holes for 6x3mm magnets; during installation, simply press the magnets in by hand.
Normally, after the magnets are installed, they will be slightly recessed compared to the bottom of the handle, and will not contact the adsorption surface during use.
Due to variations in printer tolerances and the materials used, add a couple of drops of glue if it feels loose; if it feels tight, use pliers to insert it. When using pliers, it's recommended to use a cloth pad to prevent the pliers from damaging the printed part or magnet.
Finally, here's a usage demonstration:
License

You shall not share, sub-license, sell, rent, host, transfer, or distribute in any way the digital or 3D printed versions of this object, nor any other derivative work of this object in its digital or physical format (including - but not limited to - remixes of this object, and hosting on other digital platforms). The objects may not be used without permission in any way whatsoever in which you charge money, or collect fees.


Comment & Rating (8)