
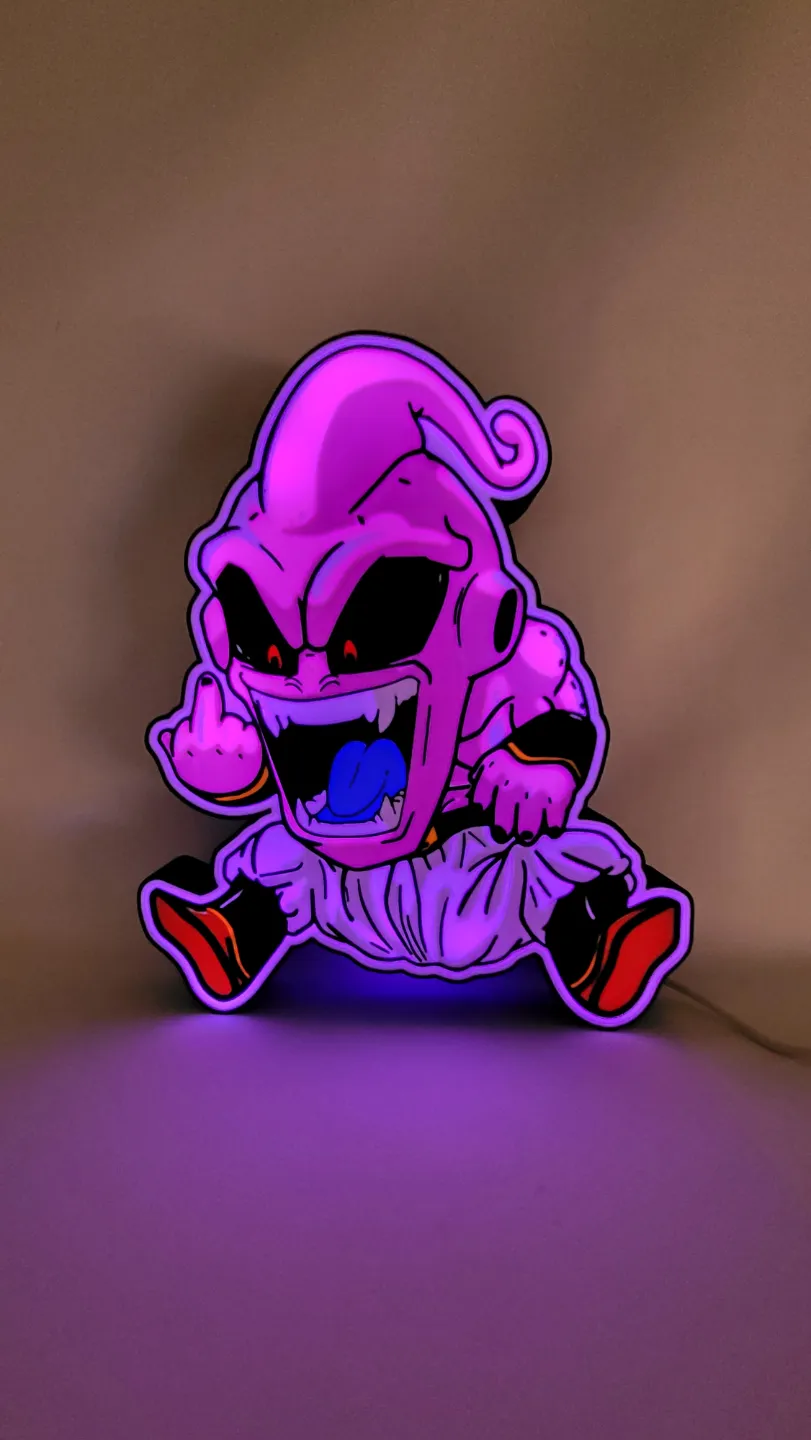
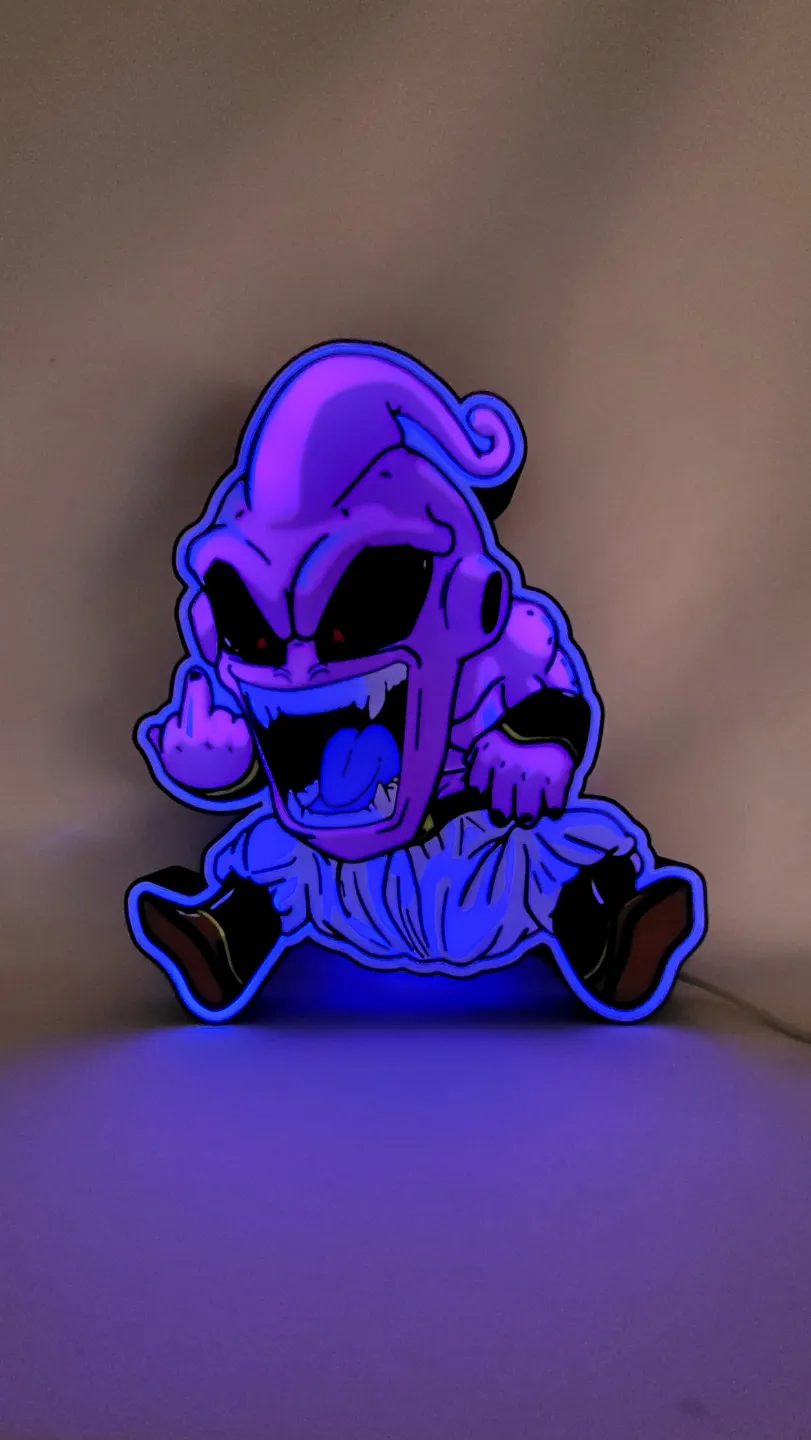
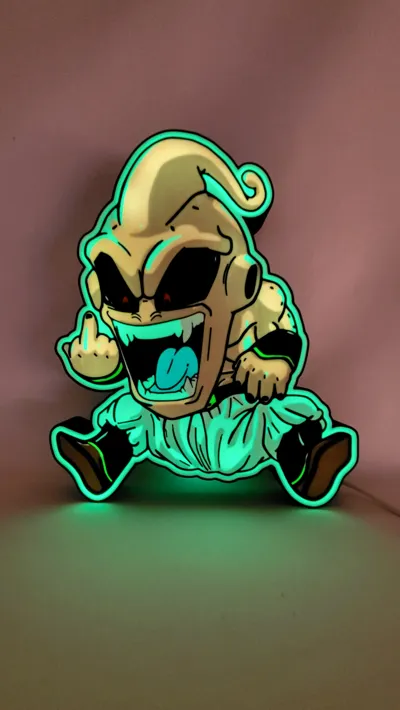
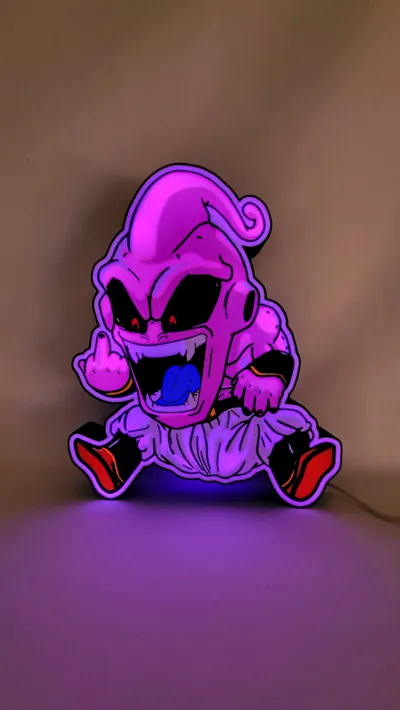
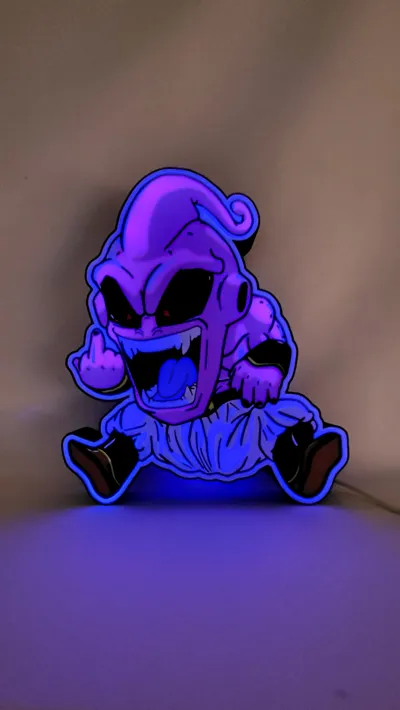
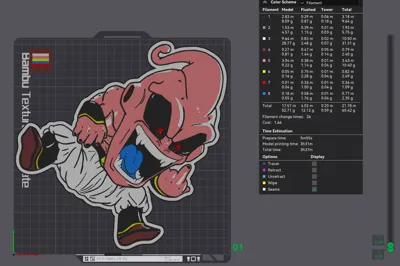
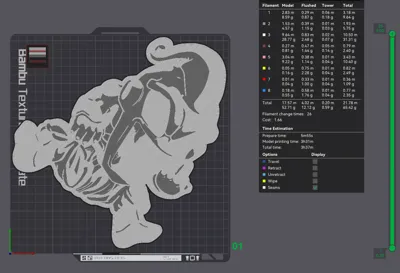
Print Profile(1)

Bill of Materials





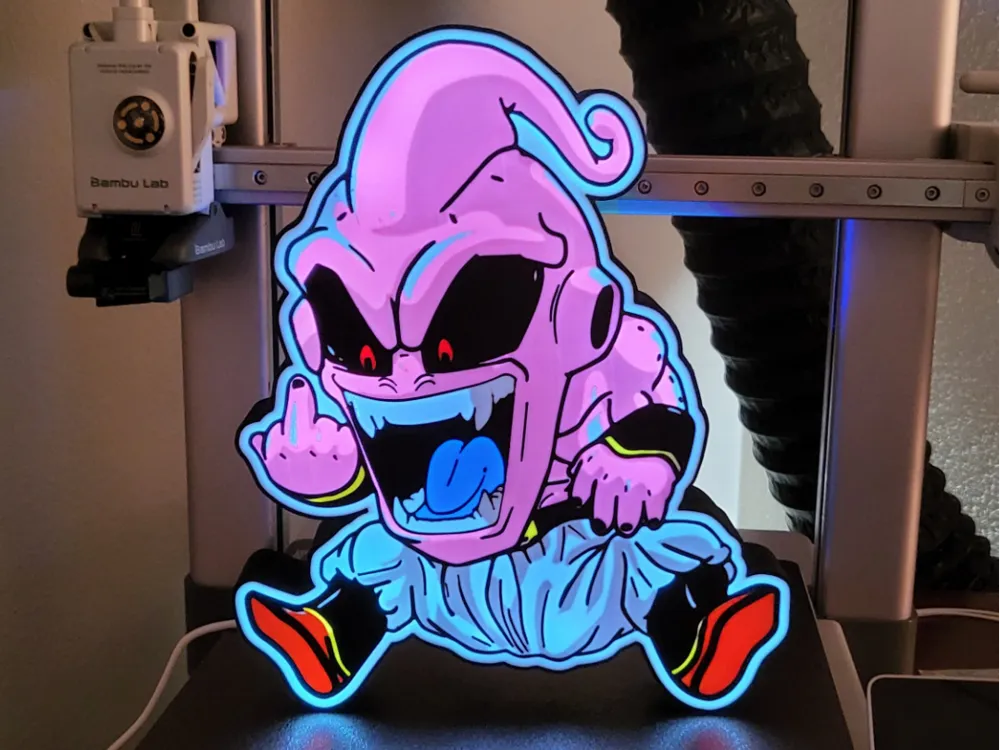
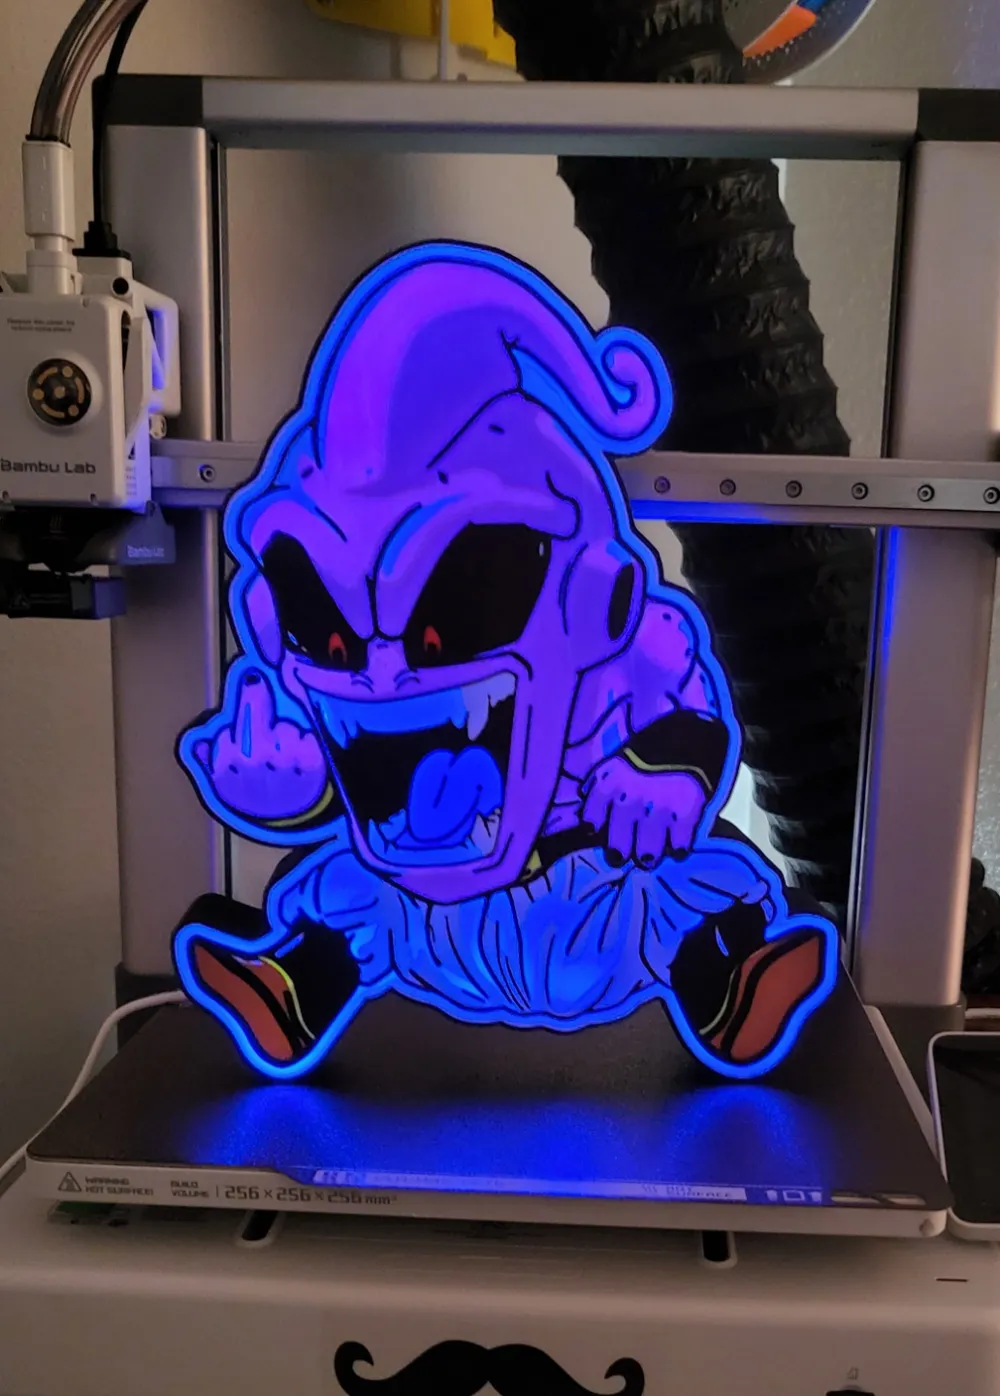
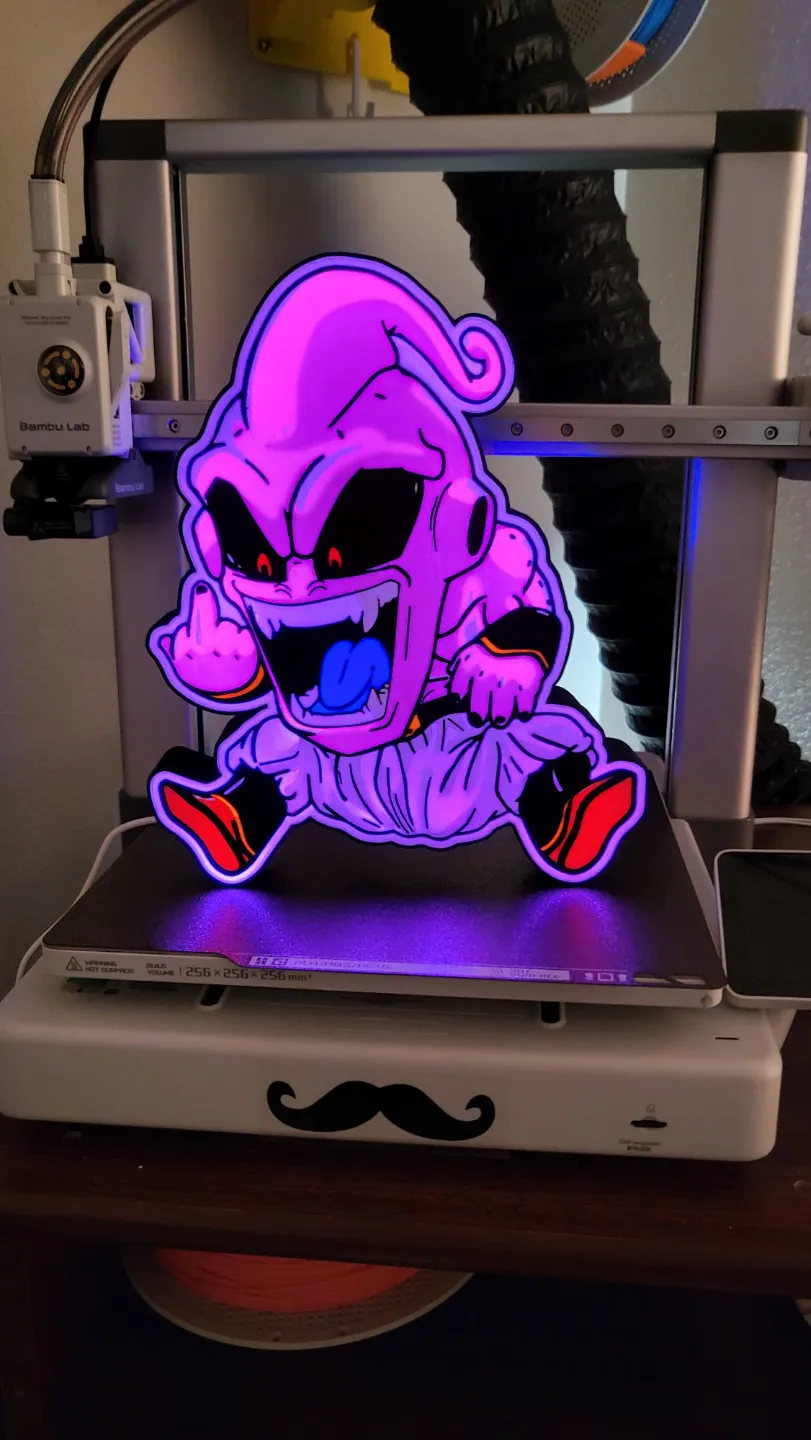
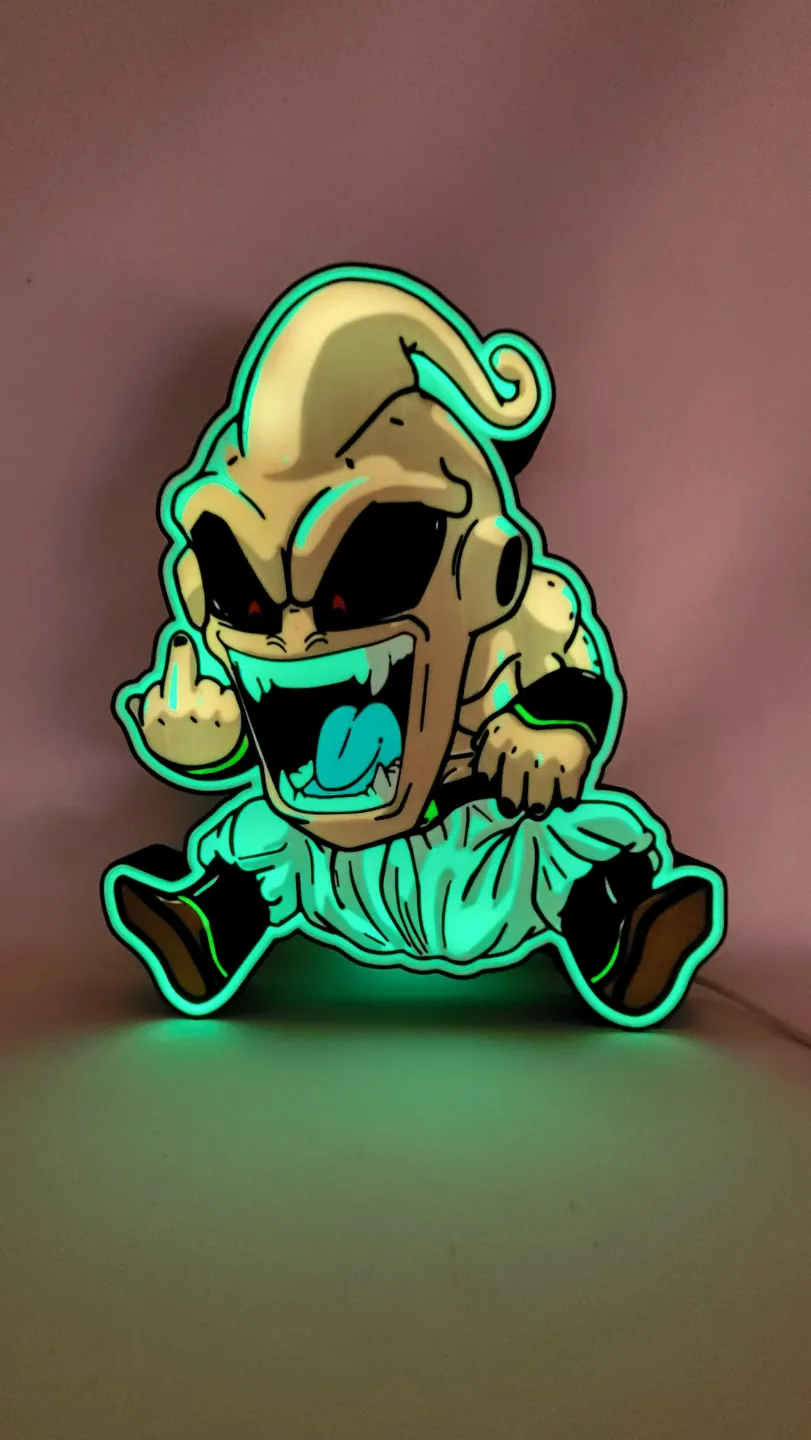
Description
Boost Me (for free)
I appreciate each and every person that supports me. You all truly inspire me to keep creating!
For those with only (1) AMS Setup
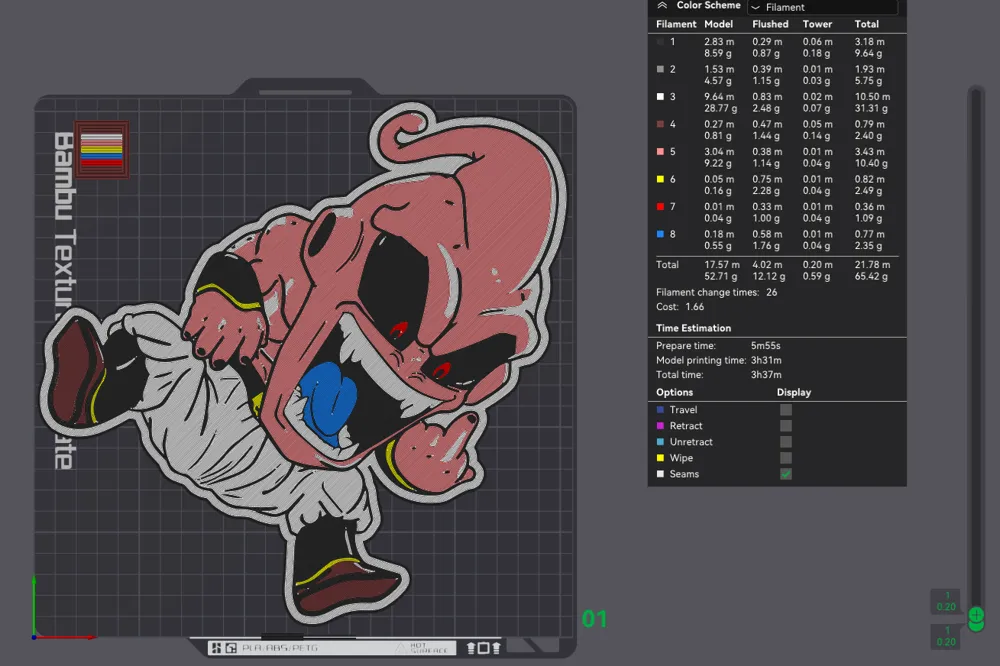
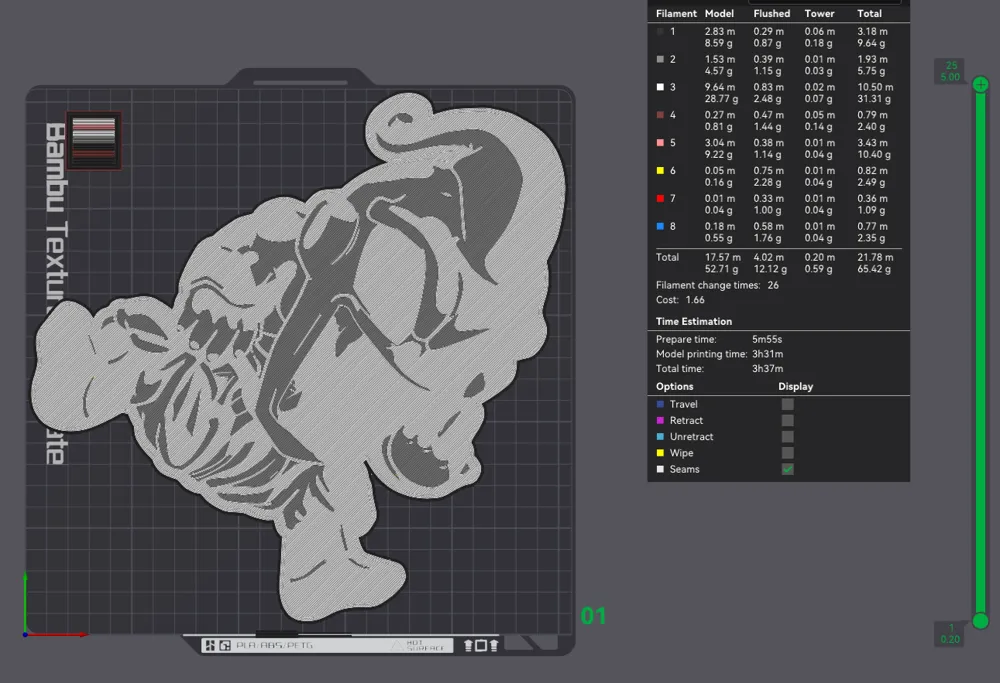
This is an 8 color print, I made this with 1 AMS system so it is possible but you will have to be vigilant with switching colors for the first 5 layers. For the first 3 layers, there are only 7 colors (Black, Brown, Red, Cyan, Yellow, Pink, White) after layer 3, its changes to 3 colors (Black, Grey, White).
Layers 1-3 are base colors
Layers 4-5 are shading
When you click print you should have Black, Brown, Red, Cyan loaded onto the AMS at the beginning. (Doesn't matter where just remember where you placed them for switching purposes) It'll ask you where Pink, Yellow, and White are going to be loaded. You'll want to place them under the following:
Pink under Brown/ Yellow under Black/ White under Red
When switching:
Once a color has finished laying, wait for it to unload from the hotend then quickly and calmly unspool it and switch it with the proceeding color, load it into the AMS and whenever the next color is ready to print, it will automatically load into the hotend. Repeat the process for all 5 layers.
This is the order in which the printer will print colors according to where they are in the print itself:
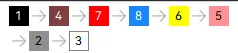
This arrow (>) means switch to the filament after the color has finished laying on each layer.
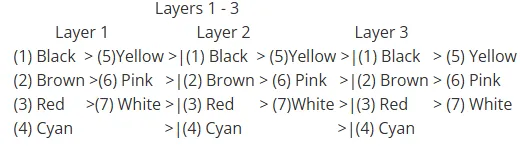
> Switch to Black after Yellow has finished on layer 3
> Switch to Grey after Cyan has finished on layer 3
> Keep White on for the remainder of the print
You should have Black, Grey and White on your printer by the start of Layer 4
Layers 4 - 5
Layer 4 | Layer 5
(1) Black | (1) Black
(2) Gray | (2) Gray
(3) White | (3) White
White will end the print
Light Installation
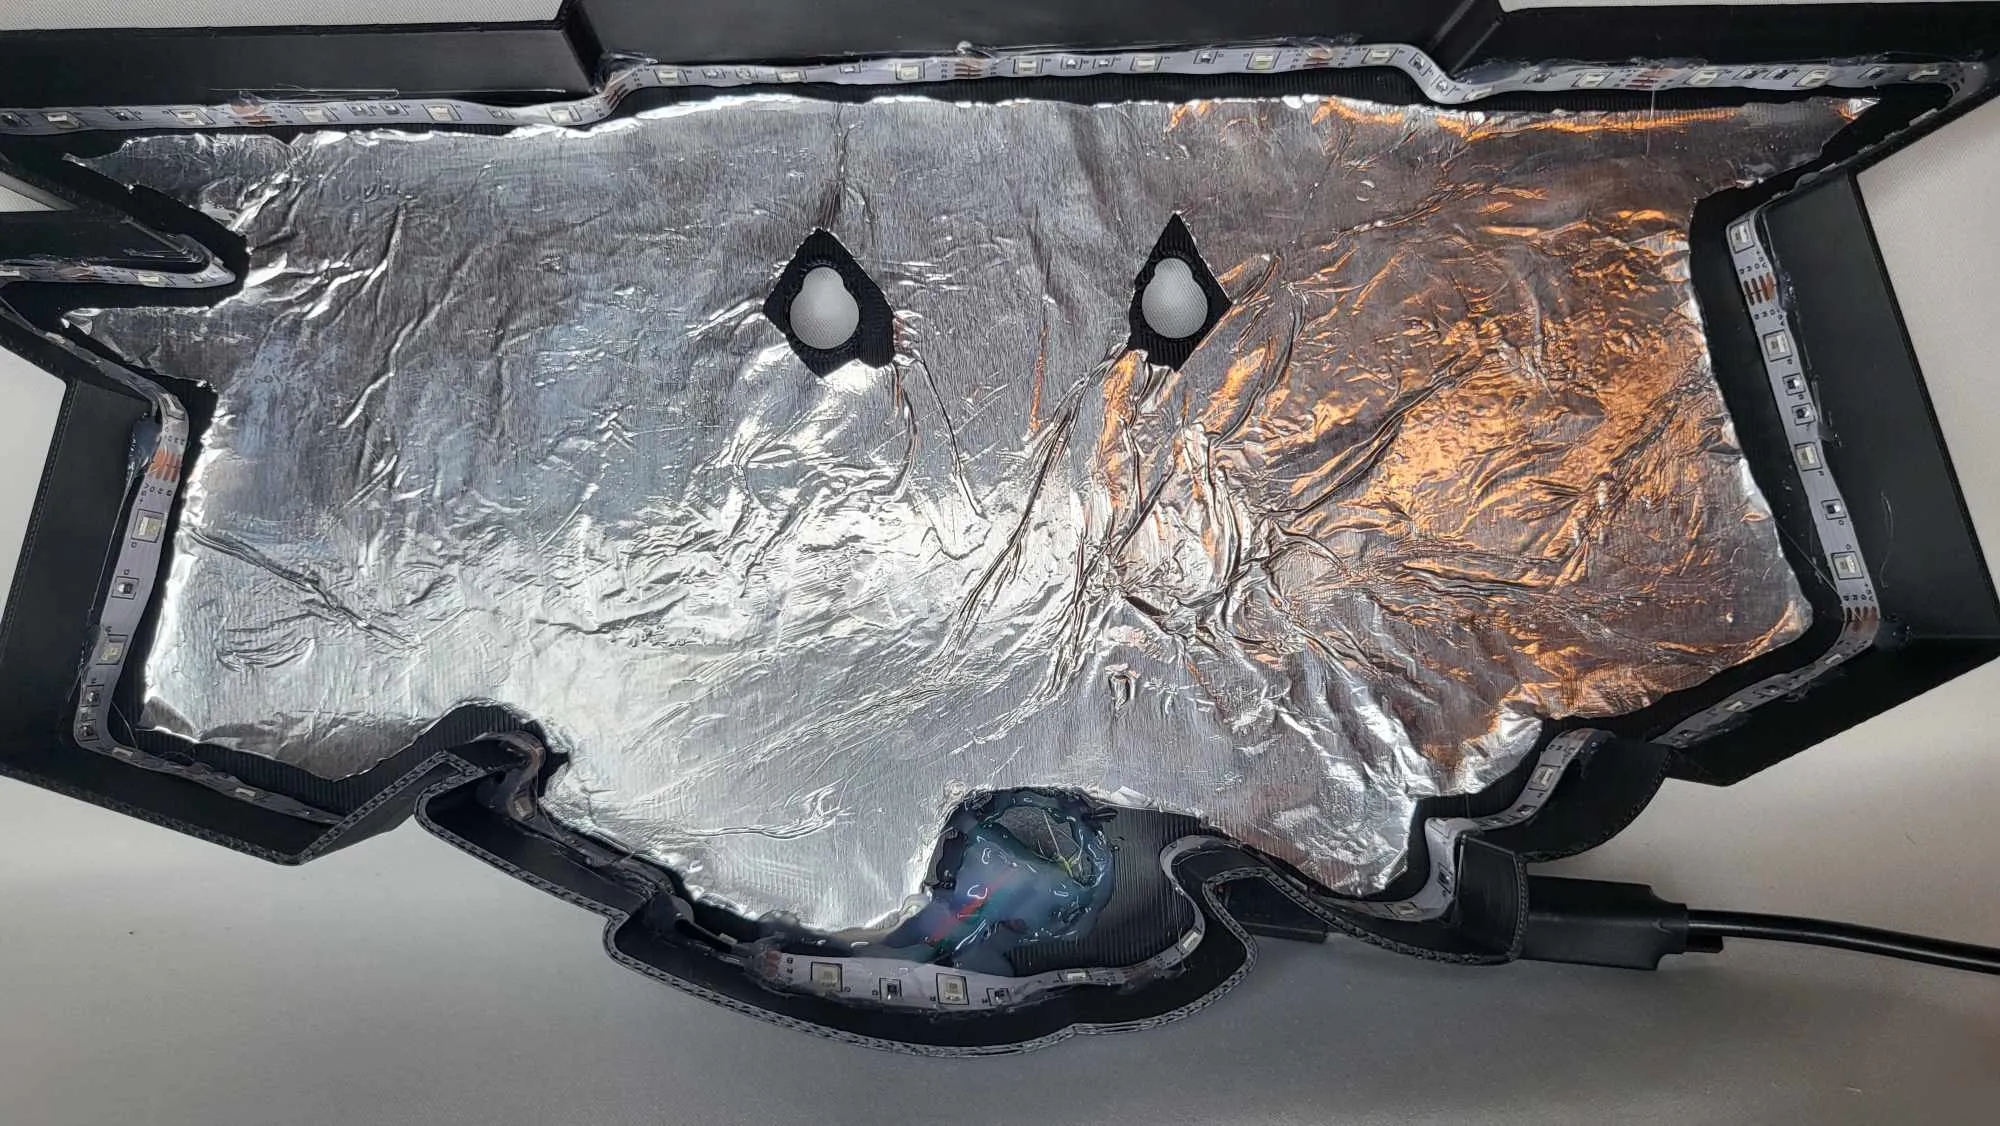
- Put aluminum (shiny side up) at the bottom of the baseplate, adhere with glue.
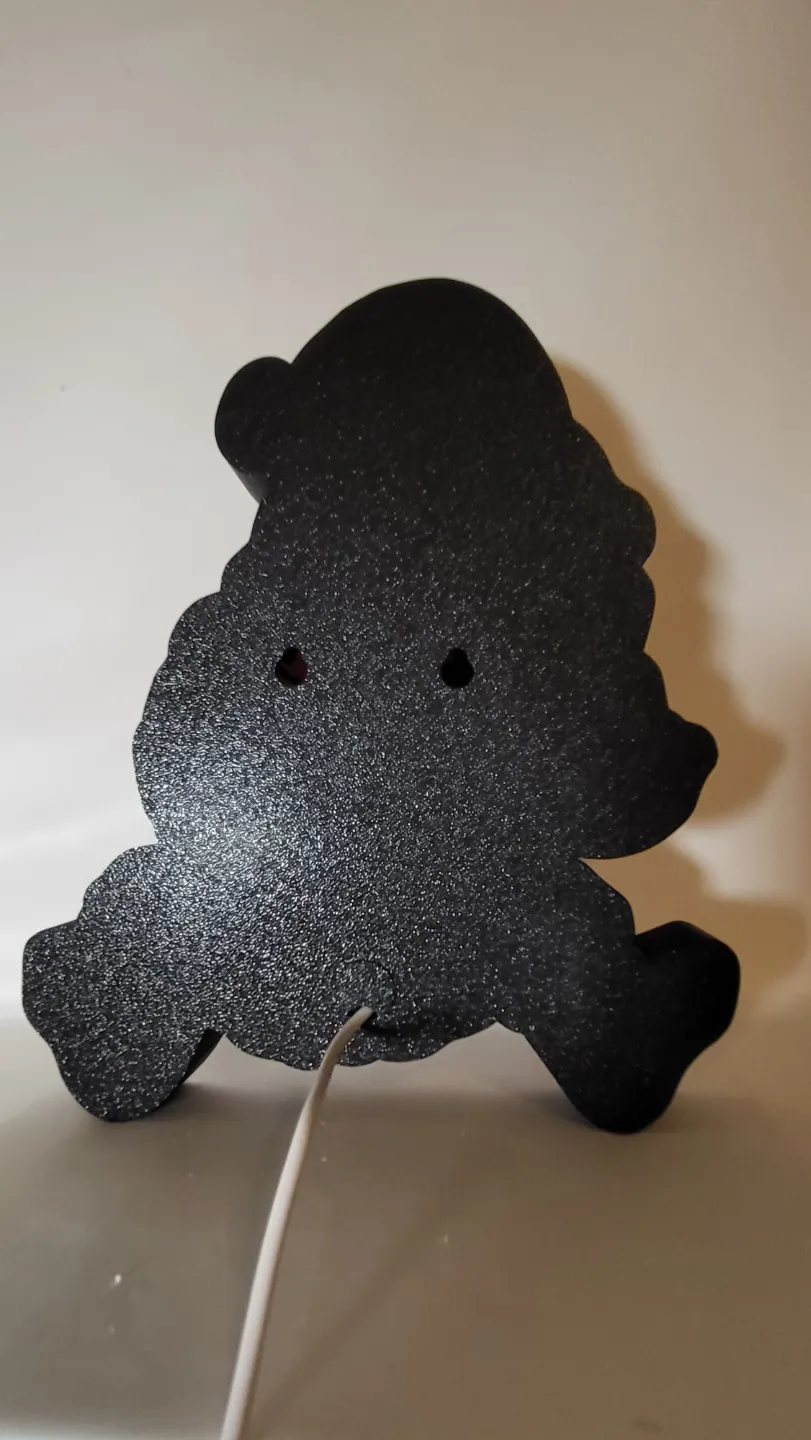
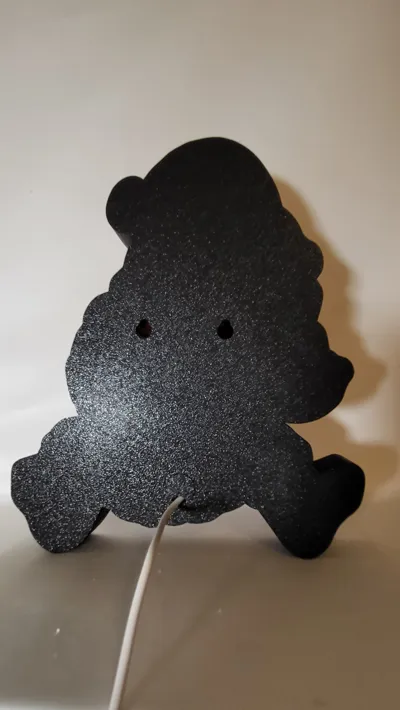
- I've designed a light cover for the wire outlet, (If the cutout is too small for your wire you can simply click on the clear circle and move it more in). If you don't wish to use that, you can get a 16mm Closed Grommet, cut a thin line down the middle, but don't cut it entirely in half.
- Insert led strip, install along the walls of the print, cut to size.
- (Personal preference to ensure longevity of adhesive) Hot glue along the lines of the led strip, light cover
- Insert faceplate.
- Sip on a nice cold beer and admire your handiwork.
**I highly recommend turning retraction settings on if you haven't already. Its a vital setting to have on for these light displays. It helps eliminate the chances of blobs or stringing.
License

You shall not share, sub-license, sell, rent, host, transfer, or distribute in any way the digital or 3D printed versions of this object, nor any other derivative work of this object in its digital or physical format (including - but not limited to - remixes of this object, and hosting on other digital platforms). The objects may not be used without permission in any way whatsoever in which you charge money, or collect fees.


Comment & Rating (6)