
Architecture - Millennium Tower
Print Profile(8)


Bill of Materials

Description
Millennium-Tower (Tokyo)
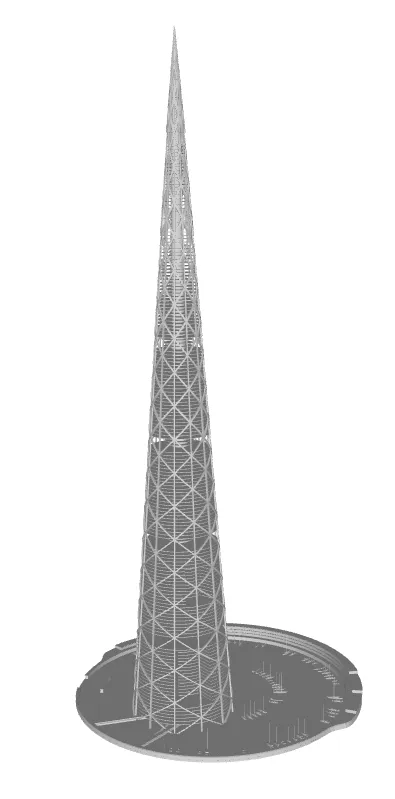
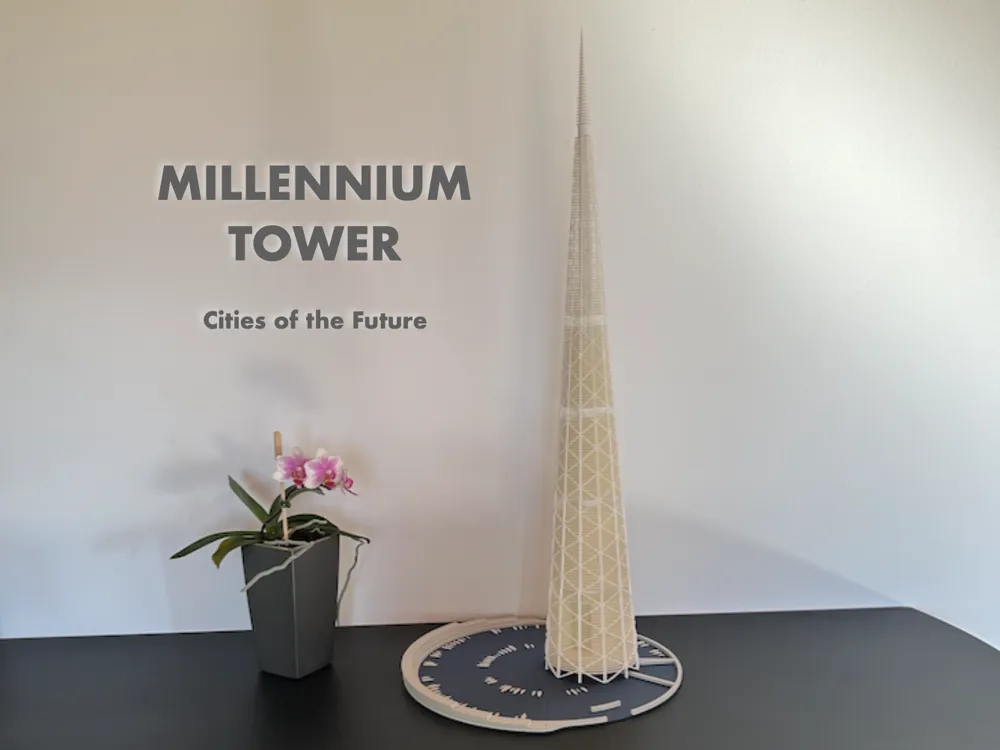
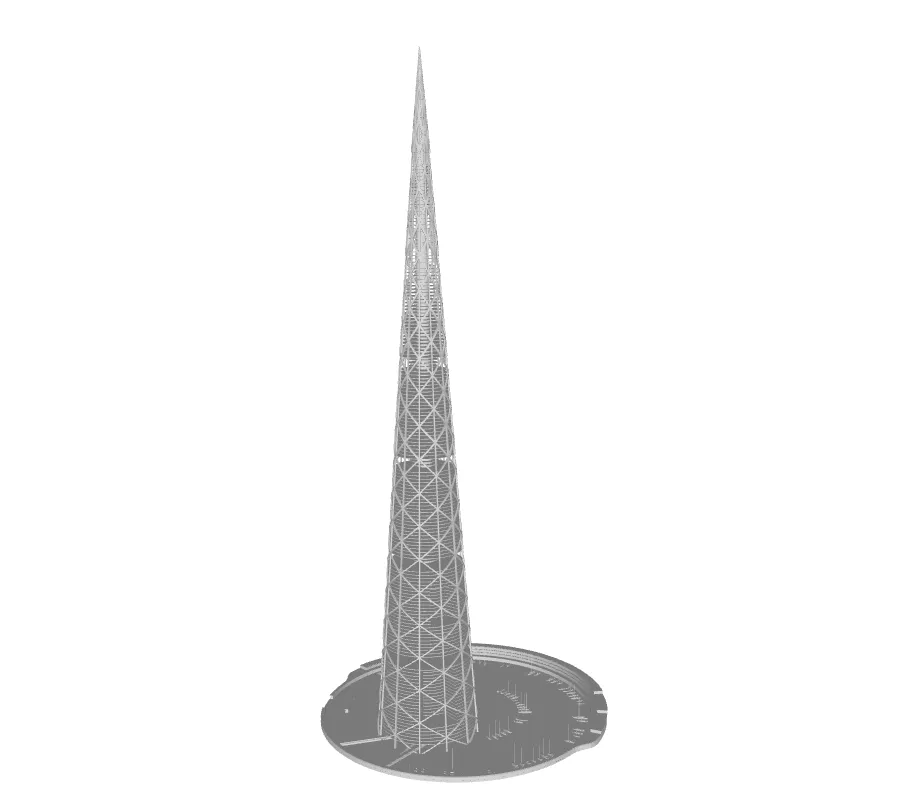
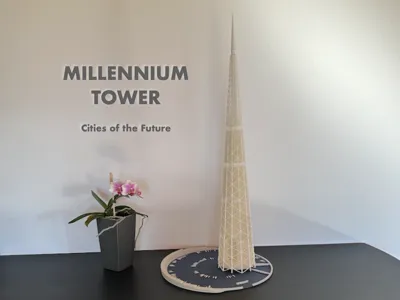
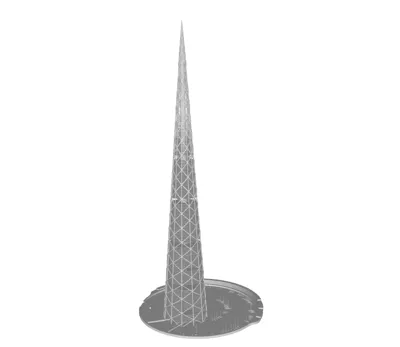
In my opinion, a model of the Millennium Tower (Tokyo) design should not be missing when it comes to the topic of 'Cities of the Future'. This skyscraper is simply amazing. Unfortunately, the design was never built. That's why it's my favorite for a City of the Future
The model is based on the limited data and photos available for the design. Some details have been adjusted to make the model easier to print
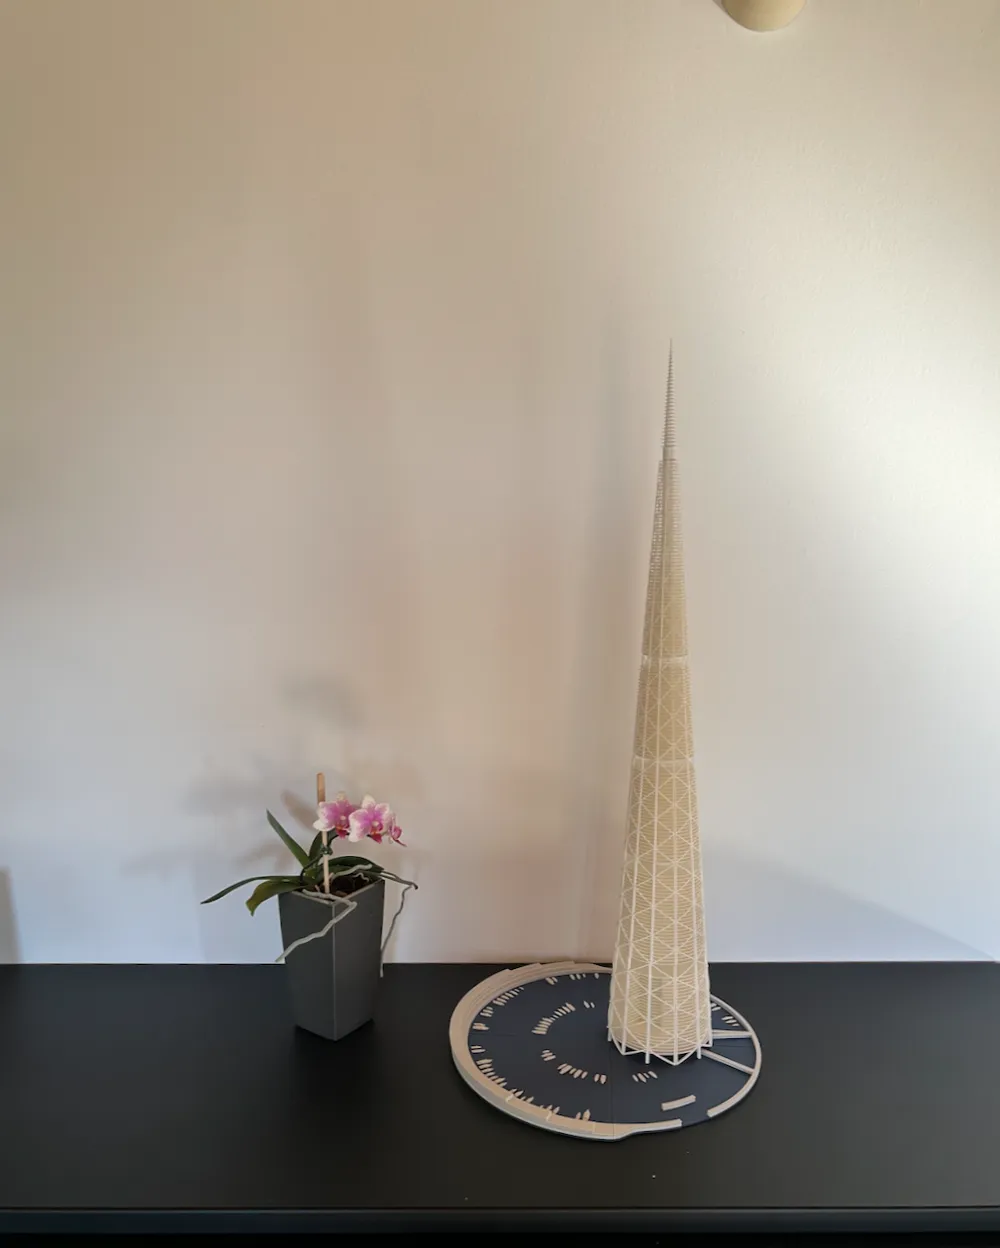
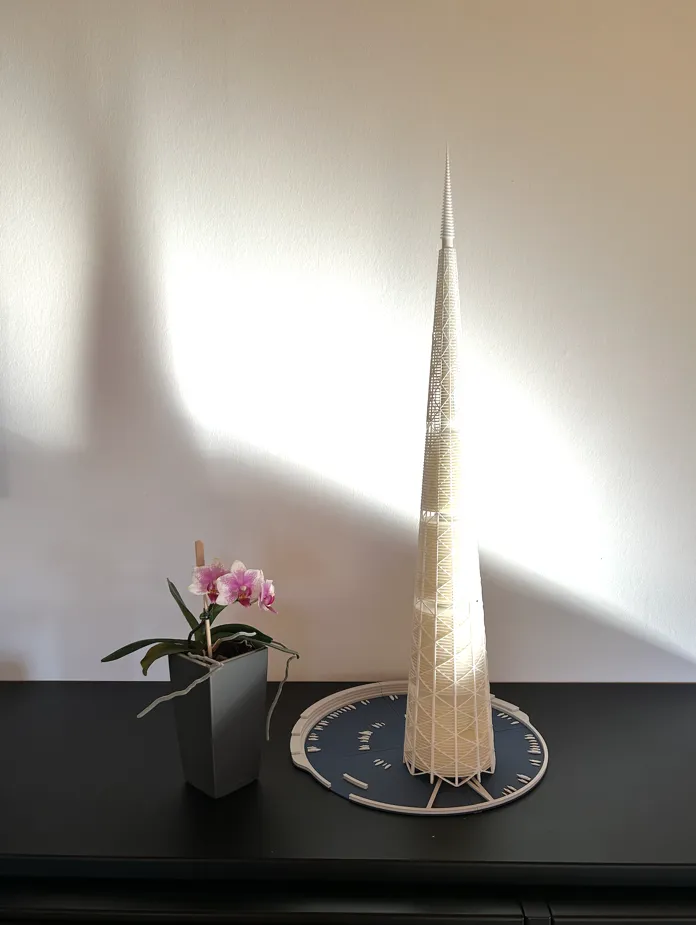
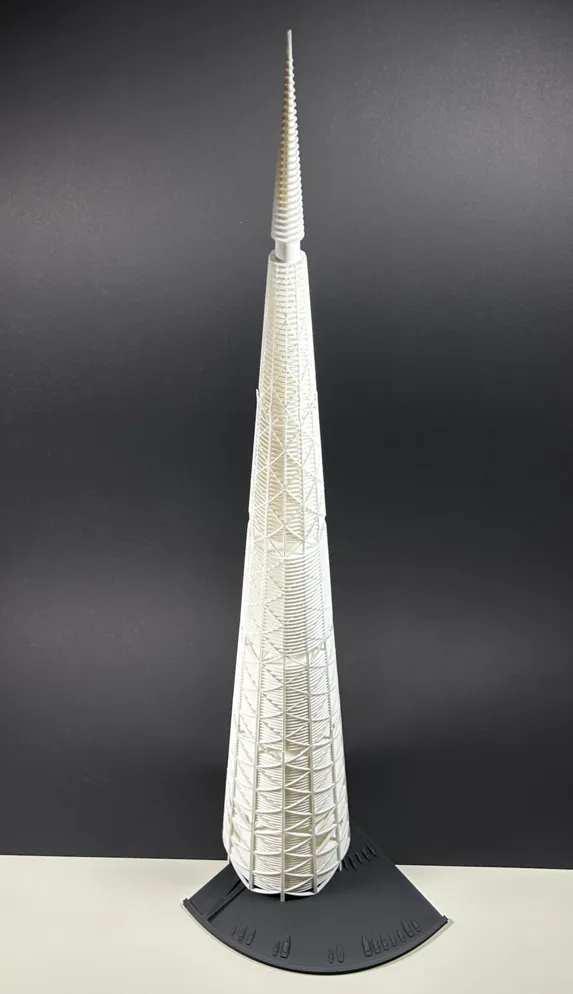
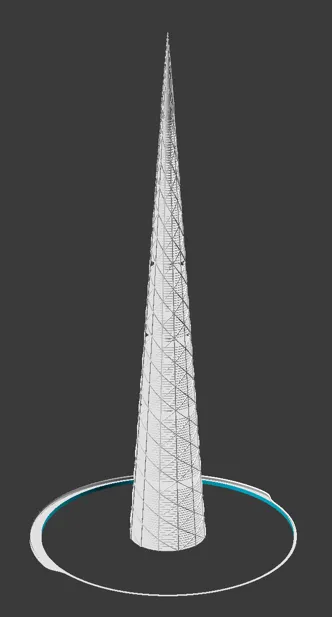
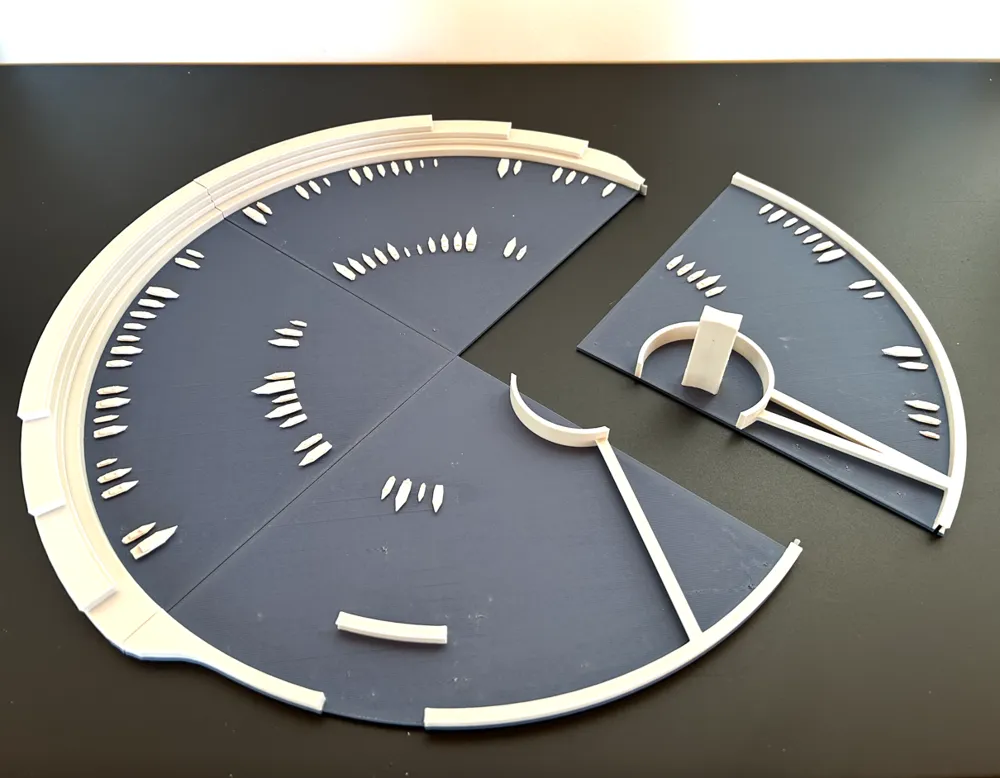
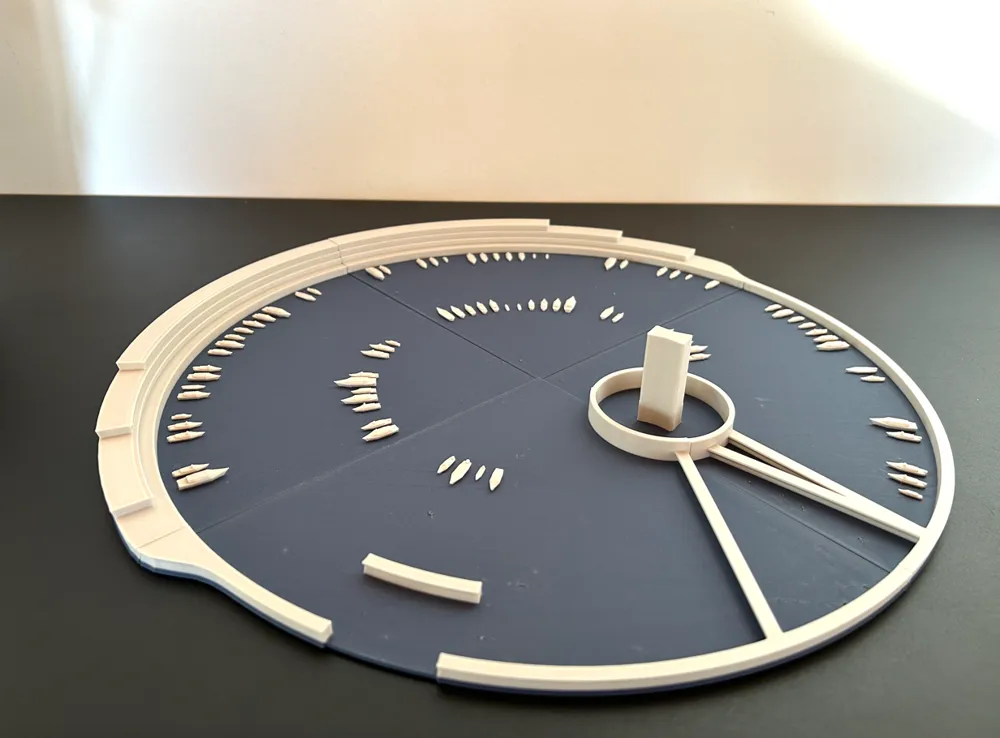
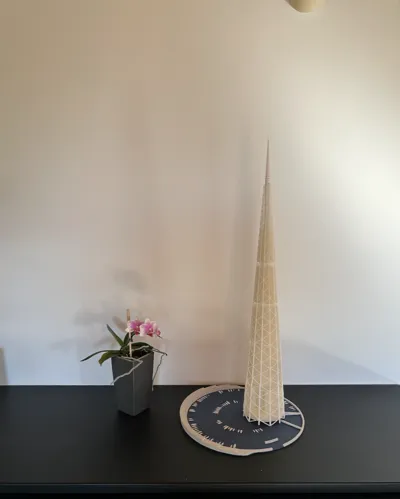
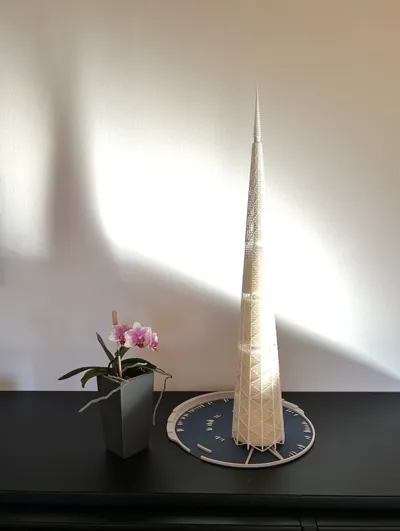
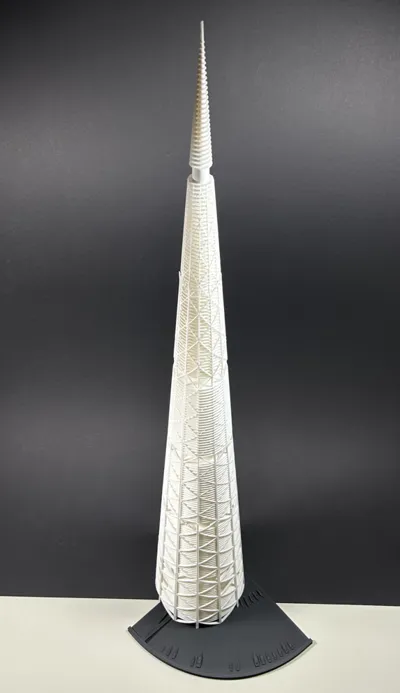
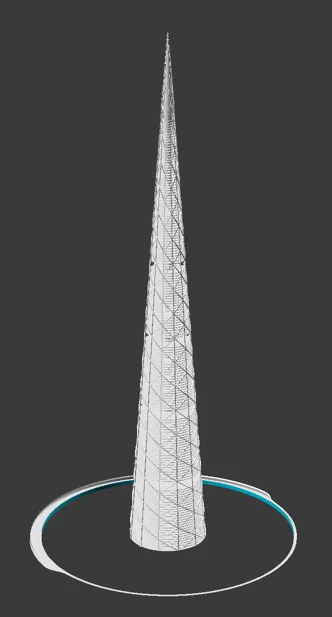
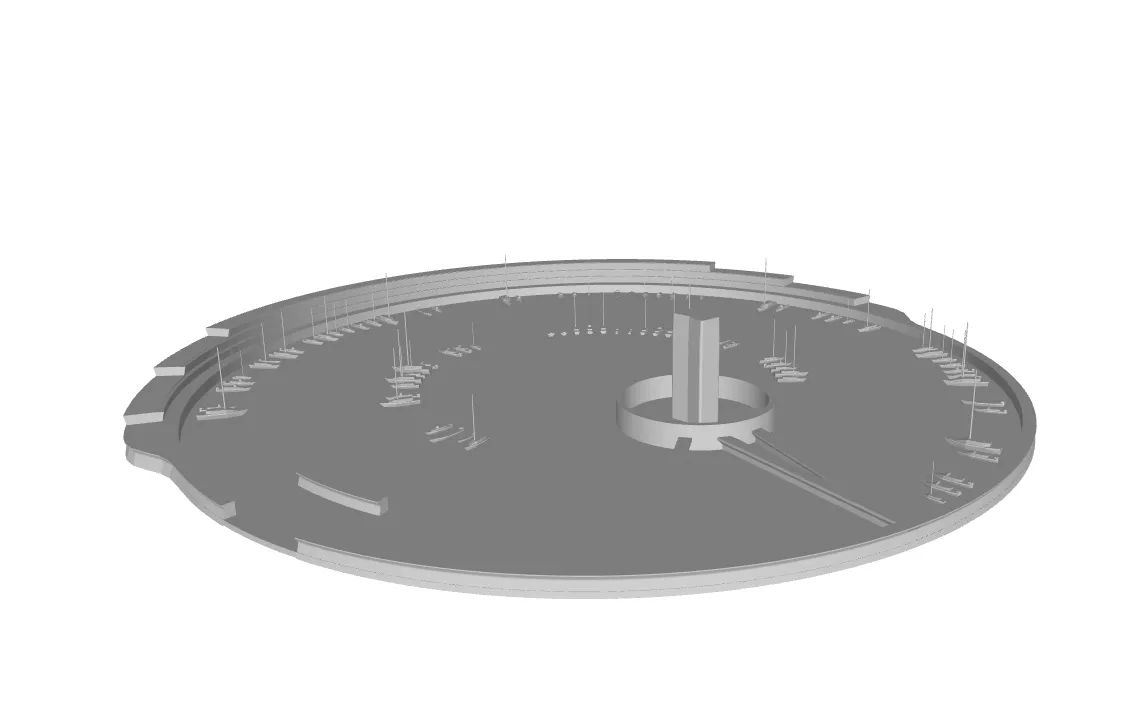
The model consists of two main components: the tower and the harbor. The scale is approximately 1:1000. This means one meter of the design corresponds to one millimeter in 3D printing
The Millennium Tower was planned to be 840m high, making it the tallest skyscraper in the world at the time. It would still be so today, as the Burj Khalifa is “only” 828m tall, and it is unclear whether the Burj Jeddah (>1000m) will ever be completed
I designed the model from scratch in OpenSCAD and continuously adjusted and improved it over many iterations. Although I started designing before the 'Cities of the Future' competition began, I still lack time to change details now
3D Printing
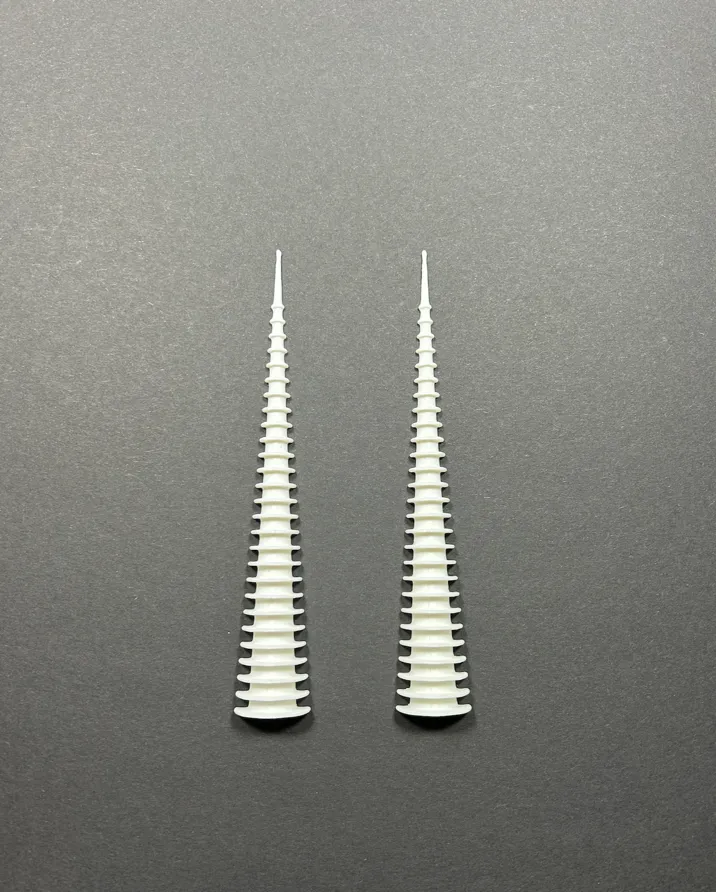
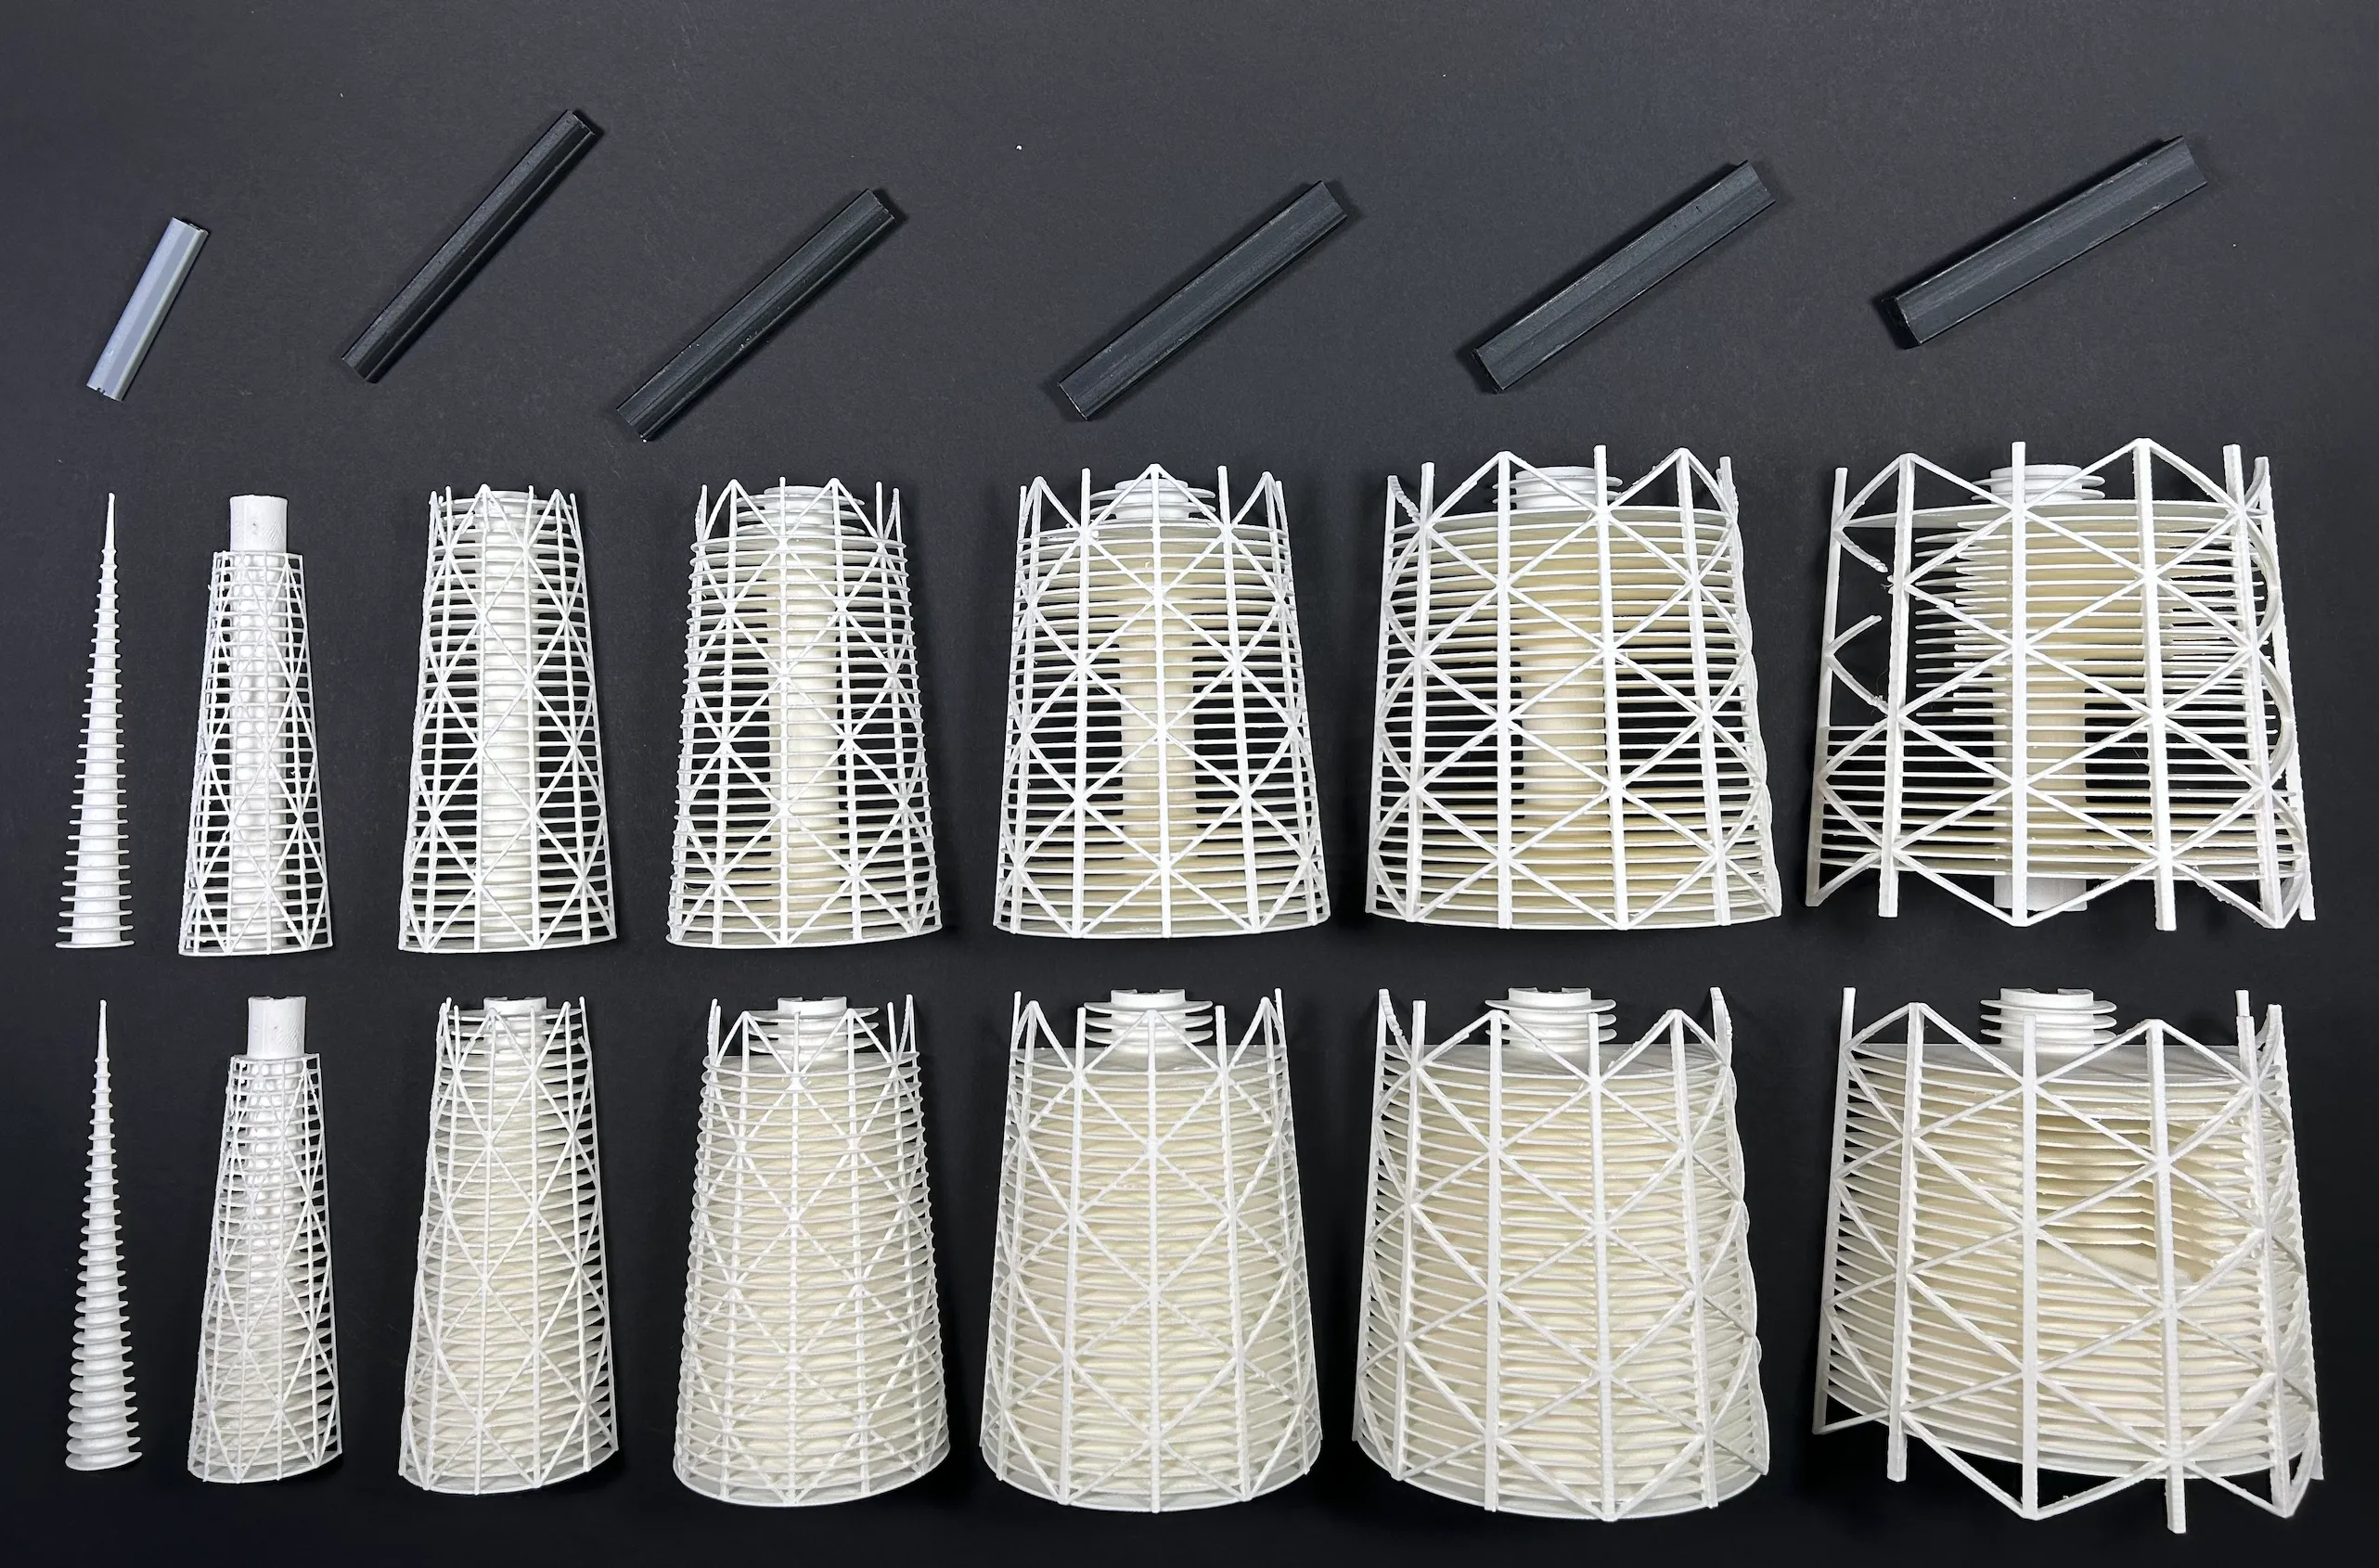
The tower consists of seven zones, each 120mm high

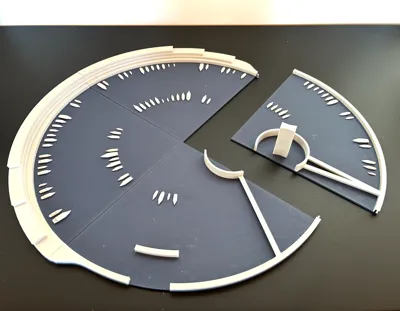
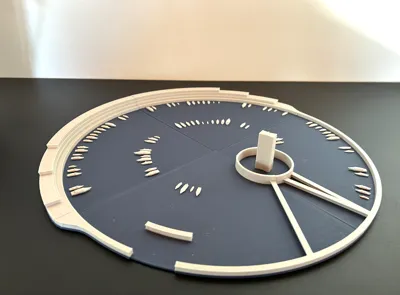
The harbor has a diameter of 380mm
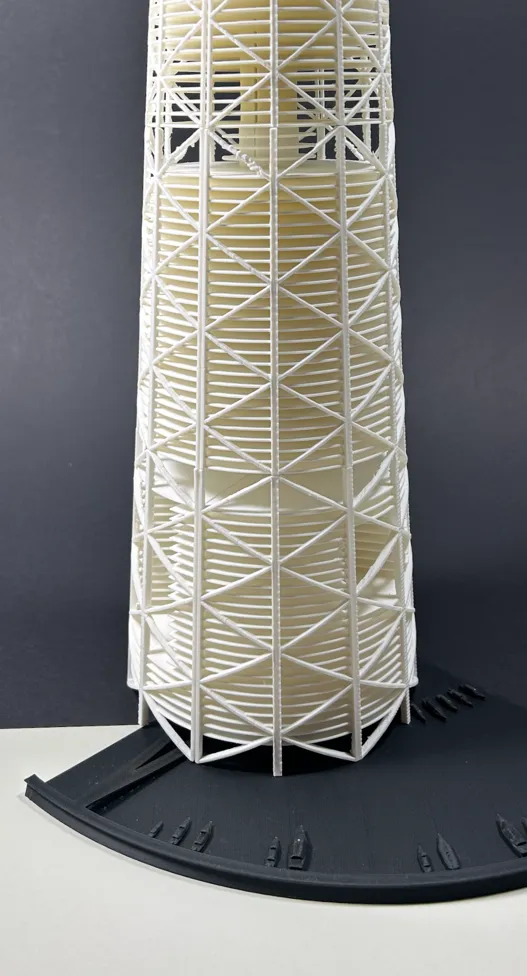
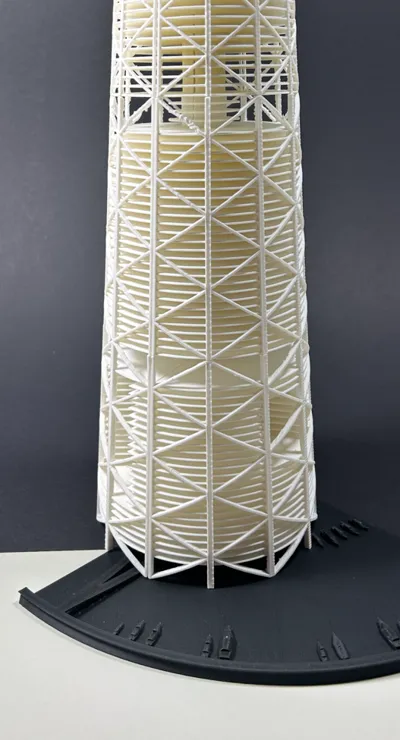
In the lowest zone of the tower, there are three multi-story atria,
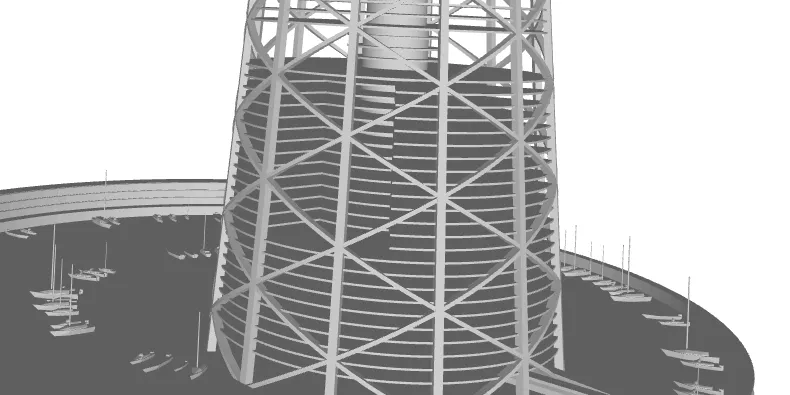
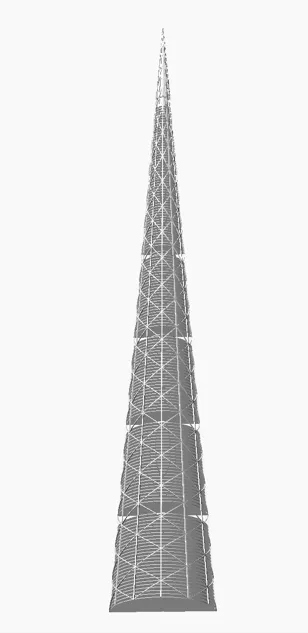
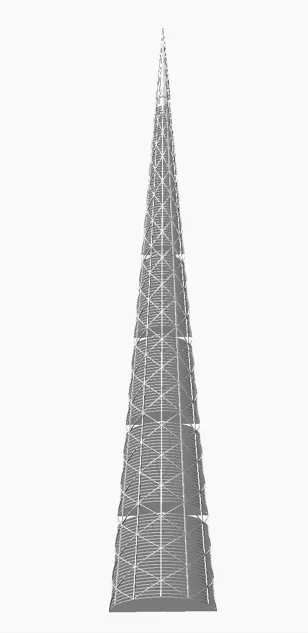
which (according to the pictures) are also planted with trees. The entire building is held together by an exoskeleton
Original Plan
My original plan was to print the zones horizontally and the exoskeleton for each zone standing upright
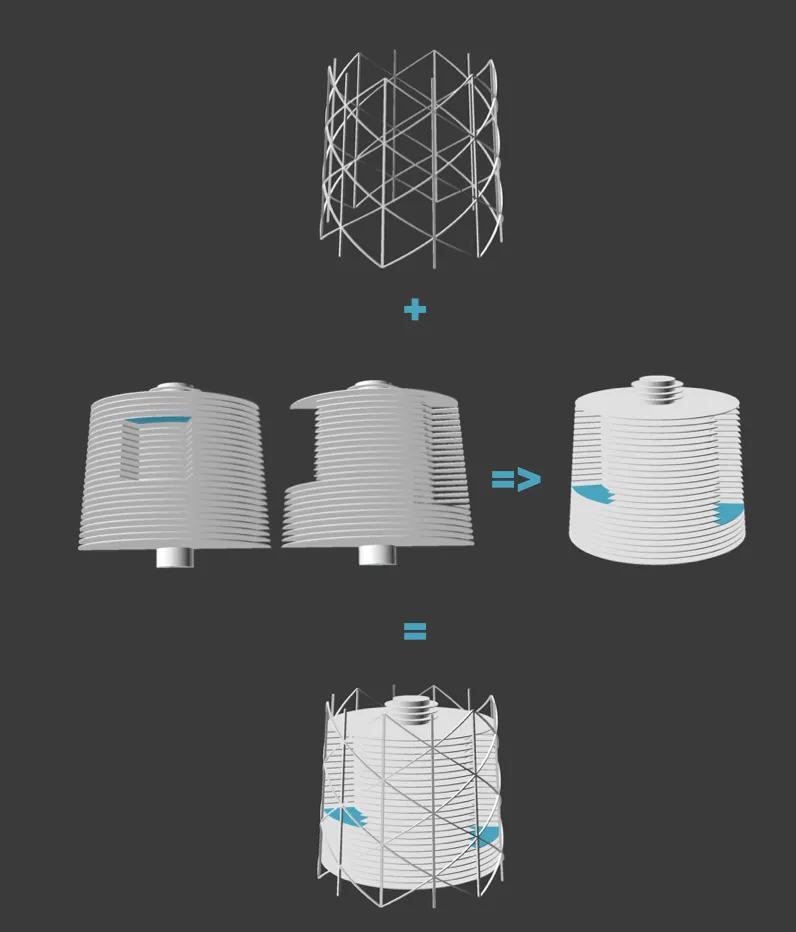
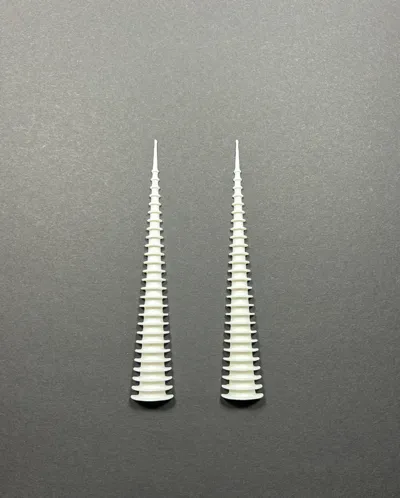
This worked wonderfully for zones 5 and 6 (the spire). The image shows an early attempt
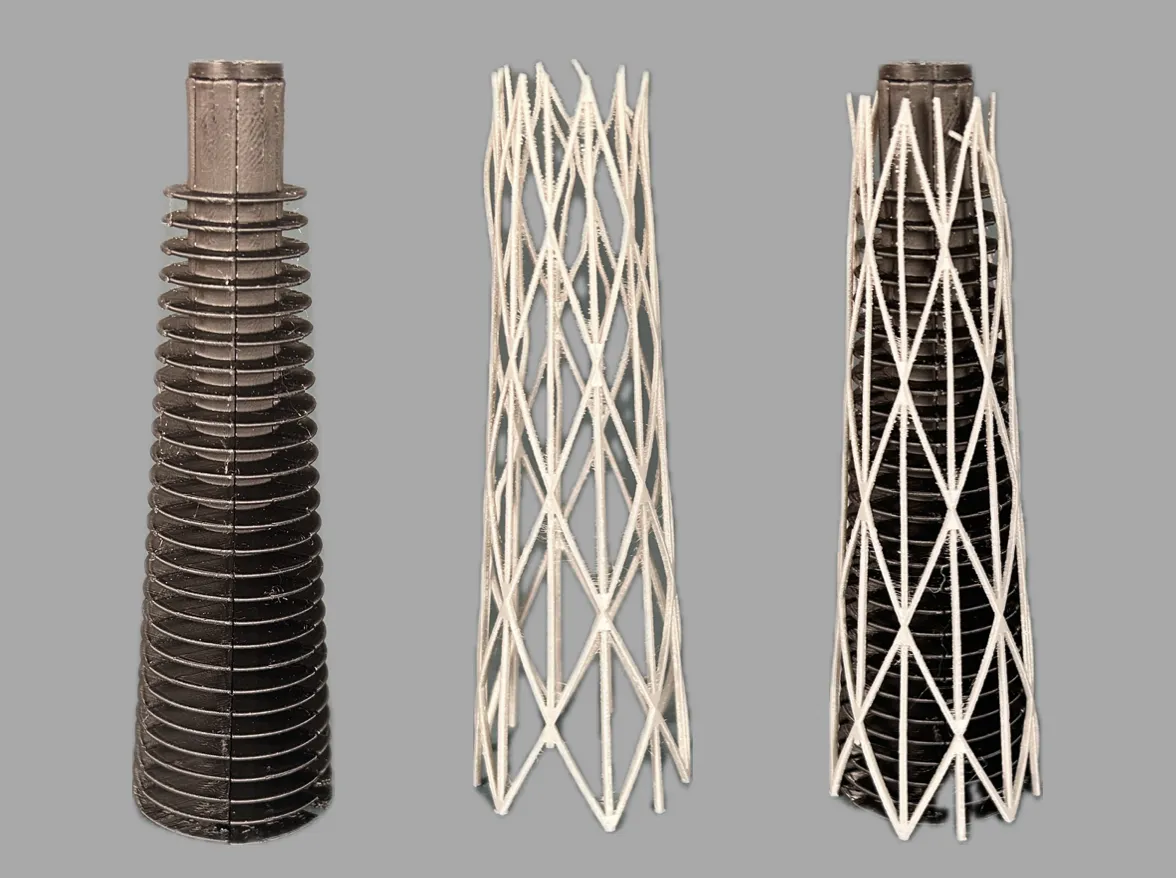
However, with the lower zones, I did not manage to print the exoskeleton alone. The diagonal struts are simply not stable enough. The exoskeleton would weigh approx 15g here, with full support it's over 200g. That was not an option for me
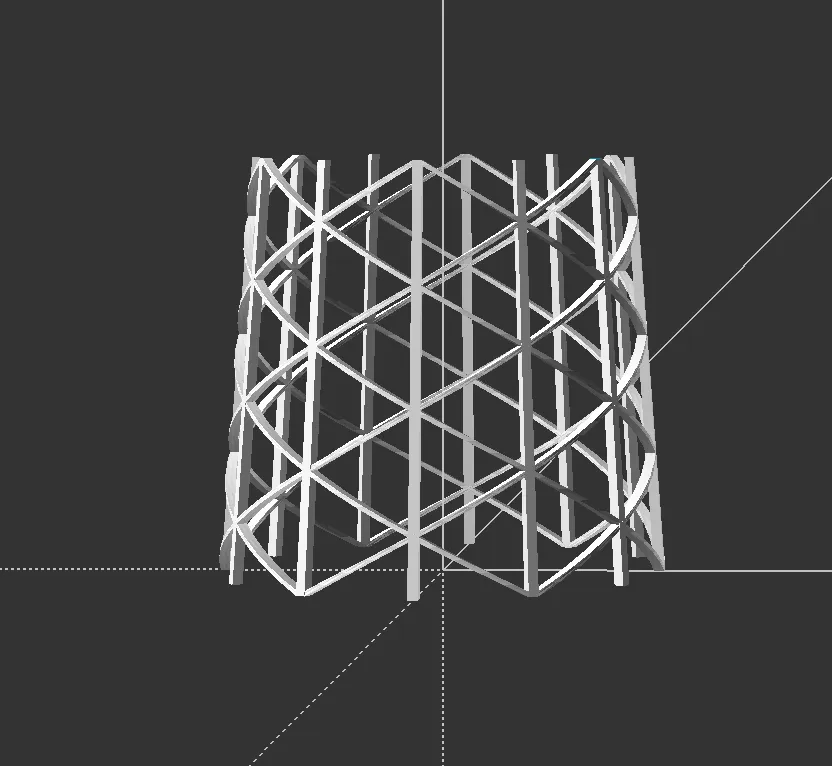
Thickening the diagonals didn't help either. The struts always wobble when the print head comes, and over time, the new material adheres everywhere but where it should
Zones with Exoskeleton
In my opinion, the model is not complete without the exoskeleton. But if you print it with the zones, you definitely need support for the overhanging parts
Here's another comparison with and without the exoskeleton from early attempts with almost no support
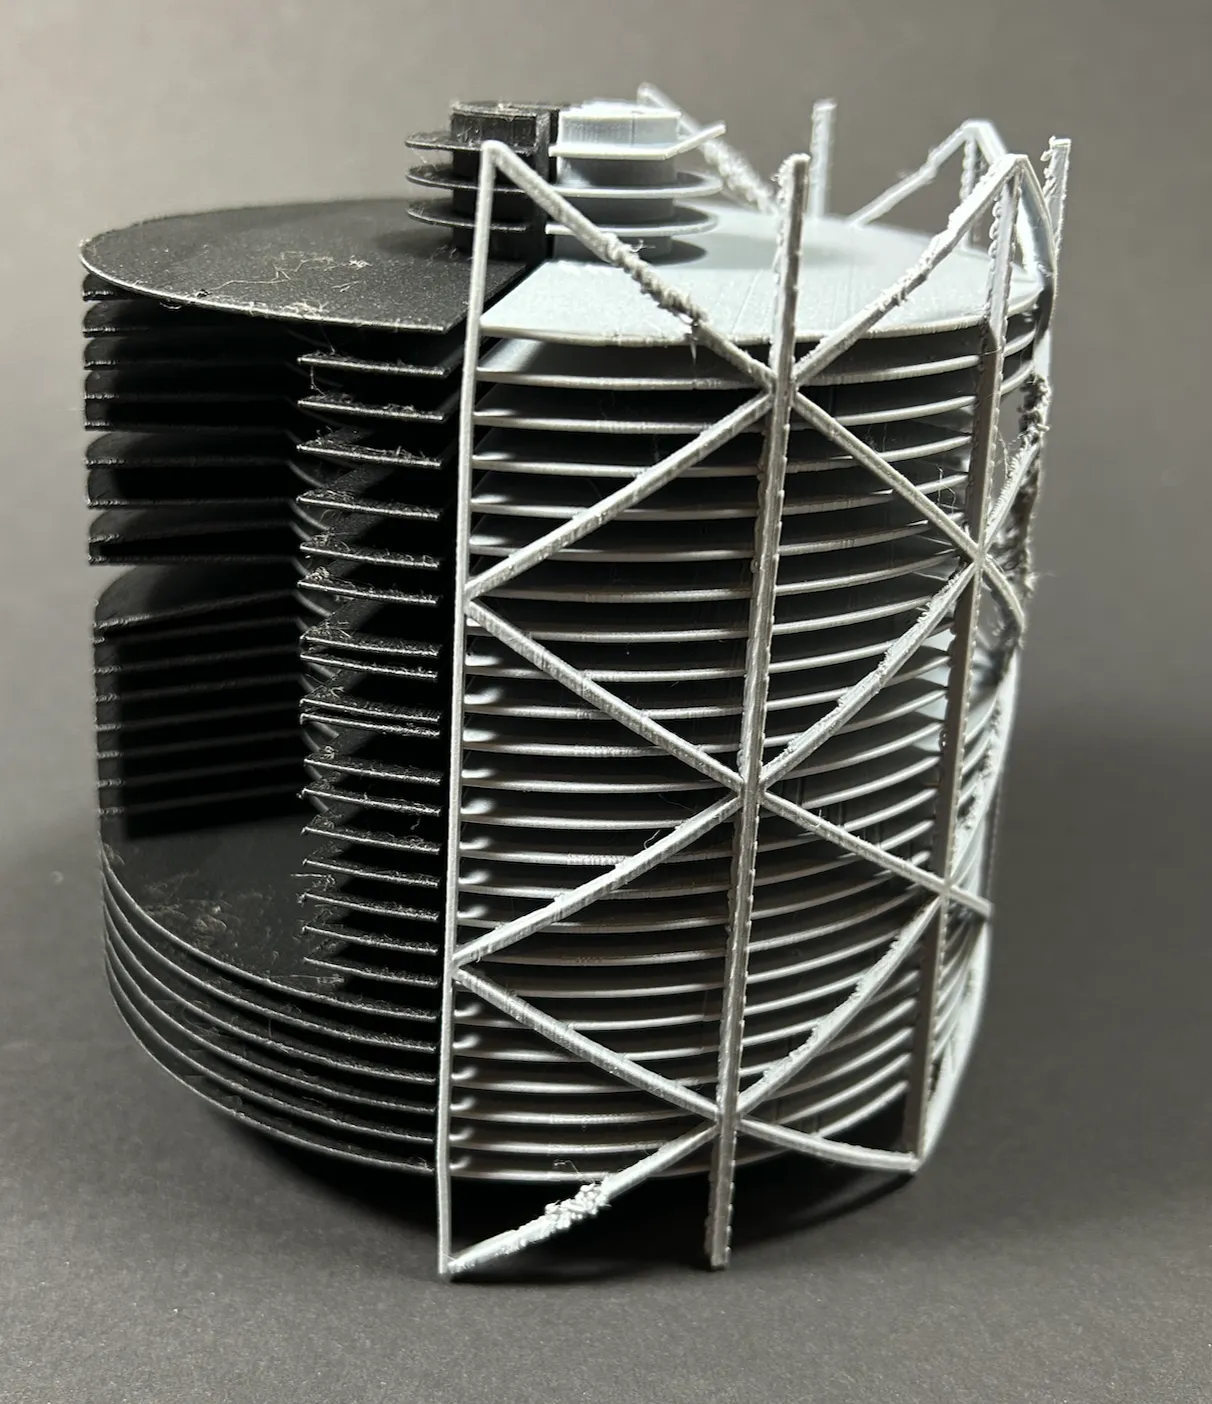
Since my AMS (for whatever reason) keeps clogging, I'm currently only printing from the external spool with my P1S. So I'm using the same material for supports. This isn't ideal, but I can't change it quickly
In my print profiles, I tried to generate supports only where necessary, but this doesn't always work perfectly. However, with a sharp scalpel, you can manage it reasonably well
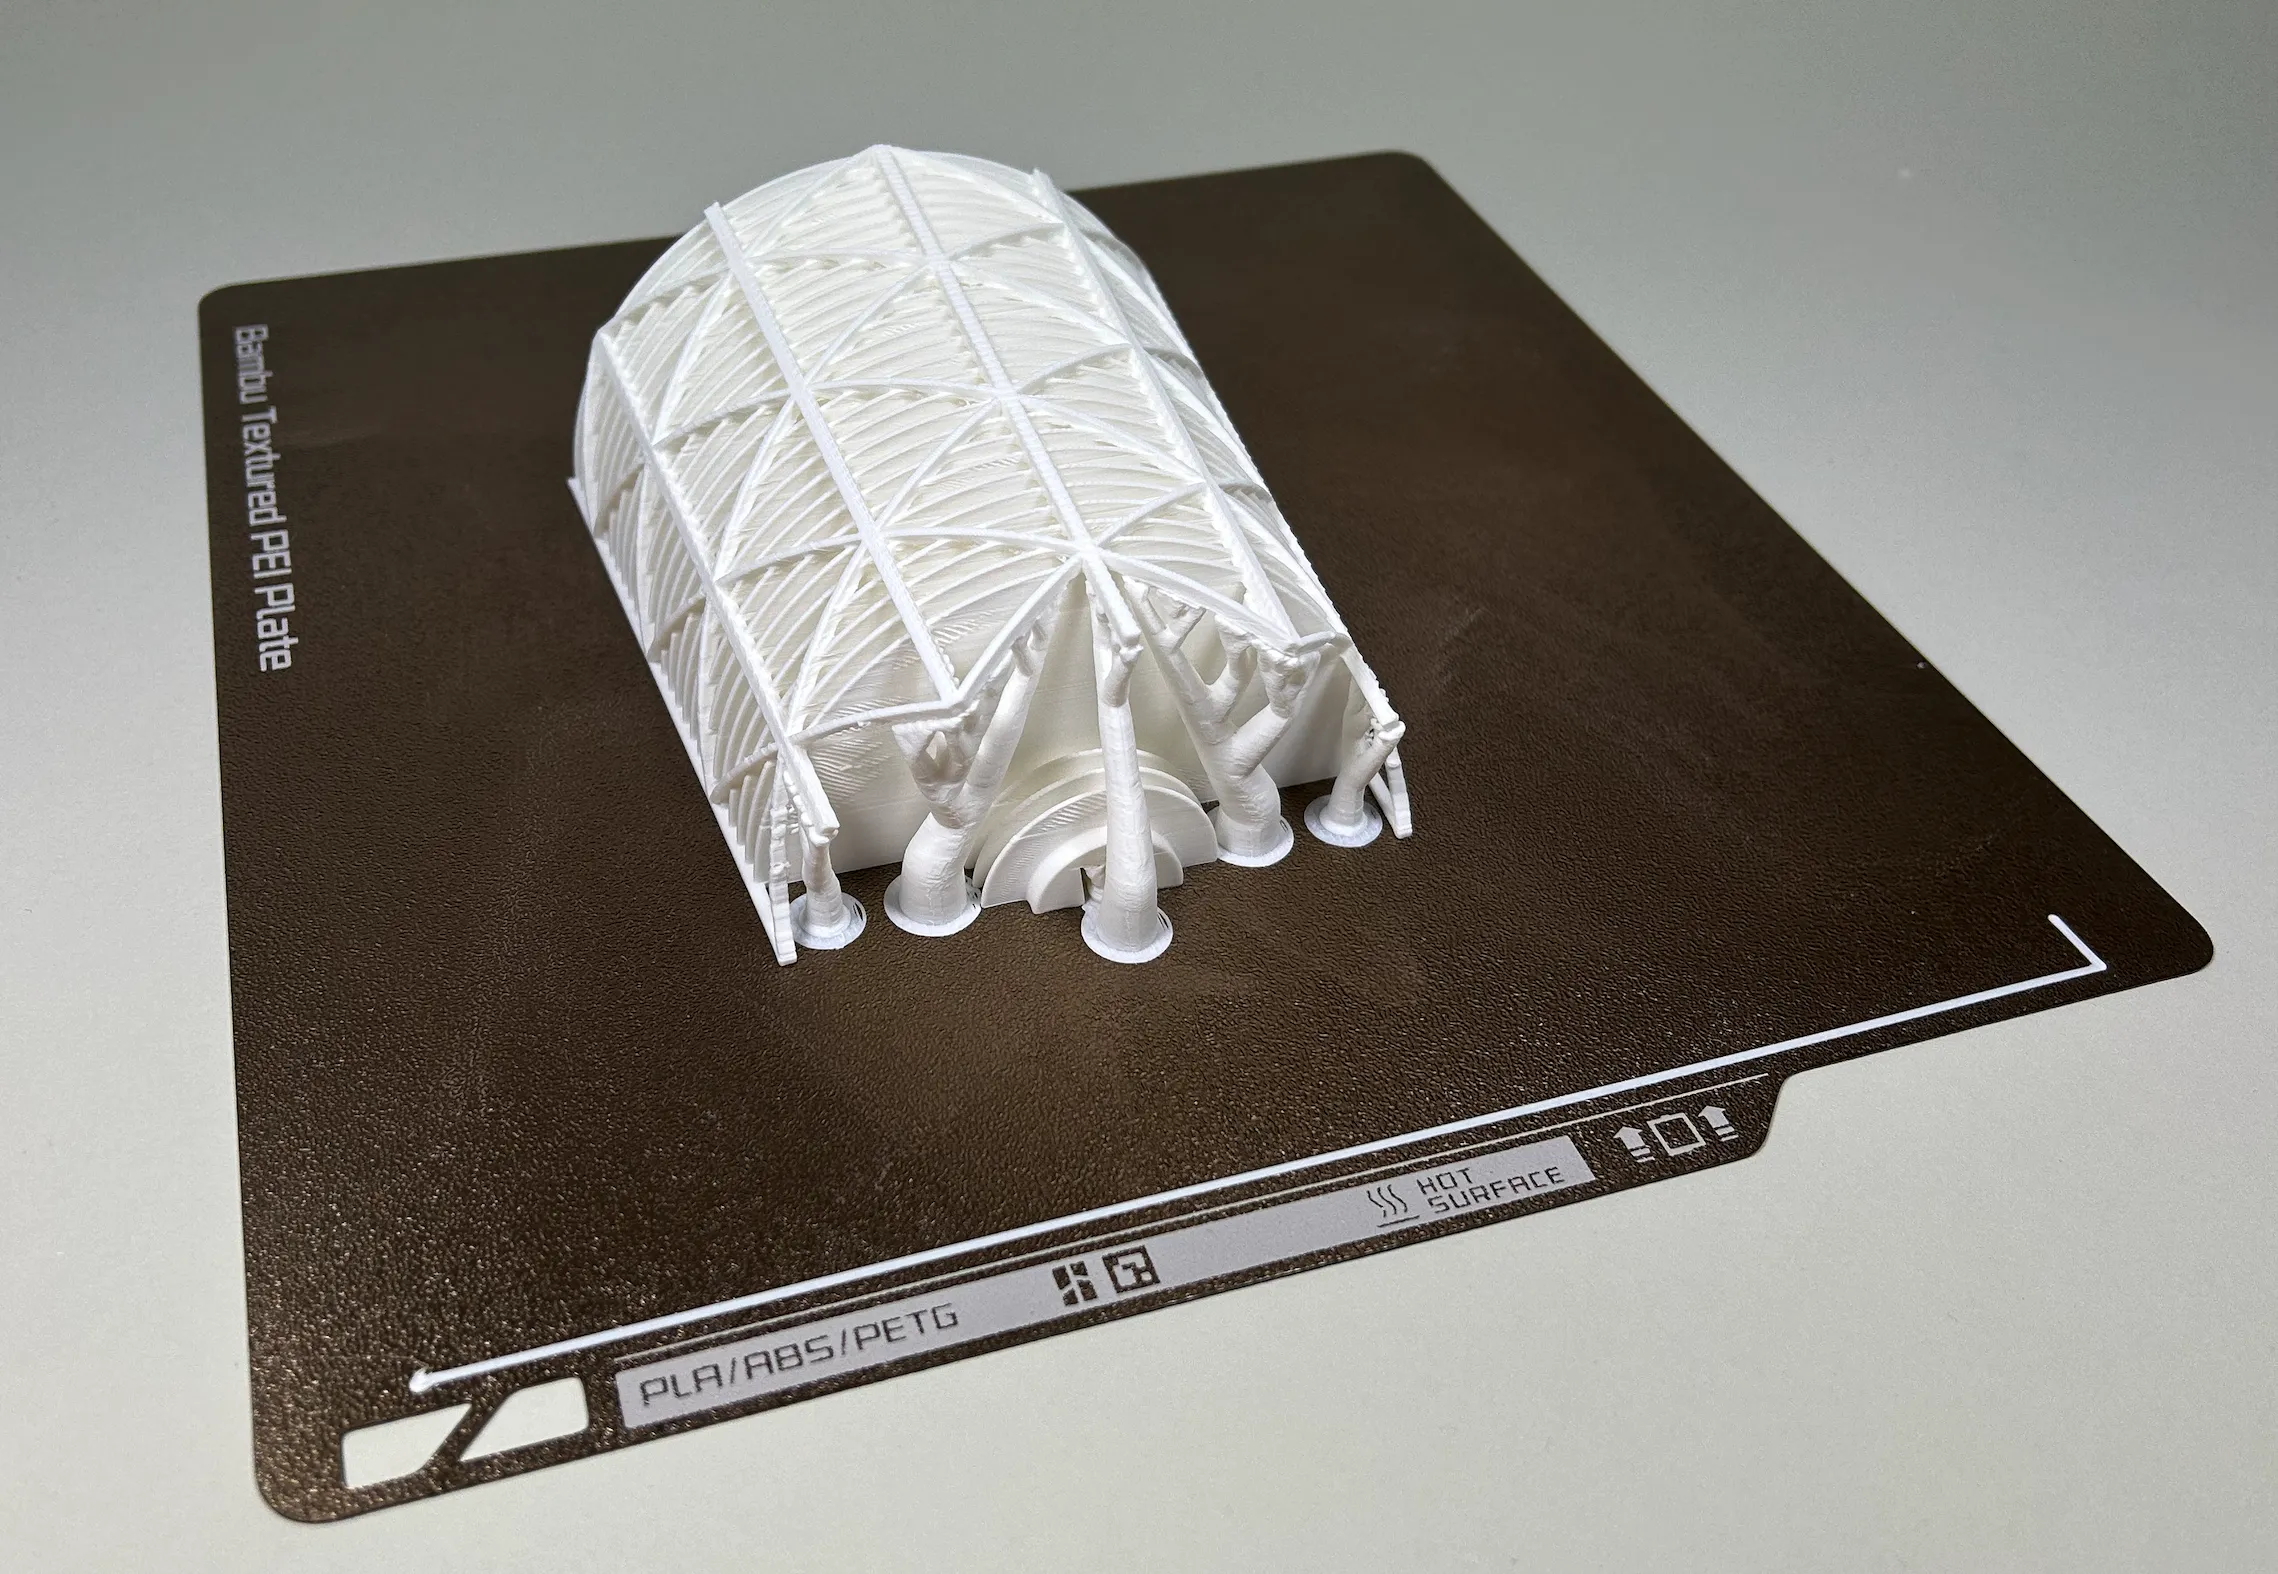
Overall, about 1 kg of filament is needed for the tower, and only a relatively small amount of “waste” is generated by the support
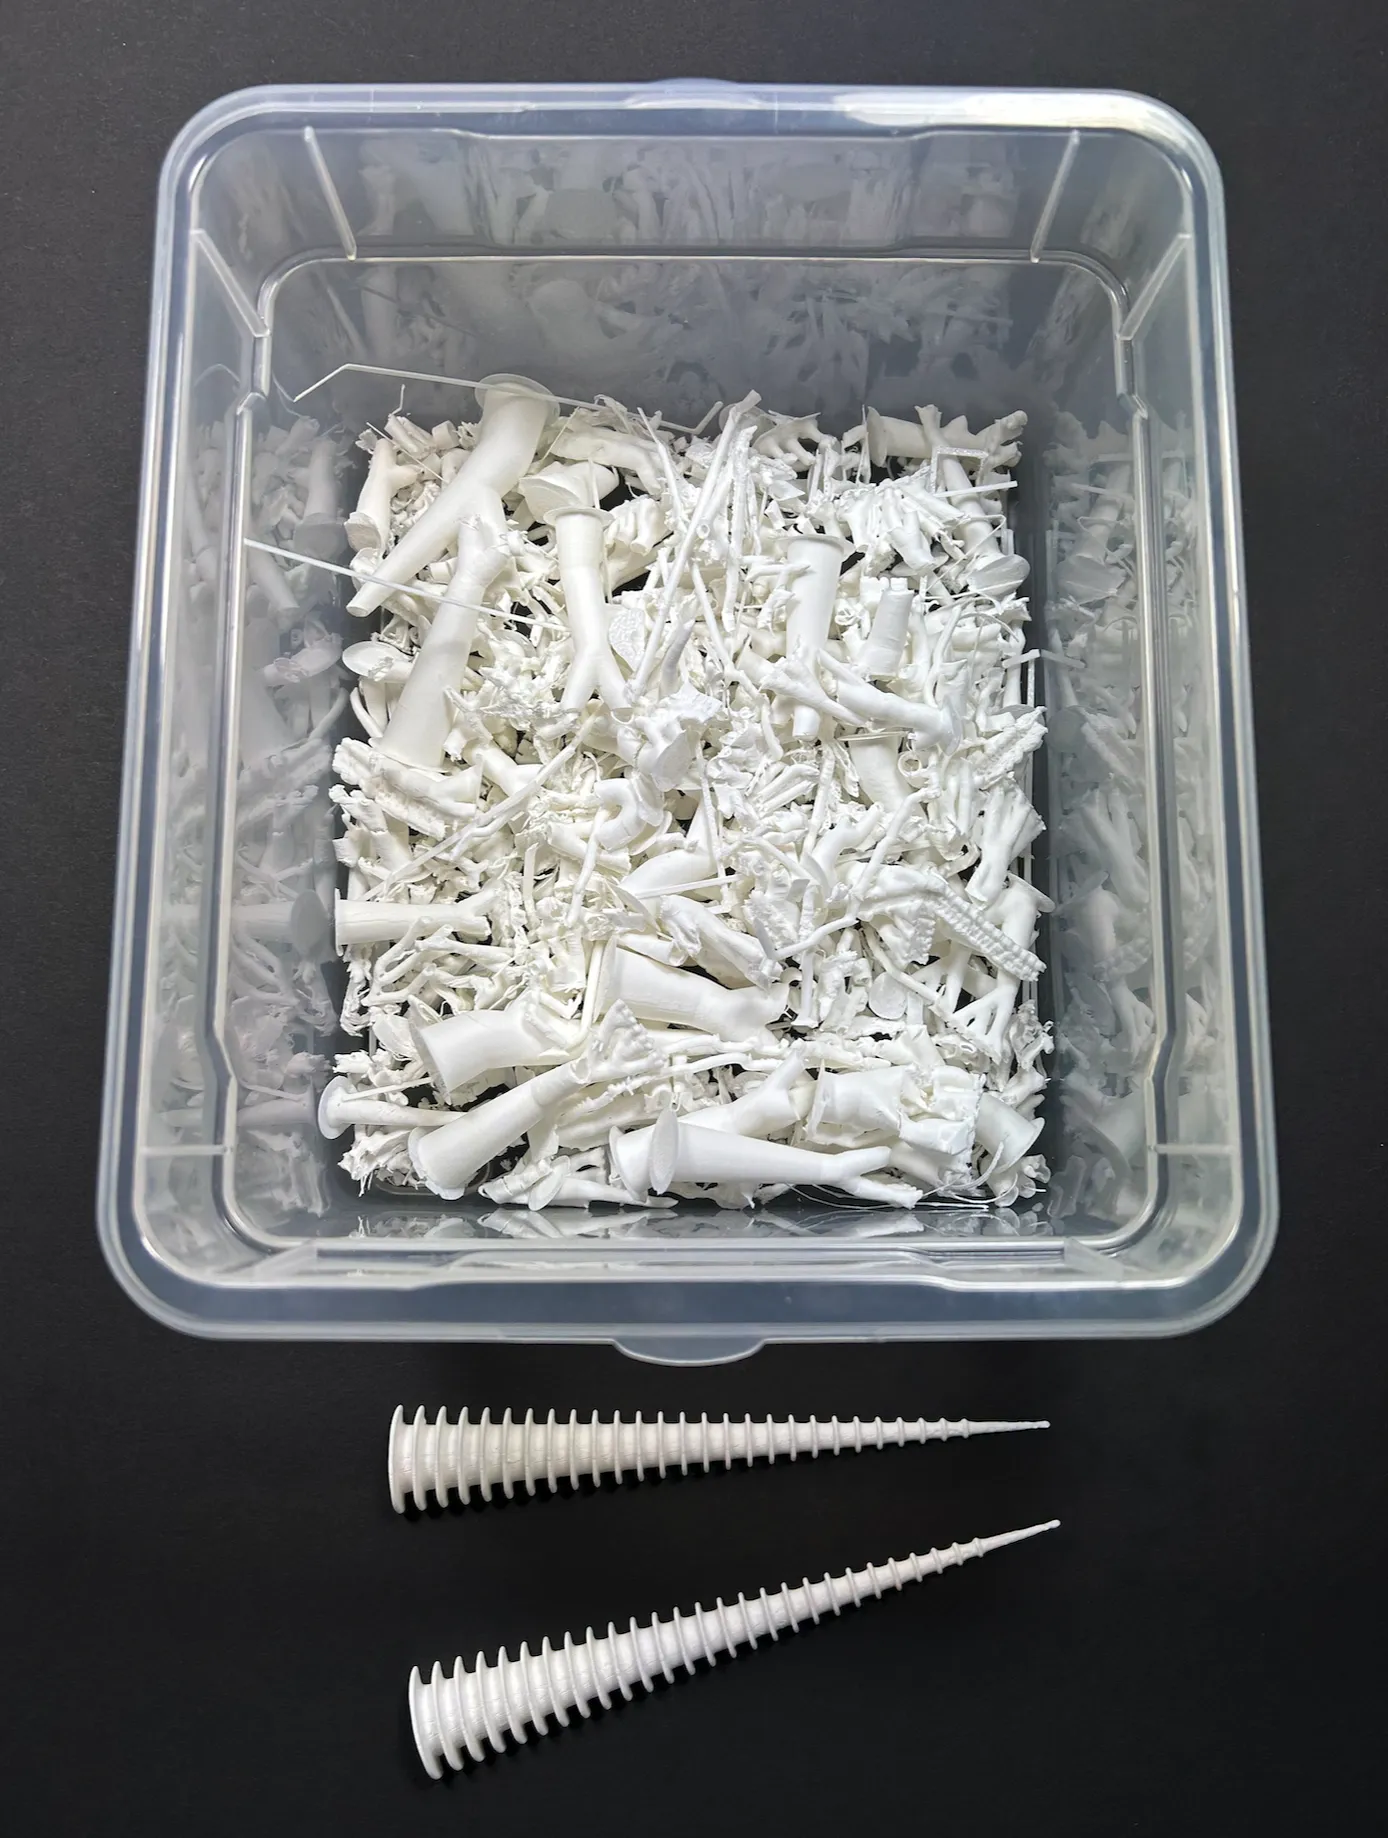
But I won't hide that removing the support is really fiddly in some places, and the result is not perfect
If you have an AMS, you can use PETG as support/support layer, for example, if you print your model with PLA. Or you can use special support material
Zones without Exoskeleton
In case you don't have an AMS and don't want to painstakingly “free” your print from support material, I decided to publish the zones without an exoskeleton as well
Unfortunately, the iterations with adjustments and re-prints consume so much time that I can no longer print a complete tower without an exoskeleton
Here's another picture of Zone 0 without an exoskeleton from early attempts where the filament had created hair-thin strands. The layers were perfect after printing. Then I tried to remove the fine strands with a hairdryer
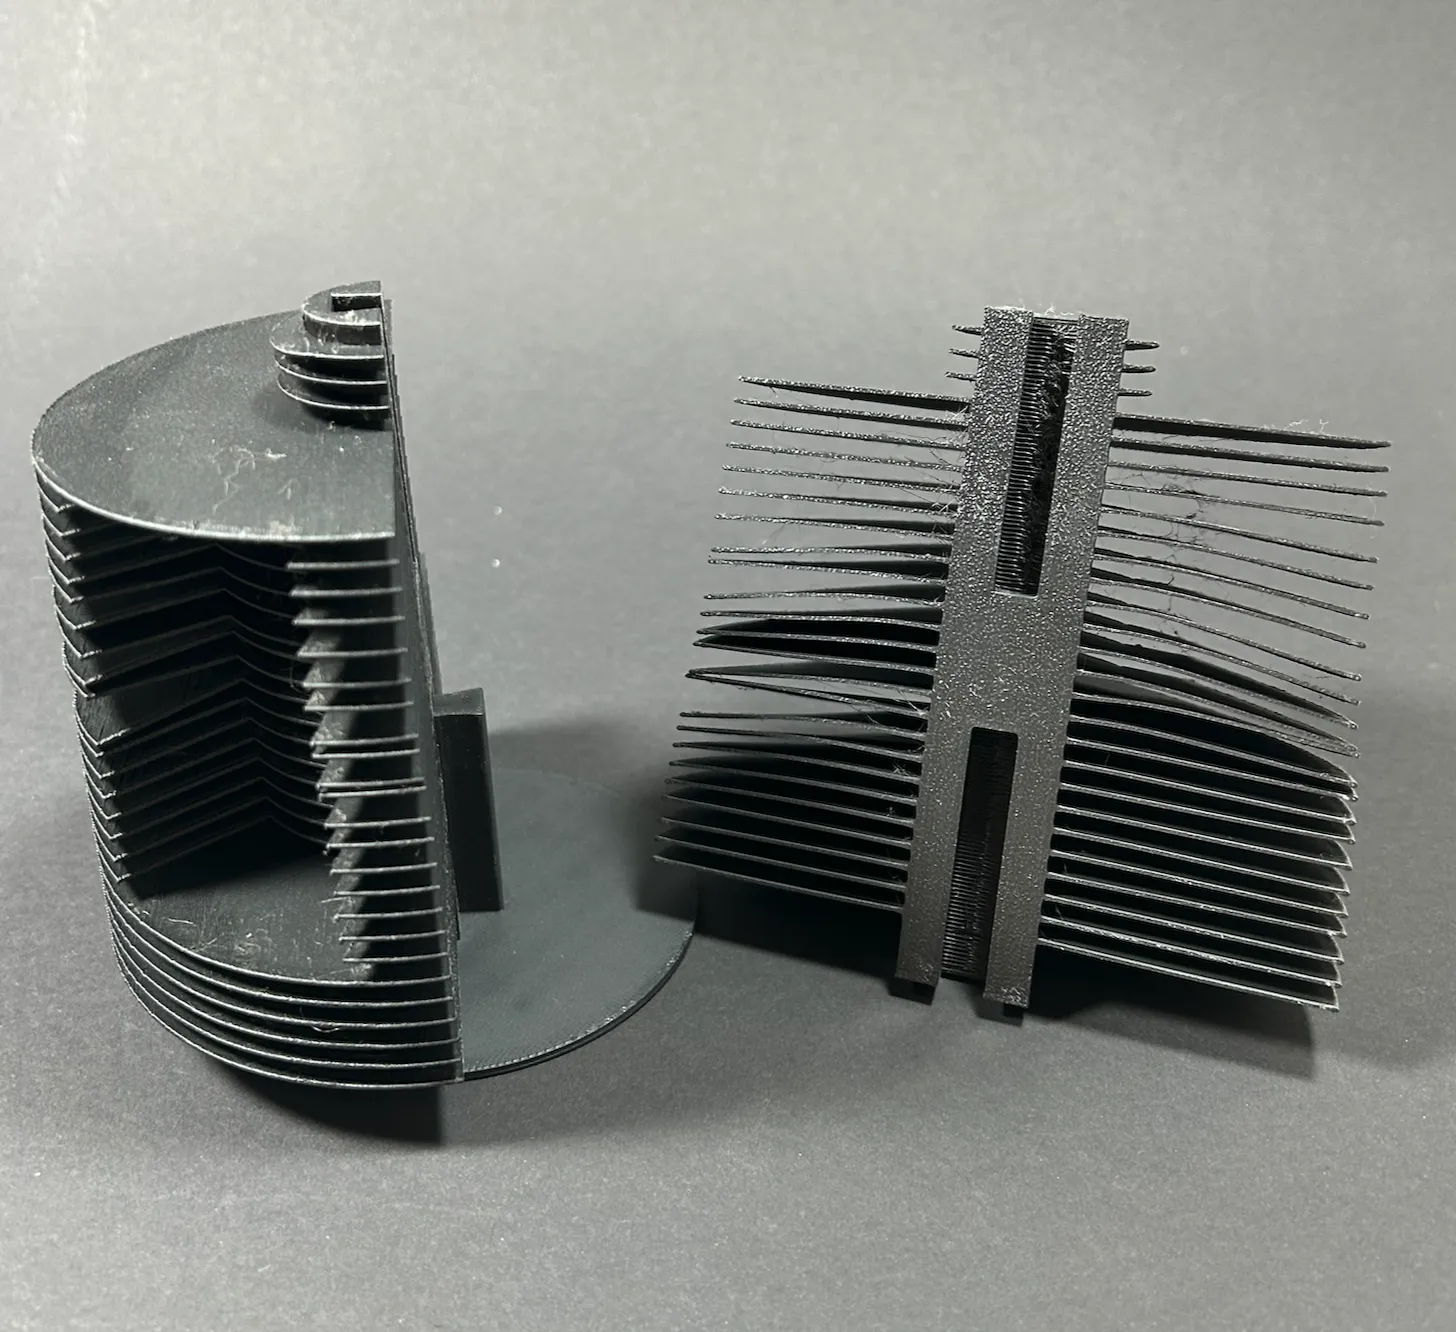
Result: the strands remained, but the layers were completely warped. So please do not use hot air!
For the version with the separated exoskeleton, I had also provided plant pots that can be placed in the atria
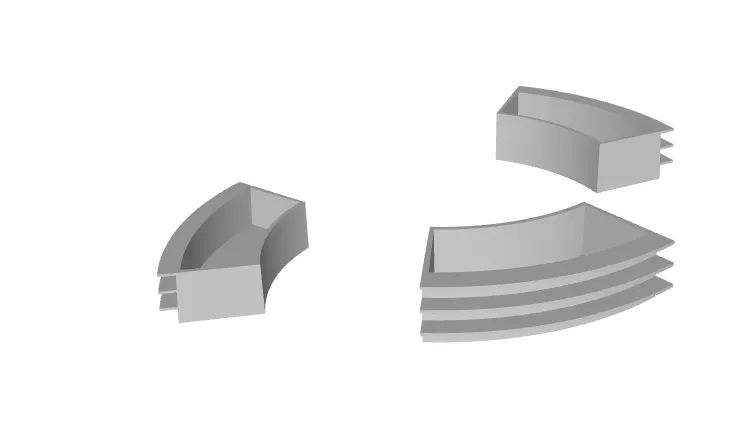
Planted with very young Thai basil, it almost looks like trees
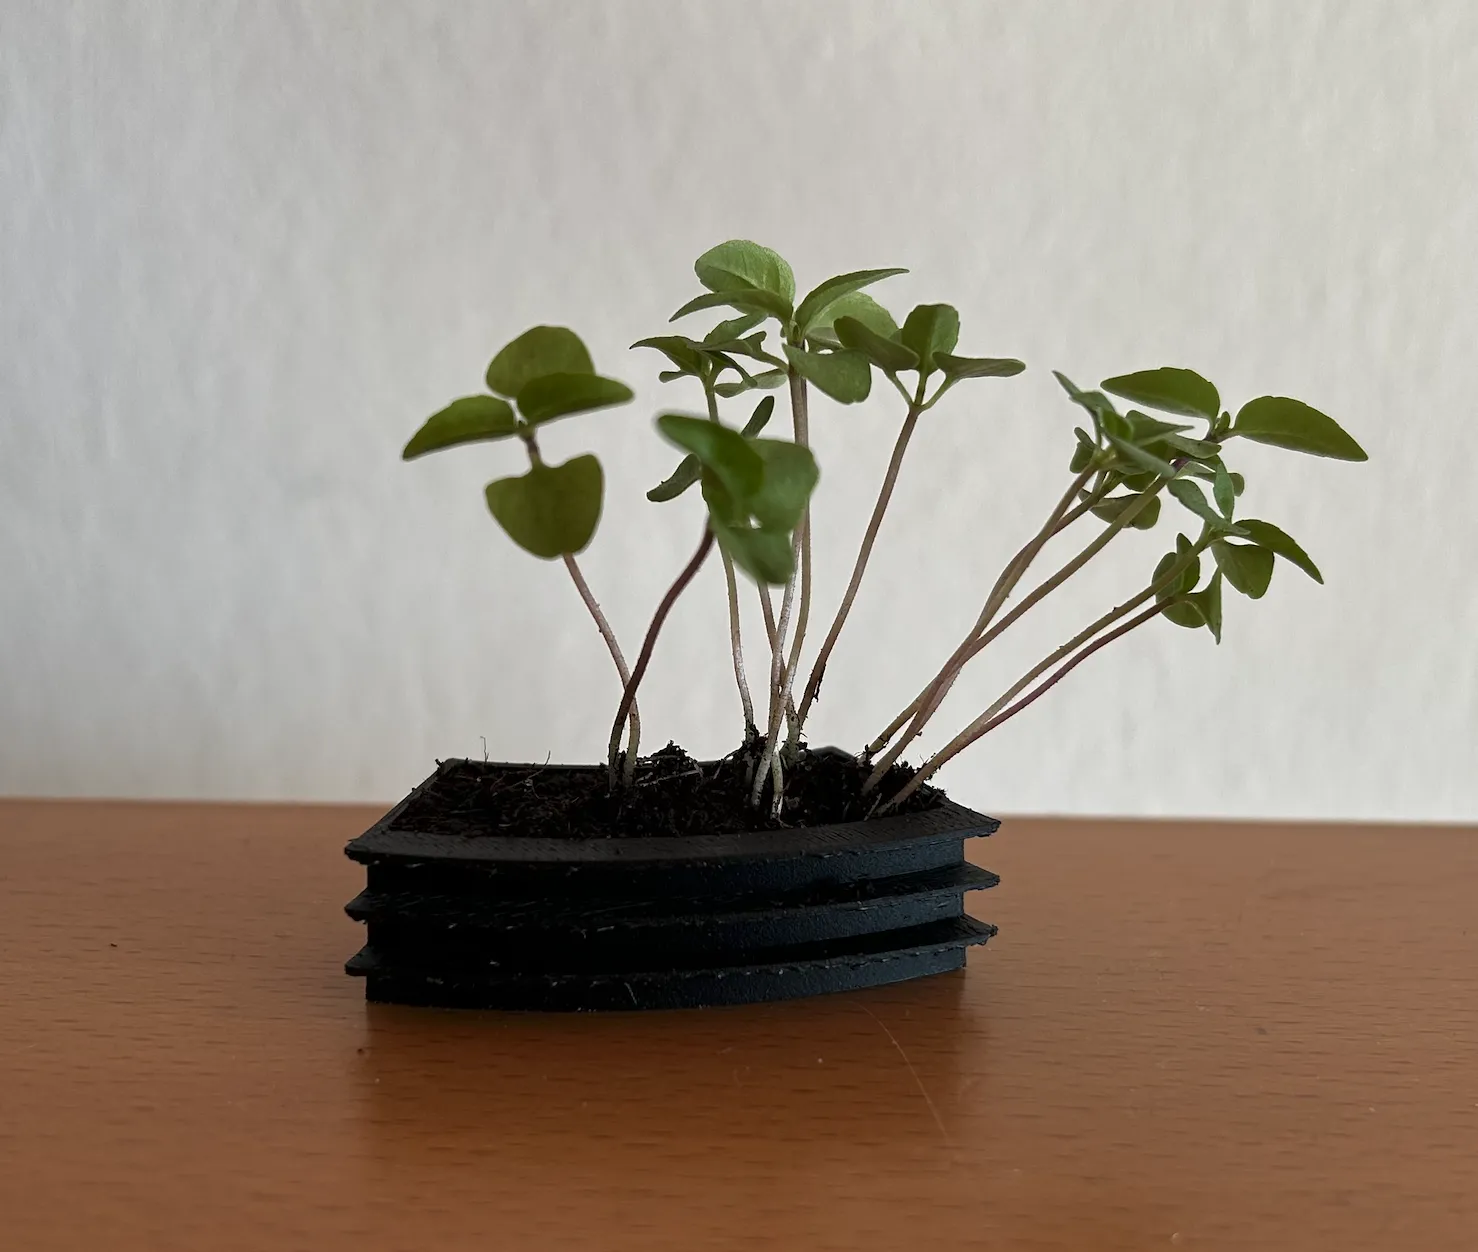
With the jointly printed exoskeleton, these can of course no longer be inserted into the tower
Print Files
Print Files for the Tower
In the files, *.z0.* designates the lowest (largest) zone and *.z6.* the tip
The *.stl files always contain both halves of a zone
The files without an exoskeleton are
MillenniumTower.zone.no.exo.z0.stl
MillenniumTower.zone.no.exo.z1.stl
MillenniumTower.zone.no.exo.z2.stl
MillenniumTower.zone.no.exo.z3.stl
MillenniumTower.zone.no.exo.z4.stl
MillenniumTower.zone.no.exo.z5.stl
MillenniumTower.zone.no.exo.z6.stl
Only in Zone 0 are the two halves different, as it contains the atria
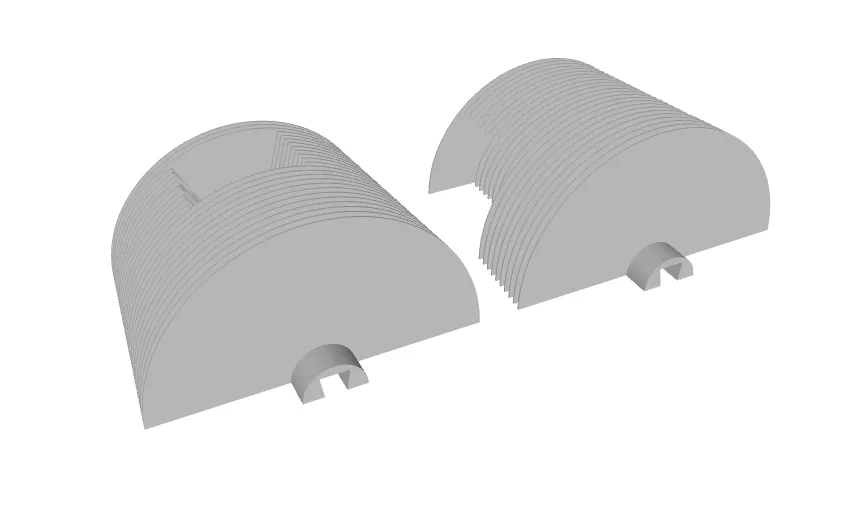
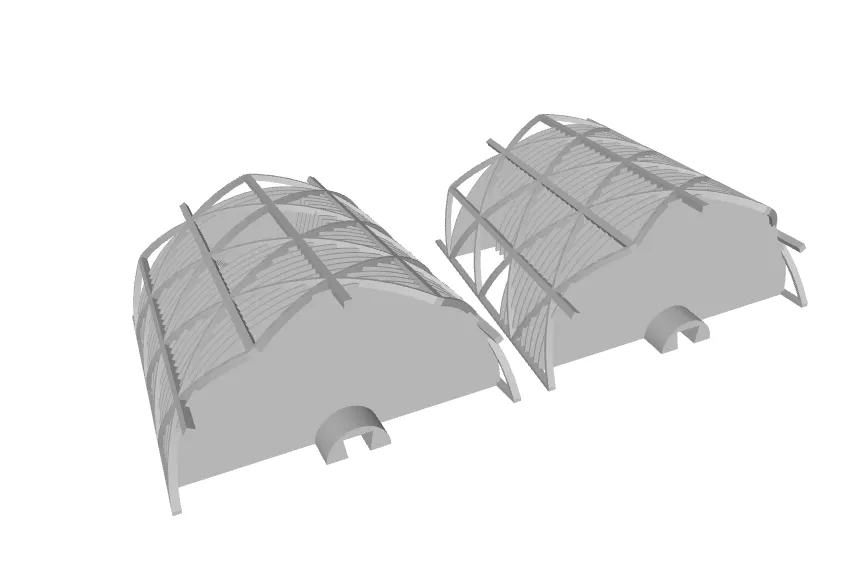
Those with an exoskeleton
MillenniumTower.zone.with.exo.z0.stl
MillenniumTower.zone.with.exo.z1.stl
MillenniumTower.zone.with.exo.z2.stl
MillenniumTower.zone.with.exo.z3.stl
MillenniumTower.zone.with.exo.z4.stl
MillenniumTower.zone.with.exo.z5.stl
Zone 6 (the tip) has no exoskeleton
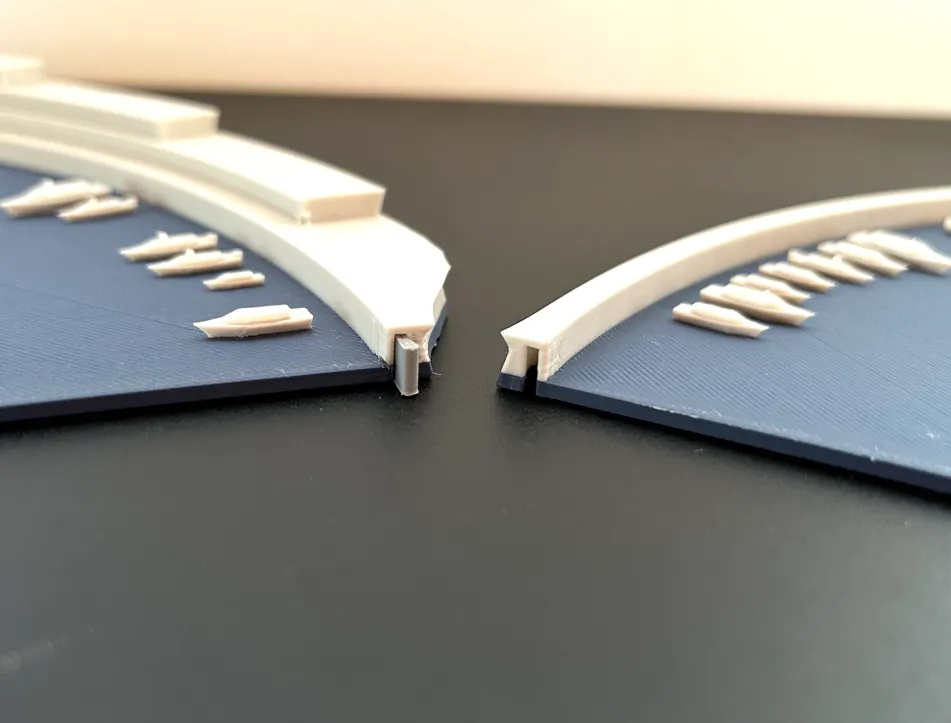
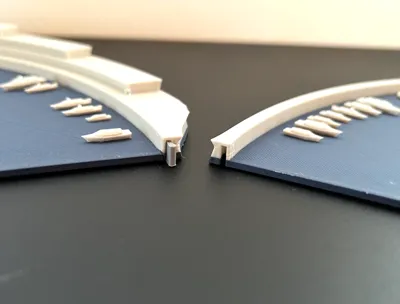
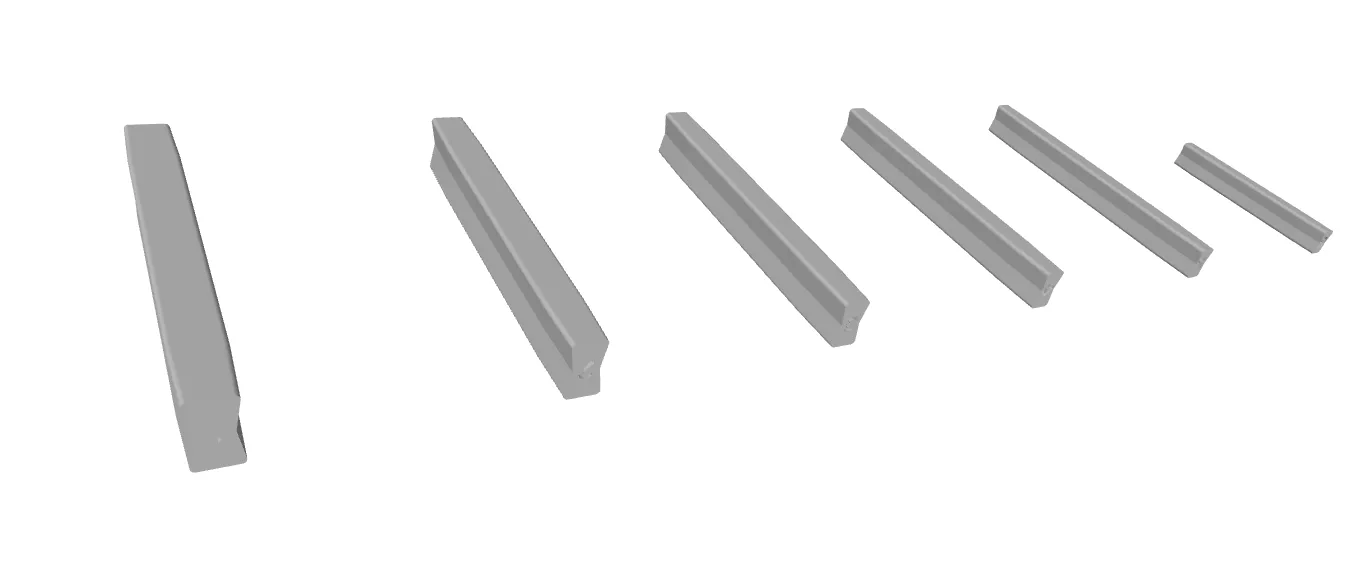
Dovetail connectors are available so that the halves can be connected to each other and the zones to one another
MillenniumTower.connector.stl
Print Tower Smaller
If you don't want the harbor or want to print the tower smaller, you can also print a stand for each zone
However, only the complete tower fits on the harbor as the connectors from zone to zone become smaller
MillenniumTower.stand.stl
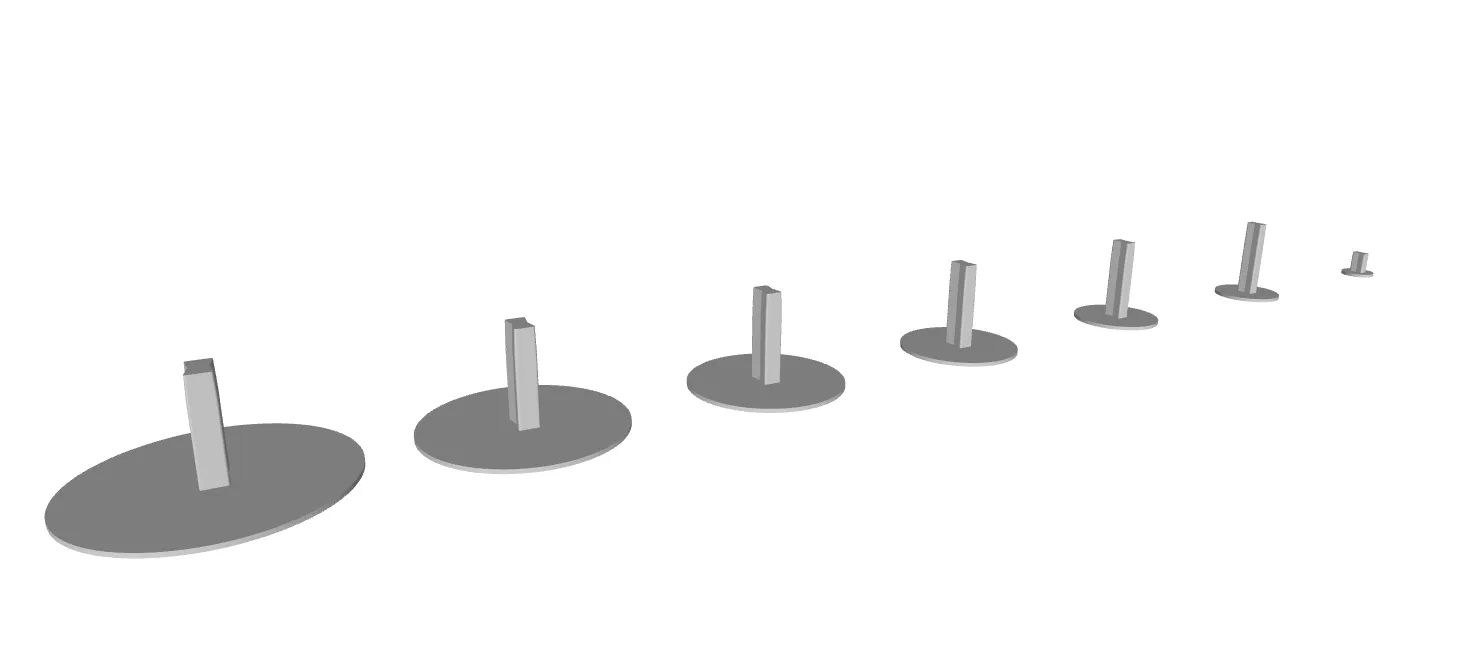
Experiment
Maybe you have the time and desire to try printing the exoskeleton standing upright on its own
In this case, I have also attached the exoskeleton files
MillenniumTower.exo.z0.stl
MillenniumTower.exo.z1.stl
MillenniumTower.exo.z2.stl
MillenniumTower.exo.z3.stl
MillenniumTower.exo.z4.stl
MillenniumTower.exo.z5.stl
Print Files for the Harbor
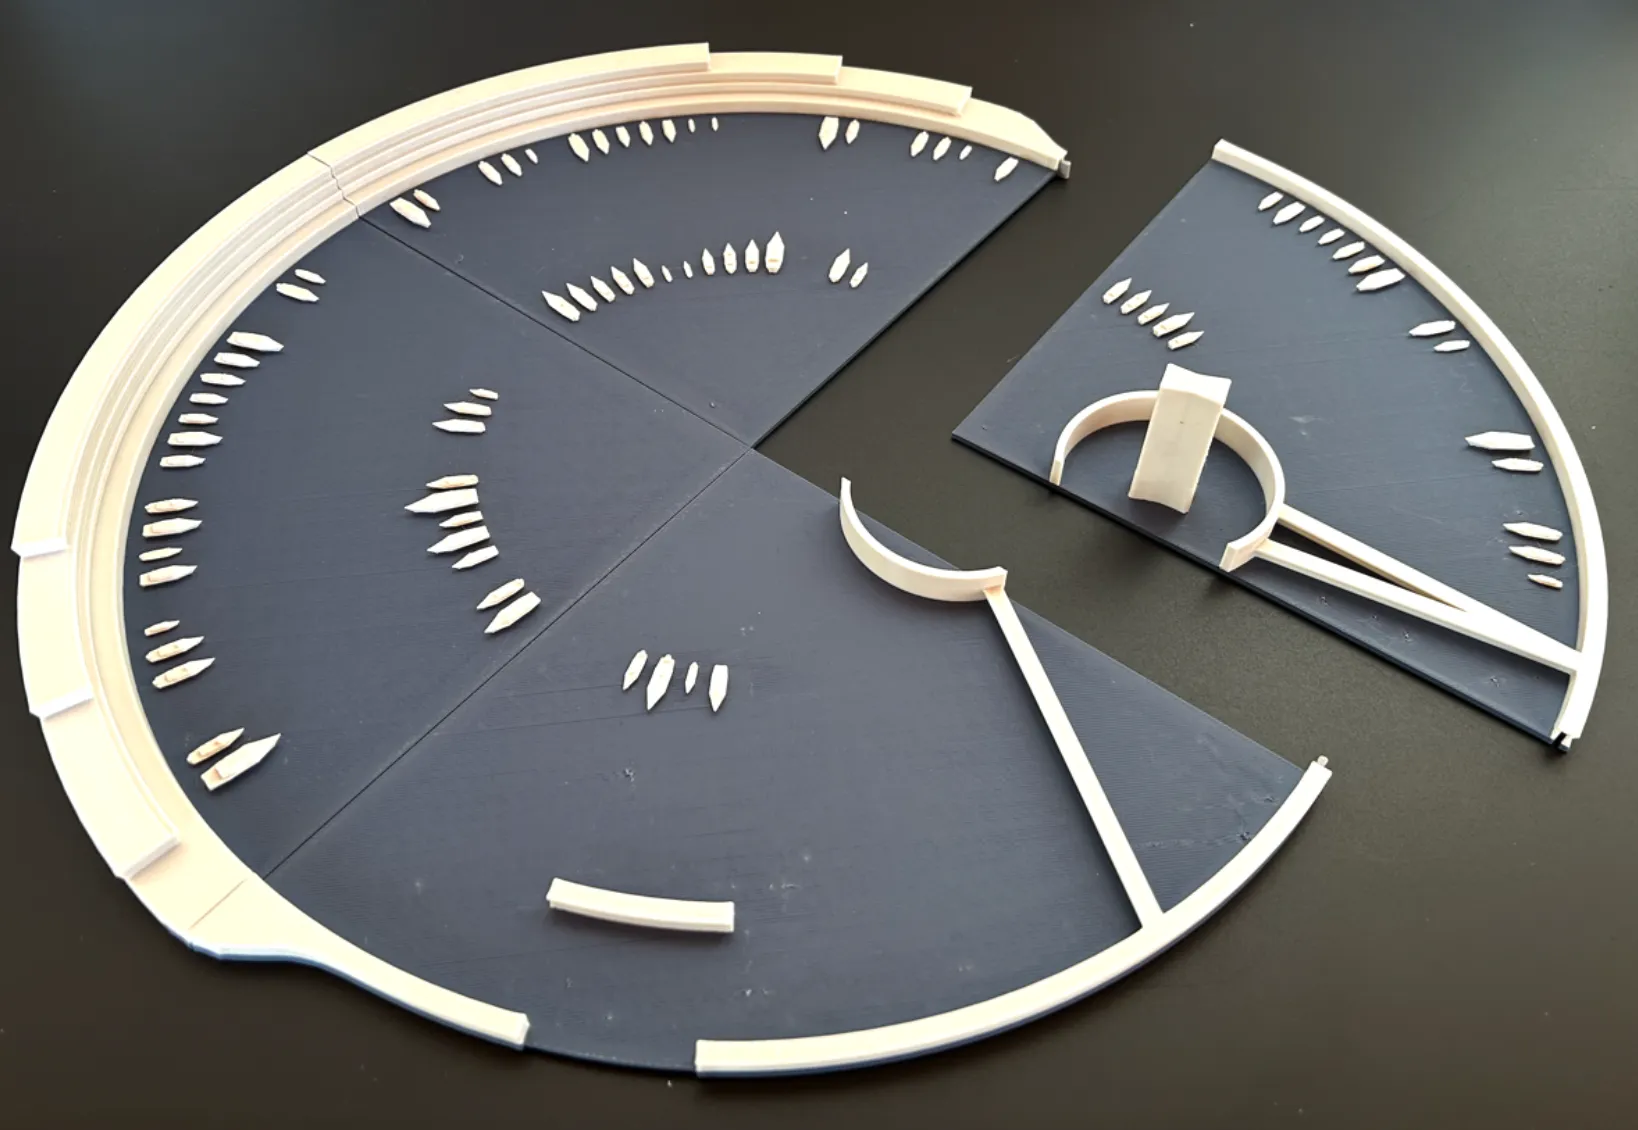
To print the harbor on a print bed of approx 250mm x 250mm, it is divided into four parts
MillenniumTowerMarina.Q1.stl
MillenniumTowerMarina.Q2.stl
MillenniumTowerMarina.Q3.stl
MillenniumTowerMarina.Q4.stl
The four parts of the harbor are also joined with small dovetail connectors
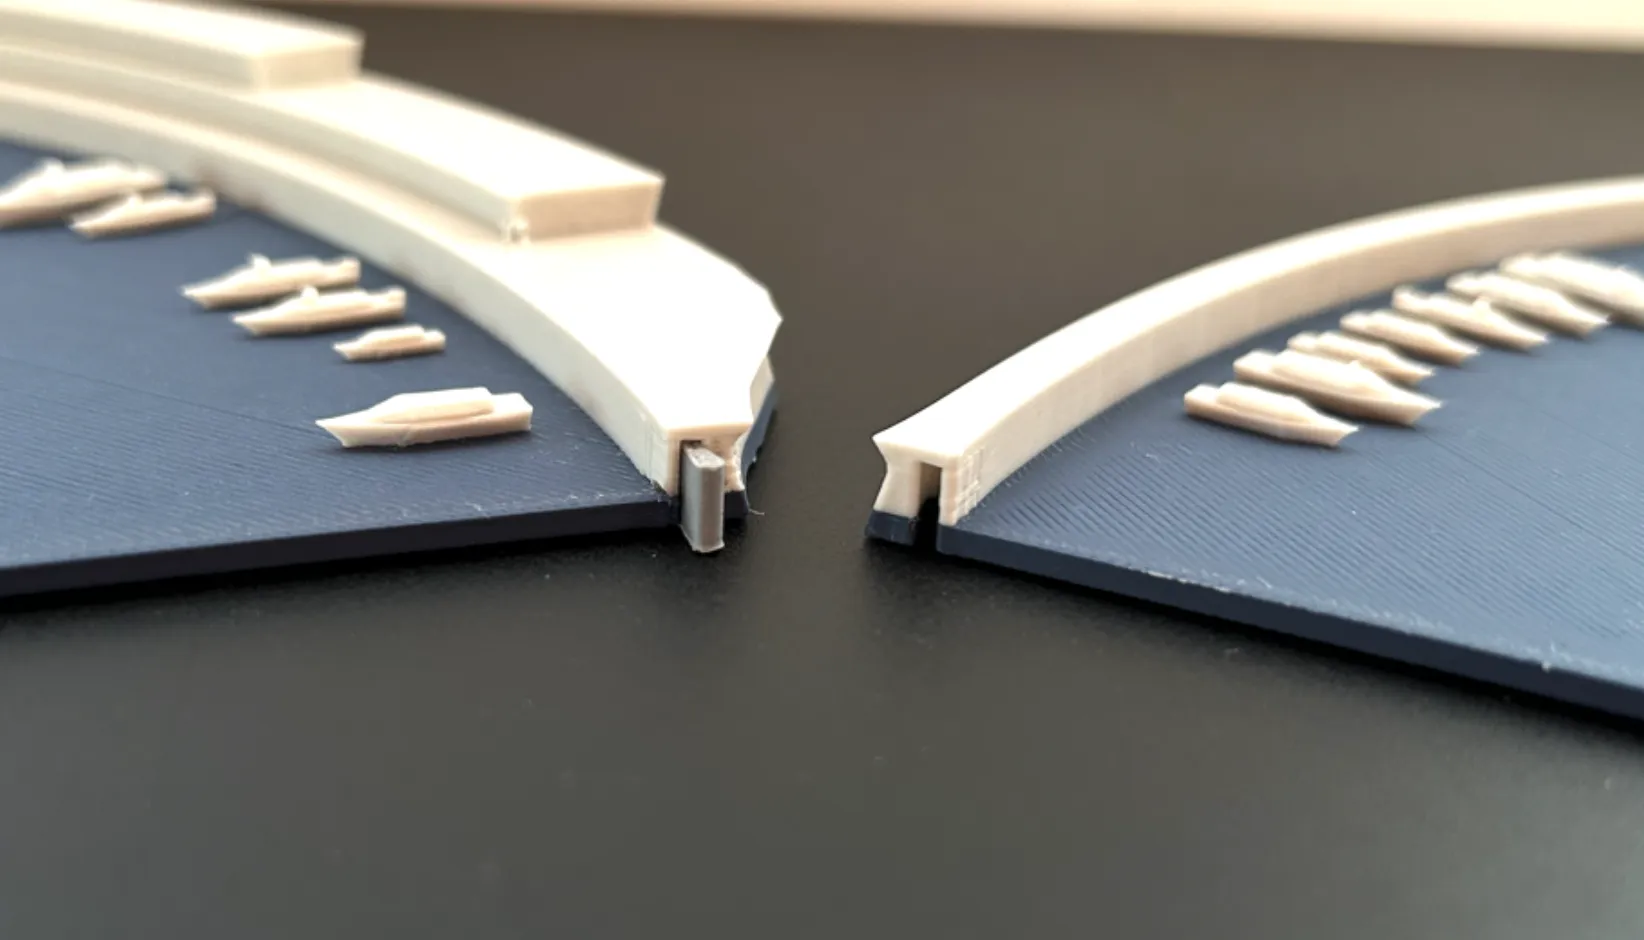
If this is too unstable for you, feel free to use an additional drop of superglue
MillenniumTower.connector.stl
Since I print with a 0.4mm nozzle, the masts of the sailboats cannot work. Therefore, I have omitted the masts in the print profiles (3mf). If you can/want to print finer, feel free to use the STL files, which contain the masts
Printing Notes
For the zones, ensure maximum adhesion to the print bed. So, it's better to clean the print plate one more time, avoid touching it, and, if necessary, discreetly apply an adhesion promoter
Furthermore, it is important that the filament is well calibrated and that no stringing/hairing occurs. Subsequent treatment with hot air is not possible here due to the fine structure. The structure warps immediately with heat!
My Setup
Printer : P1S
Nozzle : 0.4mm
Filament : Bambu PLA Matte (external)
Process : 0.12mm MillenniumTower
Boost Me (for free)
If you like this model, I would be very happy about a boost.
License

You shall not share, sub-license, sell, rent, host, transfer, or distribute in any way the digital or 3D printed versions of this object, nor any other derivative work of this object in its digital or physical format (including - but not limited to - remixes of this object, and hosting on other digital platforms). The objects may not be used without permission in any way whatsoever in which you charge money, or collect fees.


Comment & Rating (2)