
Filtersystem for P1S & X1C/E
Print Profile(1)





Description
An exhaust system for fumes generated by 3D printing.
I have spent considerable time contemplating the problem of fumes generated during 3D printing and have concluded that the existing filter in the printer itself, as well as the Bentobox, are inadequate for mitigating the thermal effects of warm air, particularly when printing indoors.
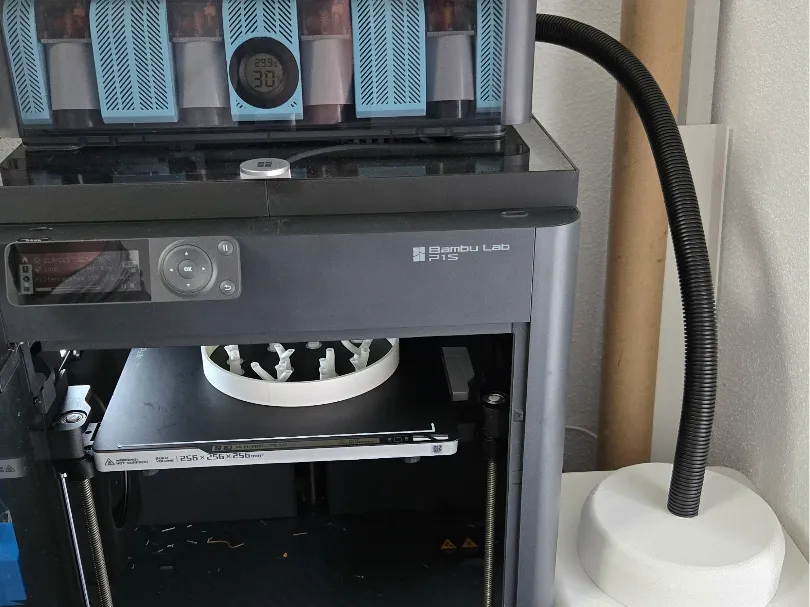
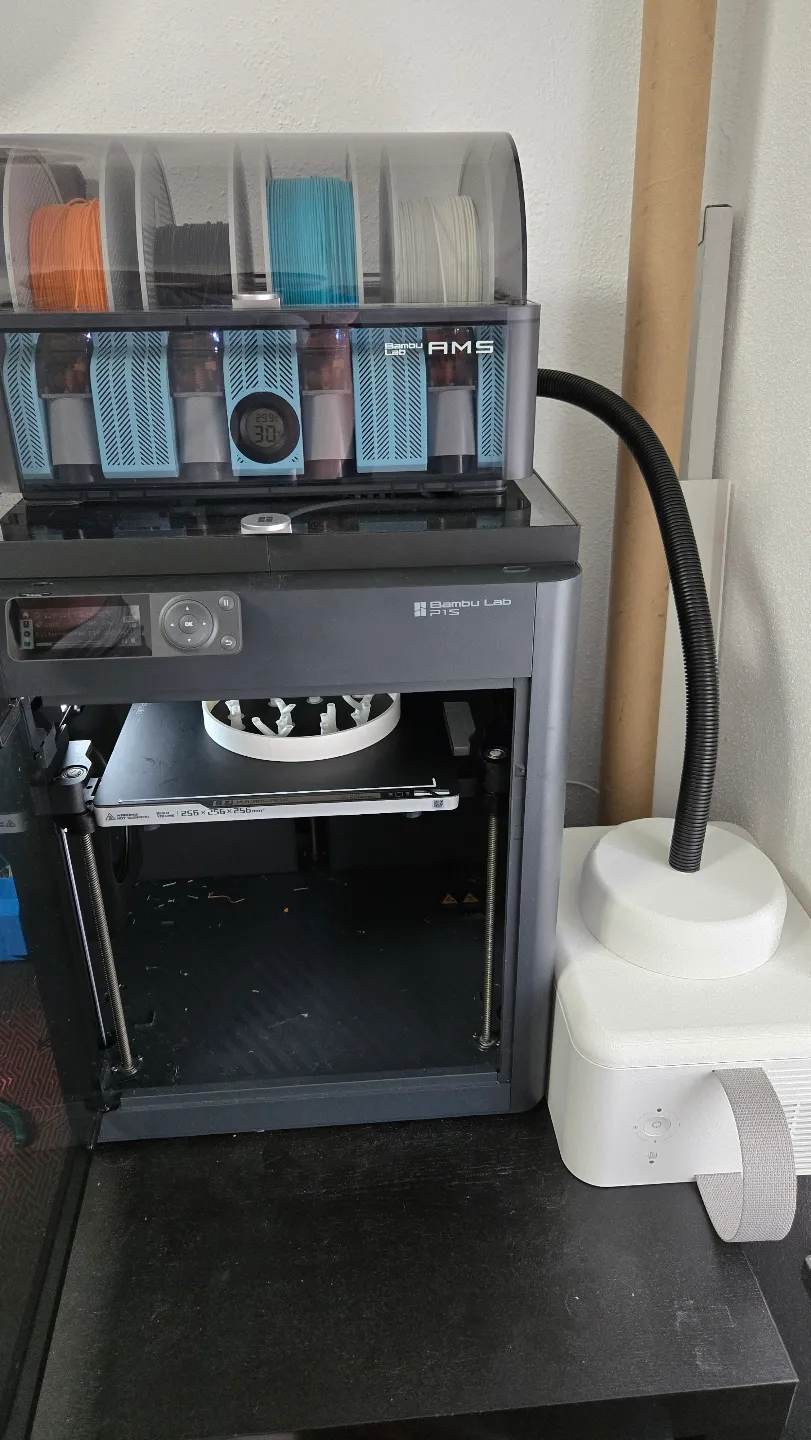
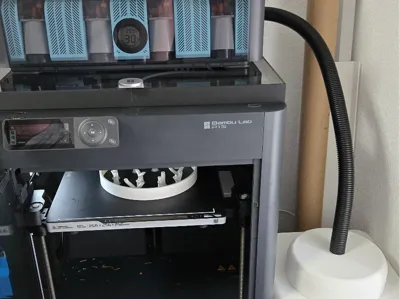
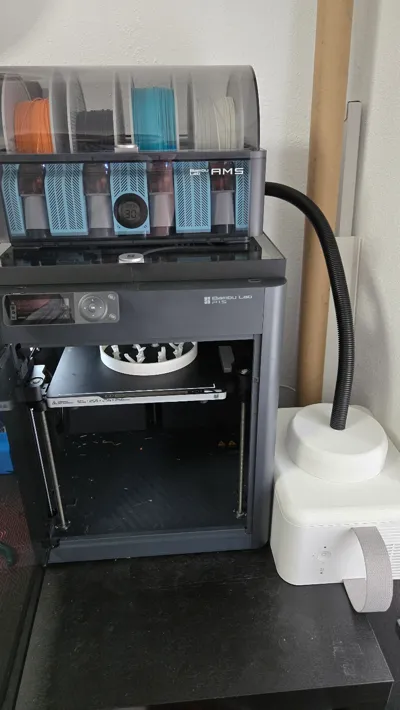
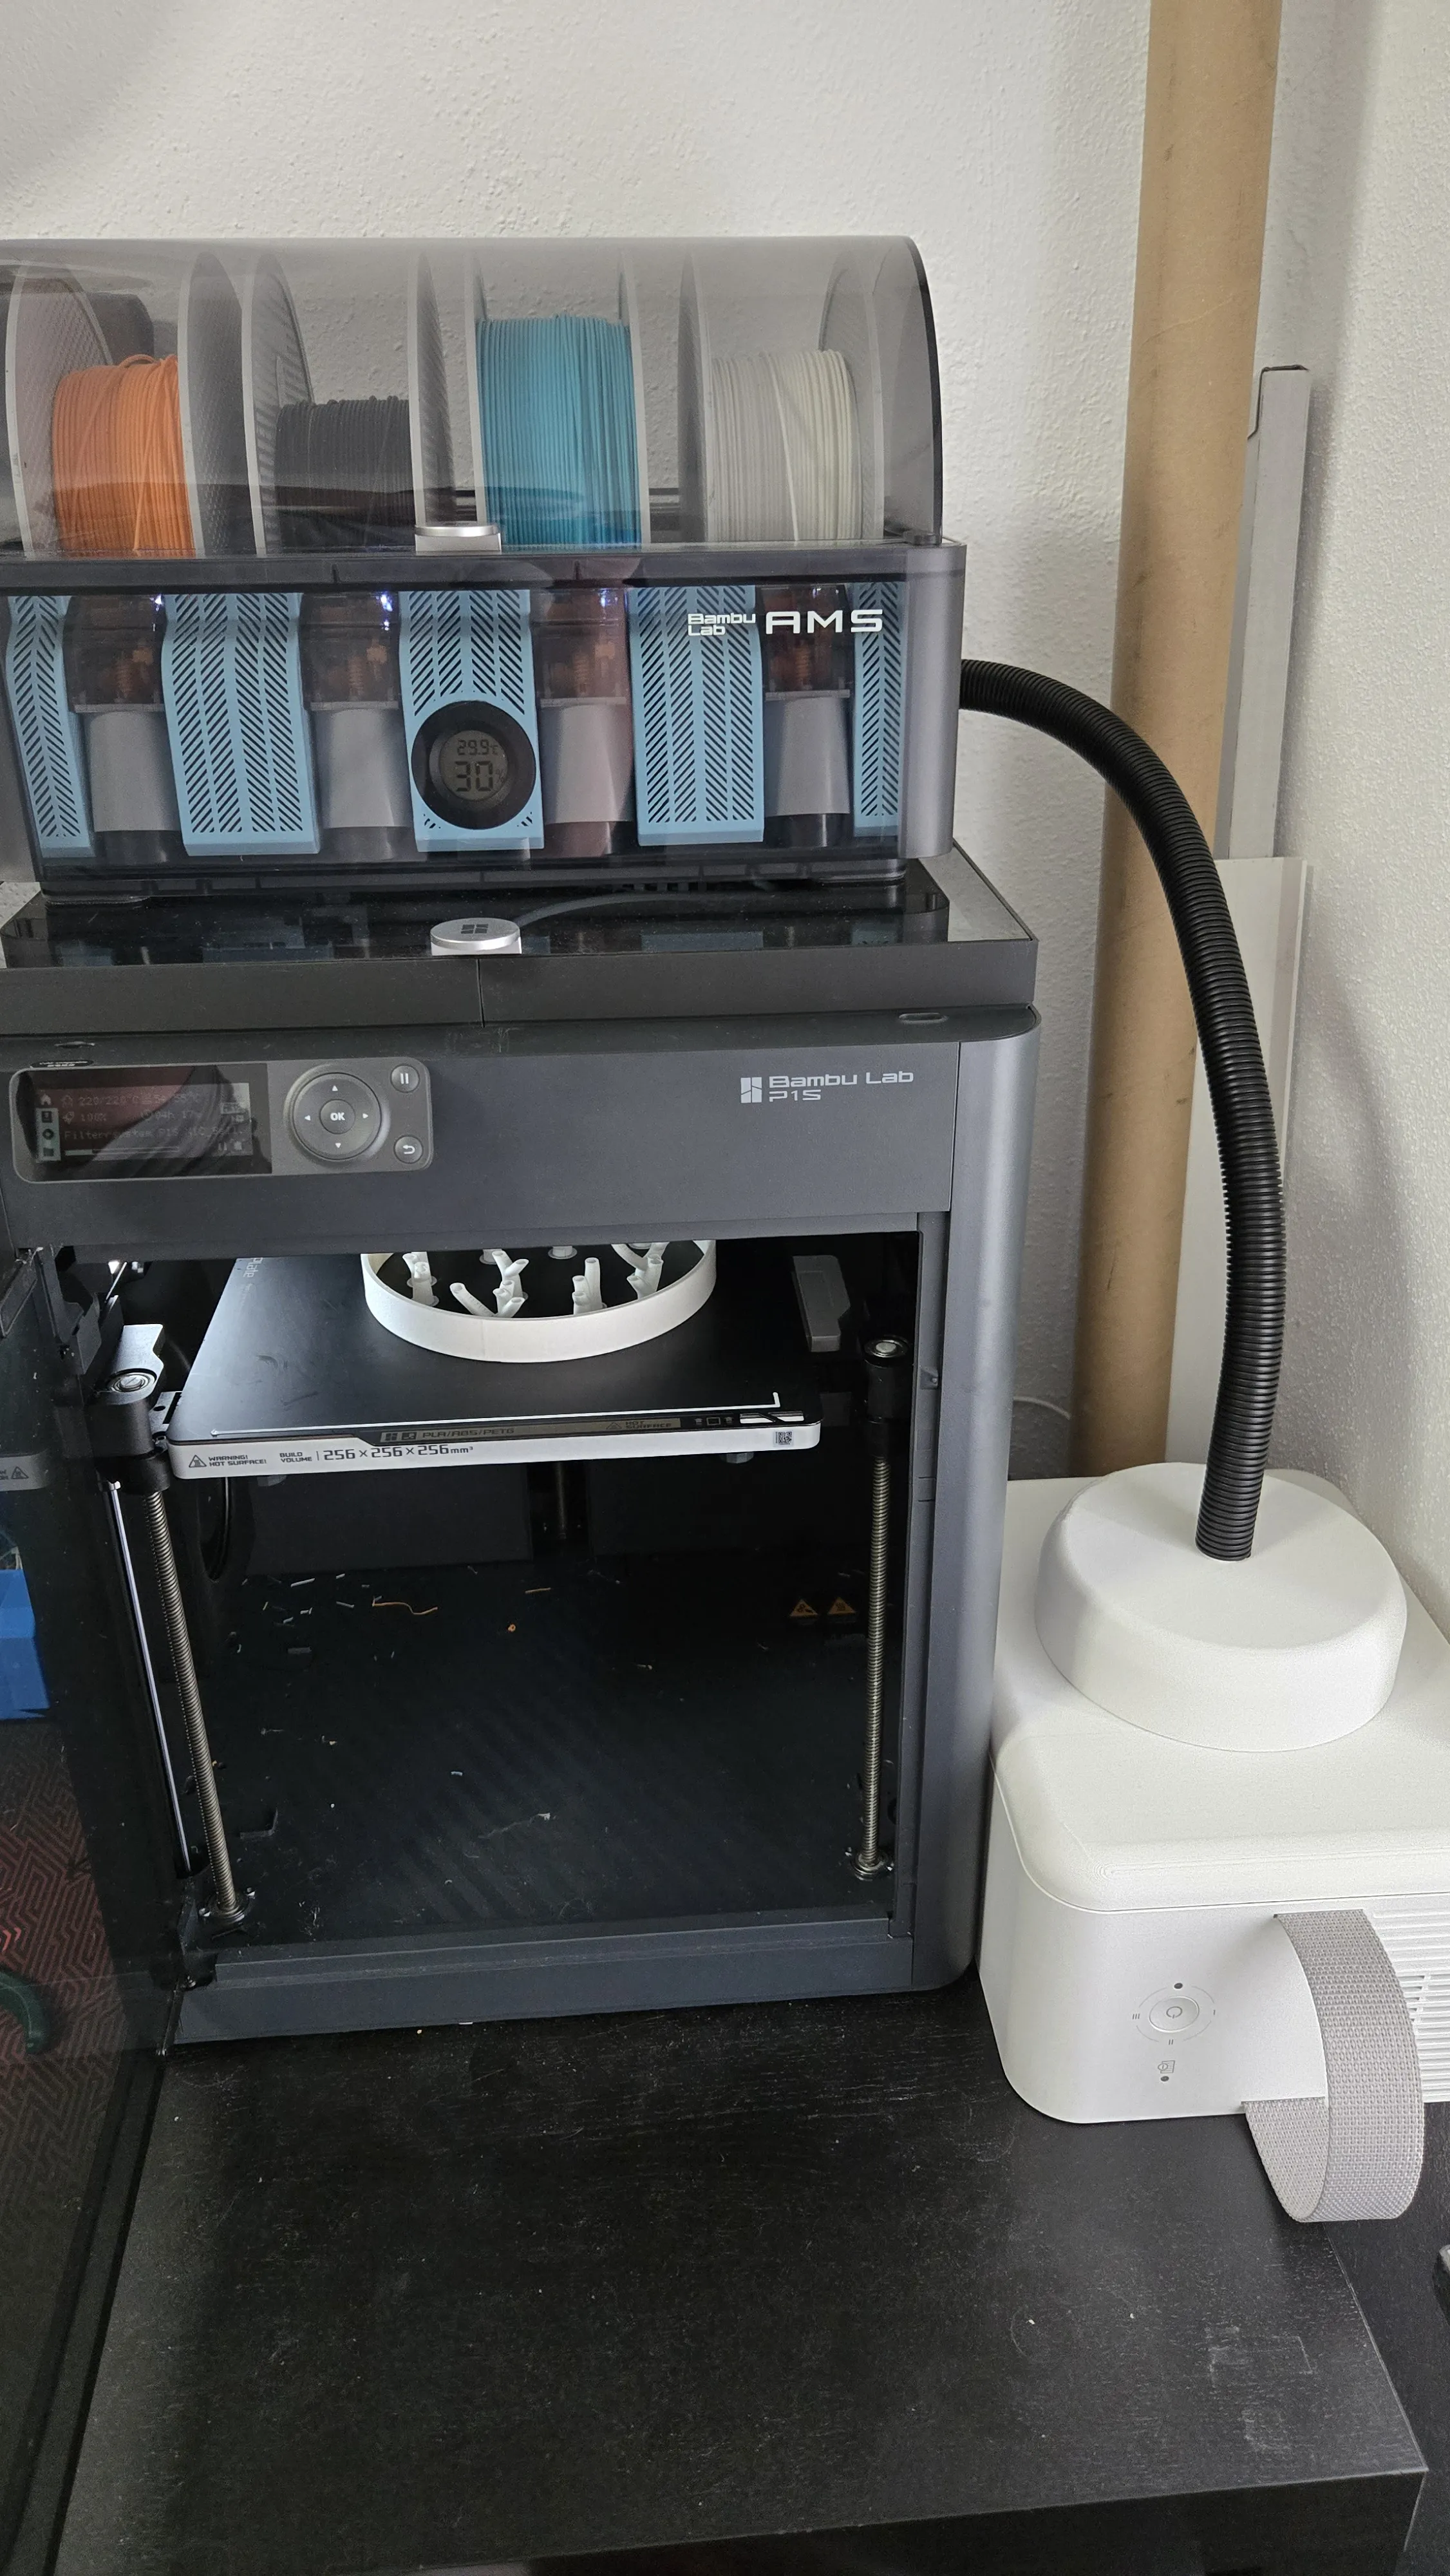
Therefore, I have designed a space-saving filter system incorporating an Ikea air purifier for the P1S and X1C/X1E that directly extracts fumes from beneath the glass lid.
Required parts:
Exhaust hose ID 20 OD 25mm: https://www.amazon.de/dp/B0DG235Q9B?ref=ppx_yo2ov_dt_b_fed_asin_title&th=1
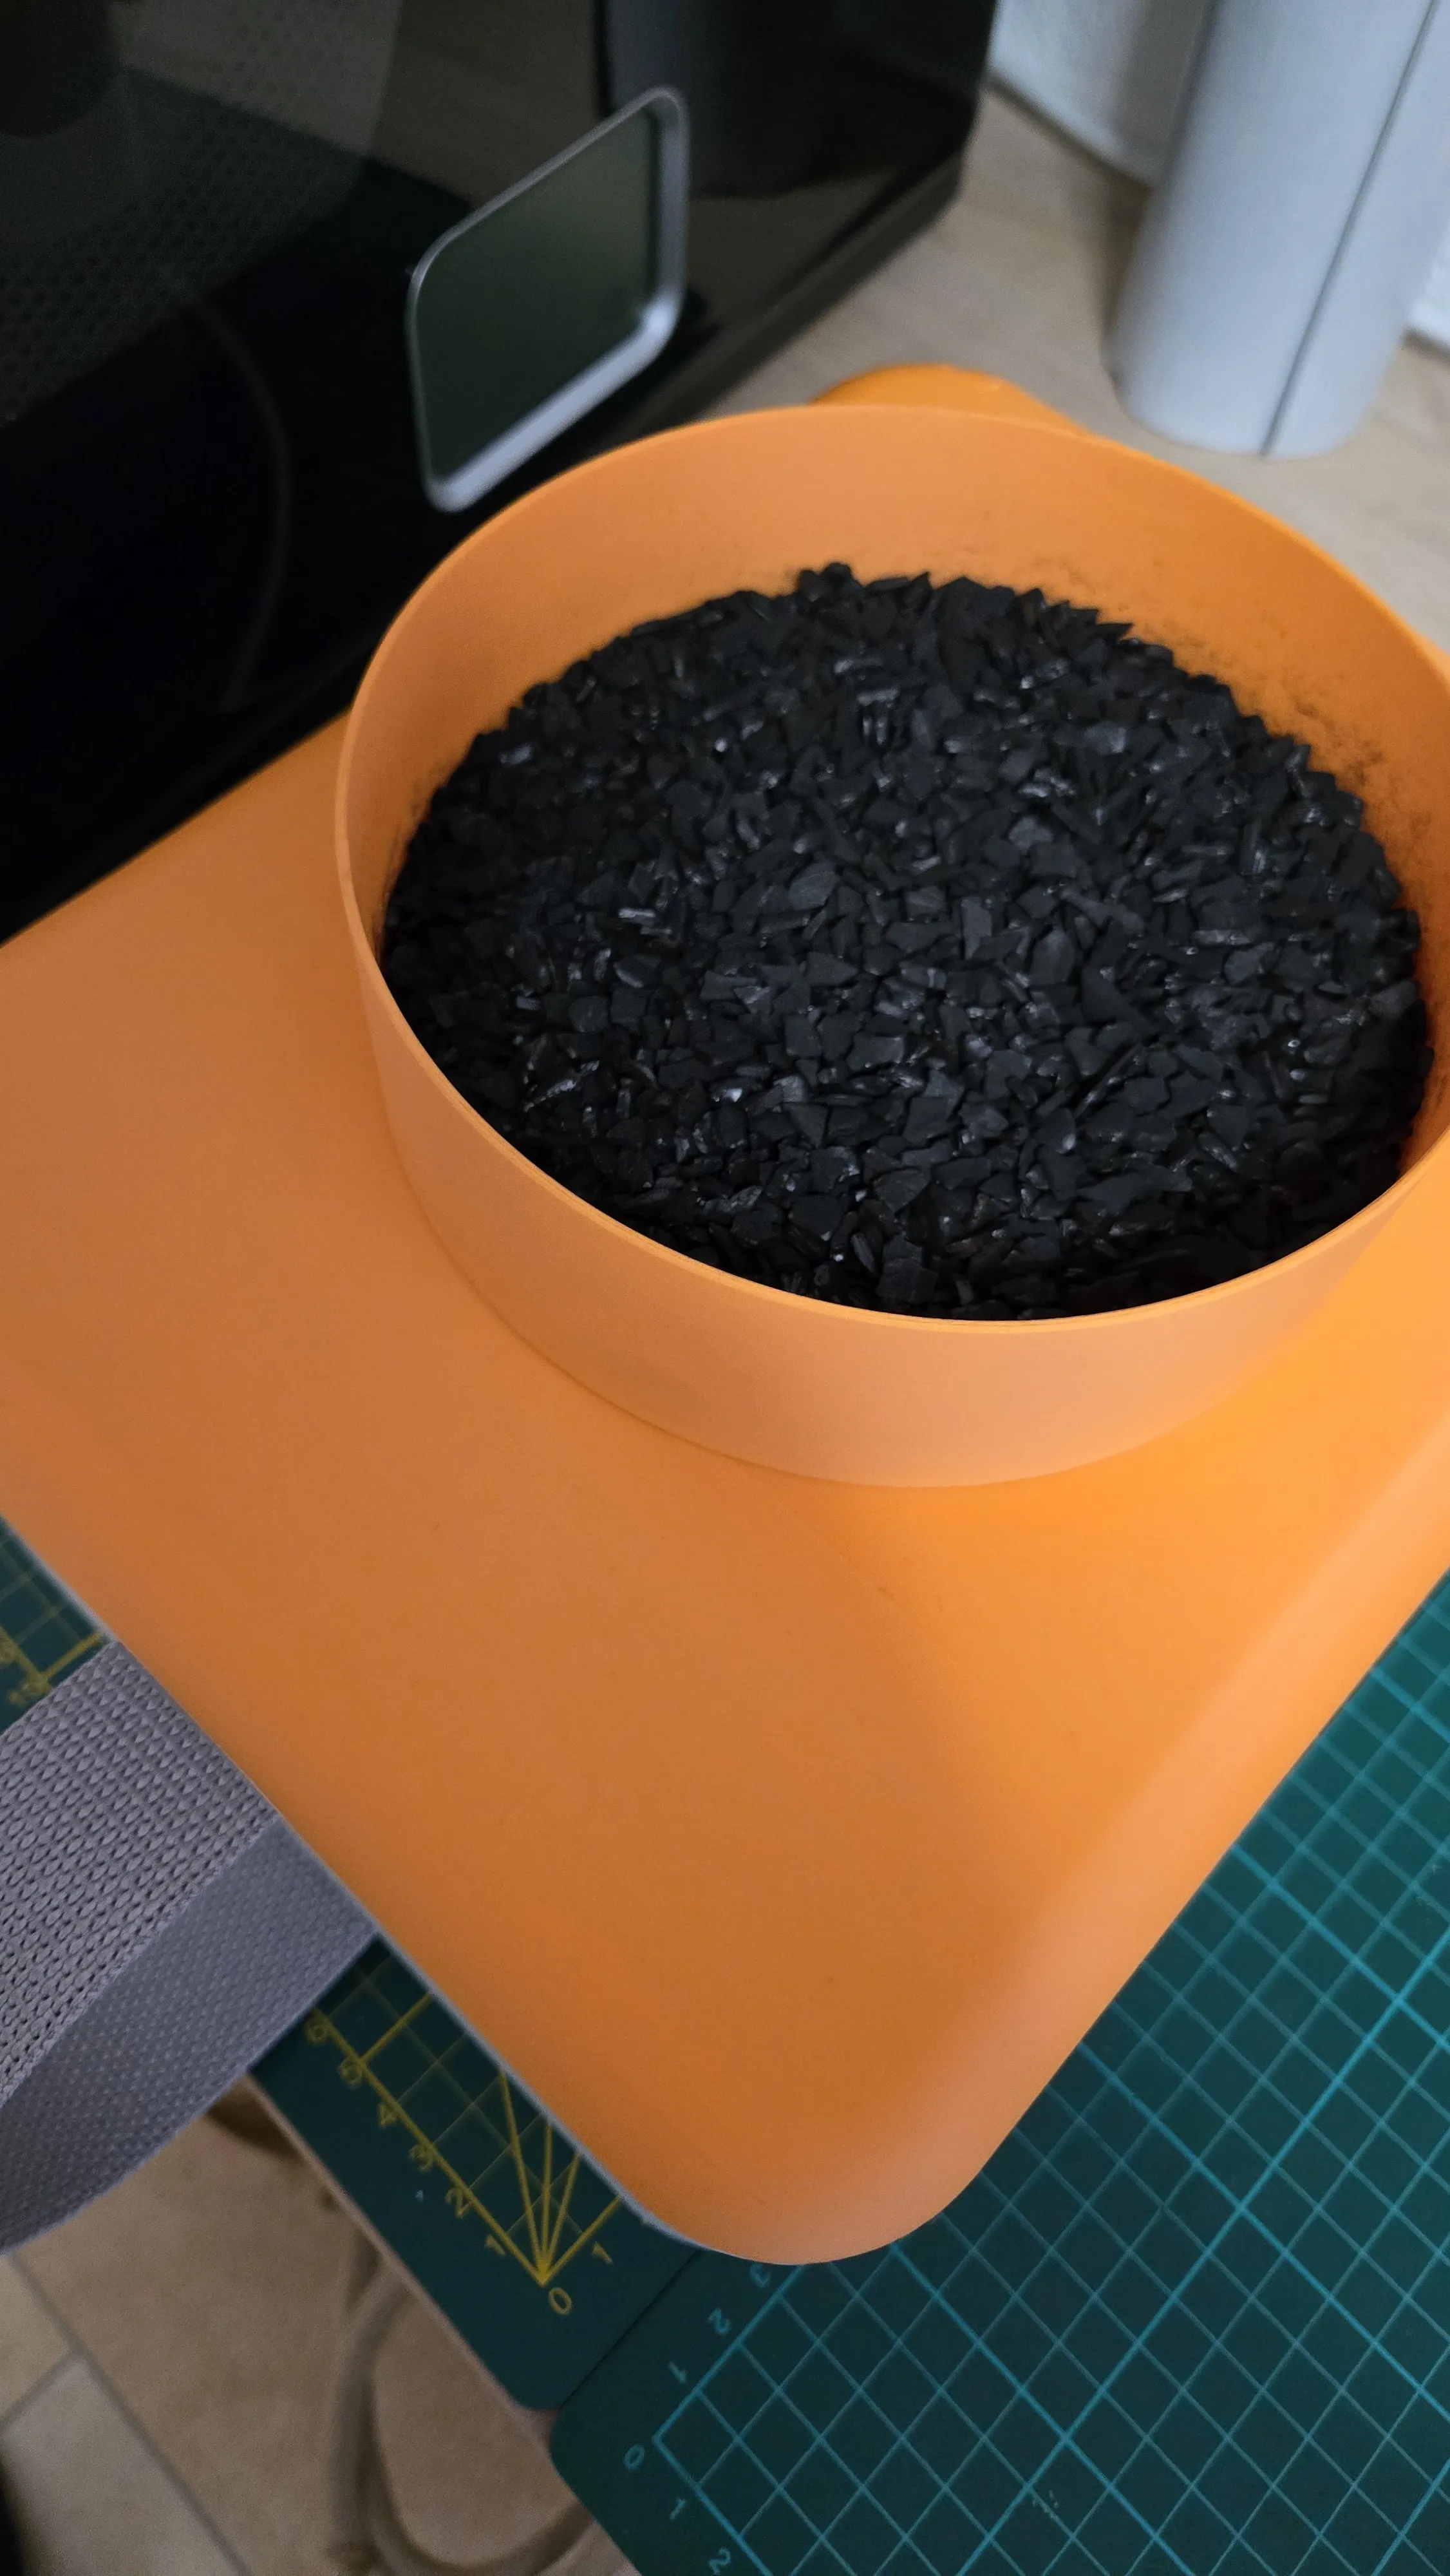
Activated carbon: https://www.amazon.de/dp/B098ZT81FP?ref=ppx_yo2ov_dt_b_fed_asin_title&th=1
1mm foam rubber: Matte selbstklebend 0,5mx0,5m verschied. Dicken Moosgummi EPDM Zellkautschuk | eBay
I used Bambu Lab PLA for my version. However, with the correct settings, it should also work seamlessly with PETG or ABS.
Boost Me (for free)

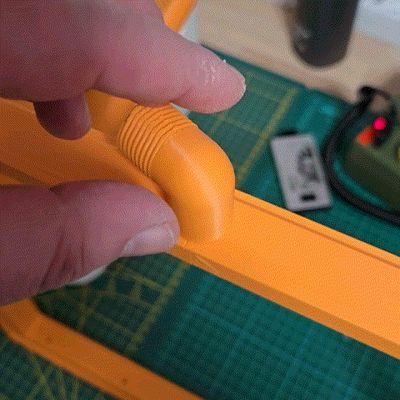
- Arrange the frame parts according to the letters (ensure that side A is assembled first due to the angle adapter). Glue the centering dowels and apply adhesive to the overlapping inner surfaces (this strengthens the frame and improves its airtightness).
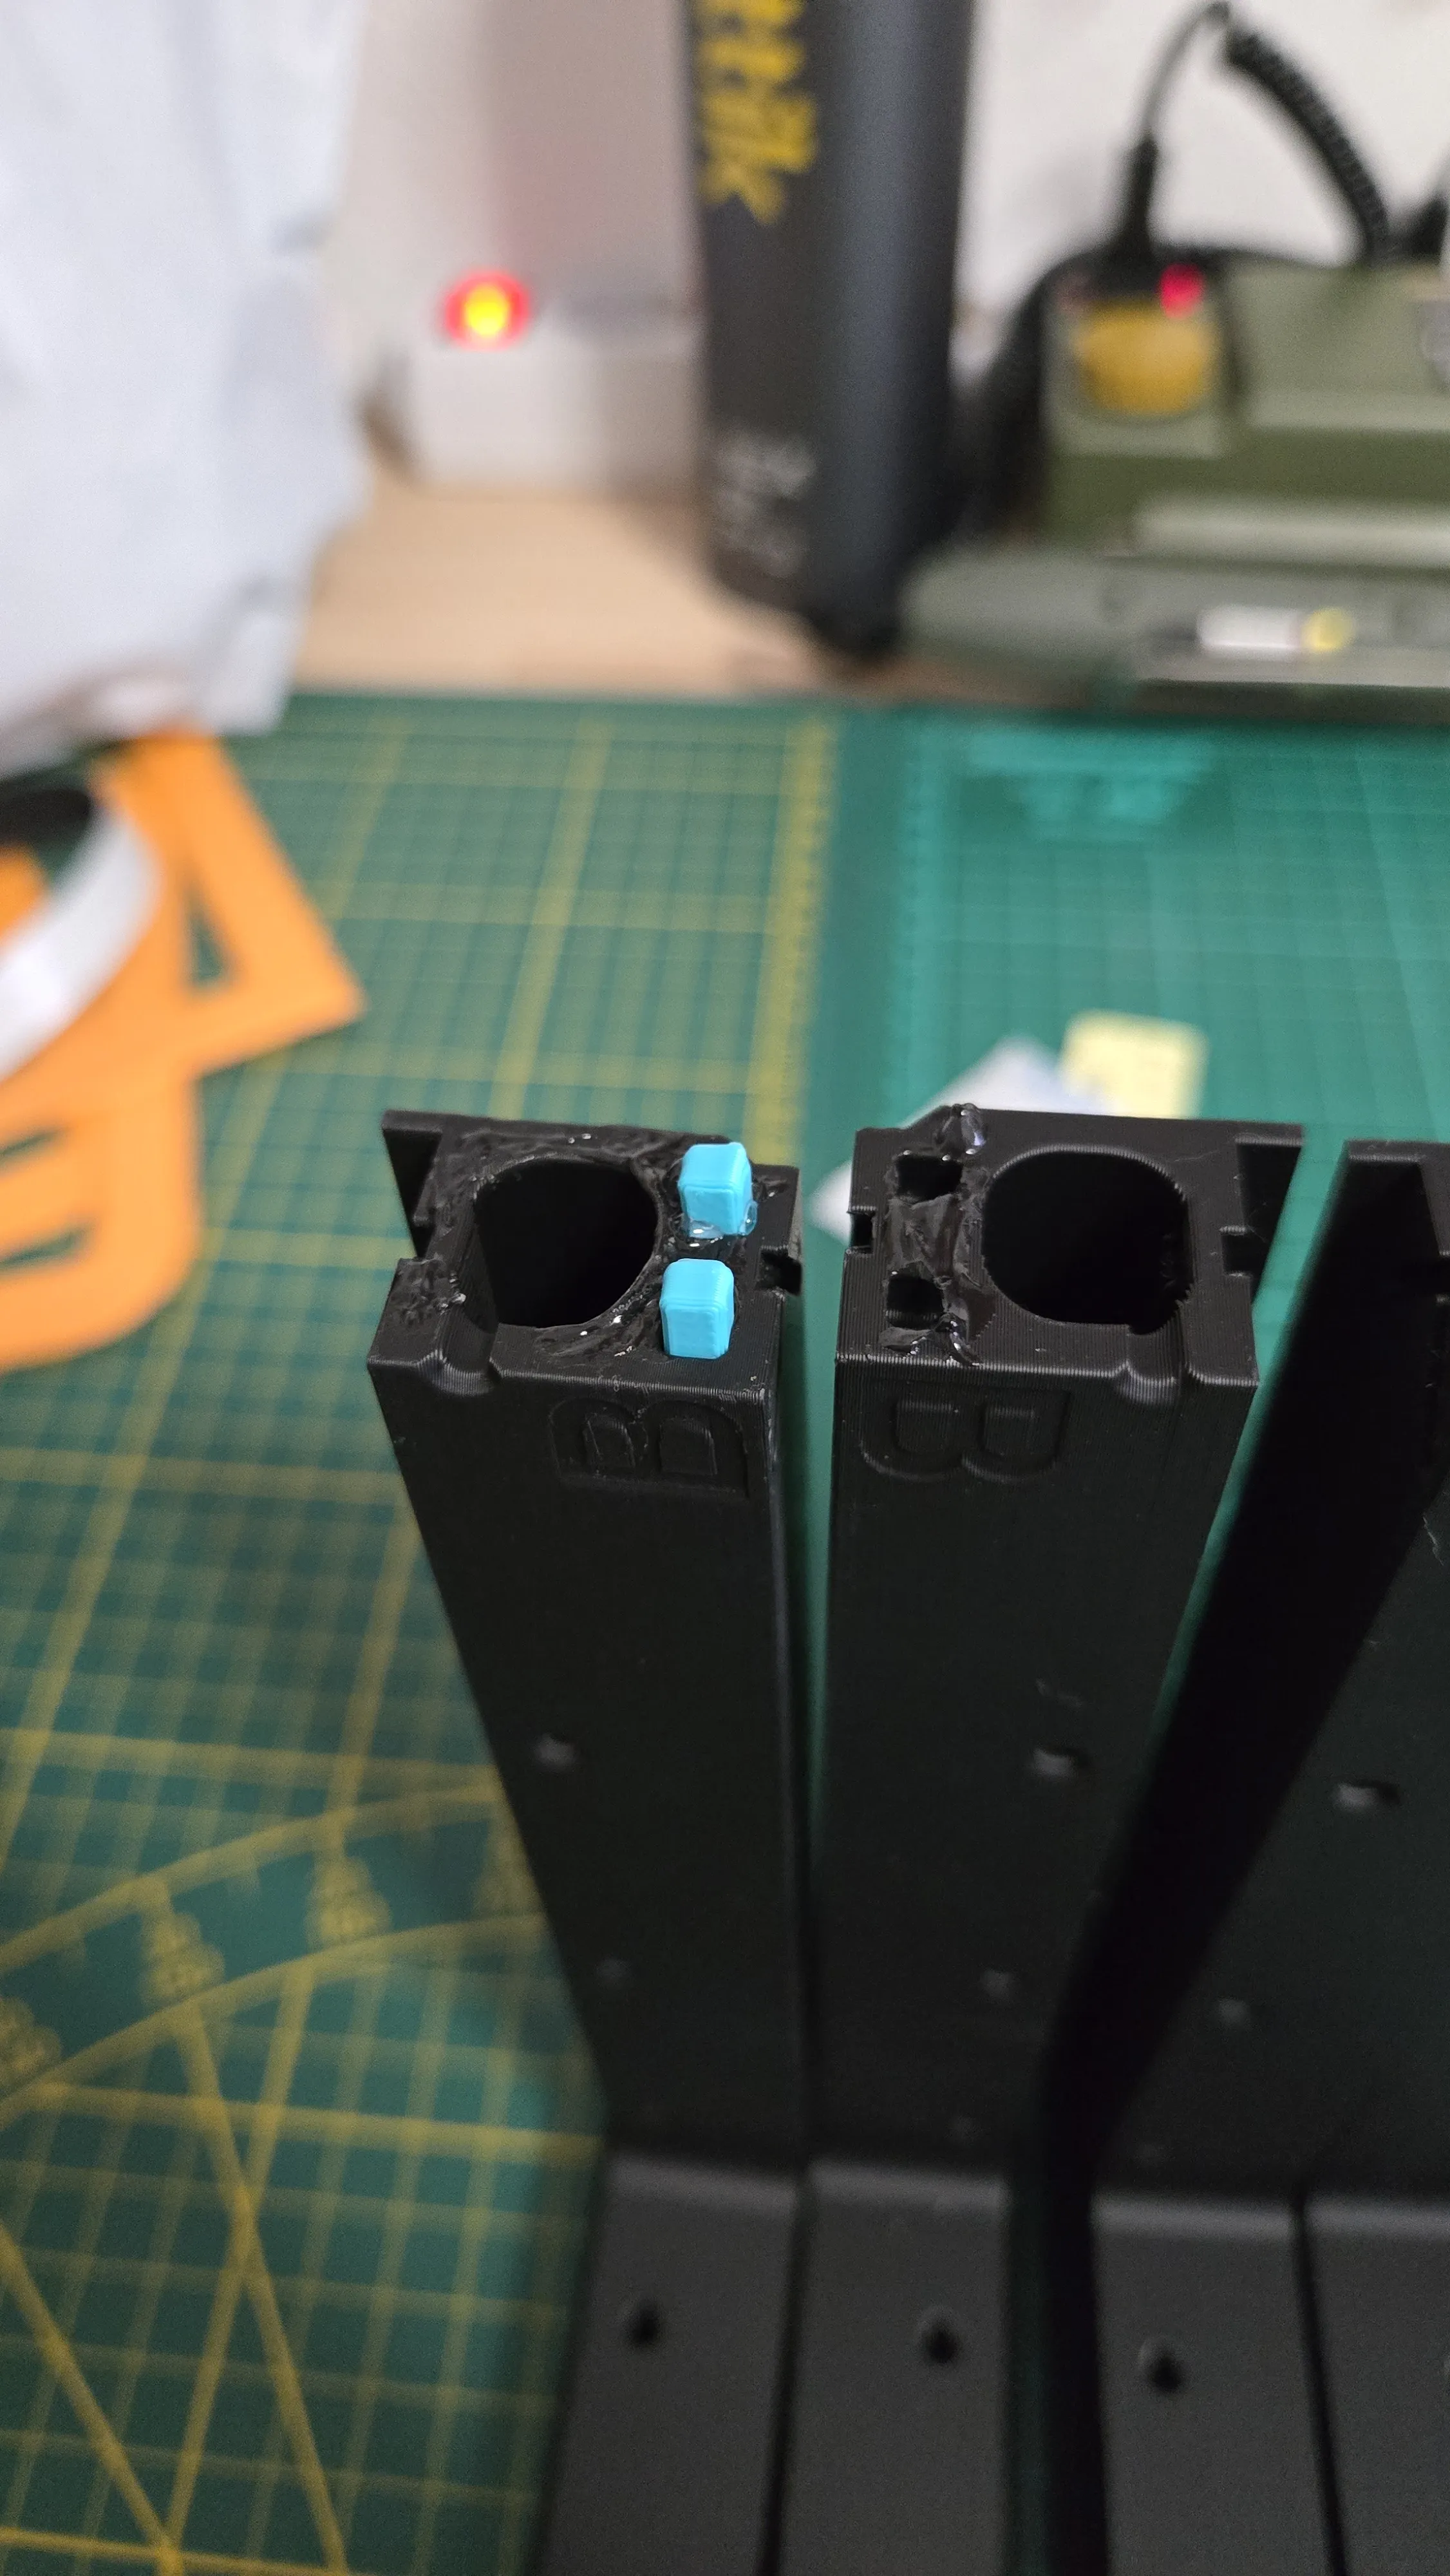
Additionally, a small amount of adhesive can be applied around the smaller tube to enhance stability and sealing.
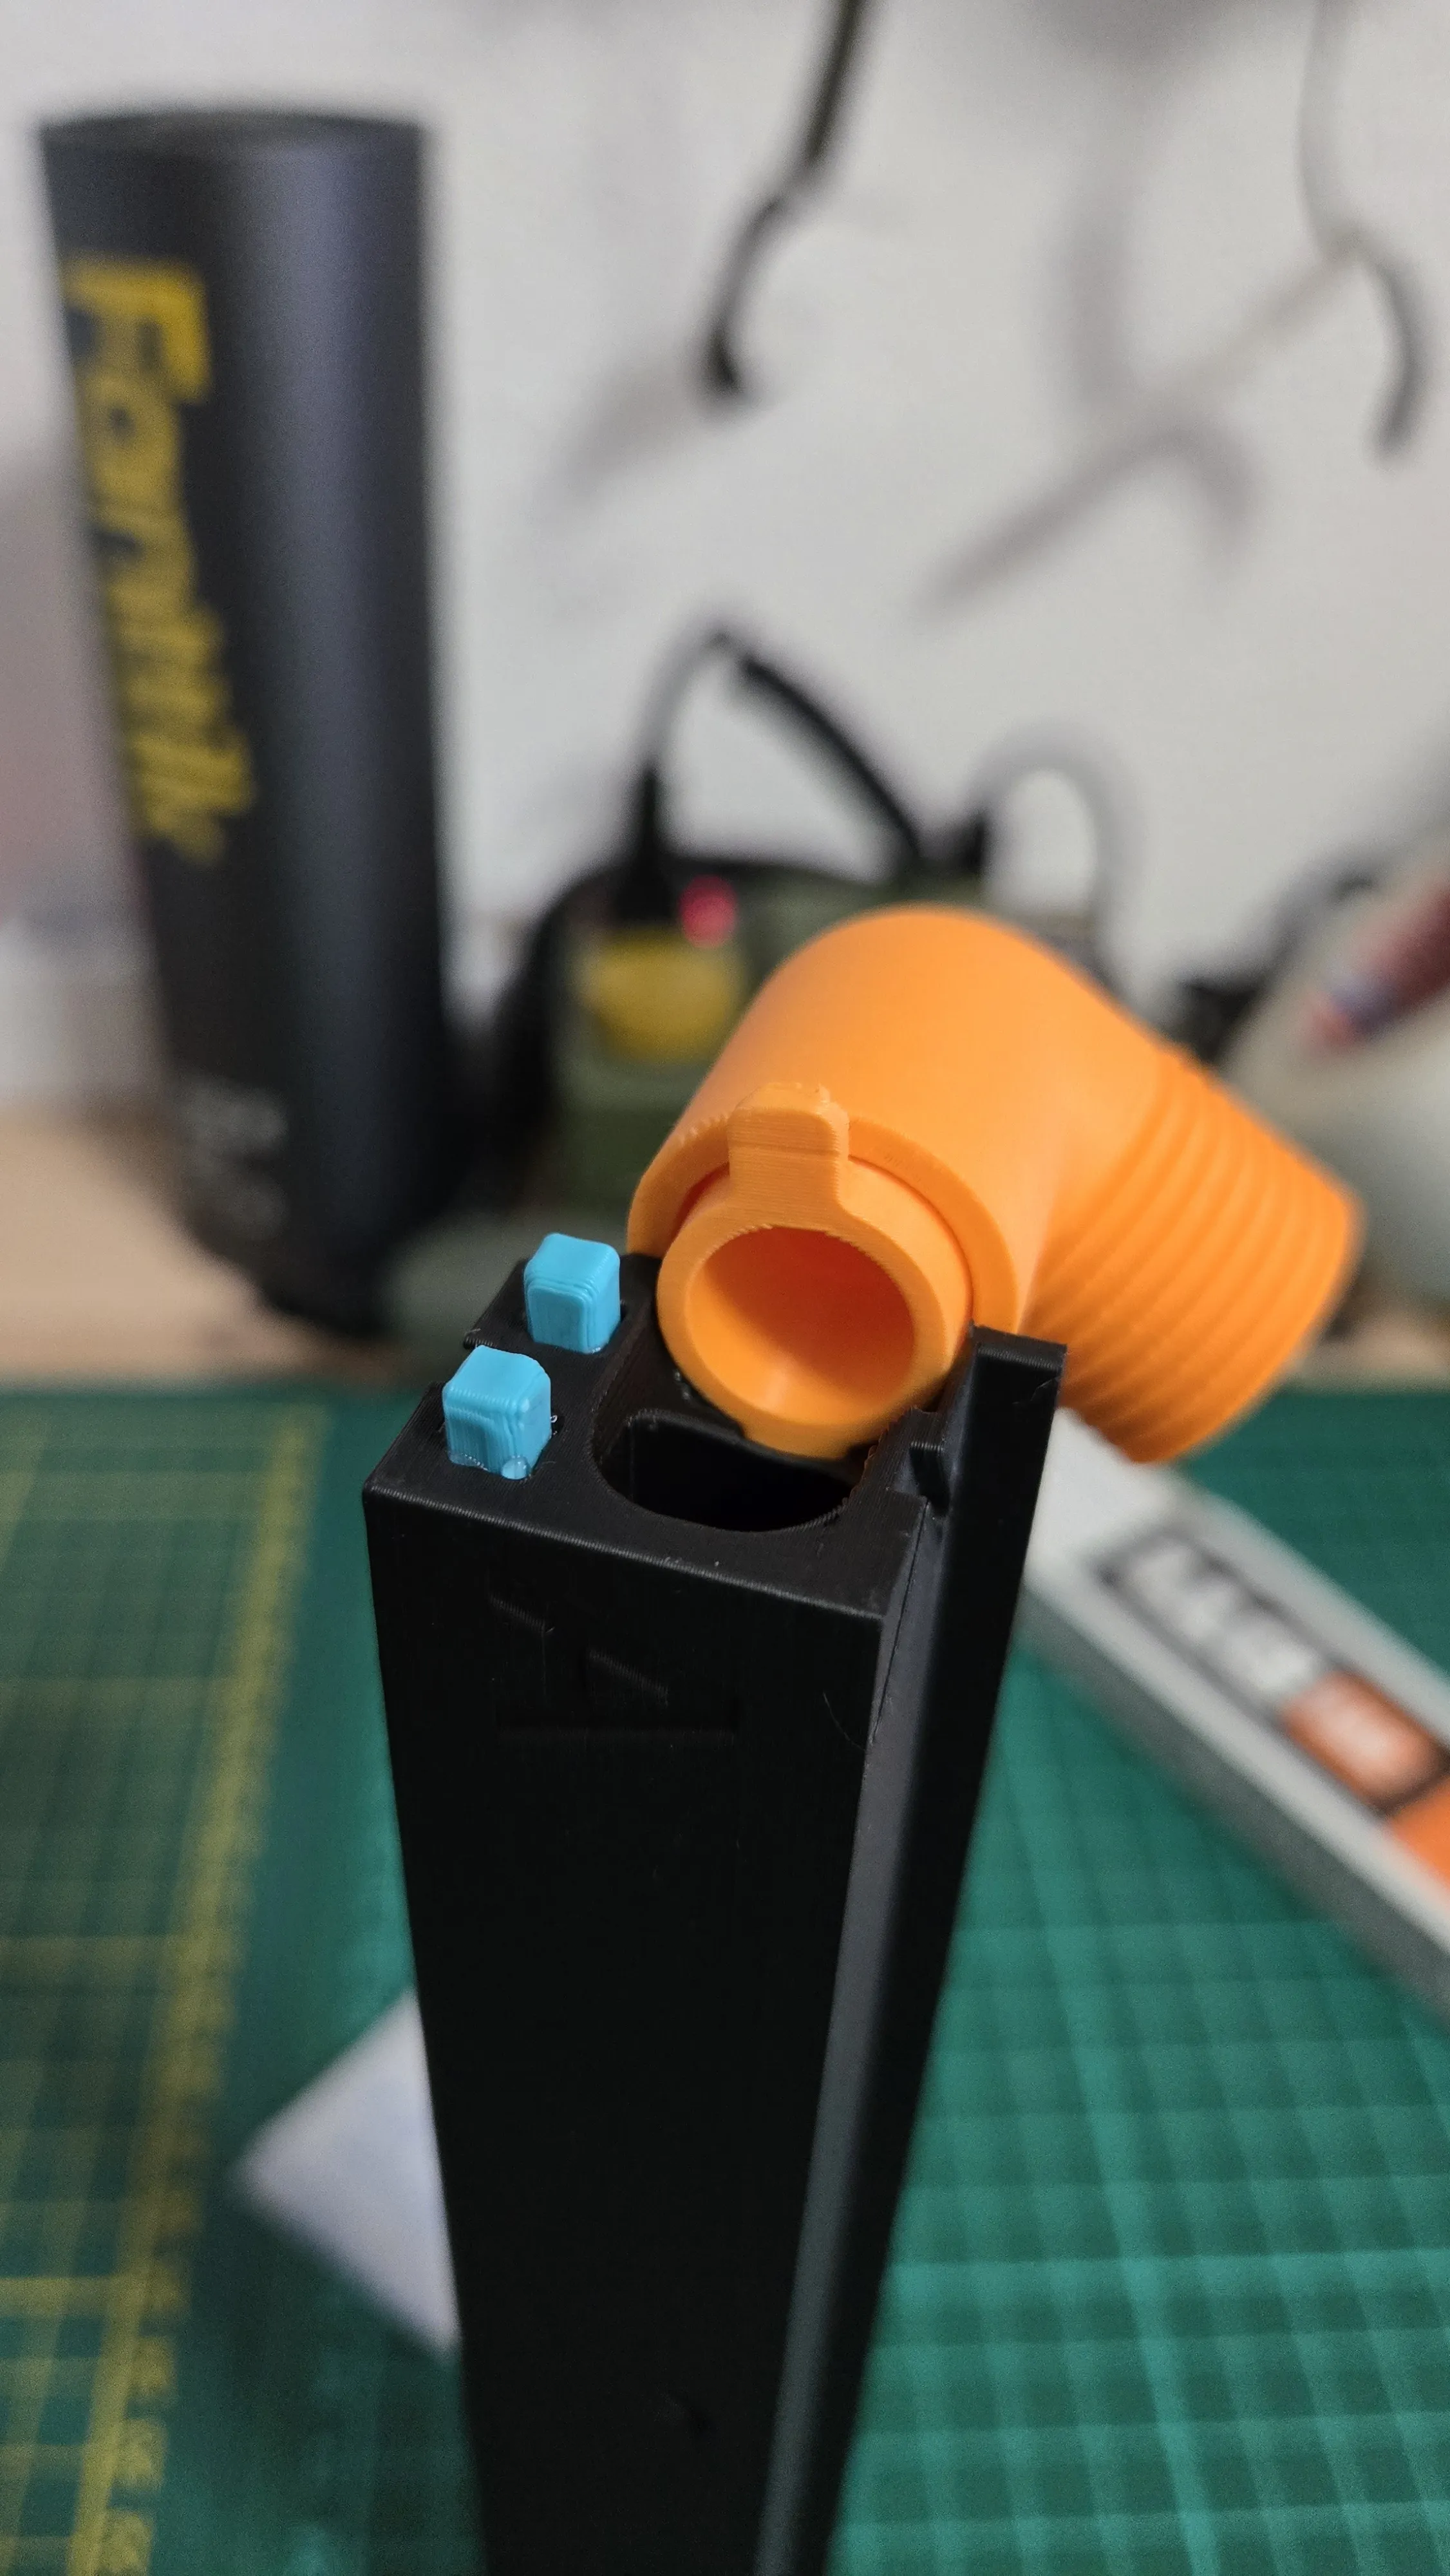
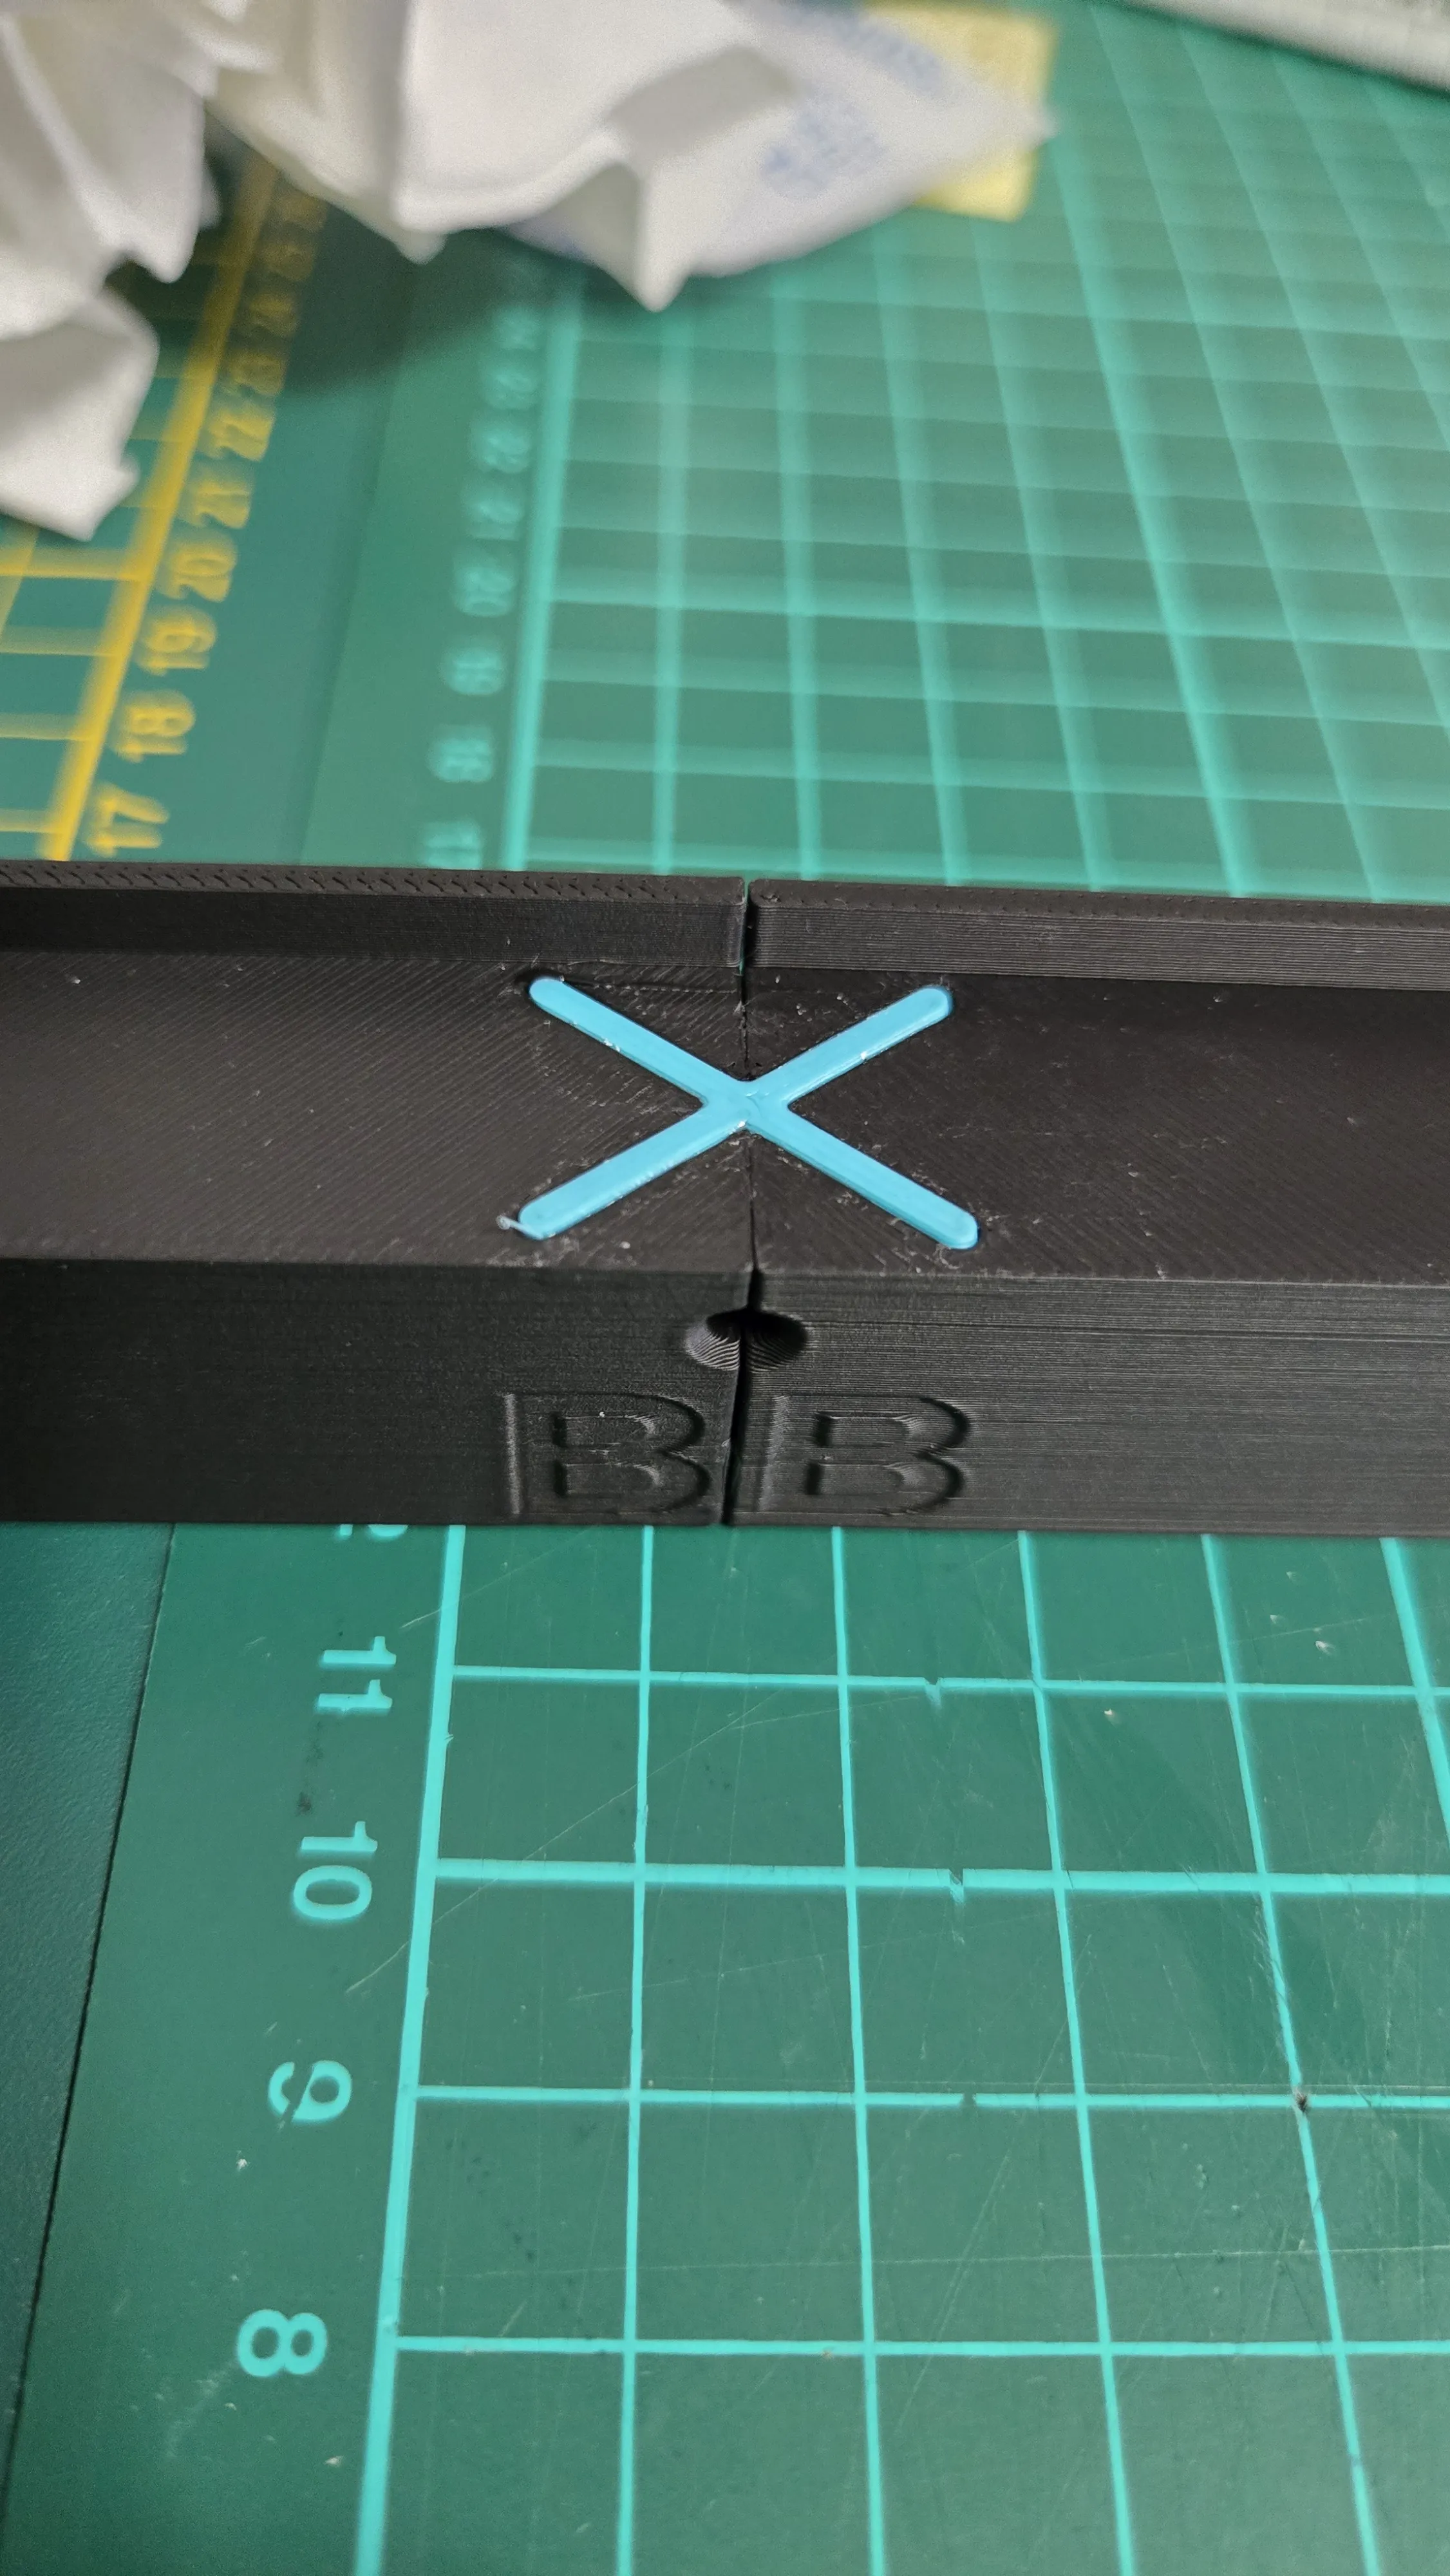
2. Next, glue the bracing crosses to minimize gaps in the frame and prevent warping while the adhesive cures.
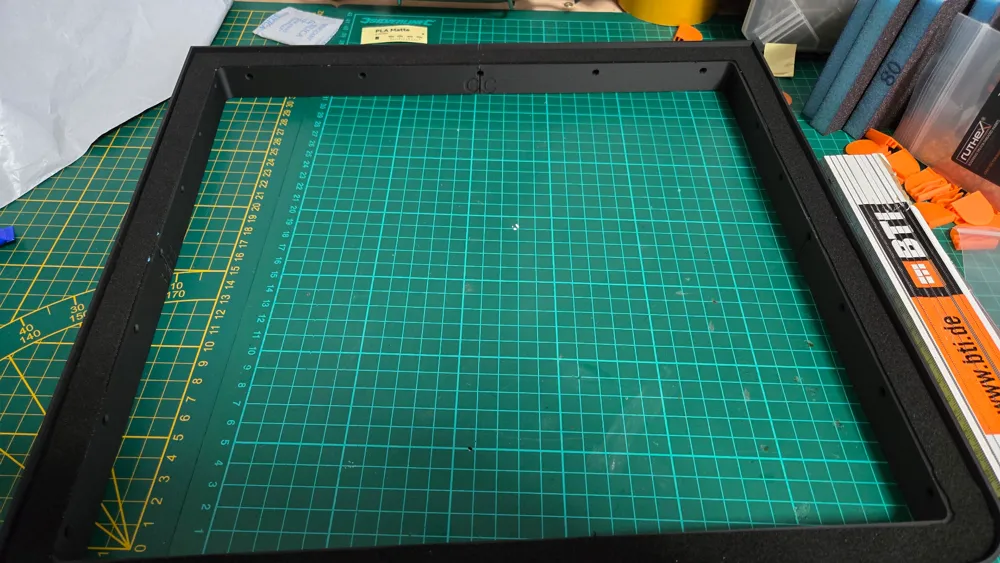
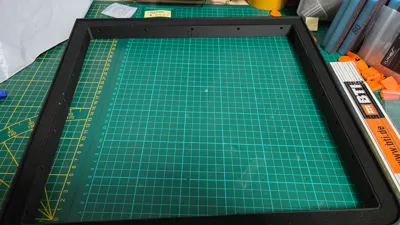
3. Use the included cutting template to cut a layer of insulation and sealing material from the foam rubber.
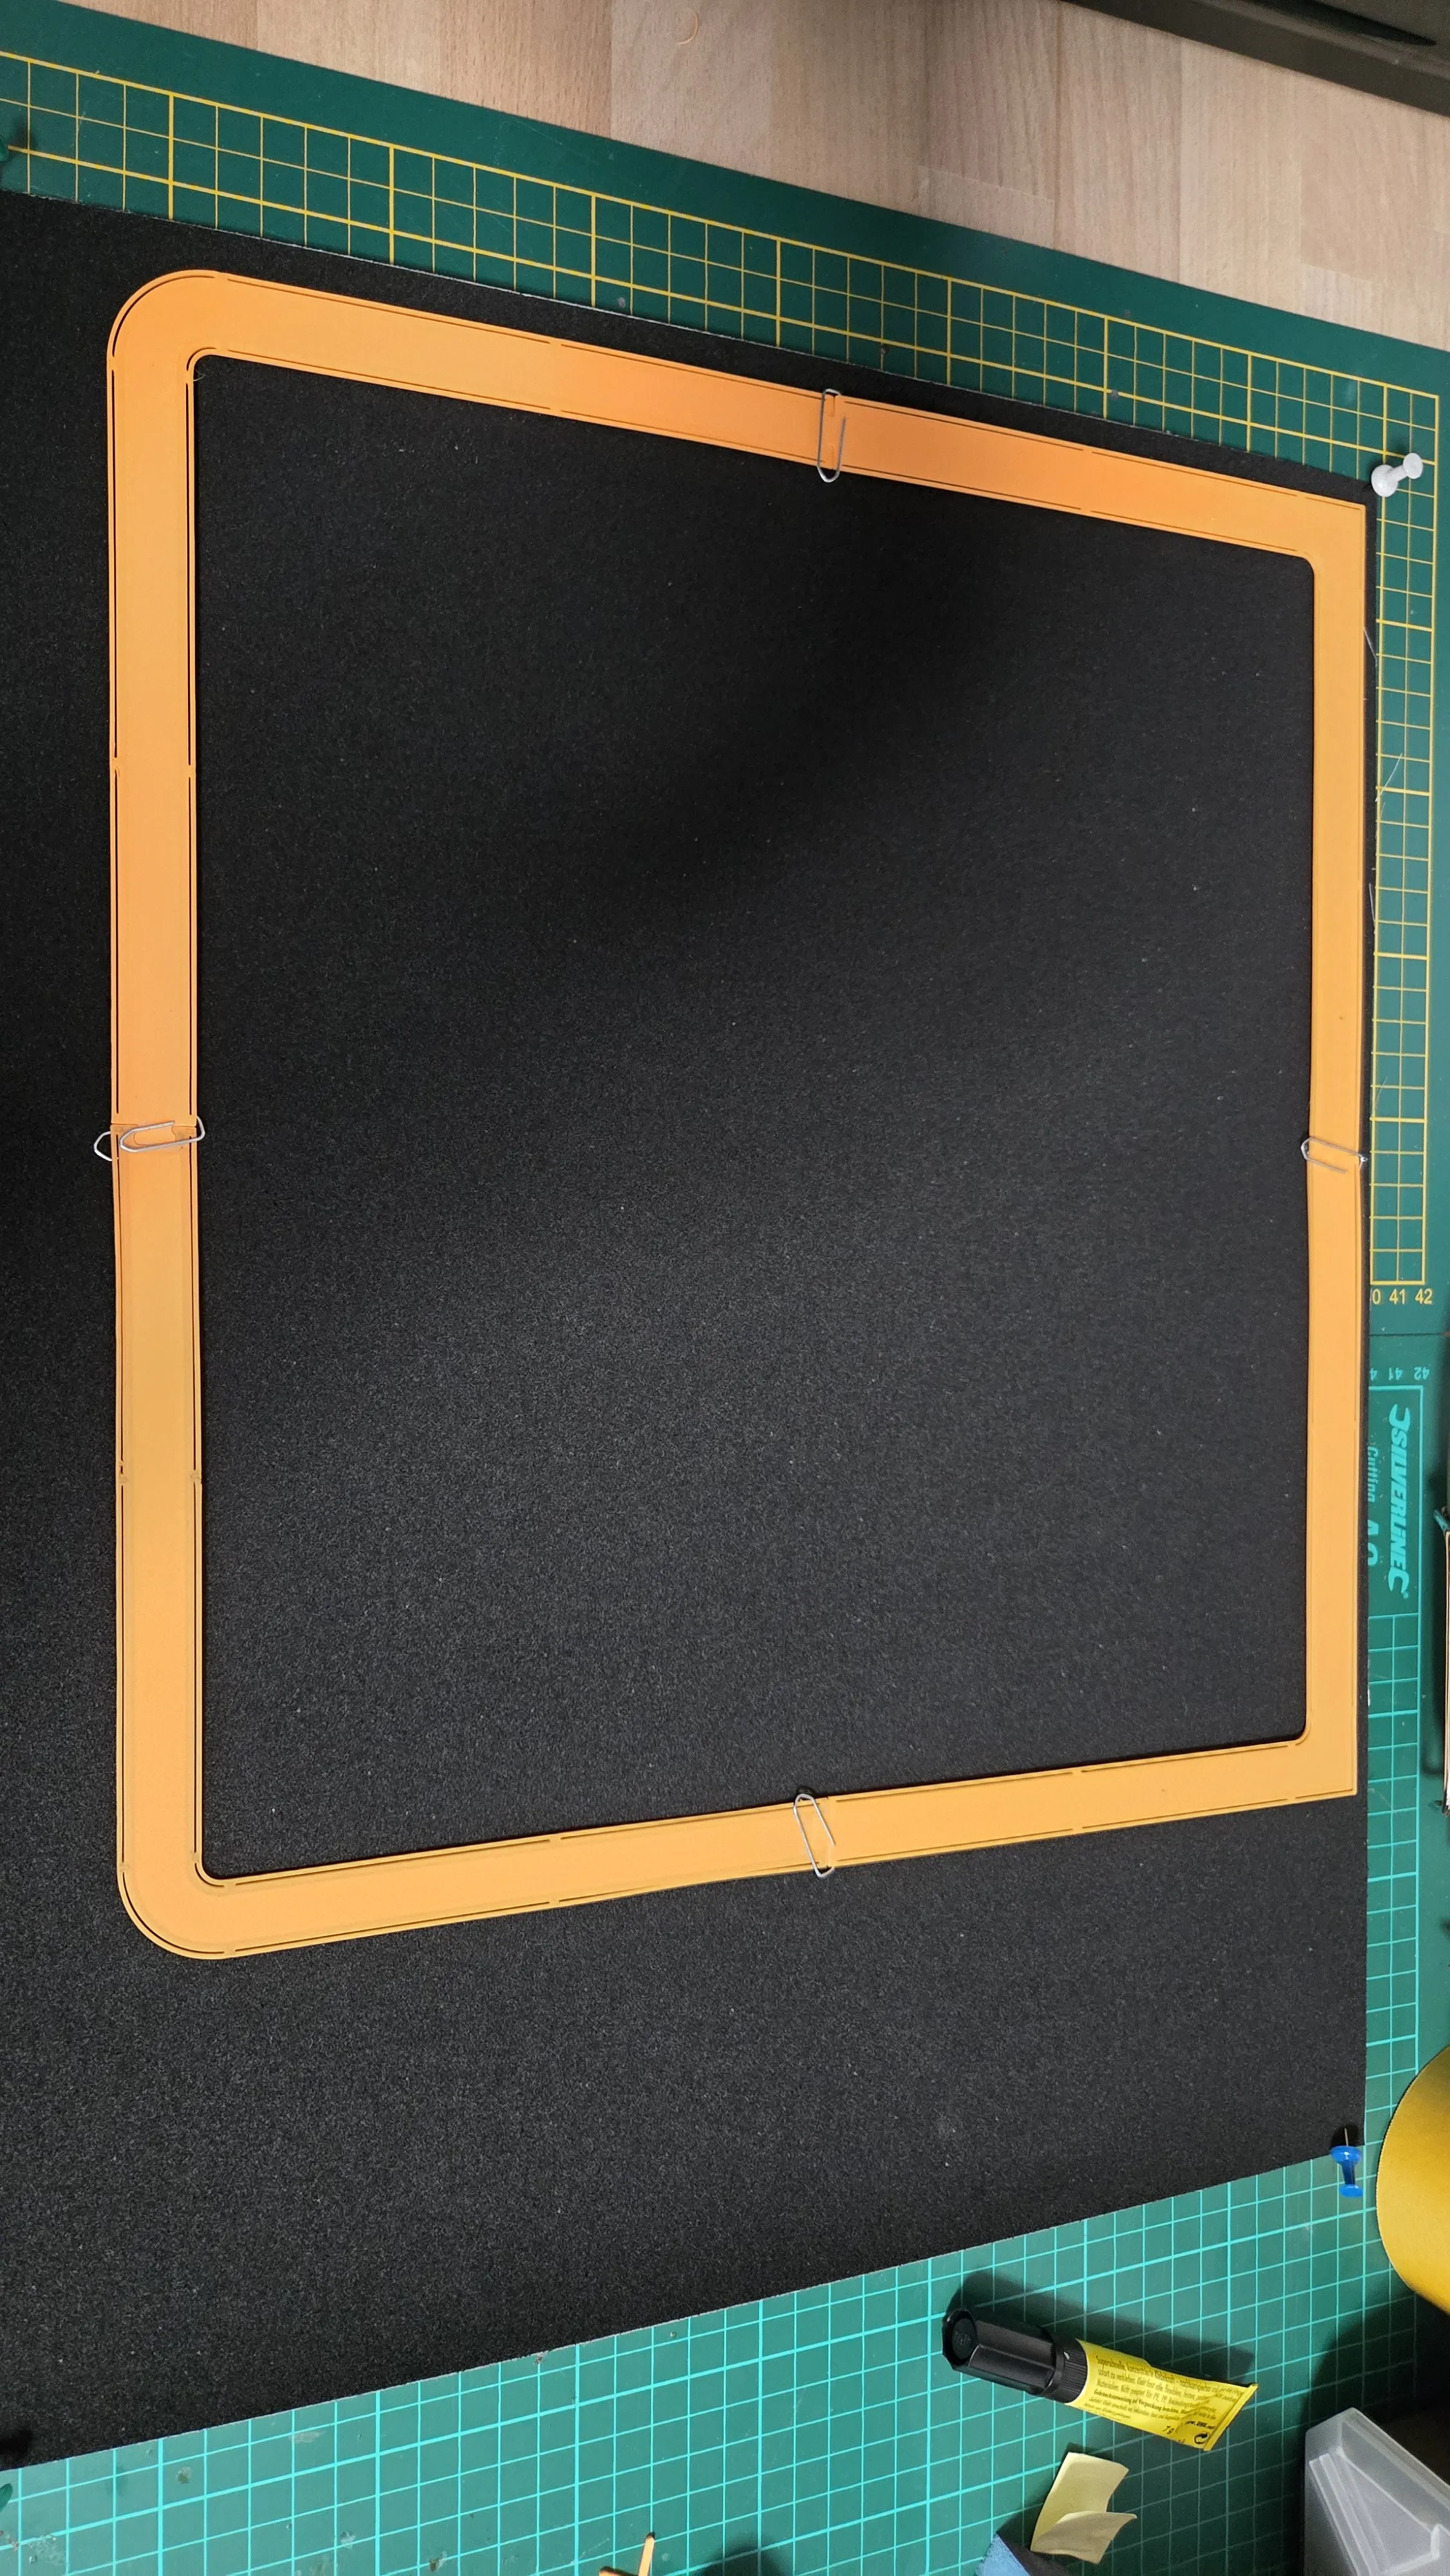
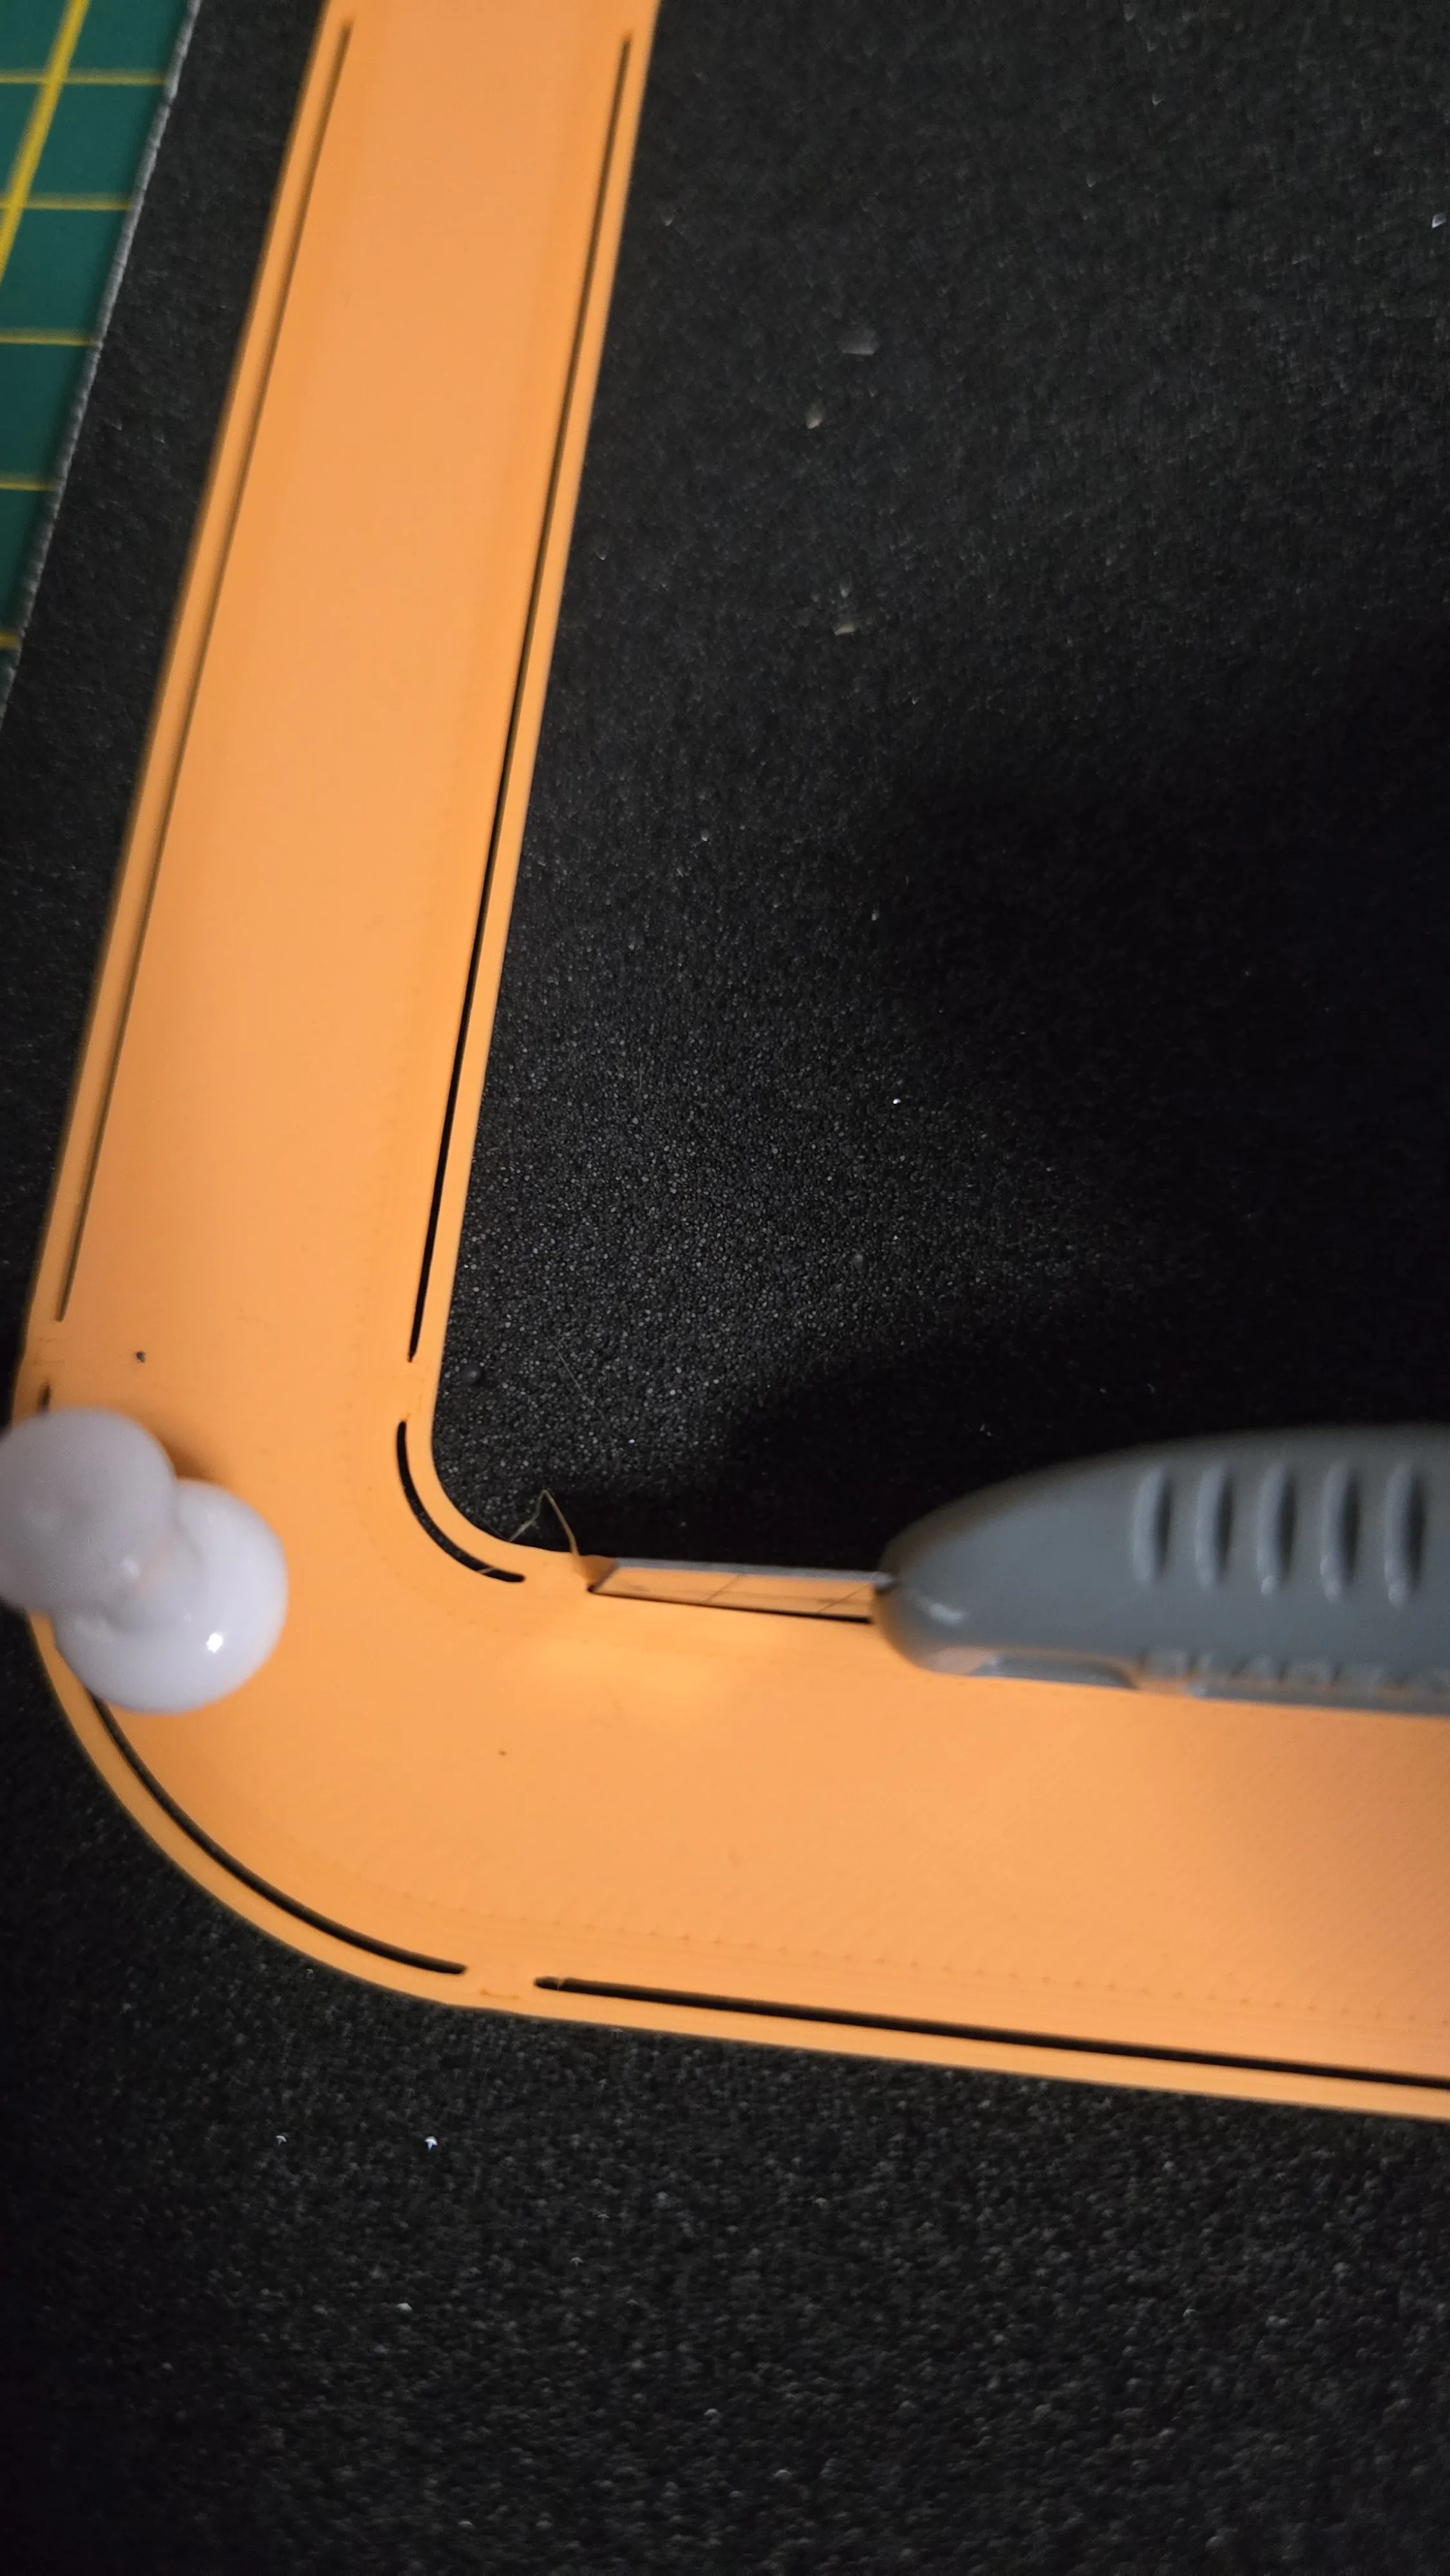
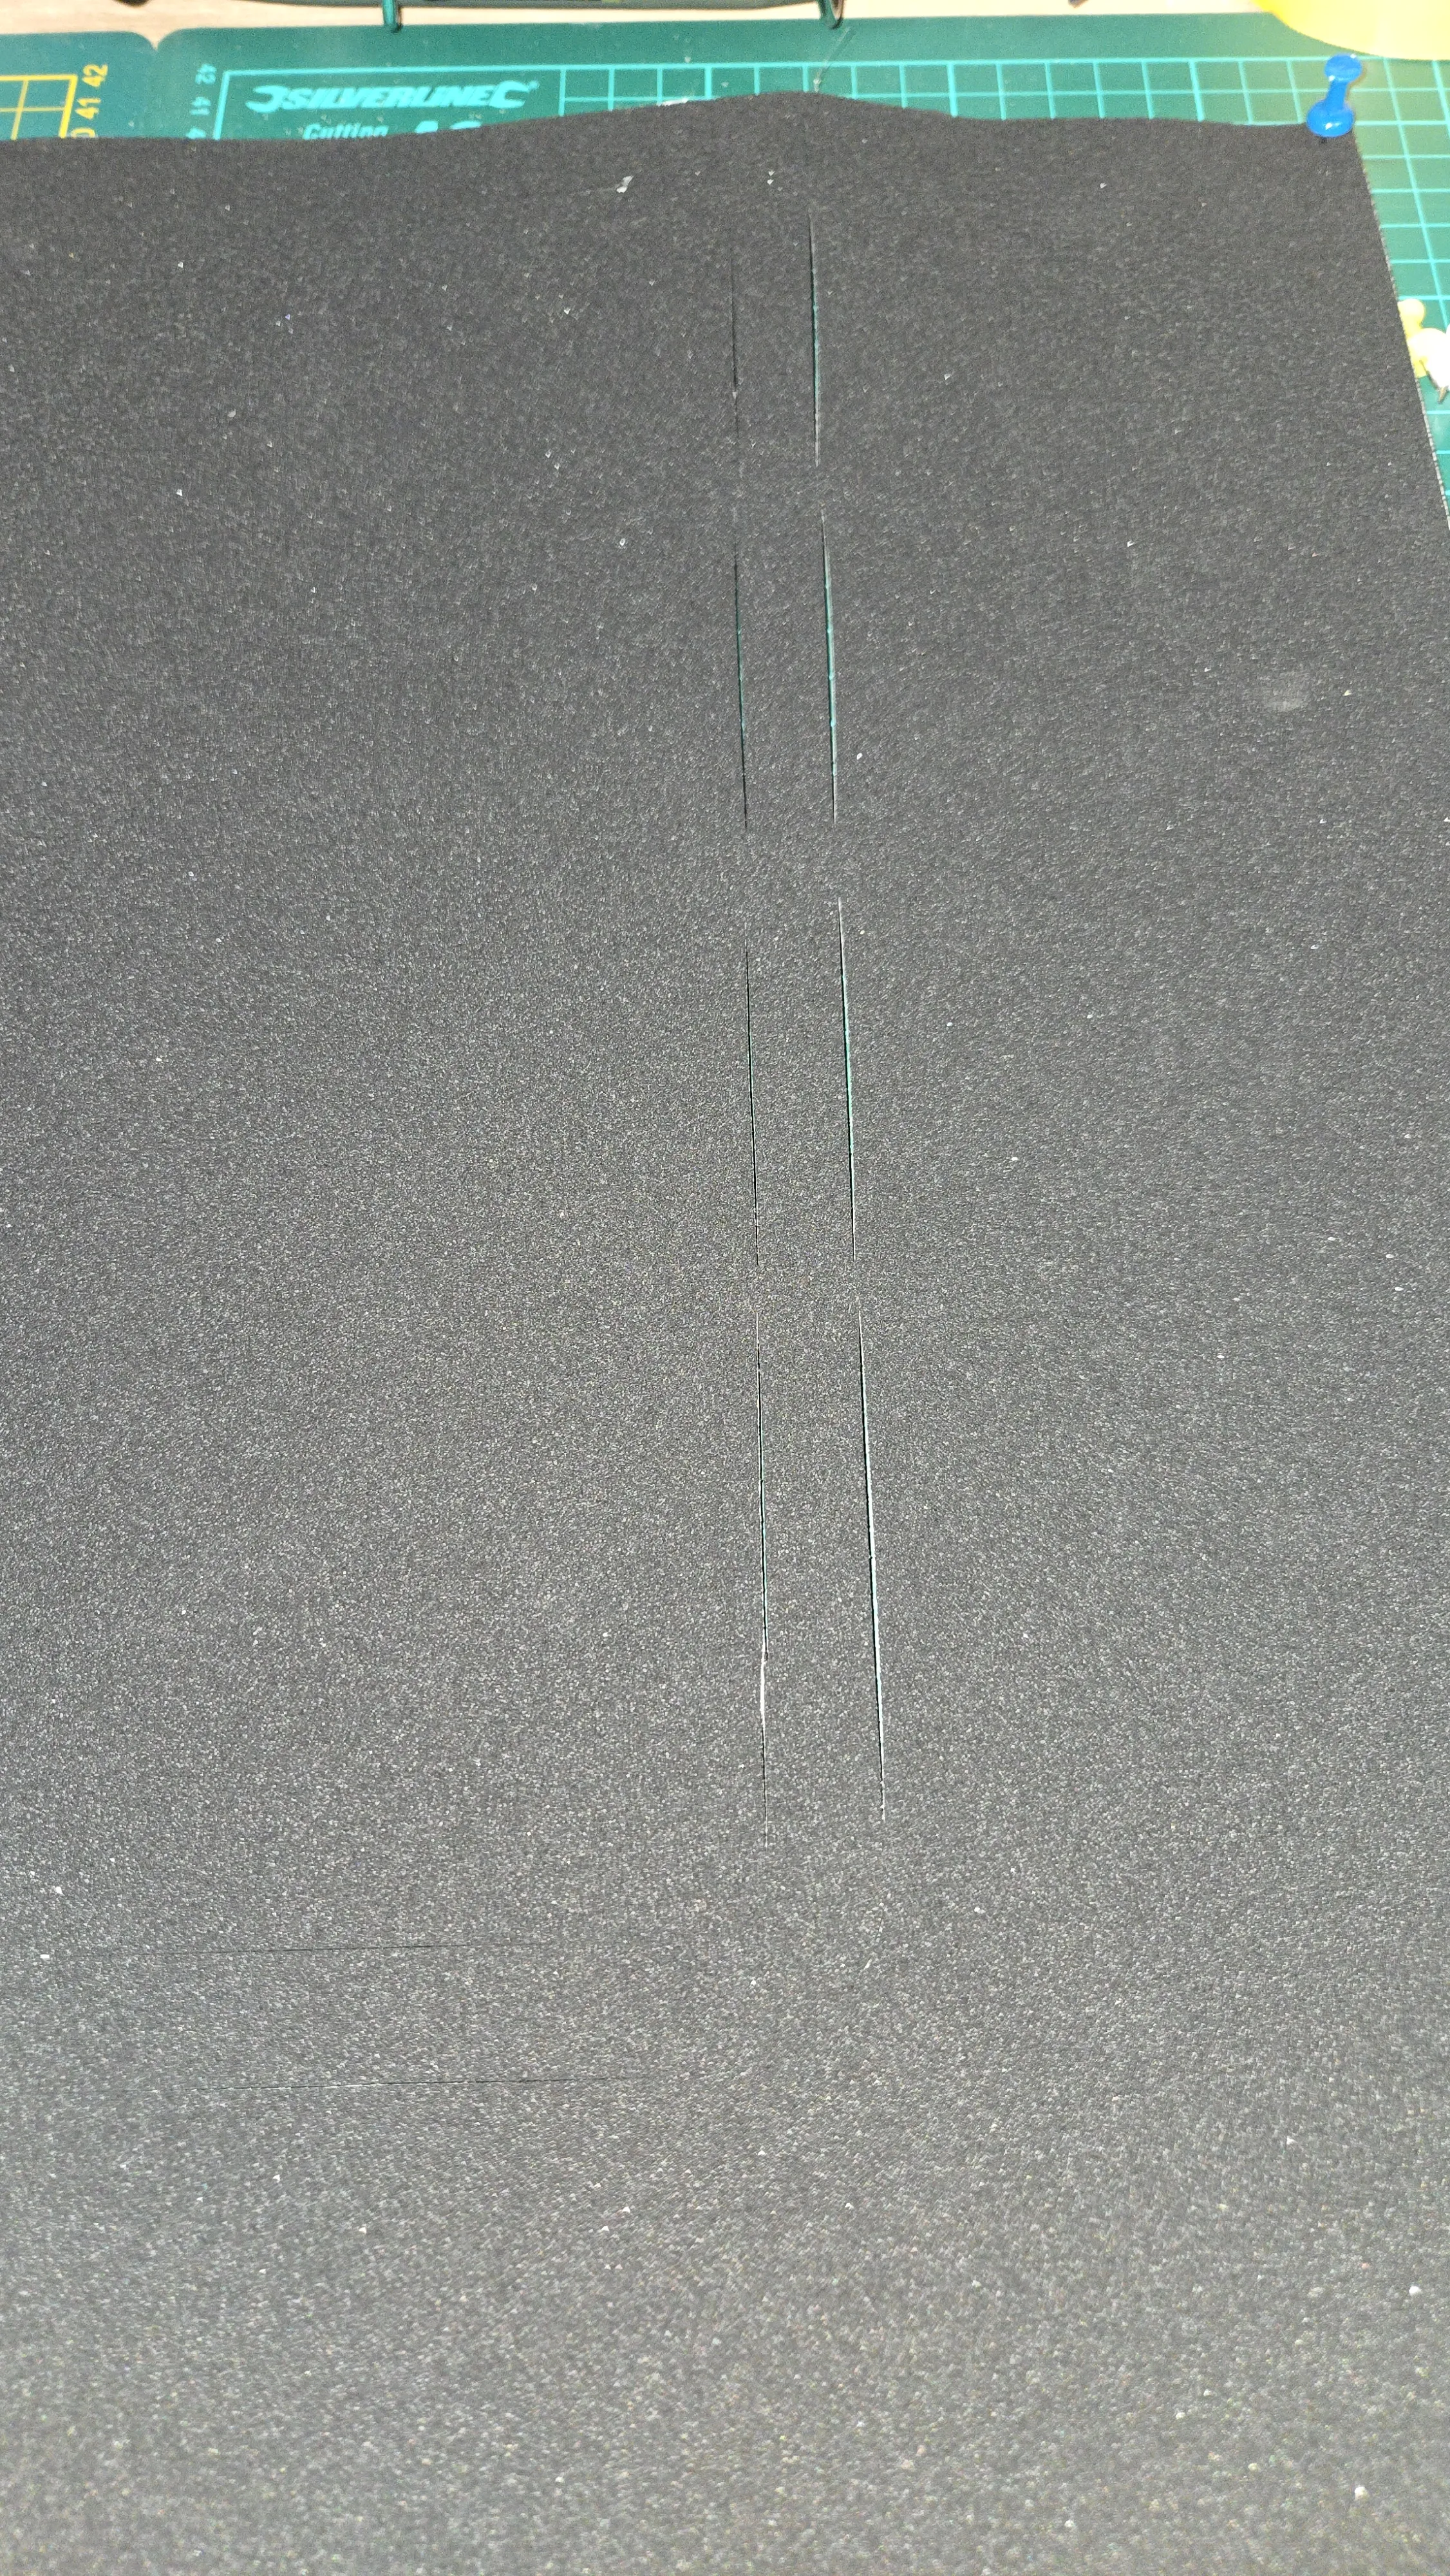
After cutting, remove the backing paper from the adhesive side and apply it to the frame.
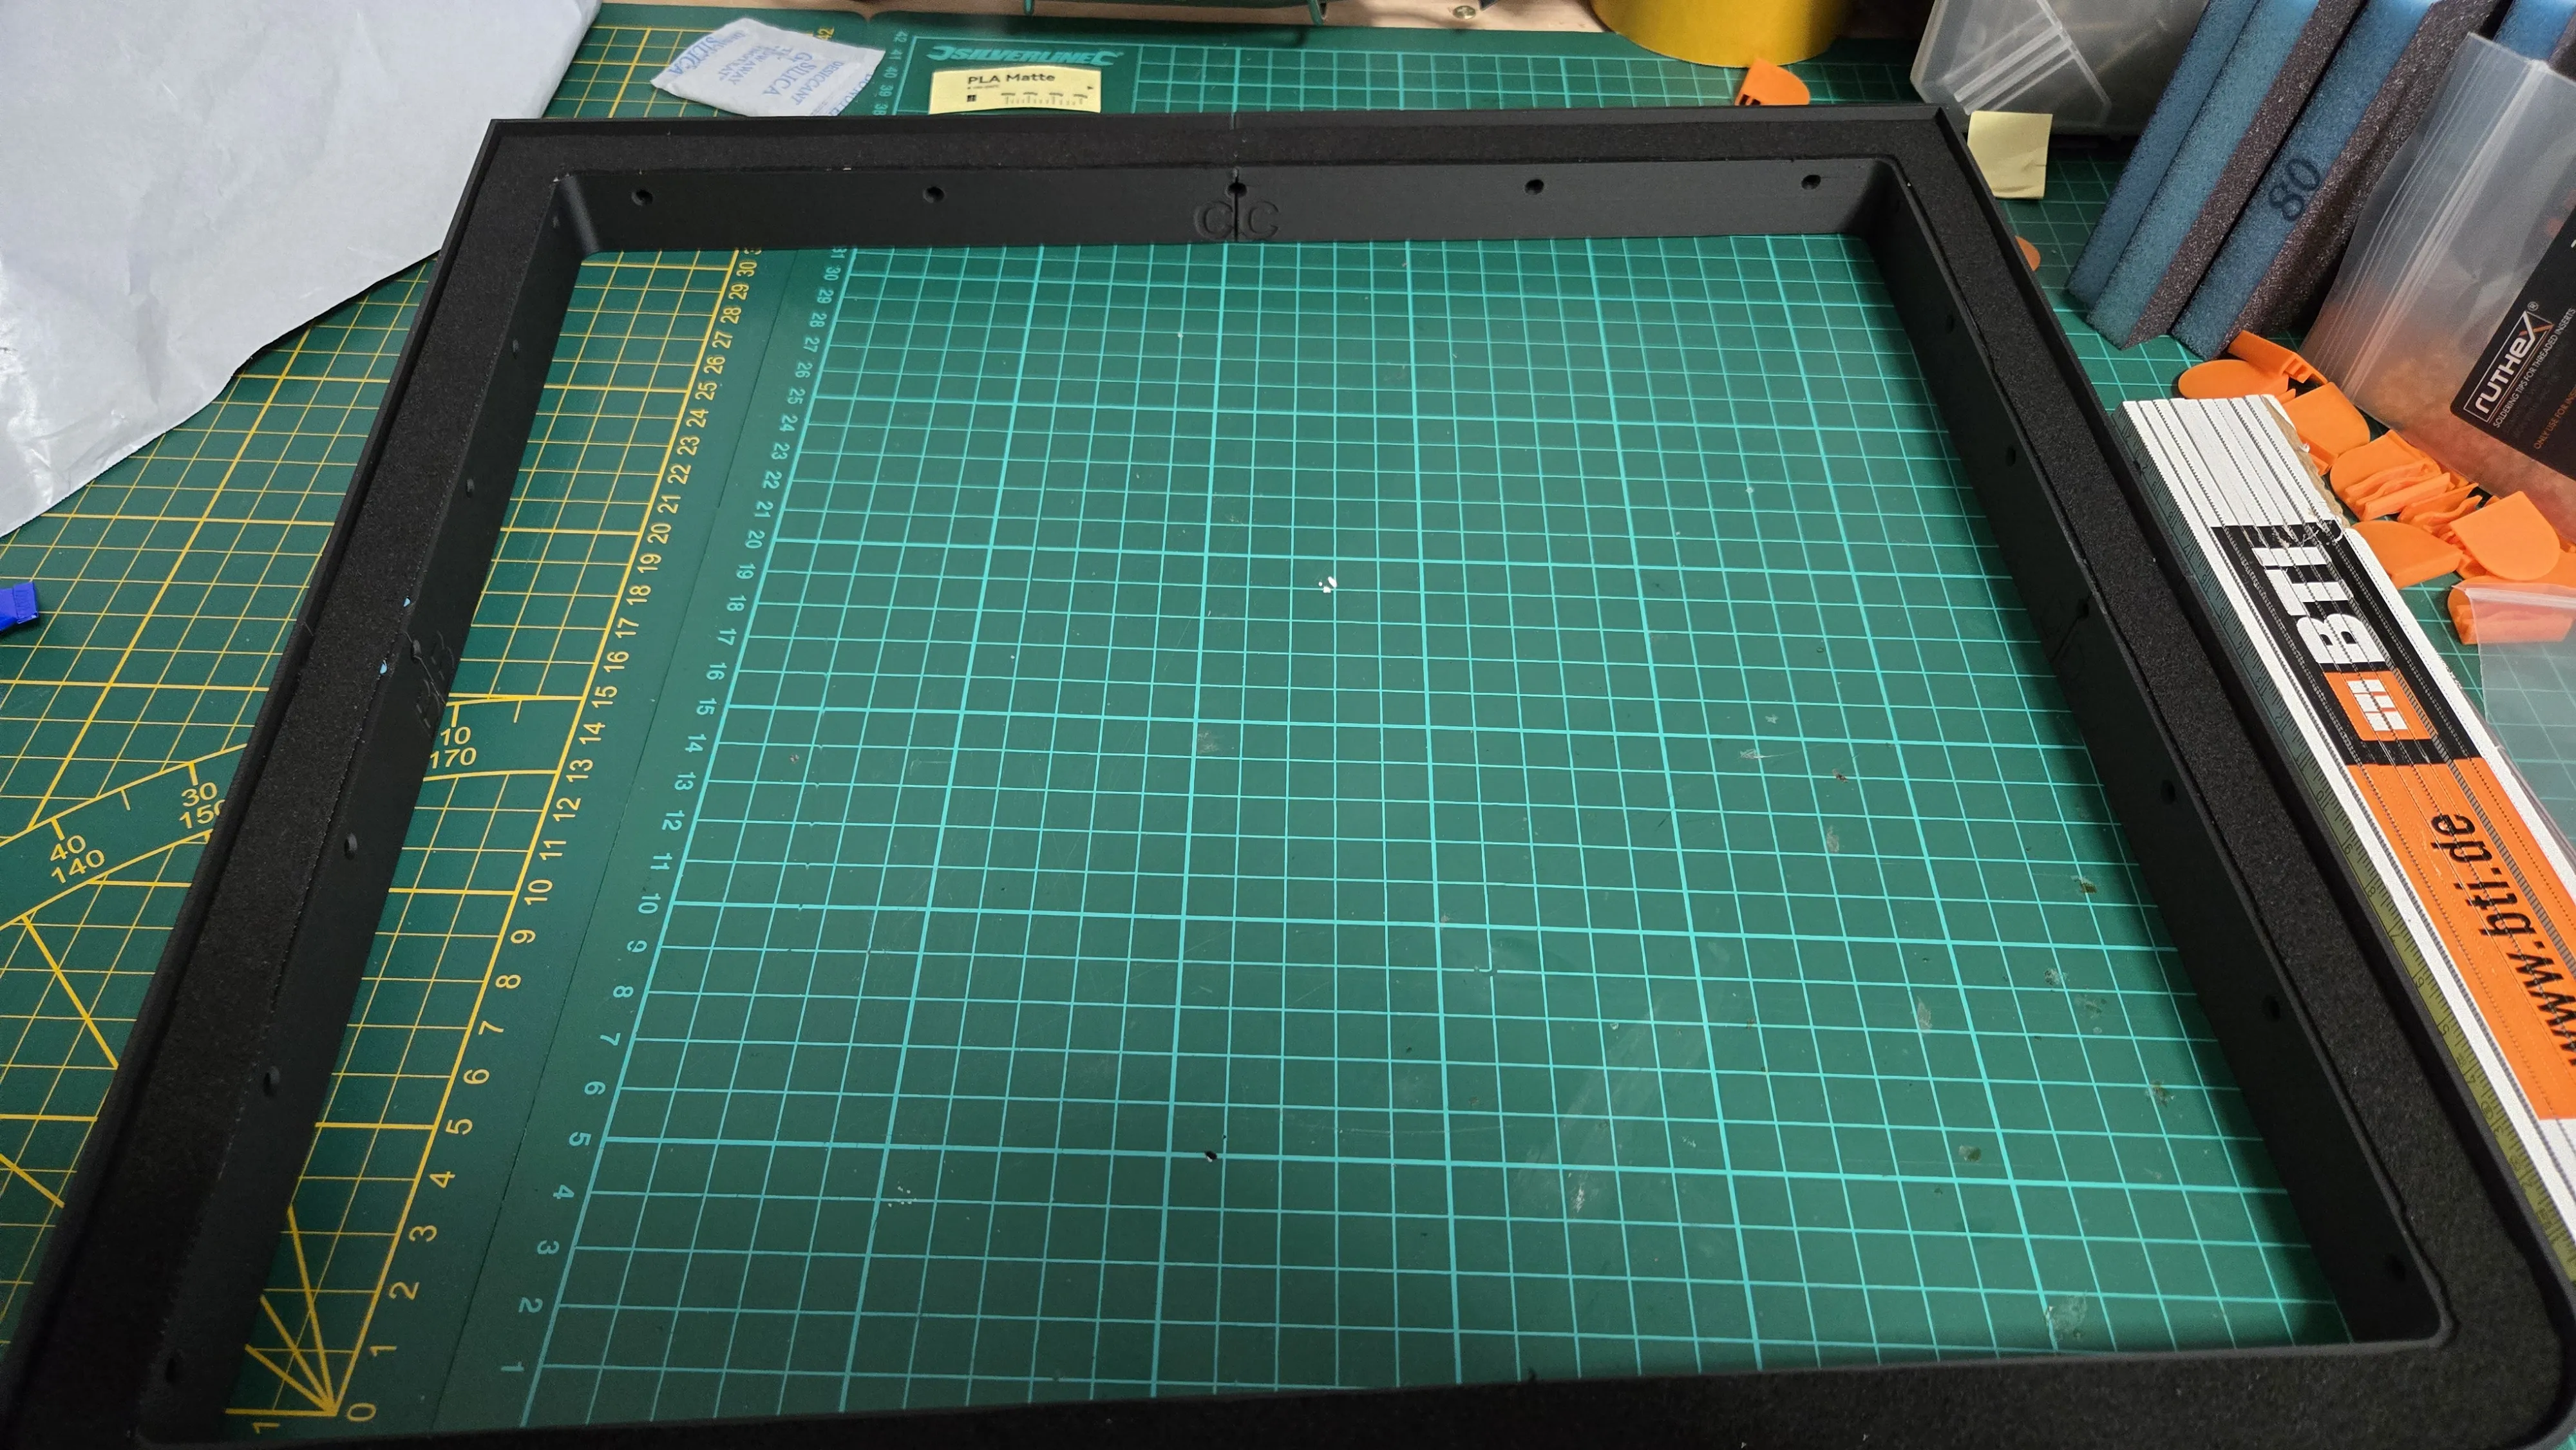
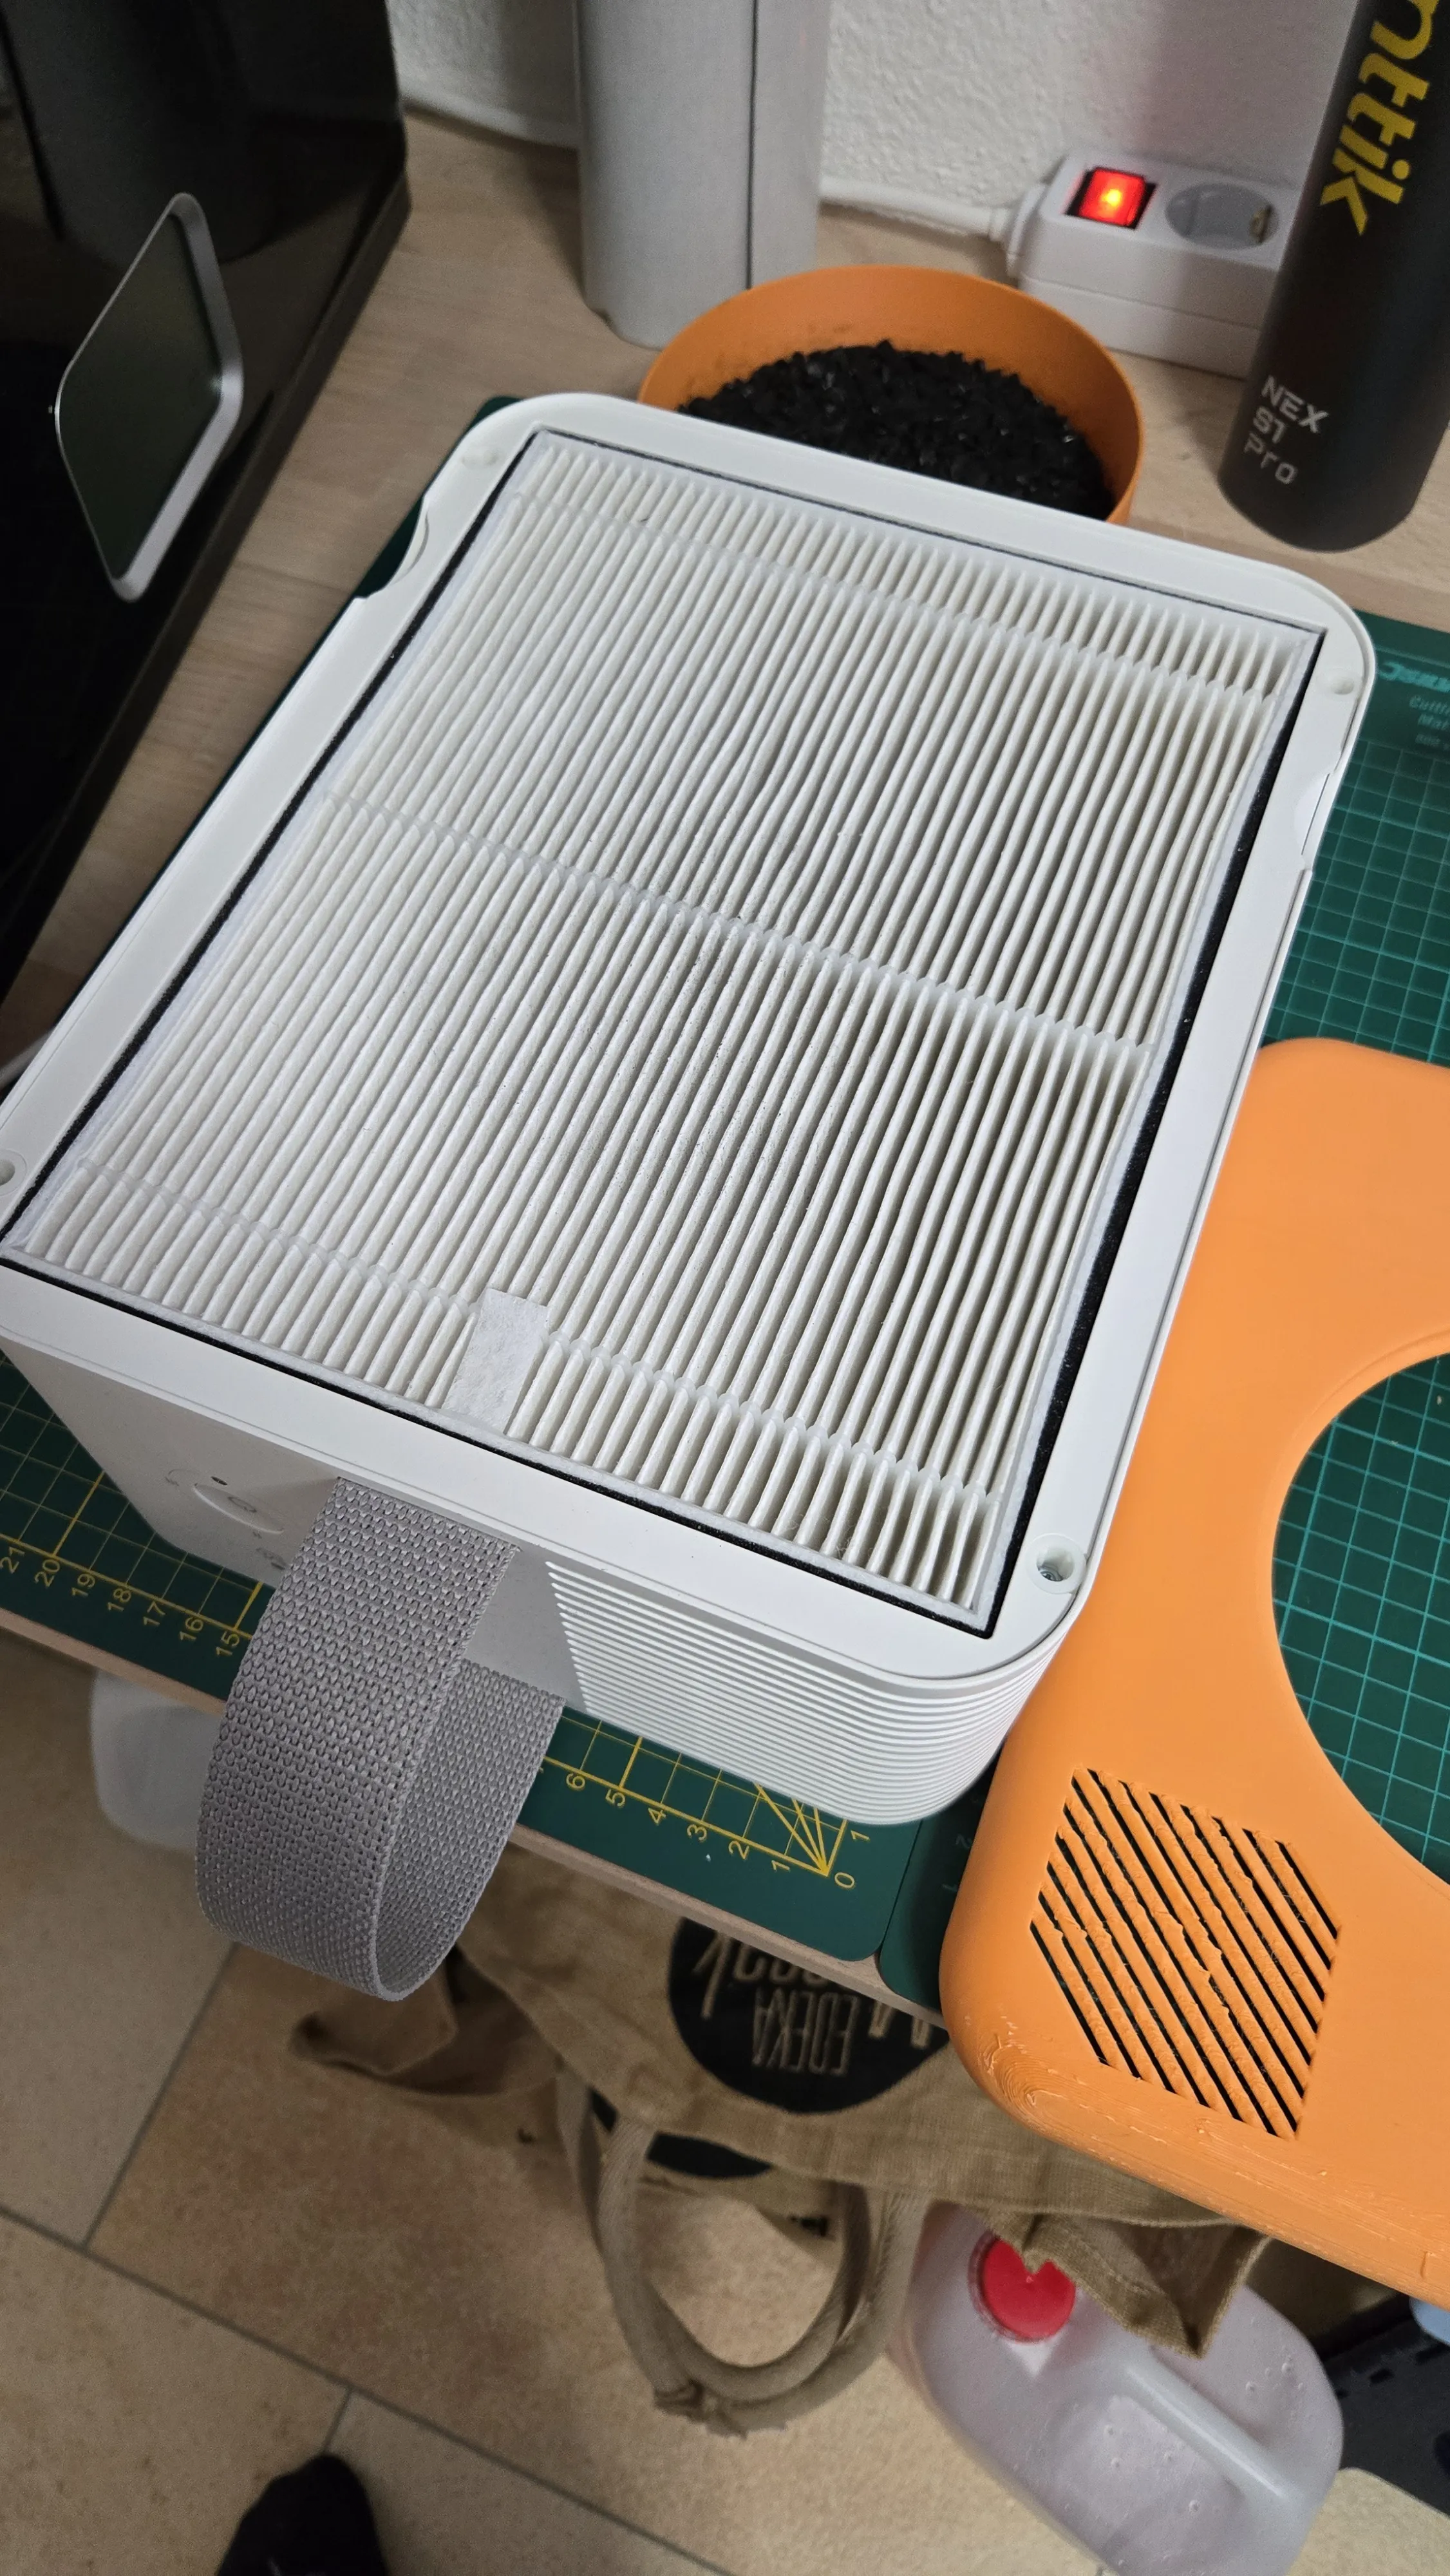
4. Now, simply replace the original air purifier lid with the printed version, screw the sieve into the thread, and attach the suction bell. Trim the exhaust hose to the desired length and attach it to the suction bell and the angle adapter. Done! :)
Boost Me (for free)
License



Comment & Rating (18)