Hellboy – Good Samaritan Revolver Prop Replica


Print Profile(2)


Description
Thanks for checking out my model! Interested in supporting my work or selling prints?
Support Crew – Show some love and help keep the projects flowing
Galactic Maker Foundry – Sell physical prints of my original designs
Foundry License+ – Sell prints and use my photos for listings
🎉 Supporter-only Discord coming soon – get early access, tips, and sneak peeks!
Membership
Join here to support or get a license
Boost Me (for free)
If you enjoyed this model, give it a boost to help me get more filament for testing and creating new models to release here on MakerWorld! Got an idea or something you'd love to see next? Drop a comment below – I’m always open to suggestions!
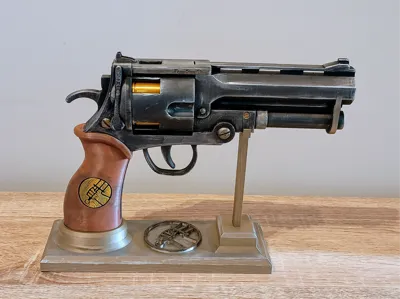
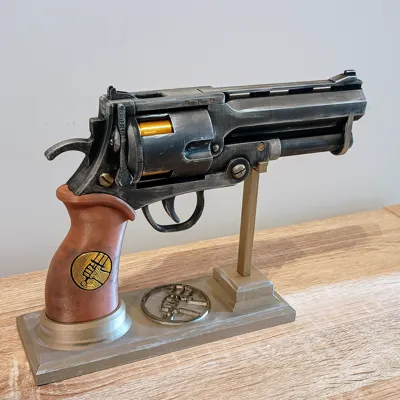
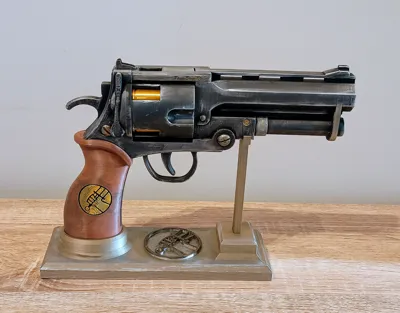
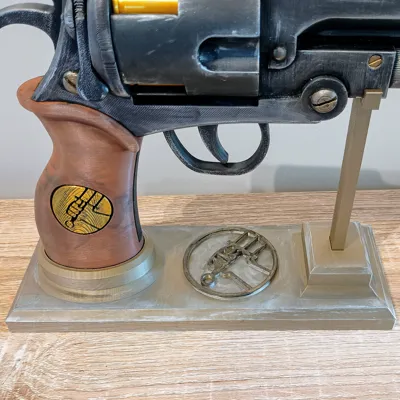
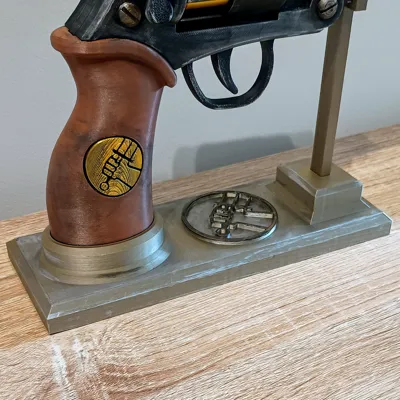
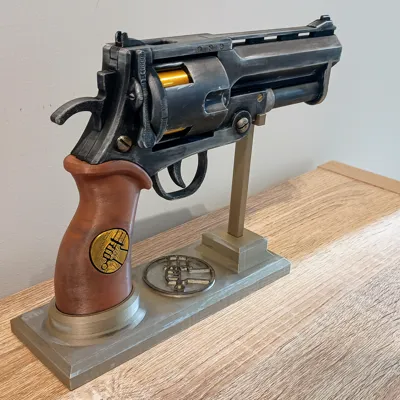
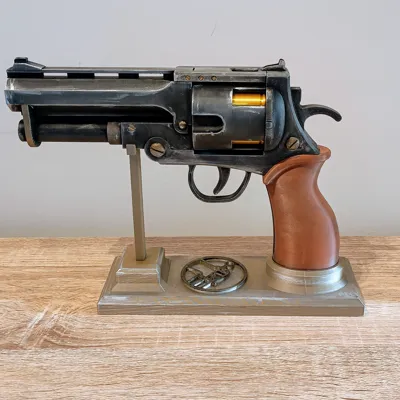
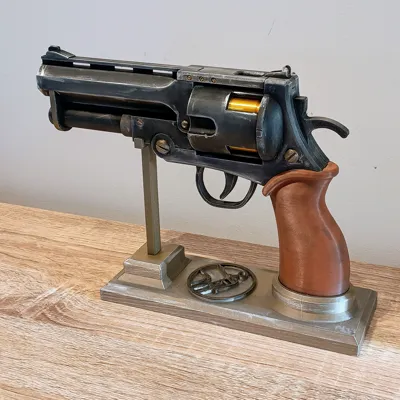
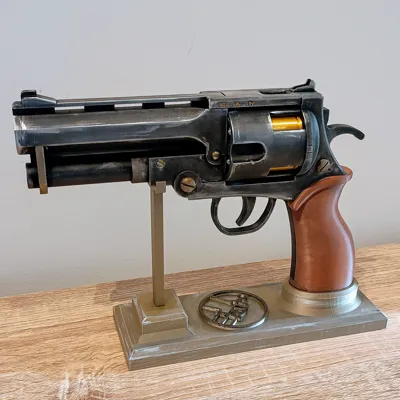
“The Good Samaritan” – Hellboy’s iconic sidearm, now ready for your printer!
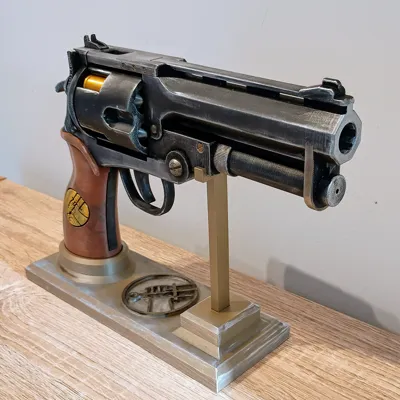
This is a 3D-printable prop replica of the famous revolver from the Hellboy universe, complete with a custom display stand, detailed grip emblem, and that unmistakable oversized look.
Designed with FDM printing in mind, it prints in multiple parts for easier handling, assembly, and finishing. Whether you’re a fan of the comics or movies, building out a cosplay, or just want a badass piece for your shelf, this is a fun and rewarding print that really pops with some weathering and metallic paint.
Assembly Instructions:
- Print all parts as oriented or per your preferred slicing setup.
- Assemble the main body:
- Glue the left frame, middle frame, and right frame together using the 4 frame pins for alignment.
- Prepare and install the cylinder:
- Glue the cylinder pins into the cylinder.
- Insert the 4 bullets into the cylinder – they should friction fit tightly.
- Align the bullet seams facing inward so they are hidden.
- Glue the cylinder into the center hole of the mid frame, making sure to align it so there are two bullets visible on each side.
- Attach the barrel:
- Glue the barrel onto the cylinder and frame, aligning the pin on the cylinder with the matching hole in the barrel.
- Glue the top frame piece on top of the assembly.
- Attach the grip:
- Glue the grip onto the bottom of the frame.
- Detail the grip:
- Glue the medallion into the grip recess.
- Glue the grip cap onto the bottom of the grip.
- Optionally, attach the grip ring if you want the full look.
- Final detail:
- Glue the lever onto the right side of the frame.
Membership
Unlock the License to Create! 🚀 Love my Star Wars-inspired dioramas, props, and displays? Get a Makerworld Membership and gain a commercial license to sell prints of my designs! 🔹 Sell 3D Prints of My Designs – Perfect for makers, hobbyists, and small businesses. 🔹 Support My Work – Your membership helps me create more high-quality, sci-fi-inspired STL files. 🔹 Instant Access – Get the rights to print & sell with just one click! Join now and bring the galaxy to life—one print at a time! 🌌
License
You shall not share, sub-license, sell, rent, host, transfer, or distribute in any way the digital or 3D printed versions of this object, nor any other derivative work of this object in its digital or physical format (including - but not limited to - remixes of this object, and hosting on other digital platforms). The objects may not be used without permission in any way whatsoever in which you charge money, or collect fees.
Comment & Rating (145)