
Bullet Feeder - Reloading Assistant
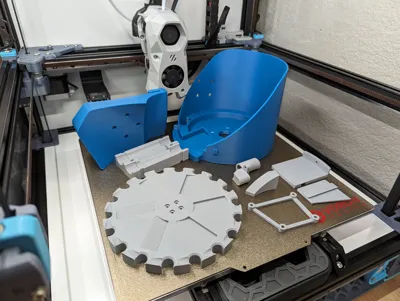

Print Profile(1)

Bill of Materials


- M5 x 20 SHCS x 4:
- M5 Nylon Locknut x 4:
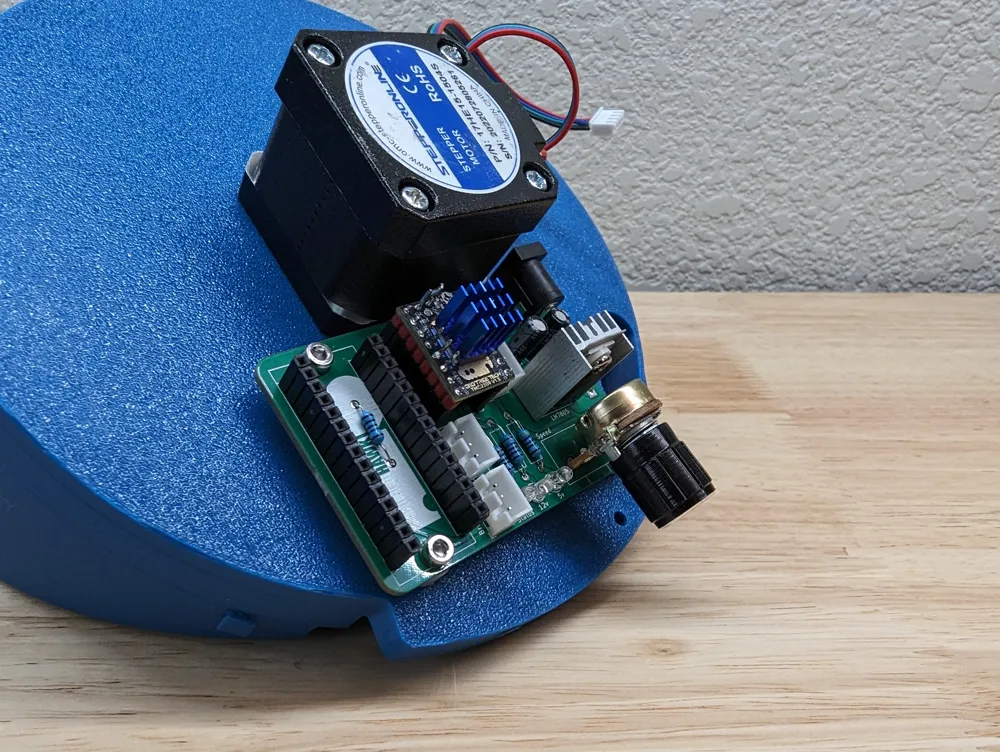
- Bird Feeder PCB x 1:
- NEMA 17 Stepper Motor x 1:
- Arduino Nano (Type C Preferred) x 1:
- TMC2209 Stepper Driver x 1:
- 30” 22AWG – 3 Core Cable x 1:
- 5mm Stepper Flange x 1:
- LM7805 Linear Voltage Regulator x 1:
- TO-220 Cooling Radiator x 1:
- 5VDC Break Beam Sensor x 1:
- 3-pin 10K Potentiometer x 1:
- 3mm LED (Any color you want) x 3:
- Resistor to match above LED x 3:
- 1K Ohm THT Resistor x 1:
- 1N4007 THT Diode x 1:
- 100uF Alum. Electrolytic Capacitor x 1:
- 47uF Alum. Electrolytic Capacitor x 1:
- 10uF Alum. Electrolytic Capacitor x 1:
- 0.1uF Ceramic Capacitor x 1:
- 2.1mm Female DC Barrel Jack (Center Hot) x 1:
- 3-pin JST THT Female Connector x 2:
- 4-pin JST THT Female Connector x 1:
- 3-pin JST Male Connector (with crimps) x 1:
- 4-pin JST Male Connector (with crimps) x 1:
- 12v 2A Power Supply w/ Barrel Jack x 1:
- 15 Pin Header – Female/Socket x 2:
- 8 Pin Header – Female/Socket x 2:
- 2 Pin Header – Female/Socket x 1:
- Double Alpha Powder Die x 1: This die flares the case just enough to allow bullets to be placed without falling over.
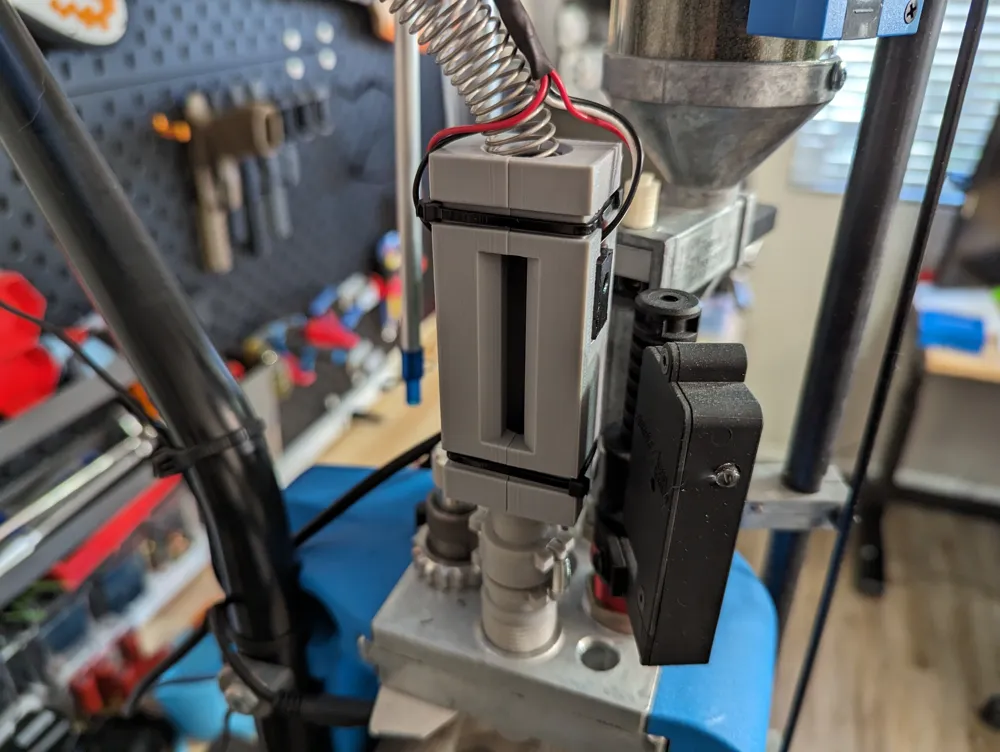
- Double Alpha Large Spring x 1: Spring used to transfer bullets from the feeder to the lower die.
Description
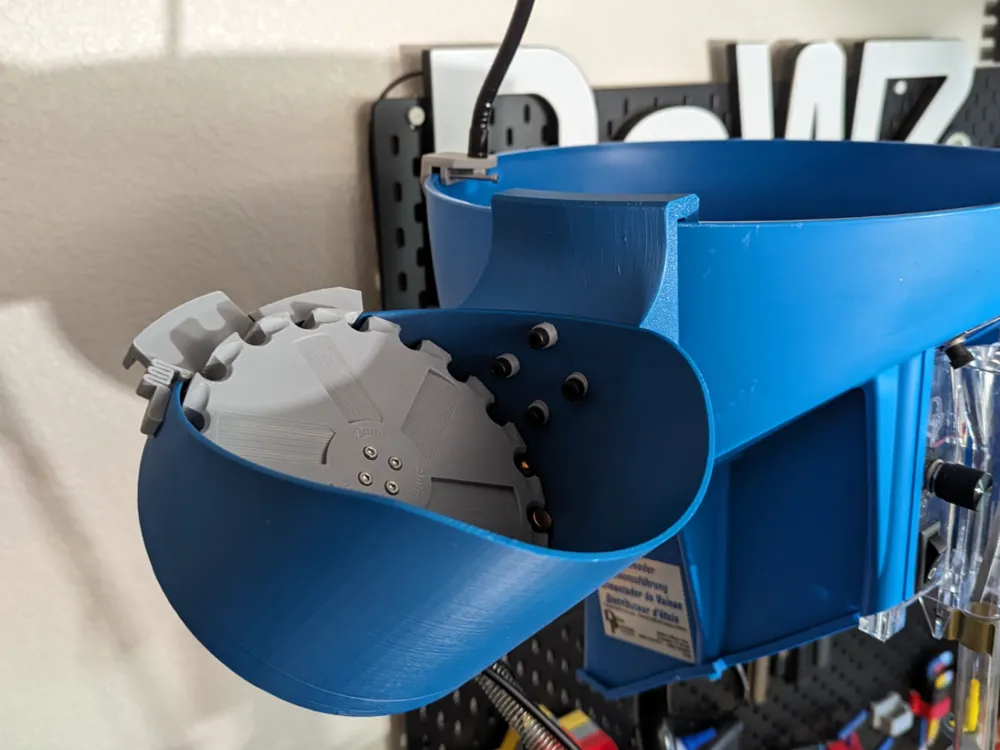
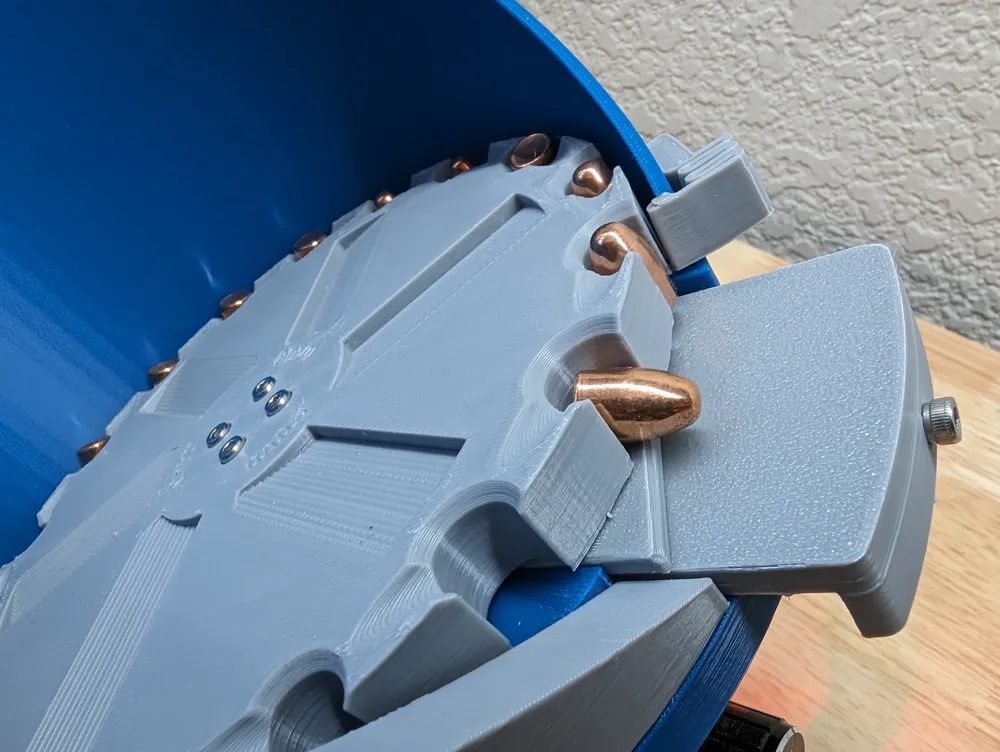
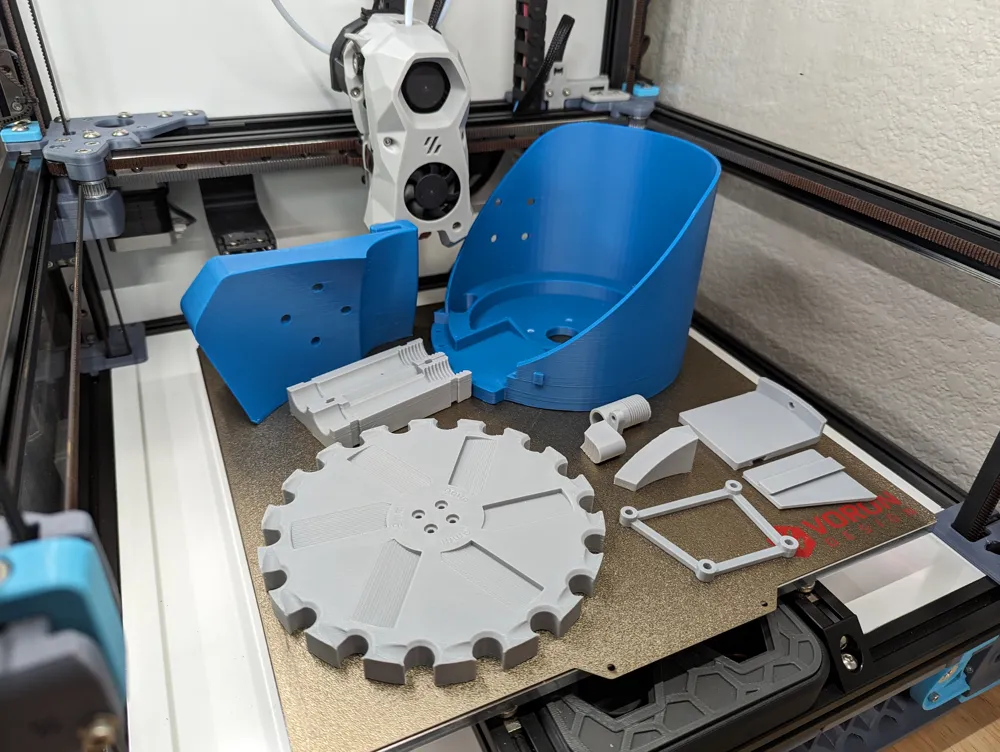
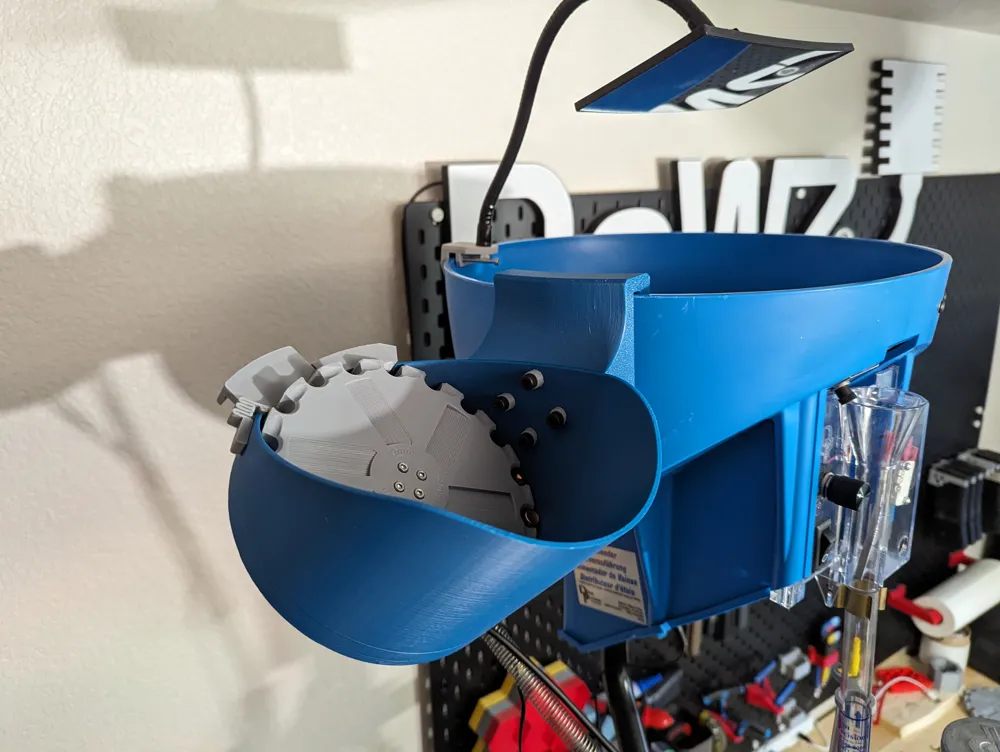
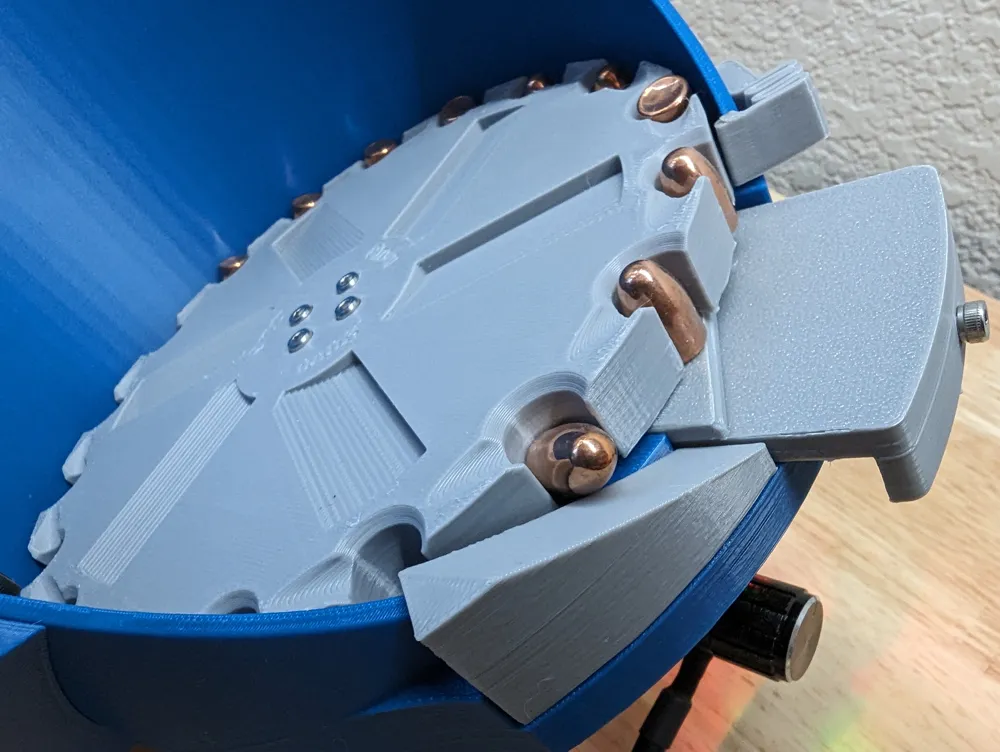
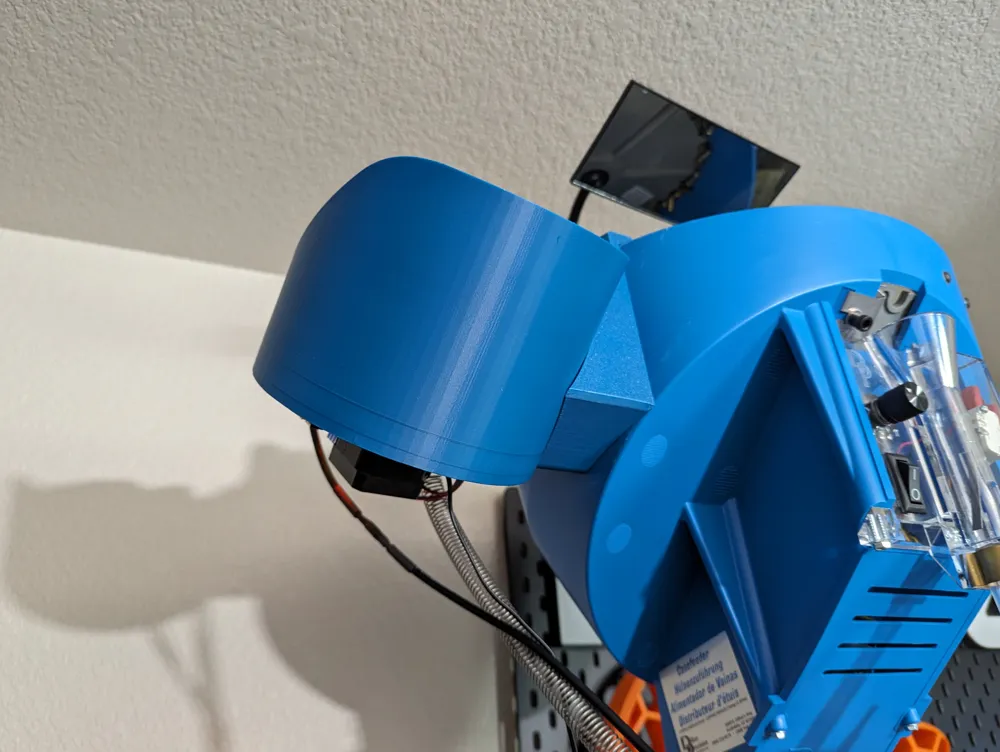
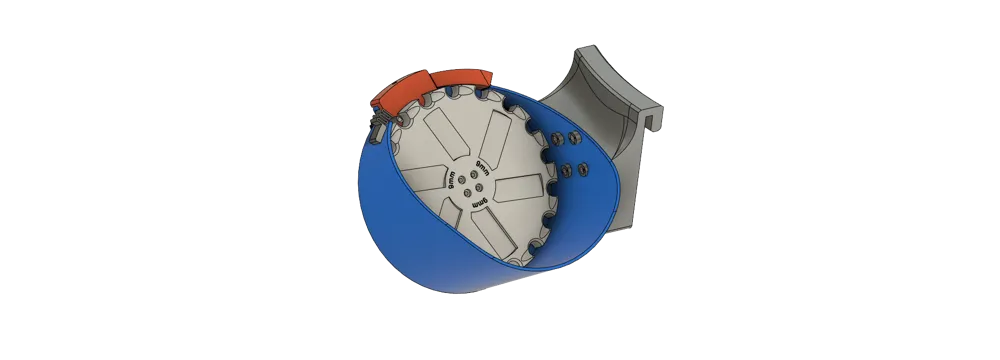
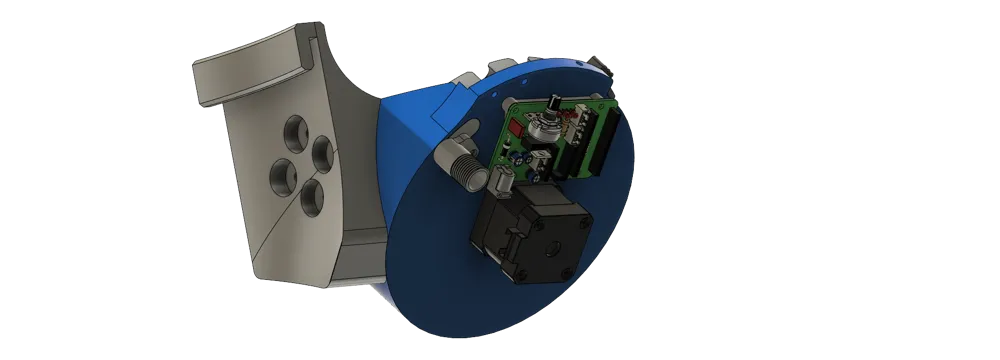
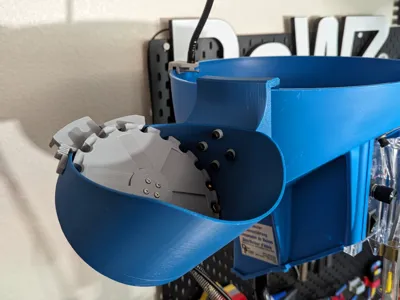
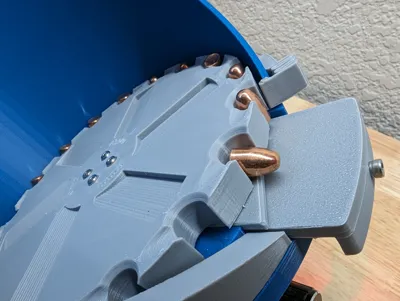
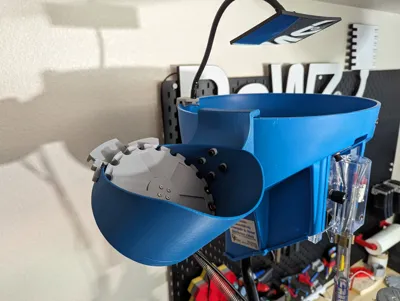
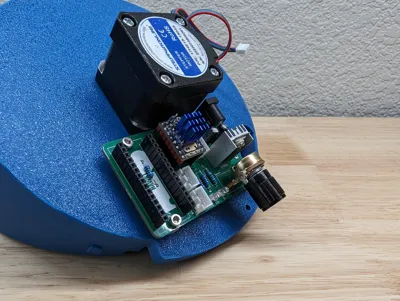
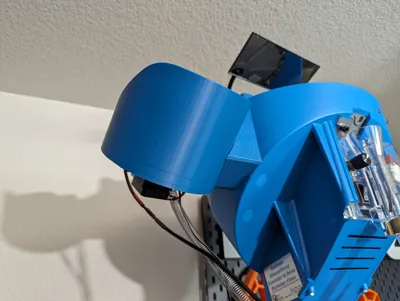
Welcome to the Bird Feeder assembly manual. In case you made it this far without knowing, Bird Feeder is a DIY bullet feeder for your progressive reloading press. You place bulk bullets in the hopper and Bird Feeder will flip them the correct direction and drop them down to your toolhead.
This is Revision B of this model and while it certainly does have improvements over the first, it is a bit more involved. In addition to the normal wiring and crimping, you need to have a PCB made in China, order a bunch of small components and then when they arrive in 5-6 business weeks, solder them on to the board. Lastly, you then will need to load the firmware and make all the final adjustments. Do not sweat though, we’re going to walk you through it.
If this sounds too involved or like something that you frankly just do not want to mess with, you should know that the original model is just as capable and not inferior in anyway, it just lacks these cool features:
The main benefits to Revision B are:
- Use of a NEMA 17 Stepper Motor (easily to consistently source the same component).
- Nearly silent operation with an incredibly wide range of speed adjustment.
- Built in “slipper clutch” to prevent damage in the event of a jam.
- Small footprint with no external speed or motor controller. Everything is housed on the unit.
- Spring loaded nose guide for quick and easy adjustment.
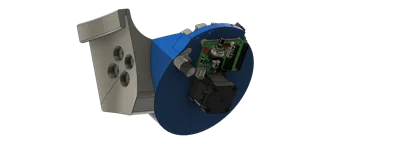
- A revised mount that better contours to the shape of the Dillon XL Case feeder.
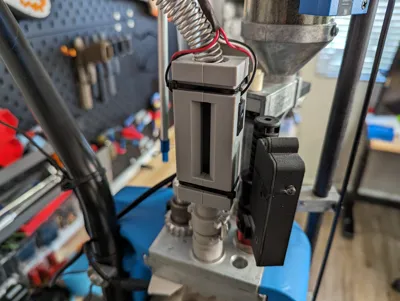
- Feeder Stop Switch with optical sensors to eliminate the fine tuning of a mechanical switch.
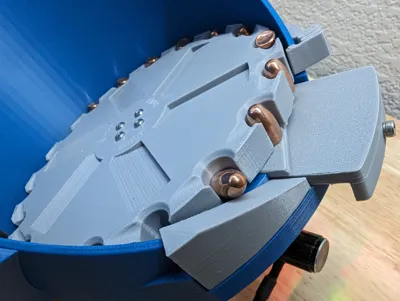
- Optional hardware free bullet “kicker” to remove bullets that are not fully seated in the collator.
Variations:
- Manual (No electronics)
- Uses the “Main Body - Bird Feeder” body along with the “Manual Knob and Shaft” plates.
- Allows you to turn the collator plate manually. A great option for those working up to the motorized version. Easily upgradable.
- Motorized
- Legacy Version
- This is the original PCB version that is open-source and can be built by yourself or ordered below.
- Still a great option and is great for those that like to tinker with microcontrollers or those interested in learning.
- This model follows the PDF attached below.
- Smart Controller Version
- This is the same core bullet feeder, but with the latest version of the controller.
- It uses a WiFi enabled ESP32 controller to offer greater functionality and flexibility for future upgrades.
- This board is SMD, meaning it doesn't use through hole components (THT) and is not intended to be assembled yourself at home, some of the components are very small!
- You can also learn more about the new Smart Controller HERE.
- The instructions for this version use the below PDF for the assembly of the 3D printed parts, and then the use of the above link for the setup of the controller.
- Legacy Version
After extensive testing, I have found a suitable replacement for the DAA Large spring used for 9mm, it is 9662k76 from McMaster-Carr. Make sure to select the correct optical sensor holder and bullet drop when printing your parts.
Assembly Manual, Firmware and PCB design available at:
https://github.com/DeW-Z/BirdFeeder
I have a number of PCBs that are available to purchase, if you would rather not source it yourself. Click Here.
I have been working on a new version of the PCB, a Smart Controller. This is a more advanced version of the previous generation. This version can be configured, controlled, updated and diagnosed completely through the built-in web portal. It also adds features that were difficult or impossible on the original board, including:
The new Smart Controller can be purchased HERE.
You can also learn more about the new Smart Controller HERE.
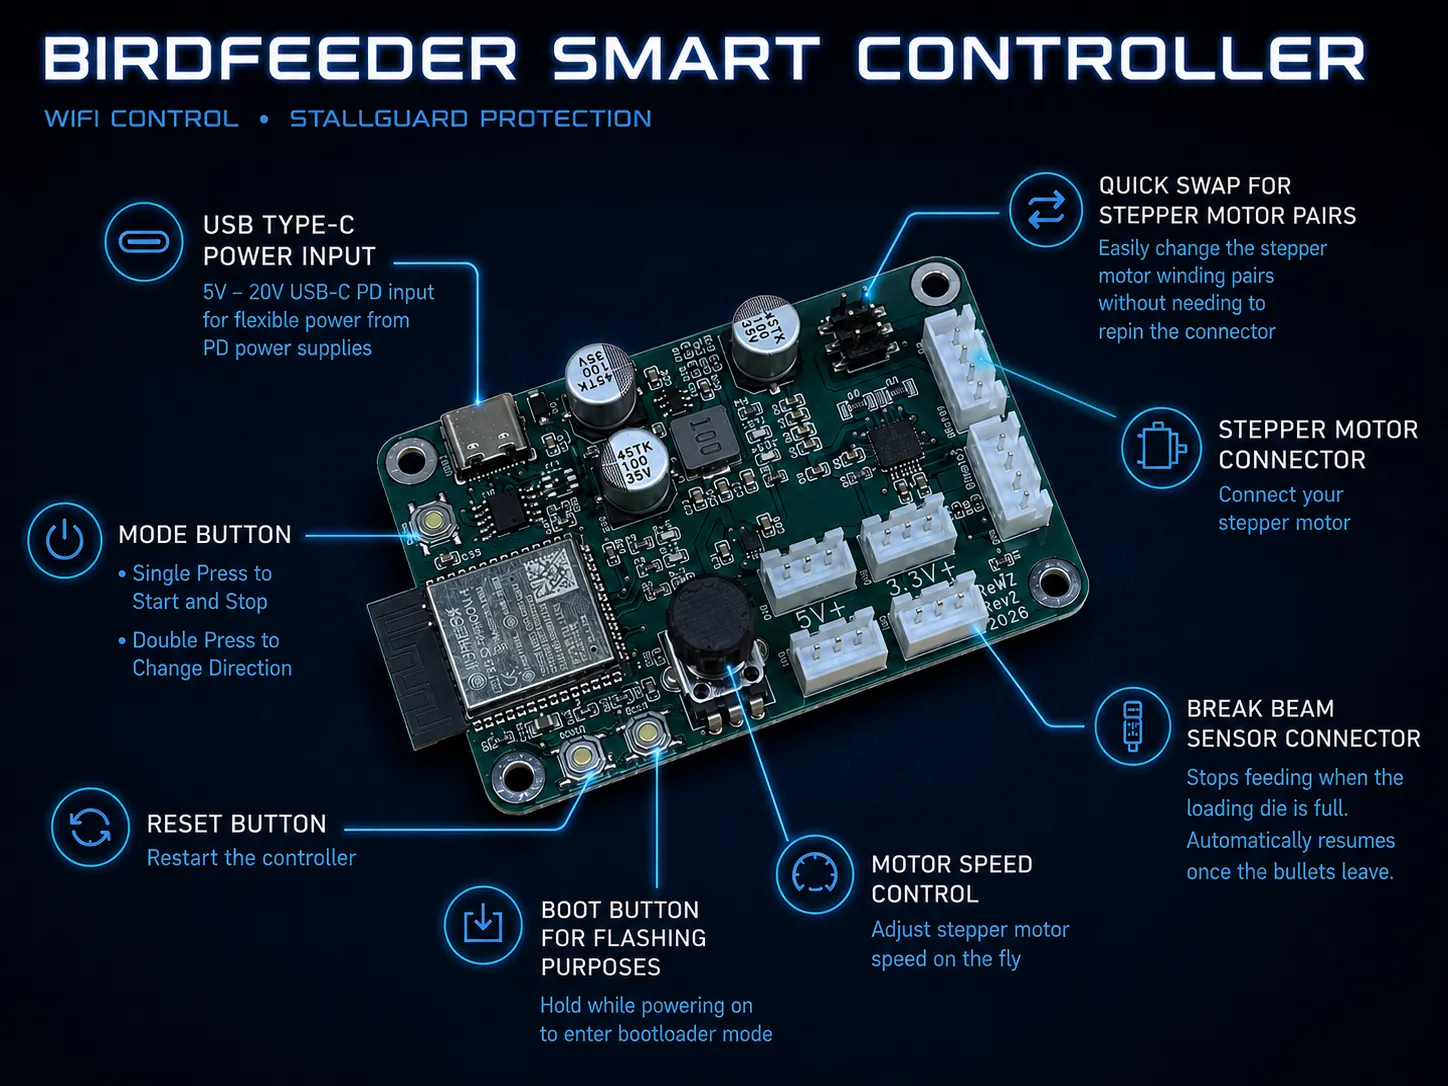
To be clear, the original version of the PCB is still a fantastic option and shouldn't be overlooked. |
Bullet Feeder Die is not made by me. It is available to download here under the ‘Creative Commons - Attribution License'.
The die was created by Slider, originally from here.
Documentation (1)
License

You shall not share, sub-license, sell, rent, host, transfer, or distribute in any way the digital or 3D printed versions of this object, nor any other derivative work of this object in its digital or physical format (including - but not limited to - remixes of this object, and hosting on other digital platforms). The objects may not be used without permission in any way whatsoever in which you charge money, or collect fees.


Comment & Rating (61)