
Portal 2 Companion Cube - Magnetic Levitation KIT
Print Profile(1)

Bill of Materials

- SuperGlue x 1:
Description
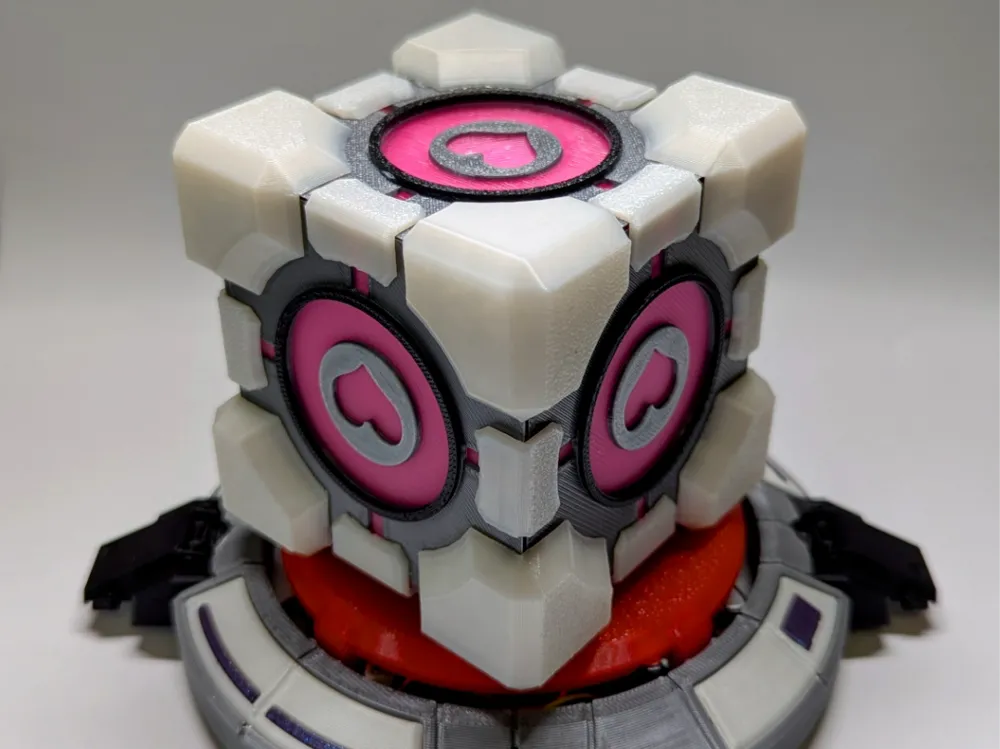
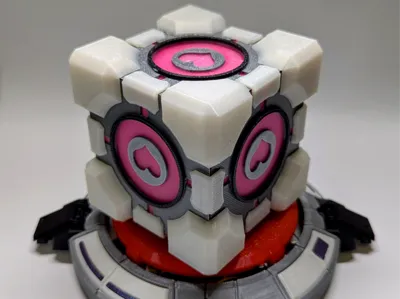
I used six colors of PLA filament for this project:
- White
- Black
- Silver
- Translucent pink
- Red
- Blue (mine looks dark; it's used for the small inserts on the white panels of the button)
Printing & Assembly Instructions
The cube faces are designed to be printed with an AMS (Automatic Material System), but you can also manually pause the print at the correct layer and change the filament.
Assembly requires:
- Super glue gel
- Spray activator (for faster bonding)
Building the Cube:
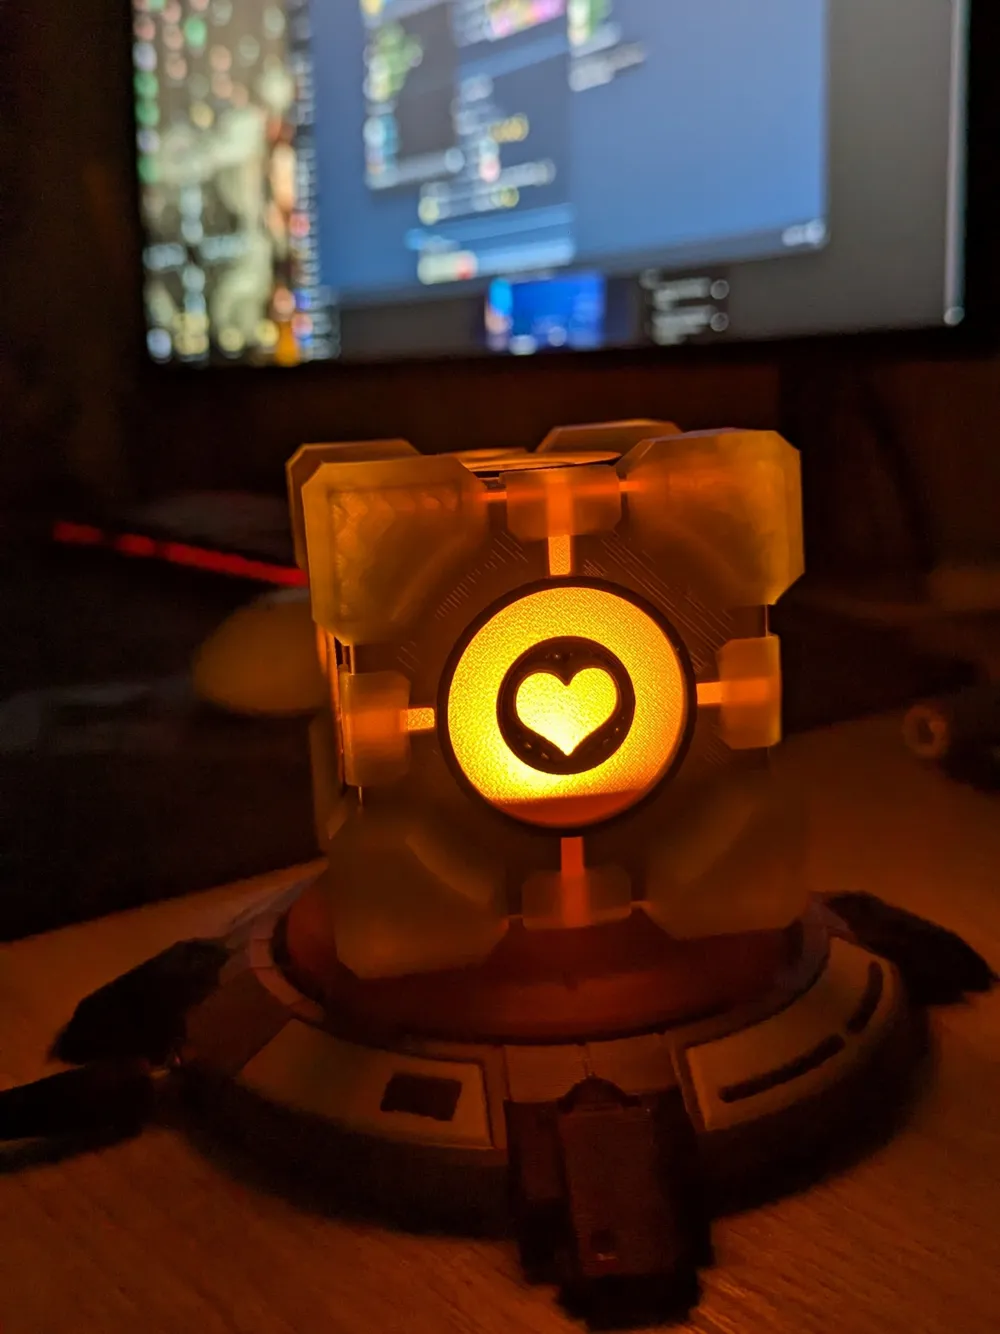
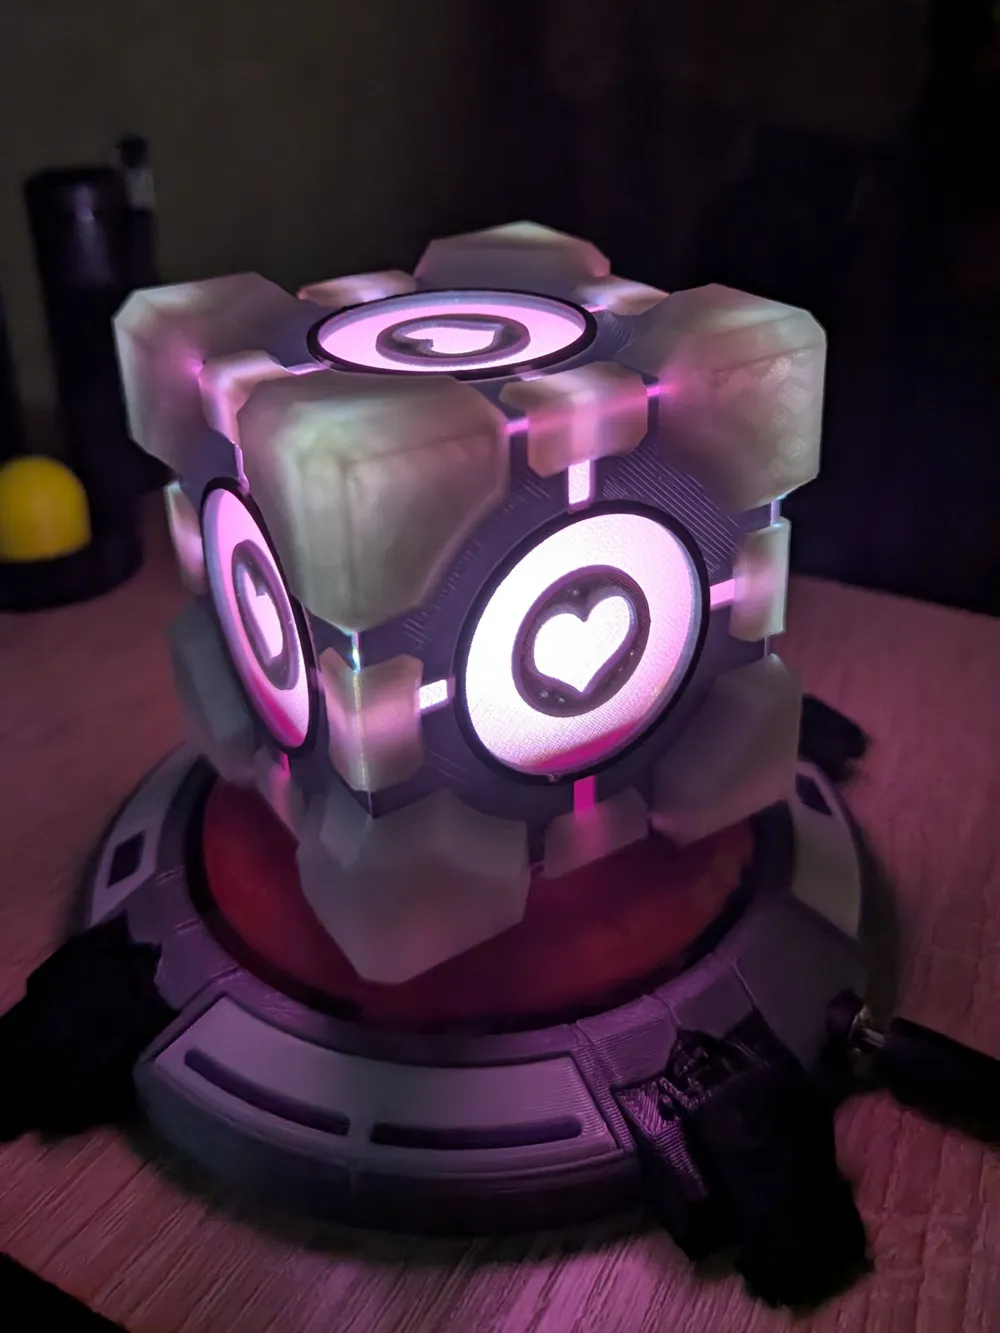
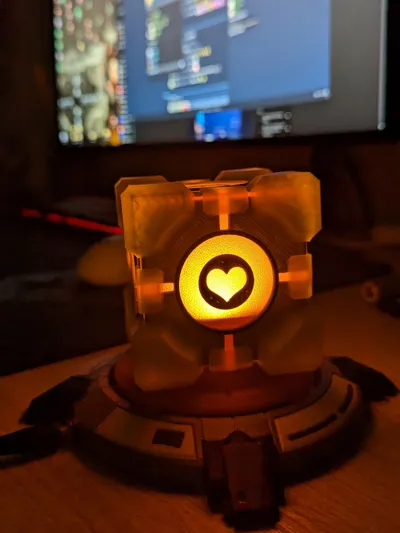
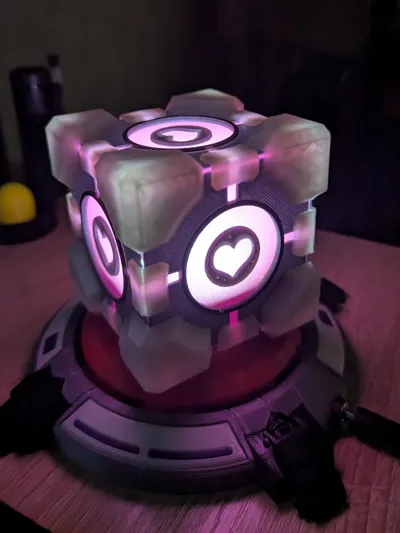
- Take one cube face and glue the white corner pieces along the edges.
Attach four more faces and then add four more L-shaped corner pieces.
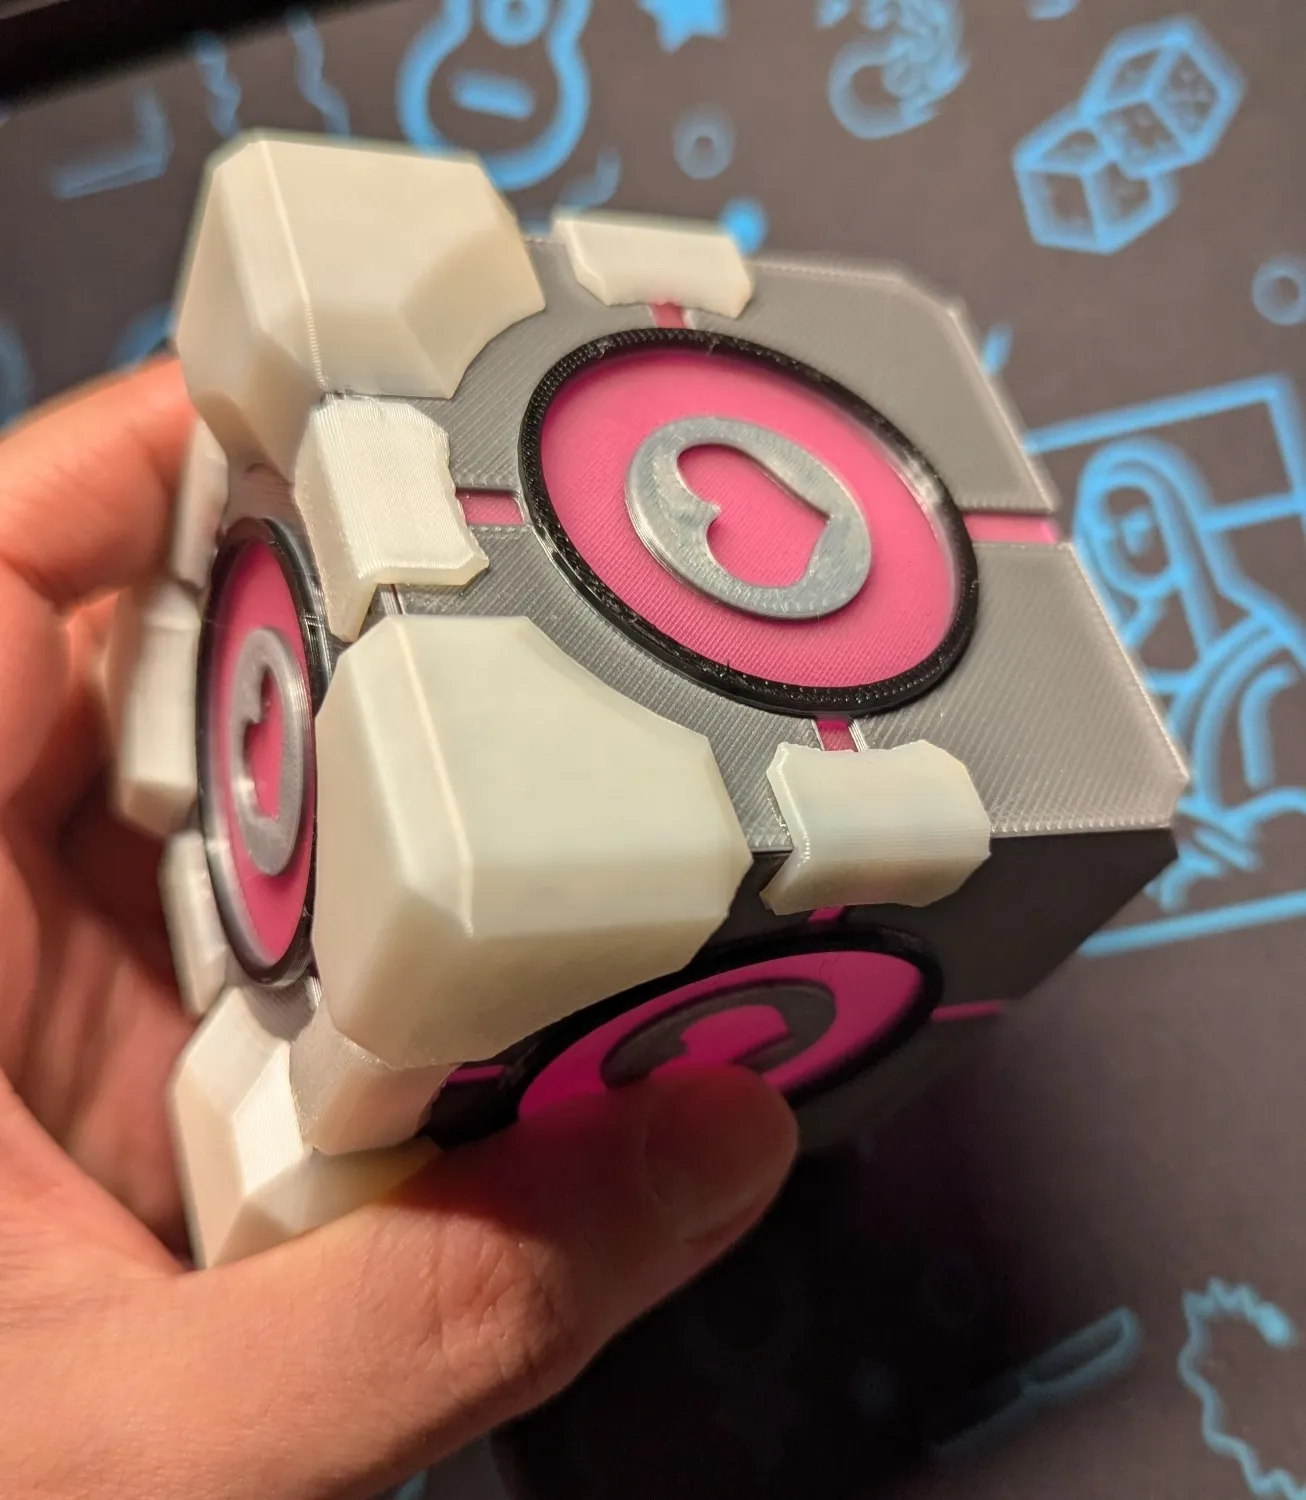
- Take the magnet face and glue the remaining corners to it.

Insert a magnet inside and close the lid.
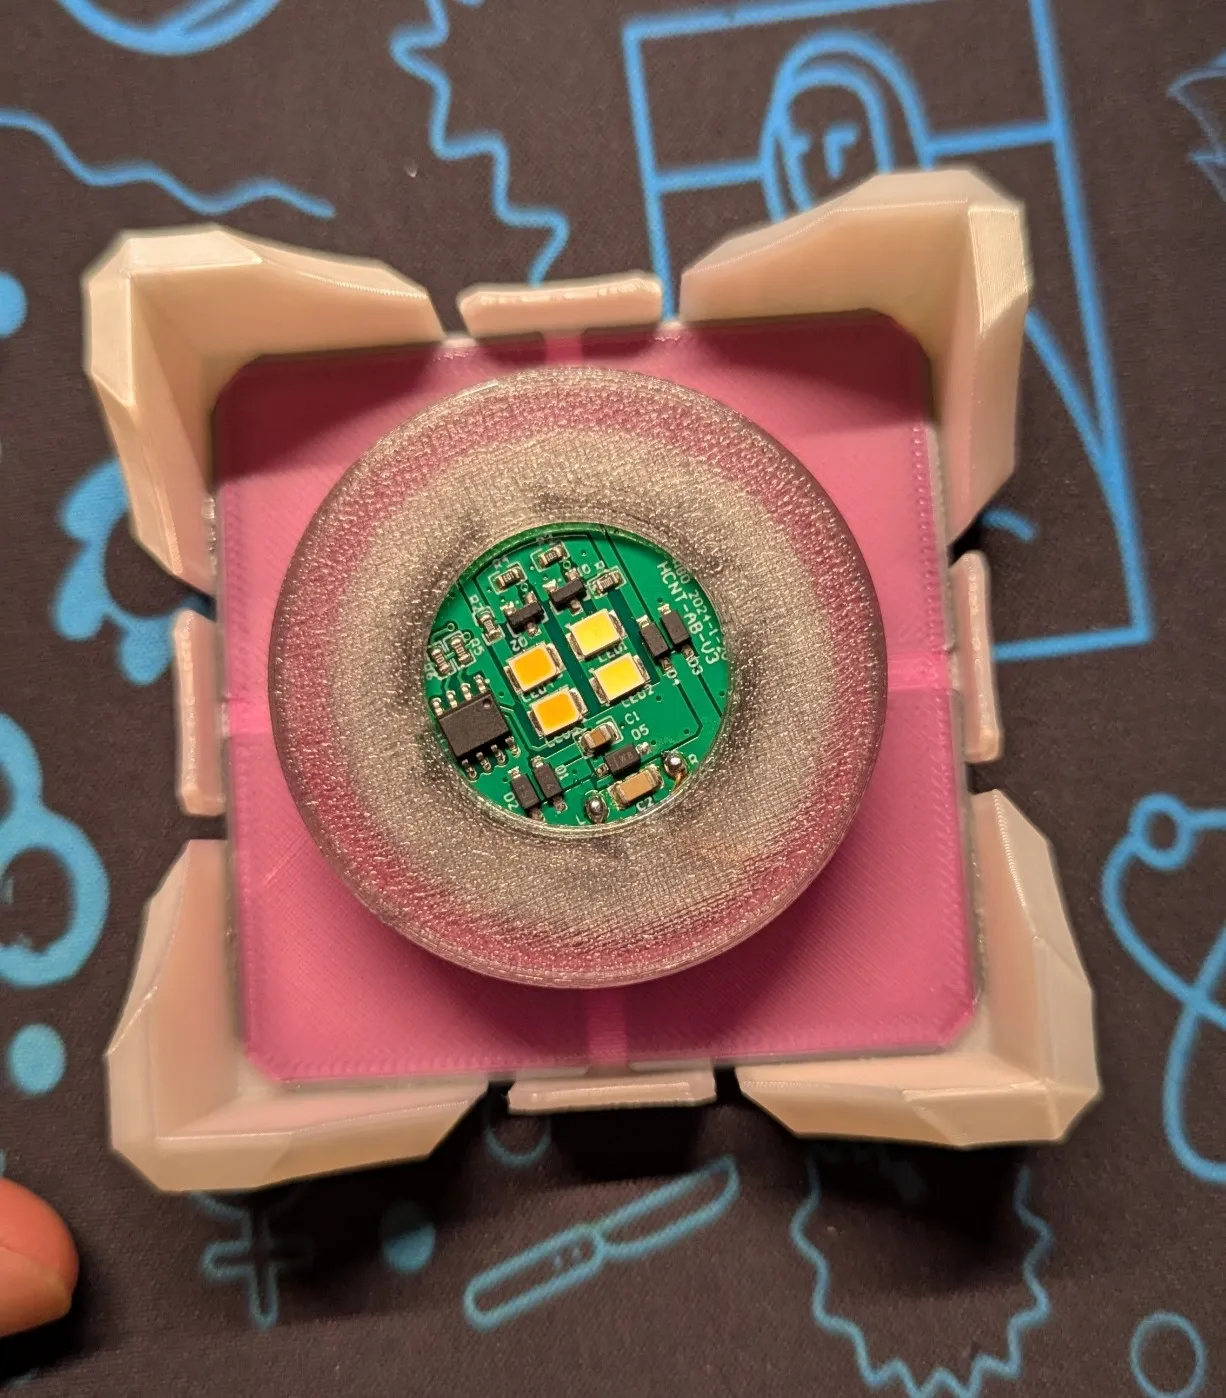
- Important: Do not glue the magnet face to the cube body if you want to remove the magnet in the future.
Building the Button:
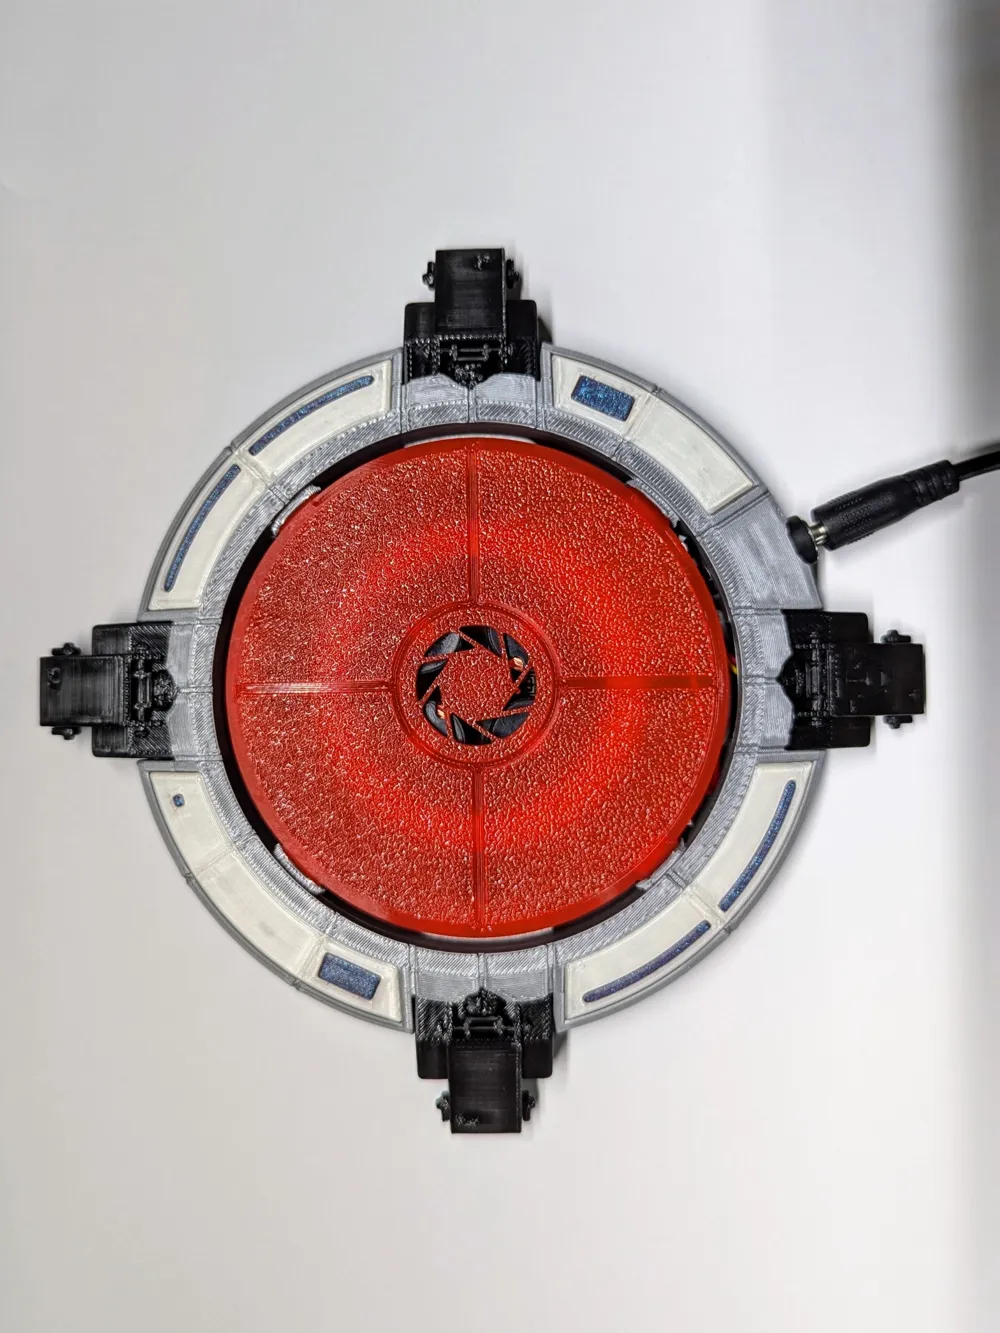
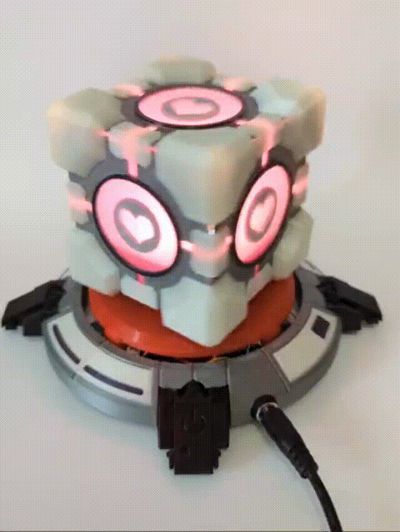
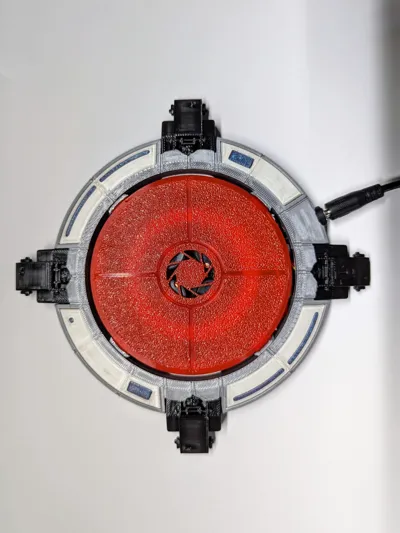
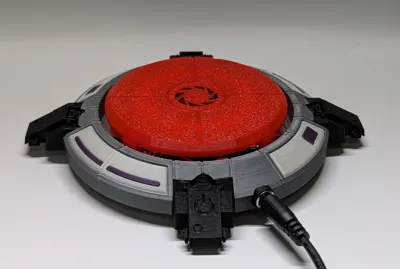
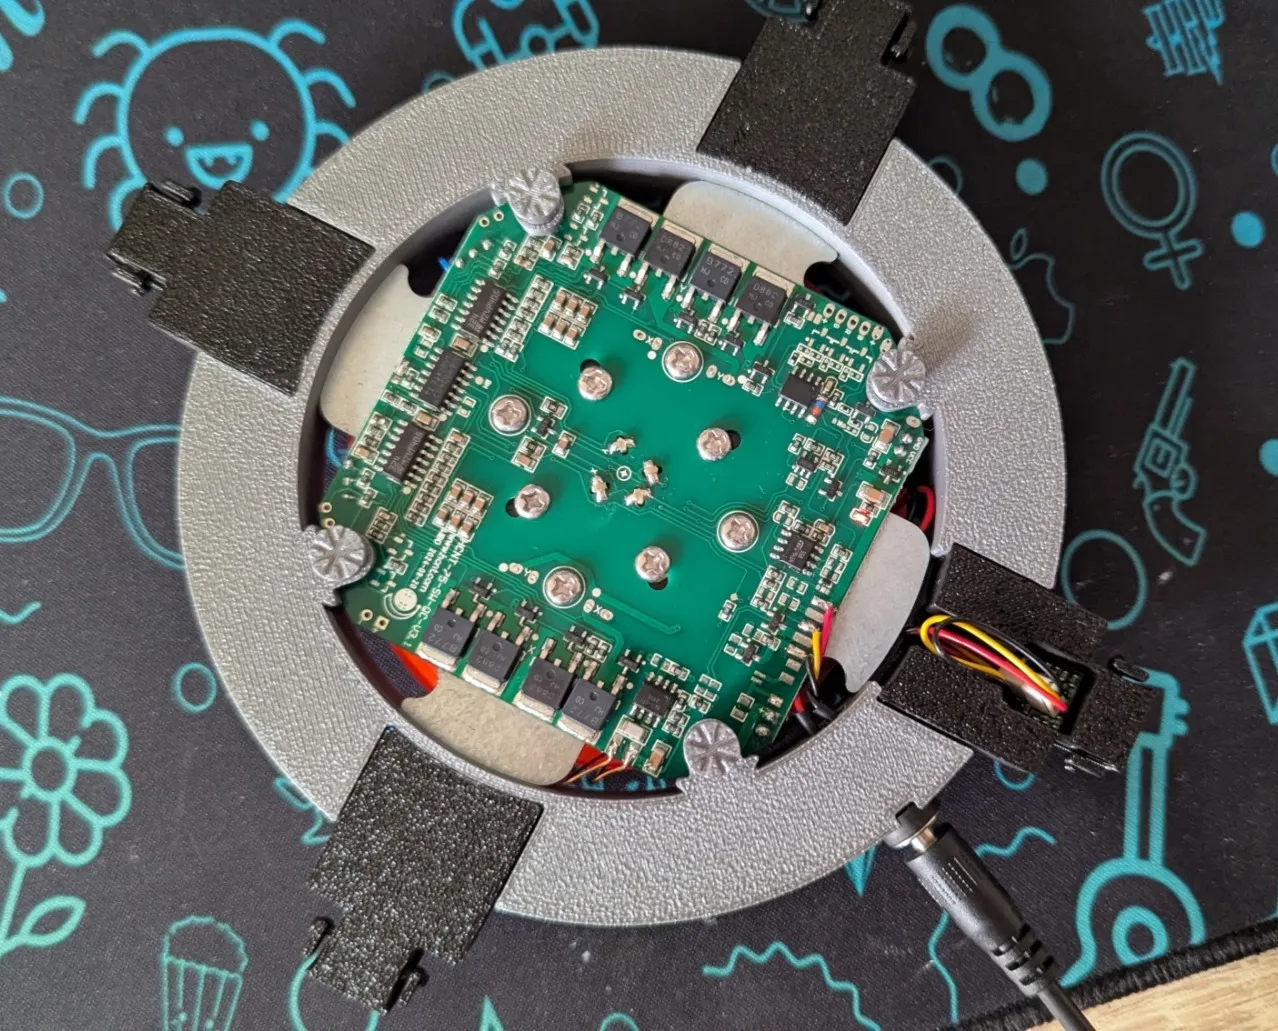
- Place the PCB inside the gray button body, aligning the wires with the cutout in one of the legs.
- Detach the DC cable, thread it through the hole, and reattach it.
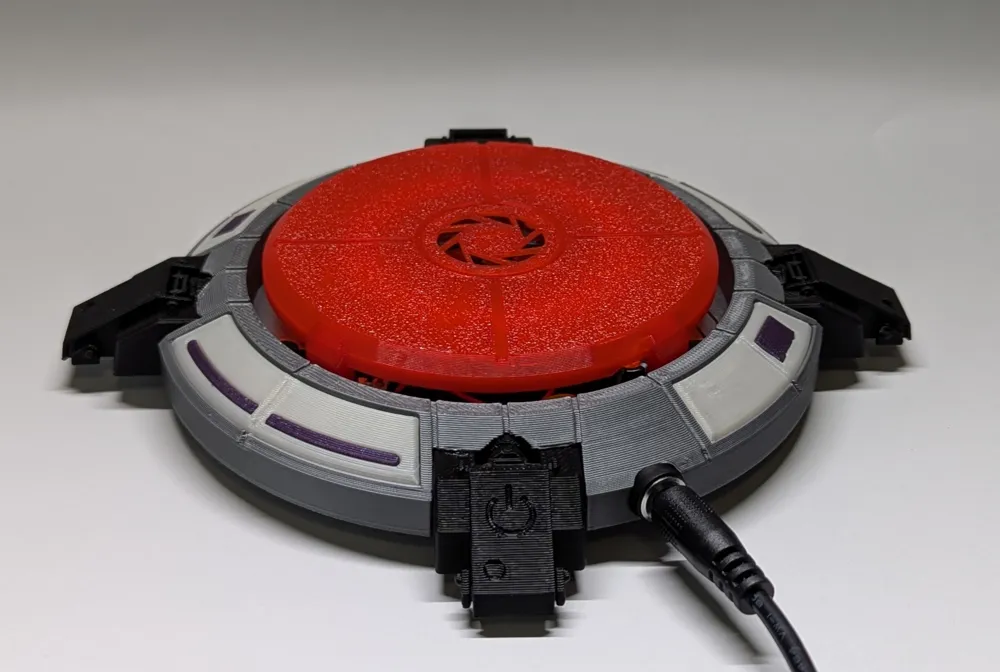
- The touch button goes inside the black leg with the power symbol and can be secured with a small drop of hot glue.
- Attach the red lid on top and glue all the inserts and legs together.
- The small cylindrical legs help elevate the button to prevent overheating.
Boost Me (for free)
Your boosts give me more inspiration for work on new projects :)
License

You shall not share, sub-license, sell, rent, host, transfer, or distribute in any way the digital or 3D printed versions of this object, nor any other derivative work of this object in its digital or physical format (including - but not limited to - remixes of this object, and hosting on other digital platforms). The objects may not be used without permission in any way whatsoever in which you charge money, or collect fees.


Comment & Rating (16)