
Joypad for Arcade with keyboard keys
Print Profile(1)

Description
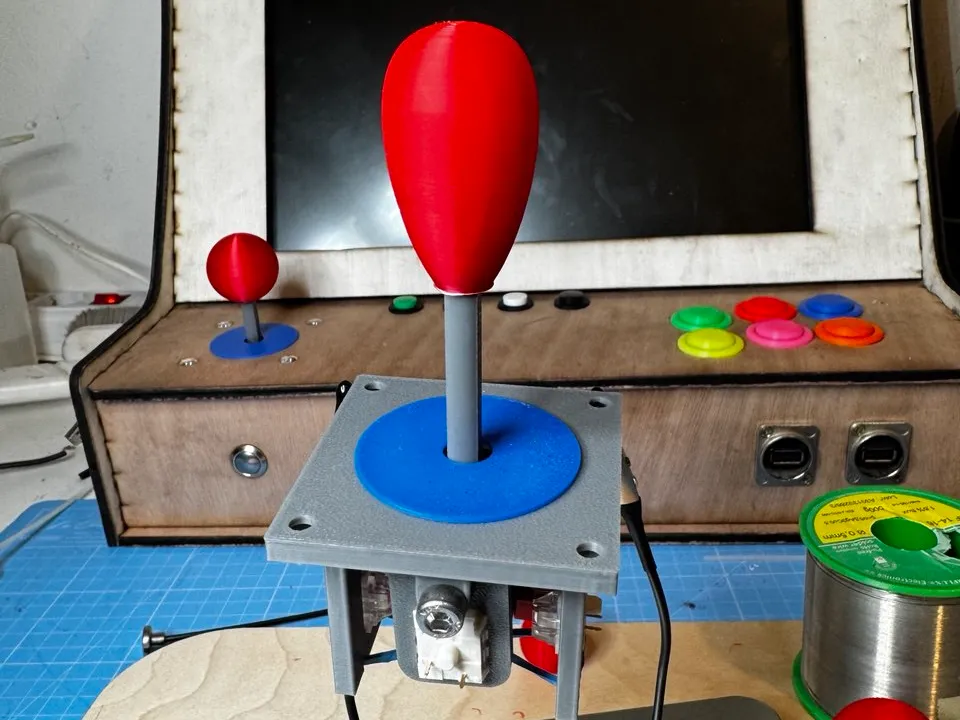
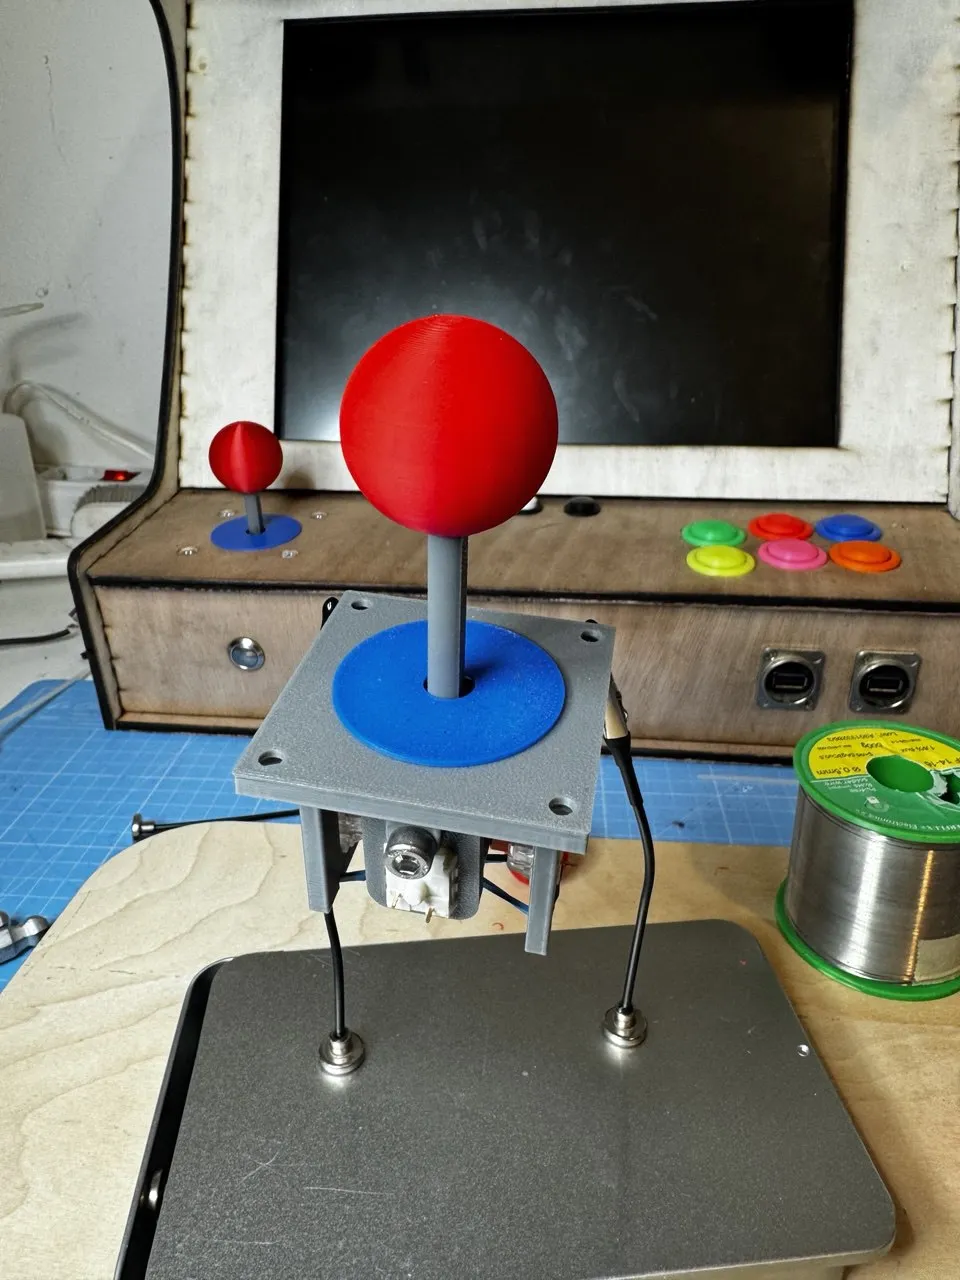
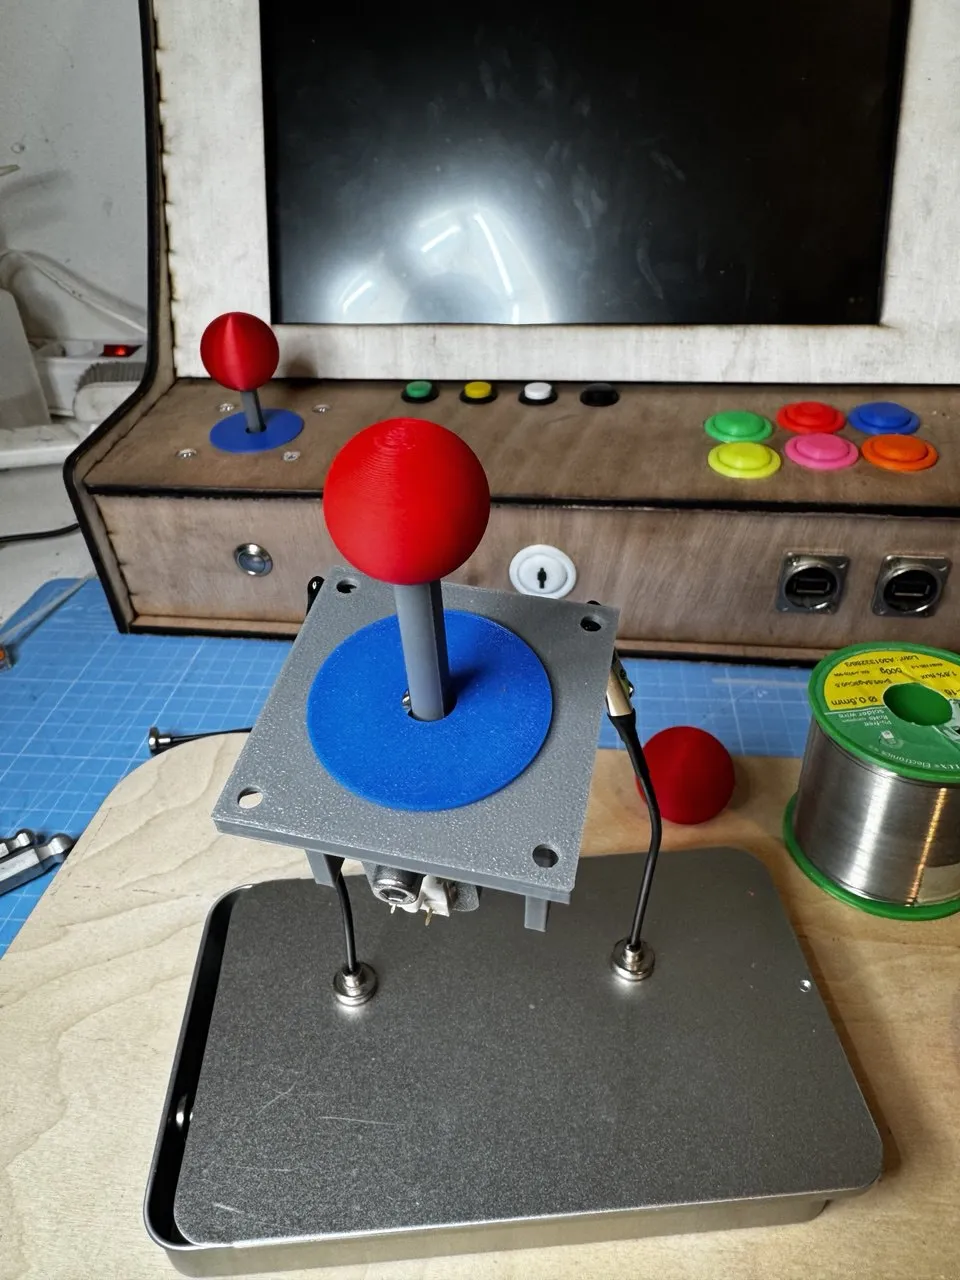
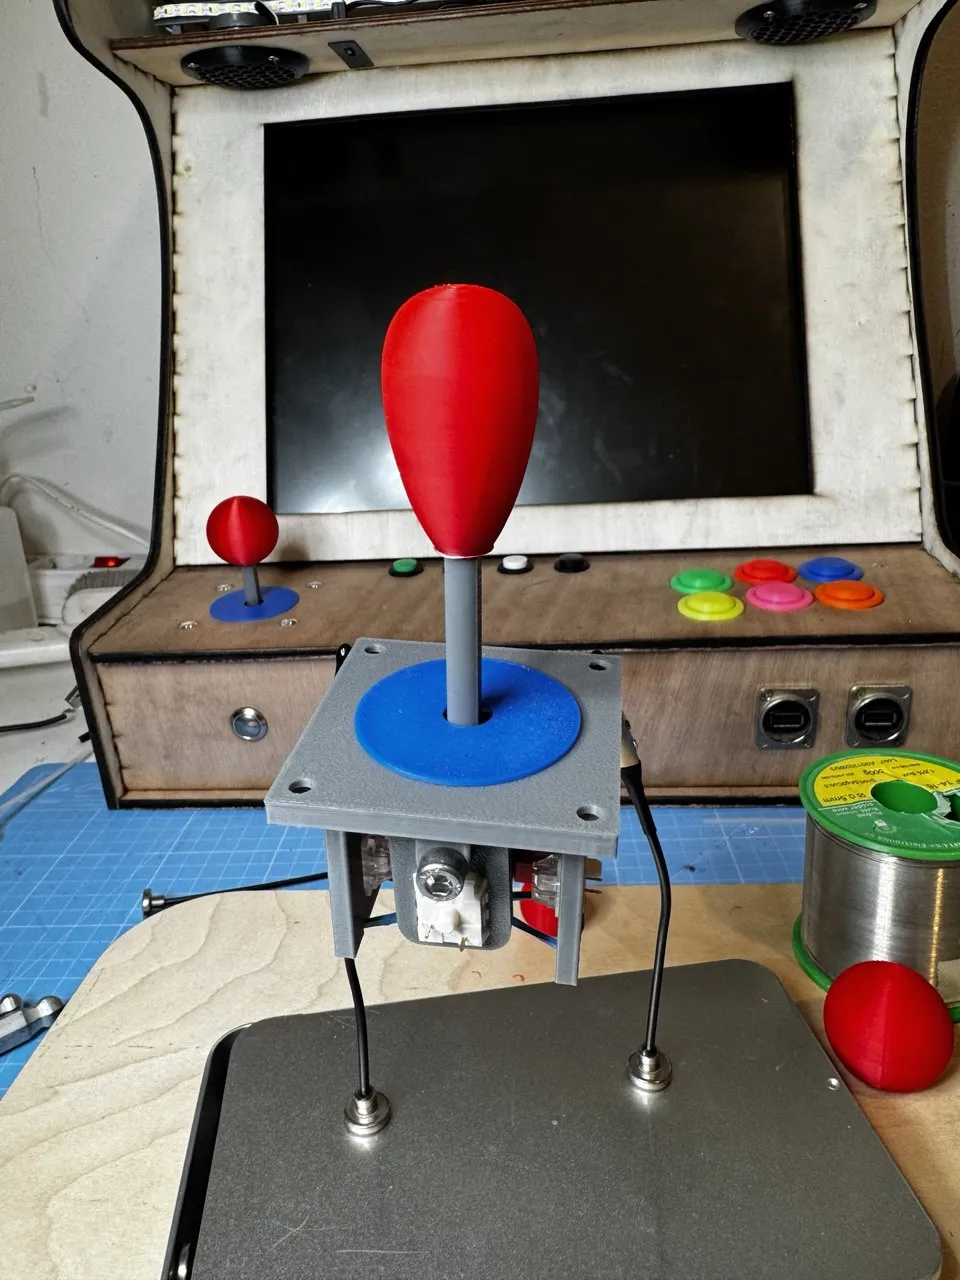
Joypad for Arcade with keyboard keys
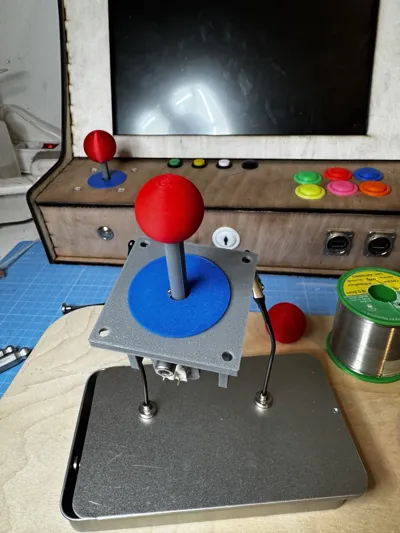
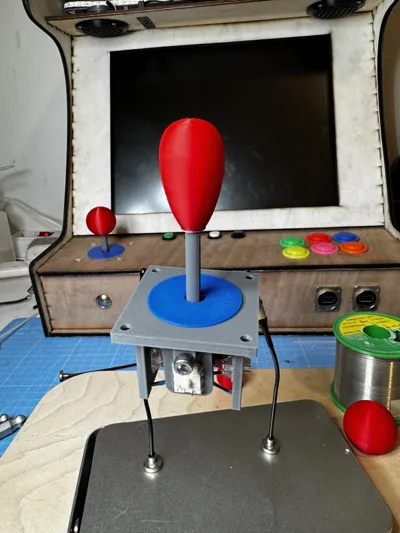
I have designed a simple joystick for arcade cabinets. My goal was to keep it minimalistic while using mechanical keyboard switches as buttons, making it easy to build.
🔩 BOM
- M4 nut (preferably self-locking)
- M5x10 socket head screw (2 pcs)
- M4x20 socket head screw
- One rubber band
- One zip tie
- Four replacement key switches for mechanical keyboards
🔧 Assembly Instructions
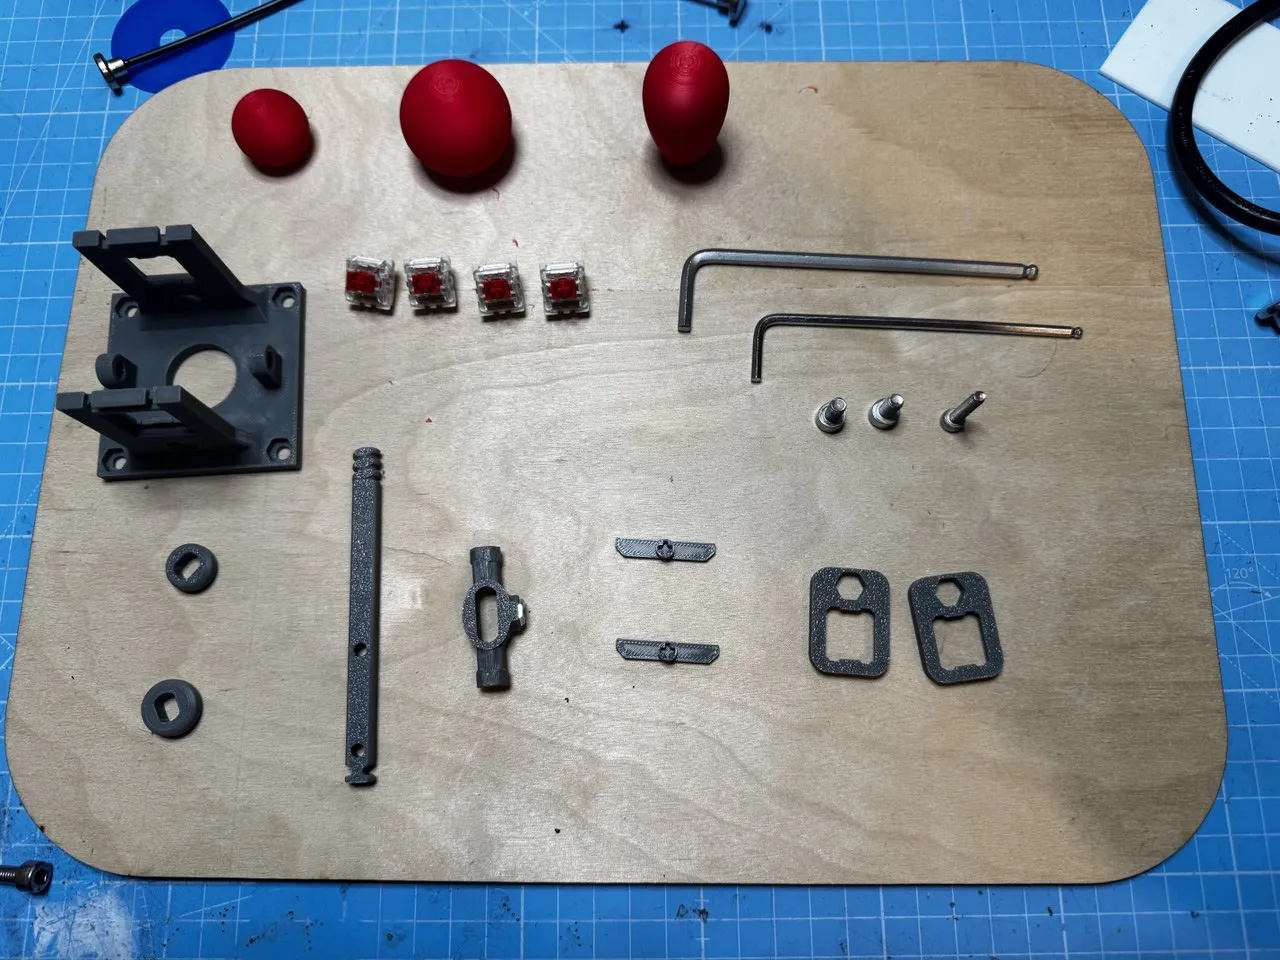
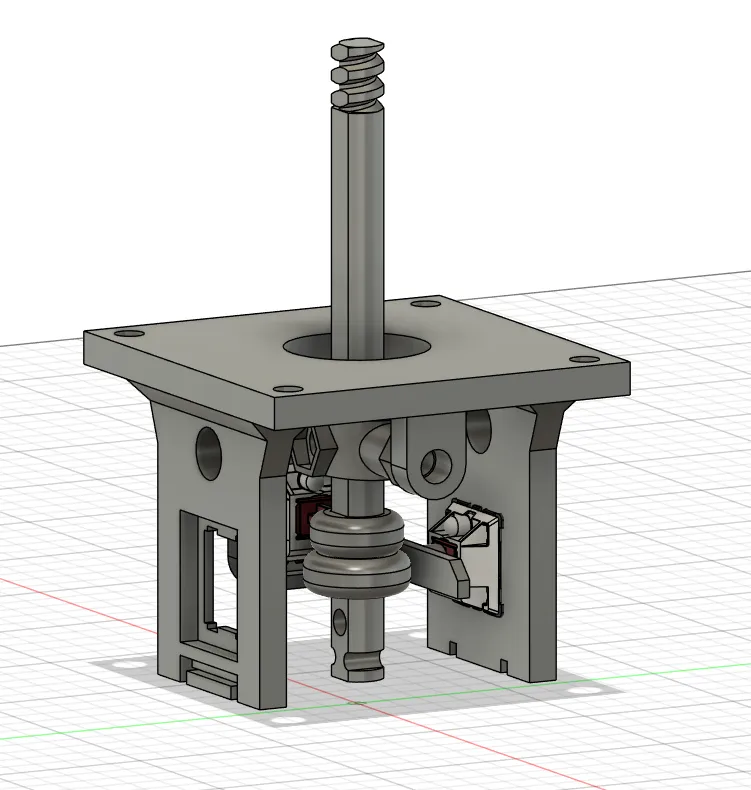
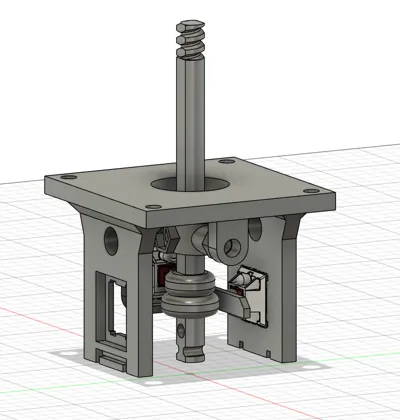
Insert the nut into the joint, then take the bar and place it inside the joint. Secure it with the M4 screw using the central hole. Be careful not to tighten too much—the bar should have some play.
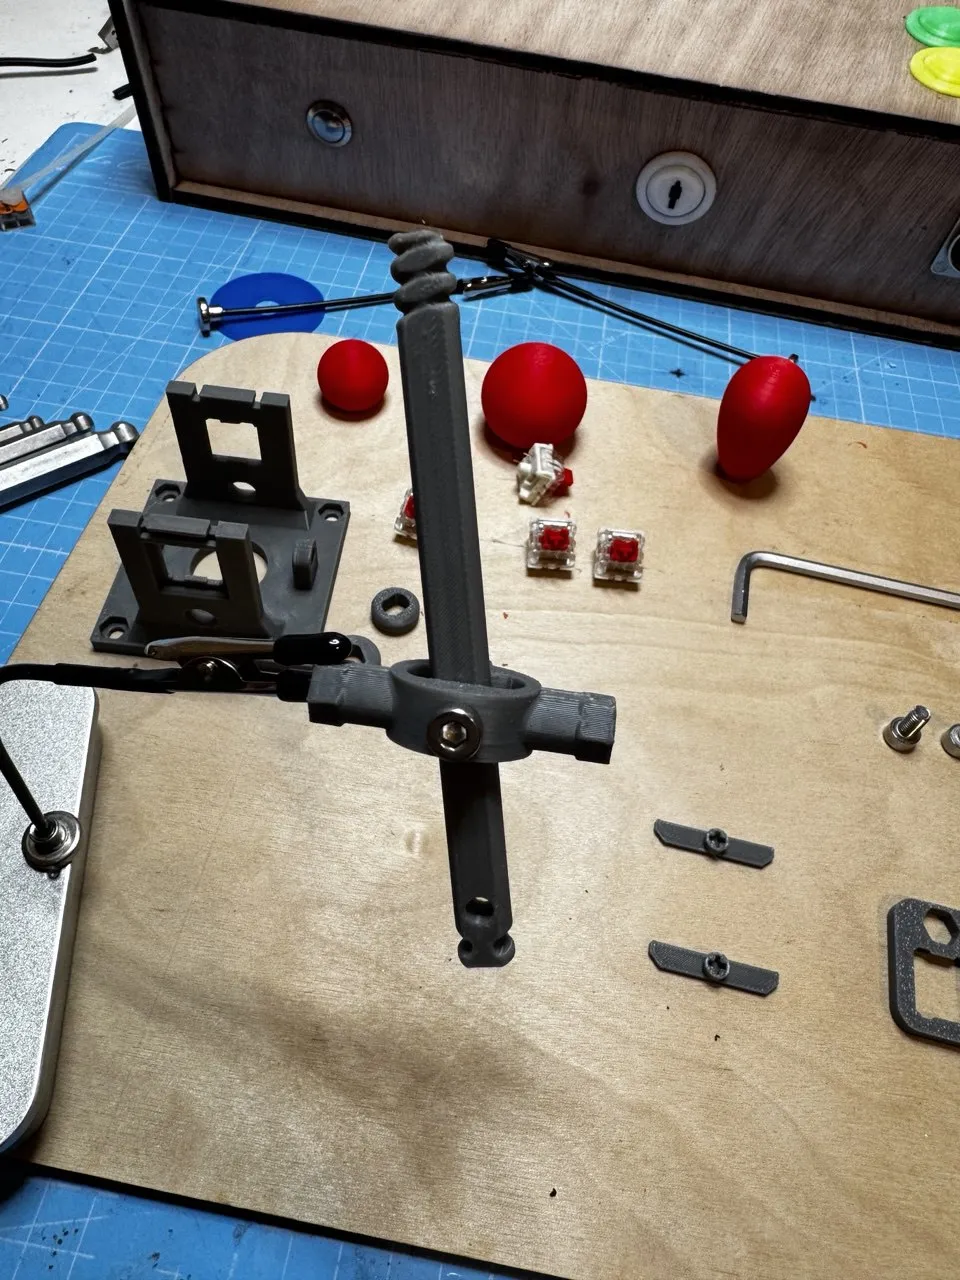
Insert the key switches into the key holder and assemble everything as shown in the picture. The bed side of the key holder should face outward.
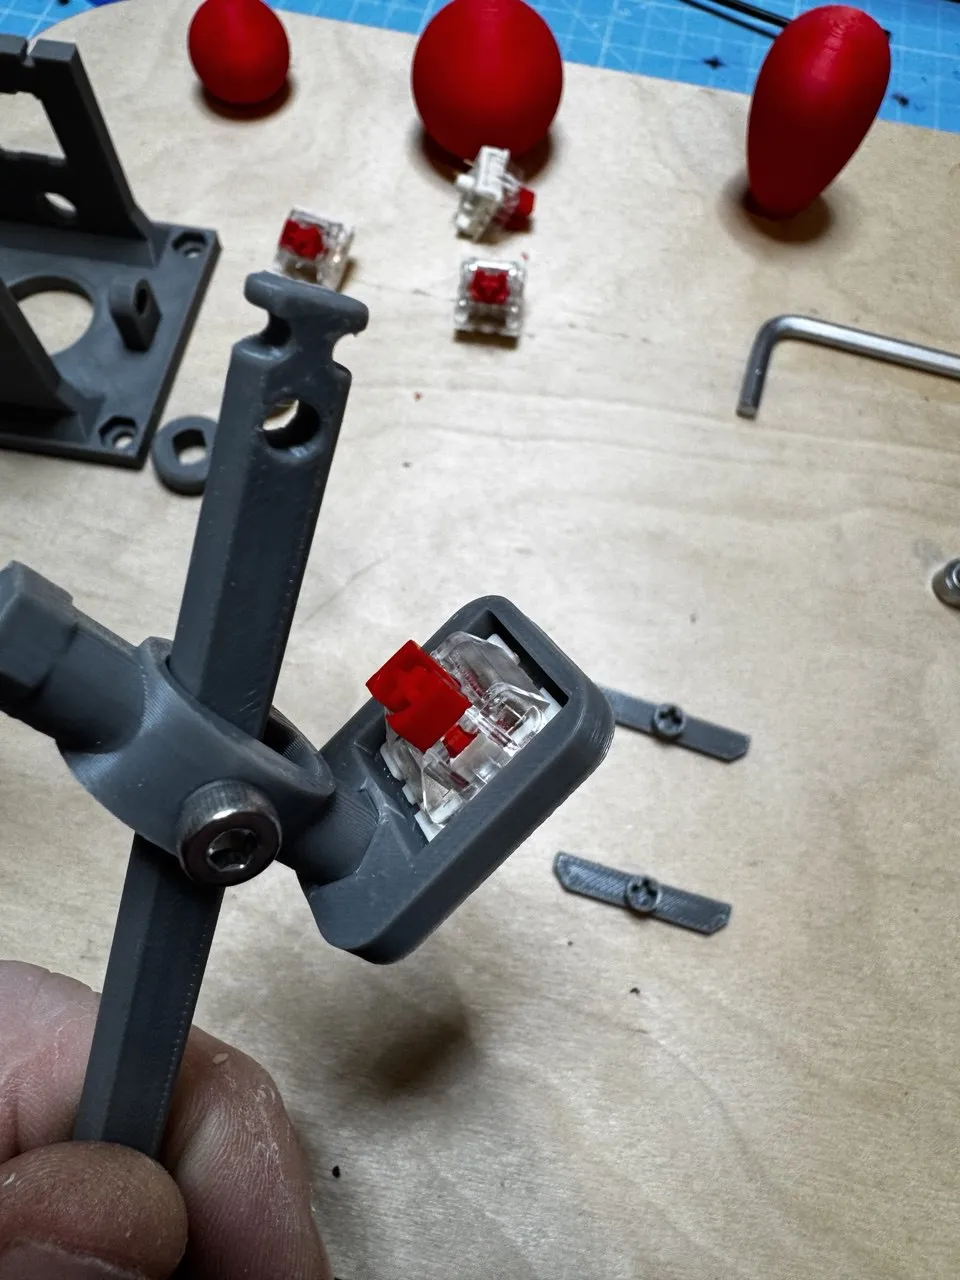
After assembling both key holders, install the first, smaller spacer at the height of the red part of the keys button. This step might be a bit tricky, so be careful to ensure that the spacer touches the red part with its flat side
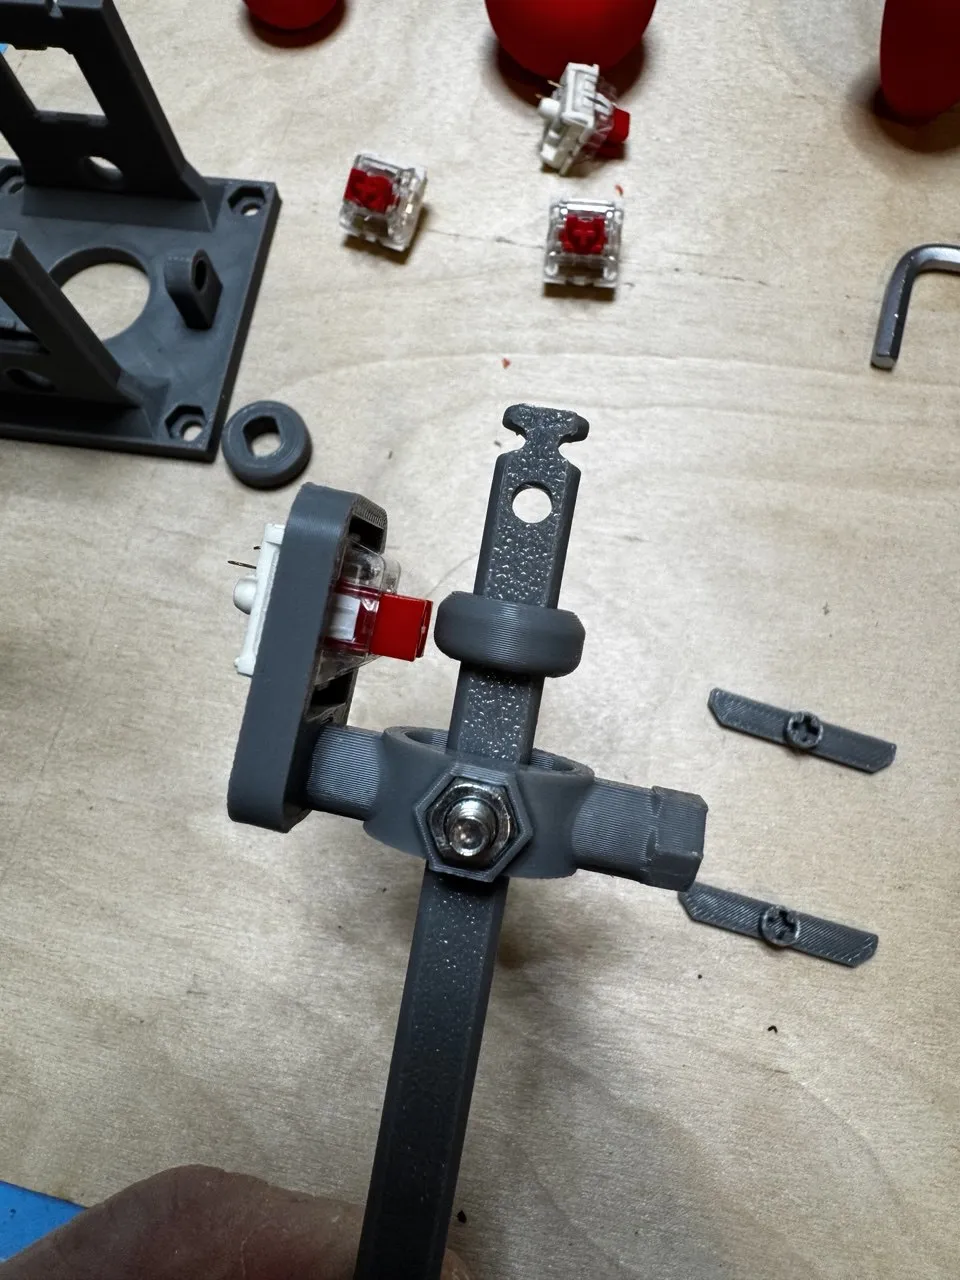
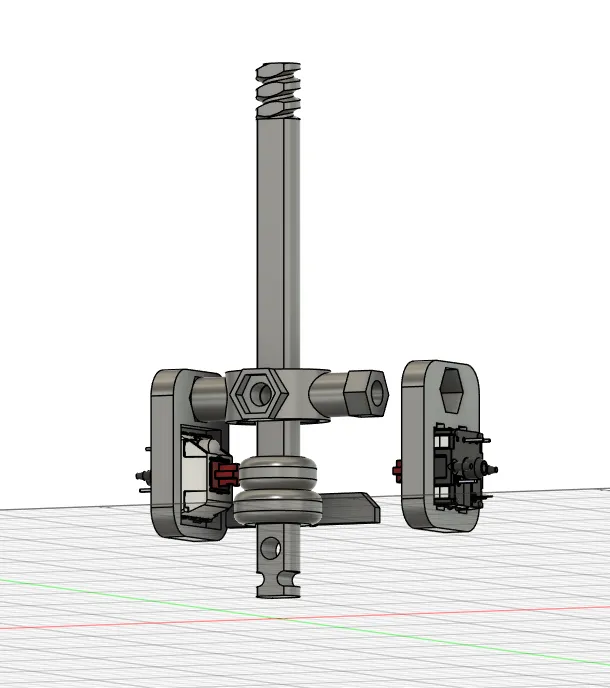
Insert the assembled part into the main body and screw in the M5x10 screws. Once again, they should be tightened but not too much, otherwise the joystick will not move. You will need to tighten more than what you see in the next photo.
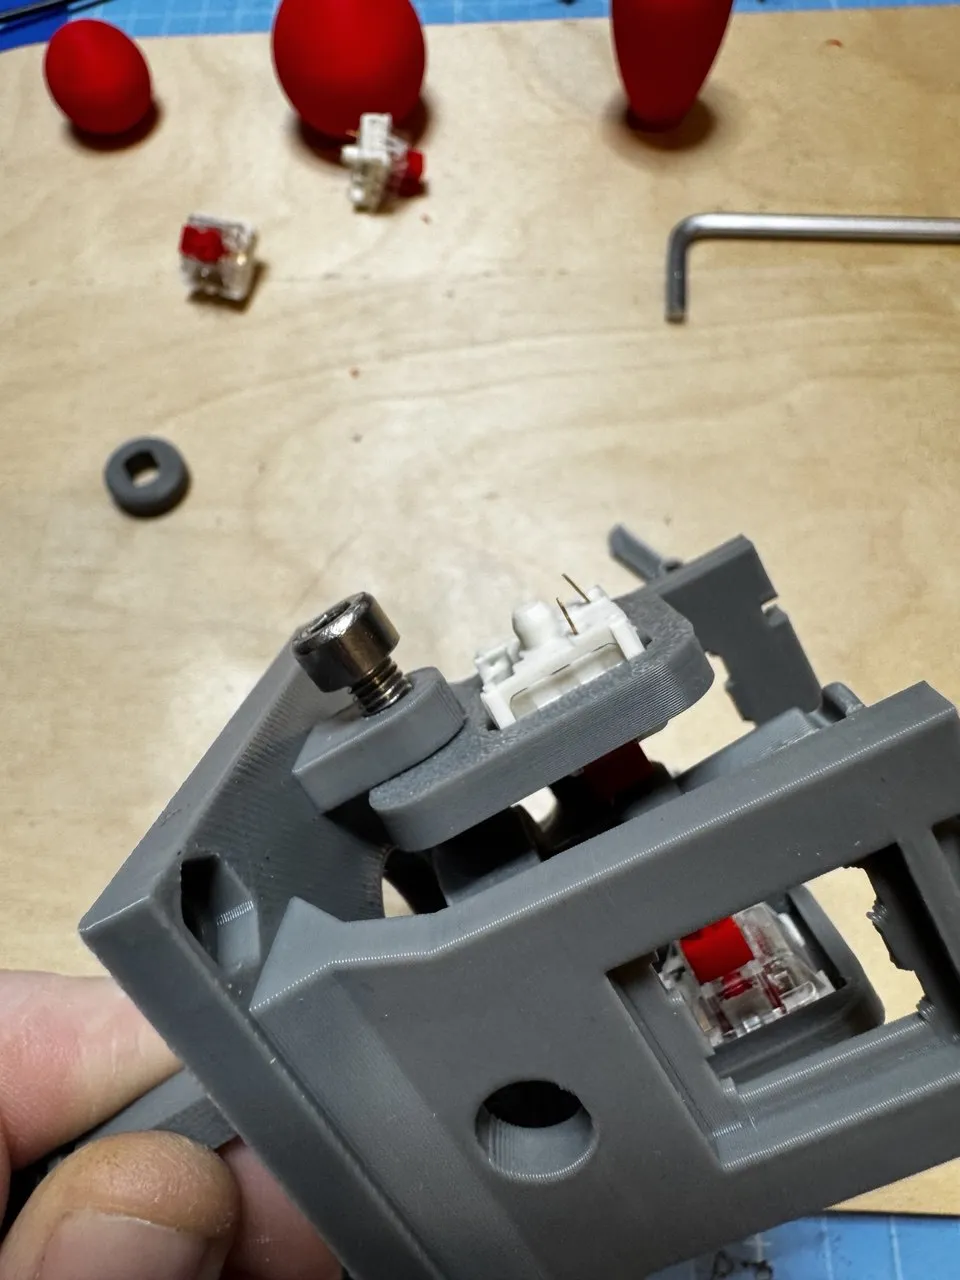
Now insert the flaps into the buttons; some force will be required. Be careful not to pierce yourself with the key's leads. Assemble the button with the flap in the direction shown in the photo, and then install Spacer 2 at the height of the flaps.
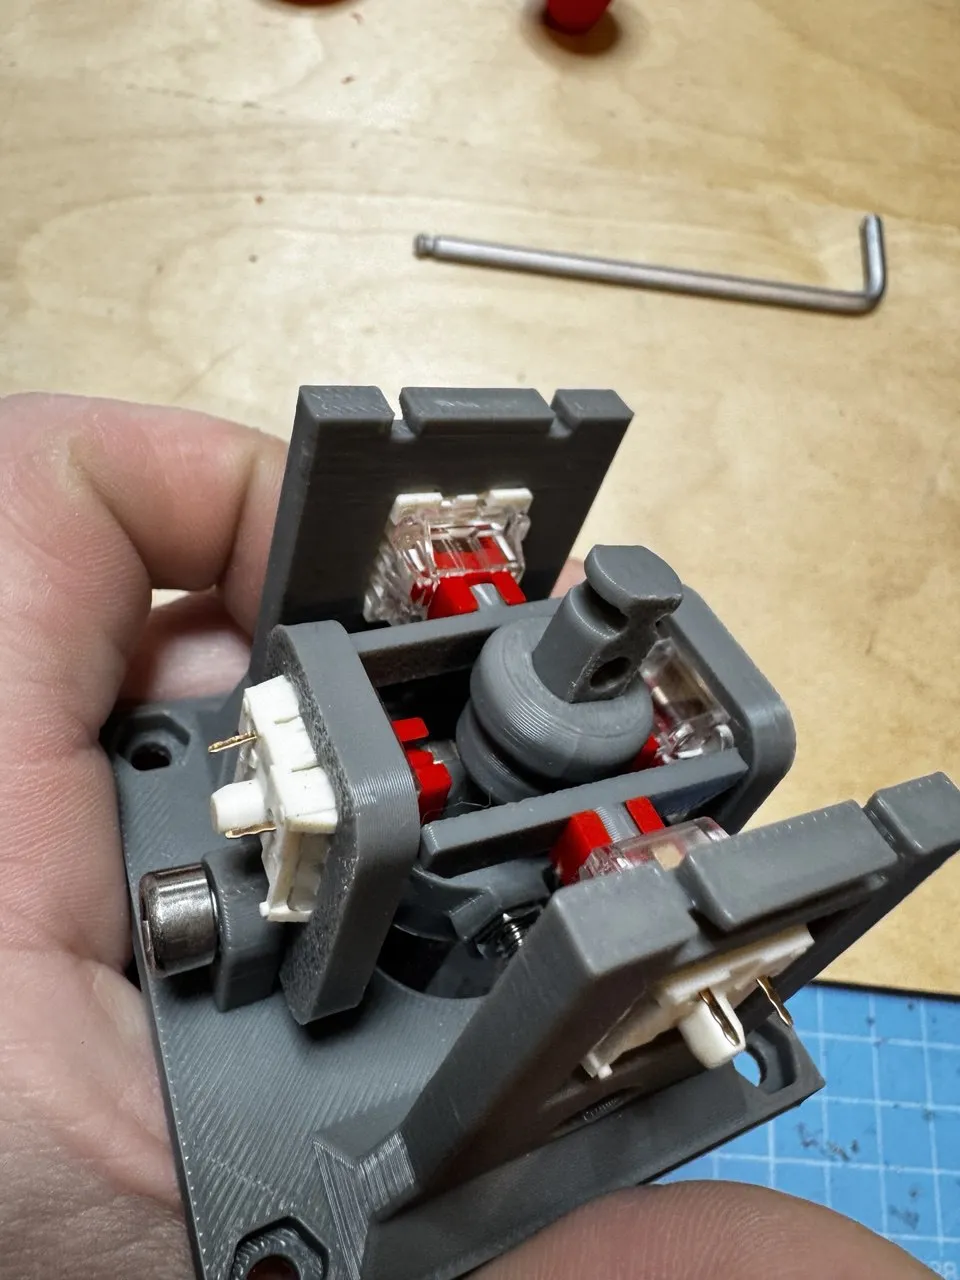
Now it's time for alignment. Use something like I did to help you and keep the bar as centered as possible, then install the elastic and the strap
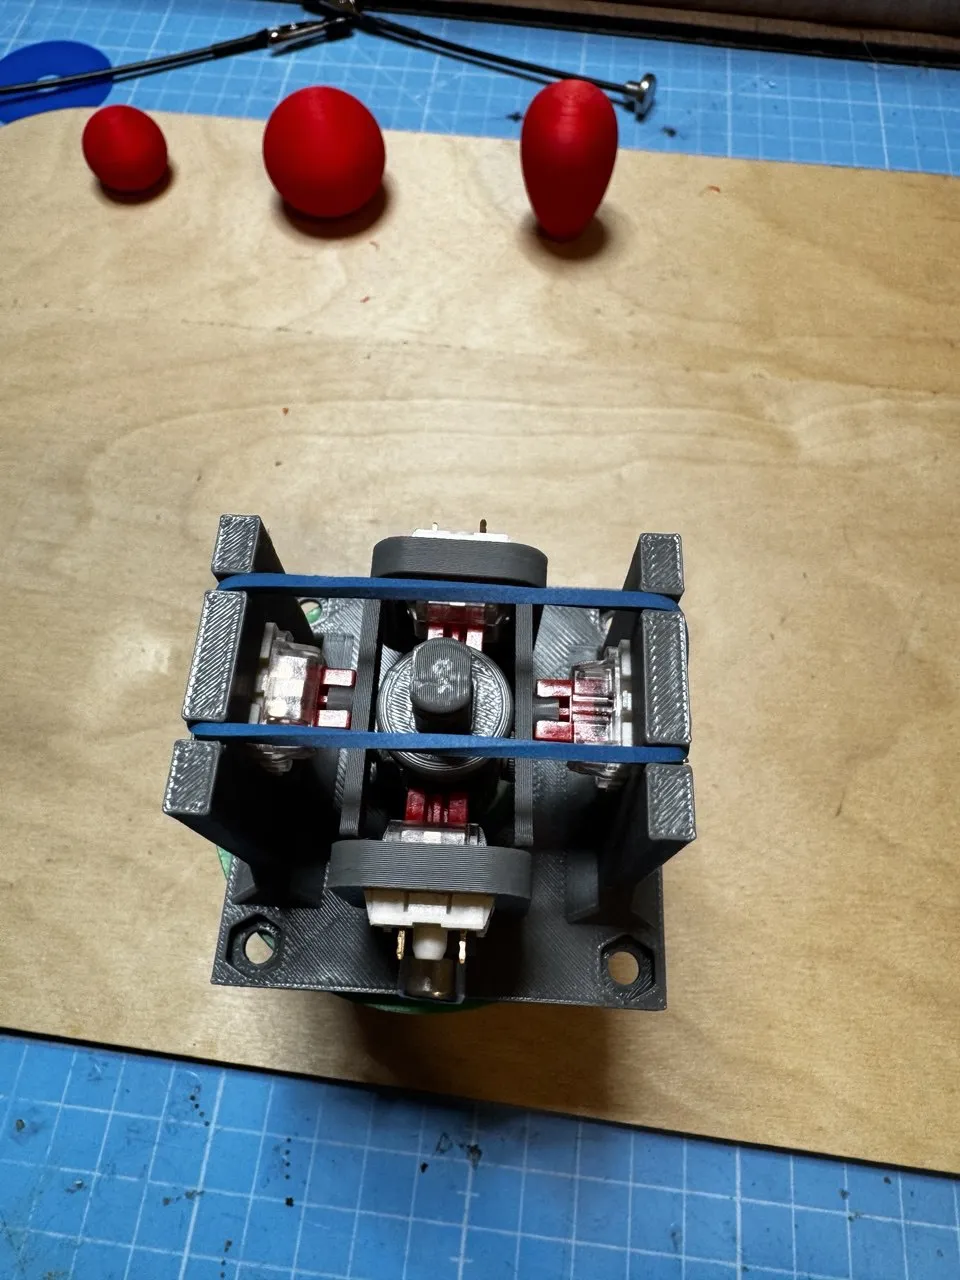
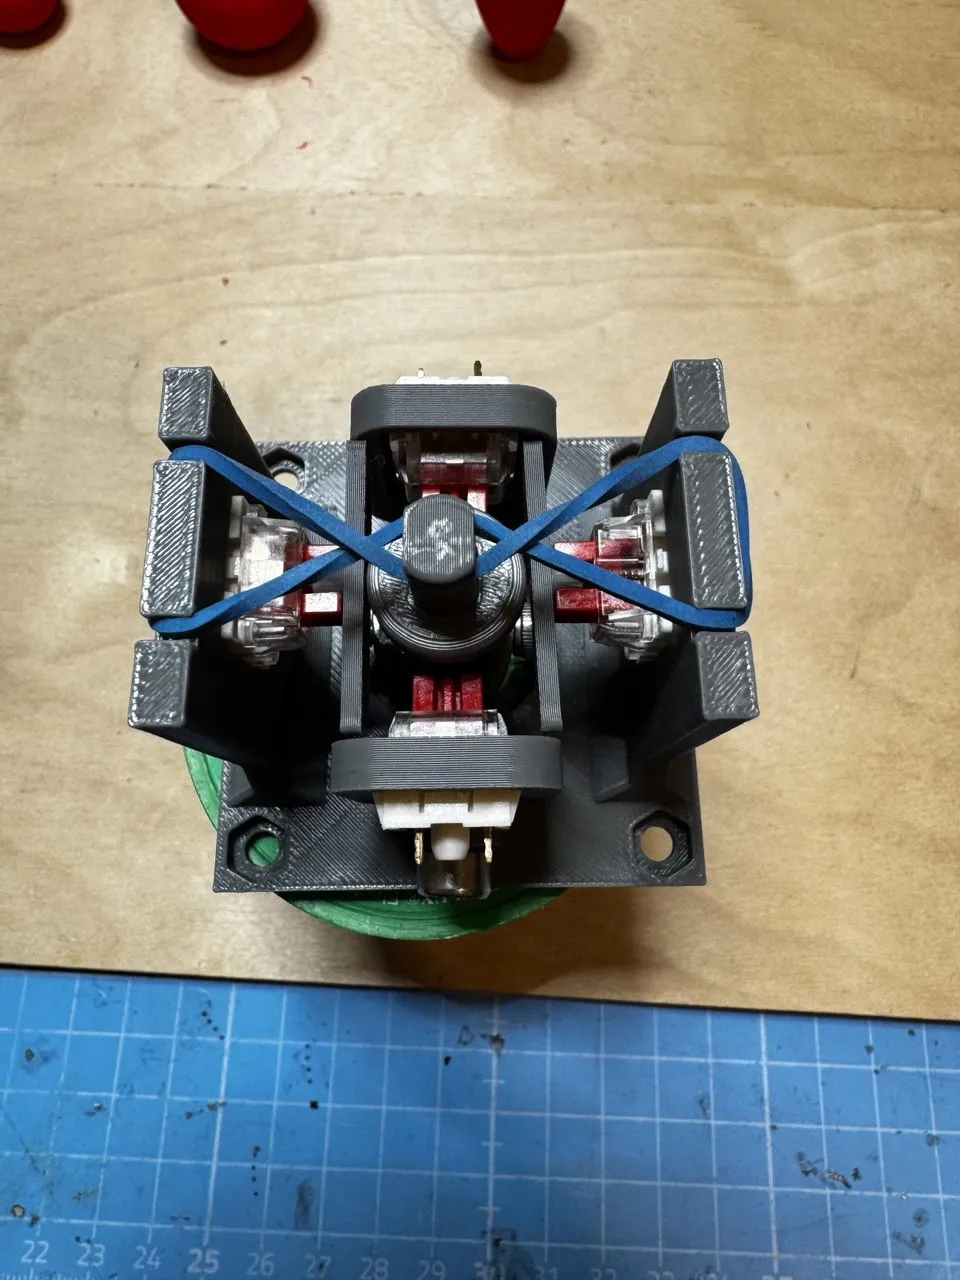
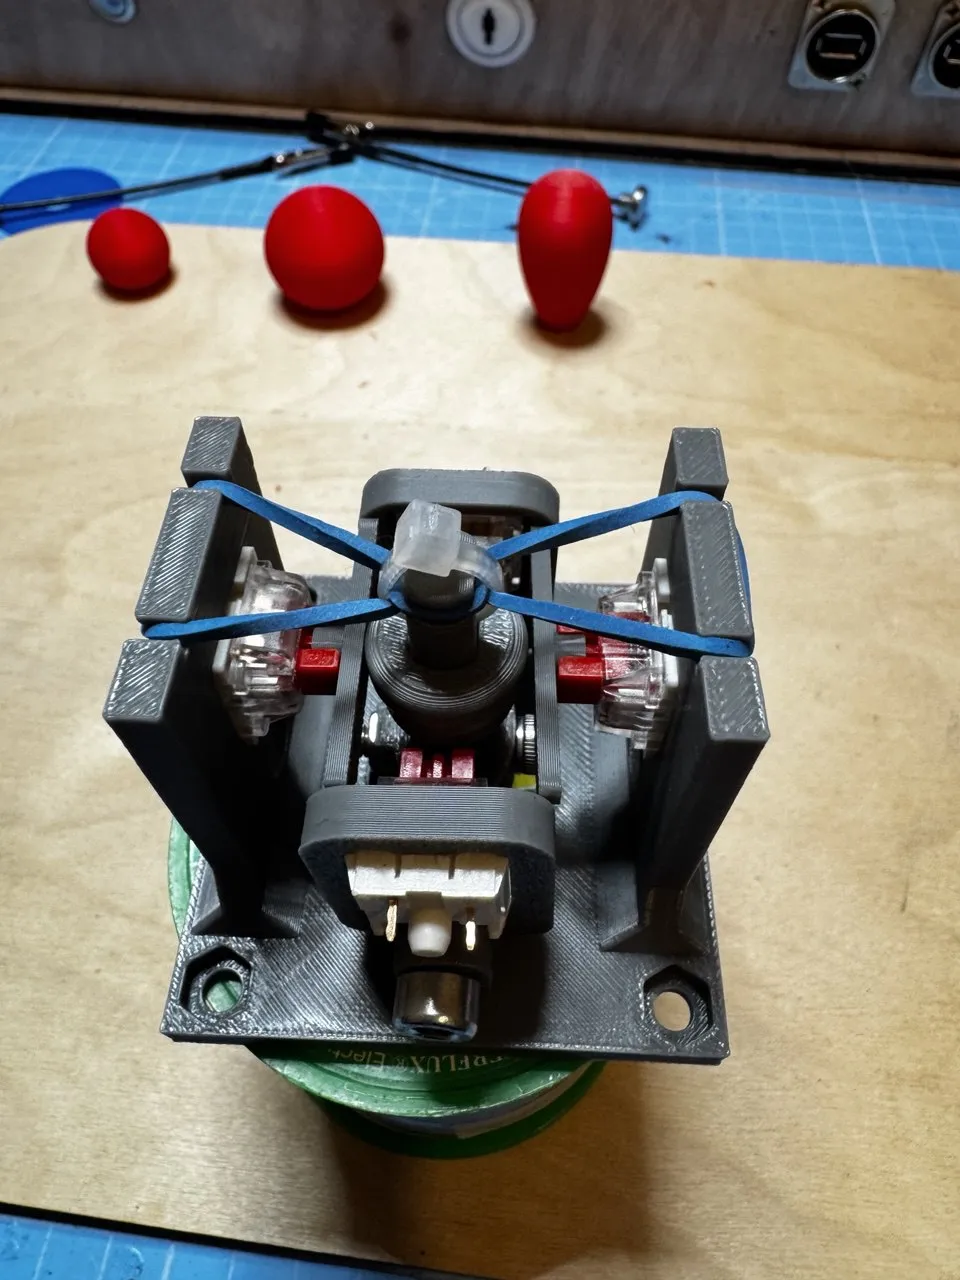
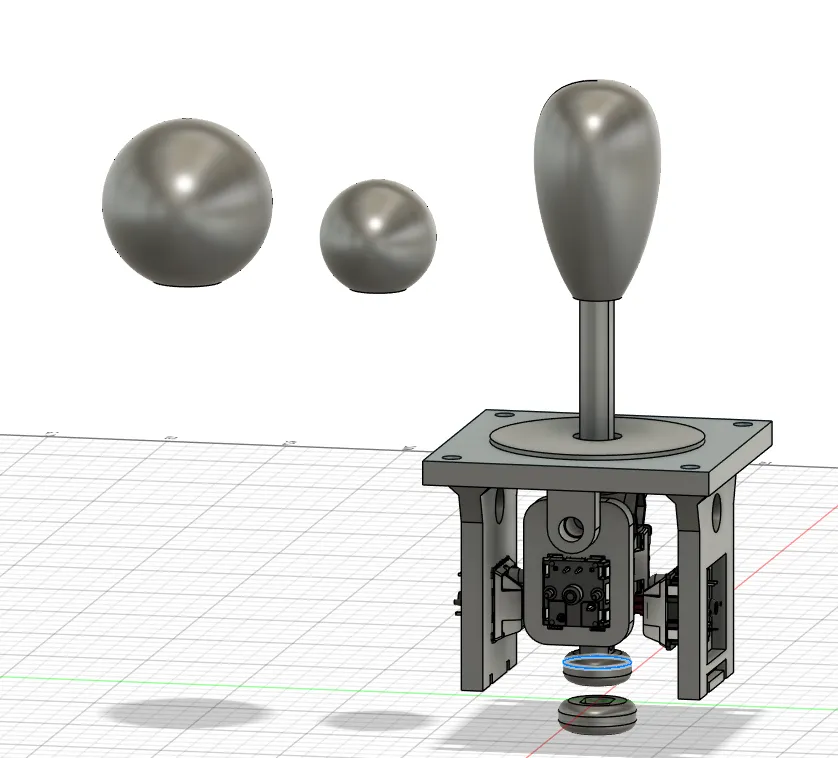
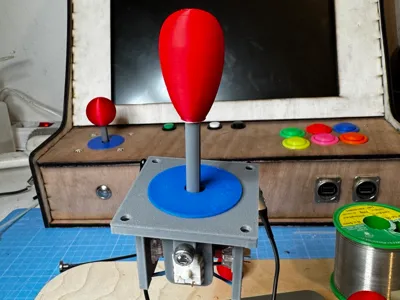
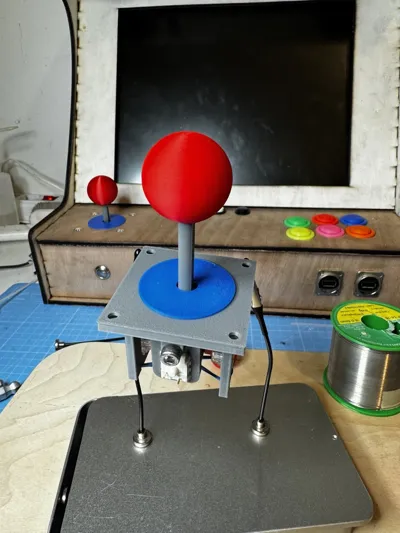
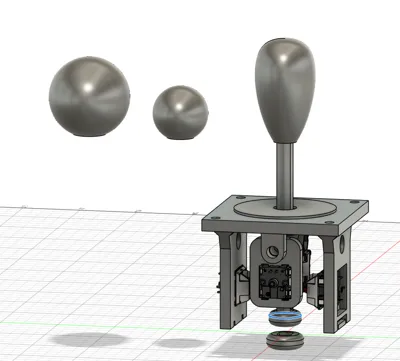
Now choose the knob shape you prefer, or you can design your own because I have shared the editable model of the threading, and your joystick is complete. I’ve also shared the DXF file for the mounting holes on the panel. For connecting to the PC, I suggest using an Arduino Pro Mini and the Keyboard HID library. As soon as I can, I will also publish the model to create a device that will allow you to use this joystick and the buttons made in another file to play with any simulator or with the PC.
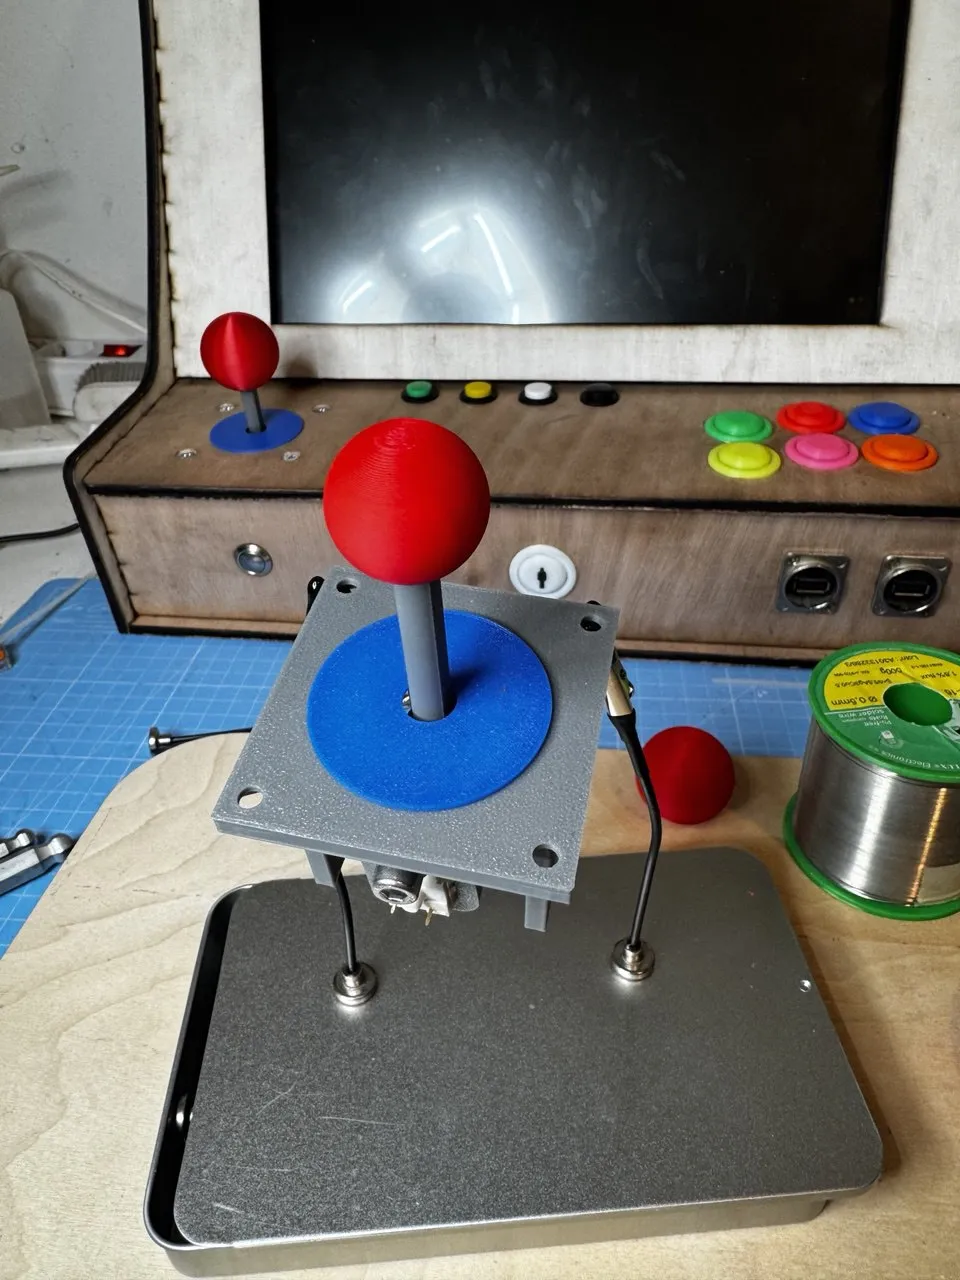
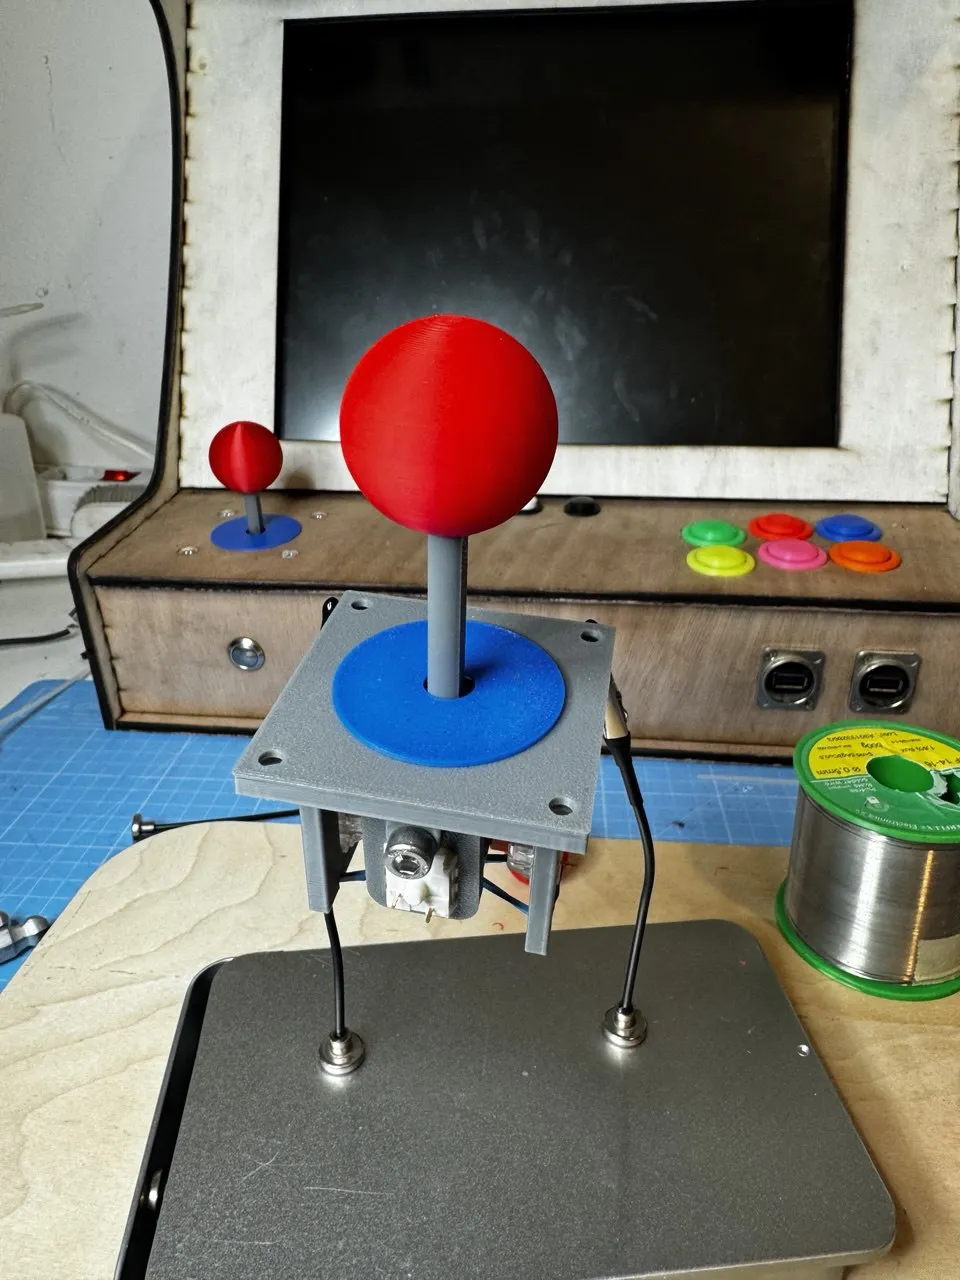
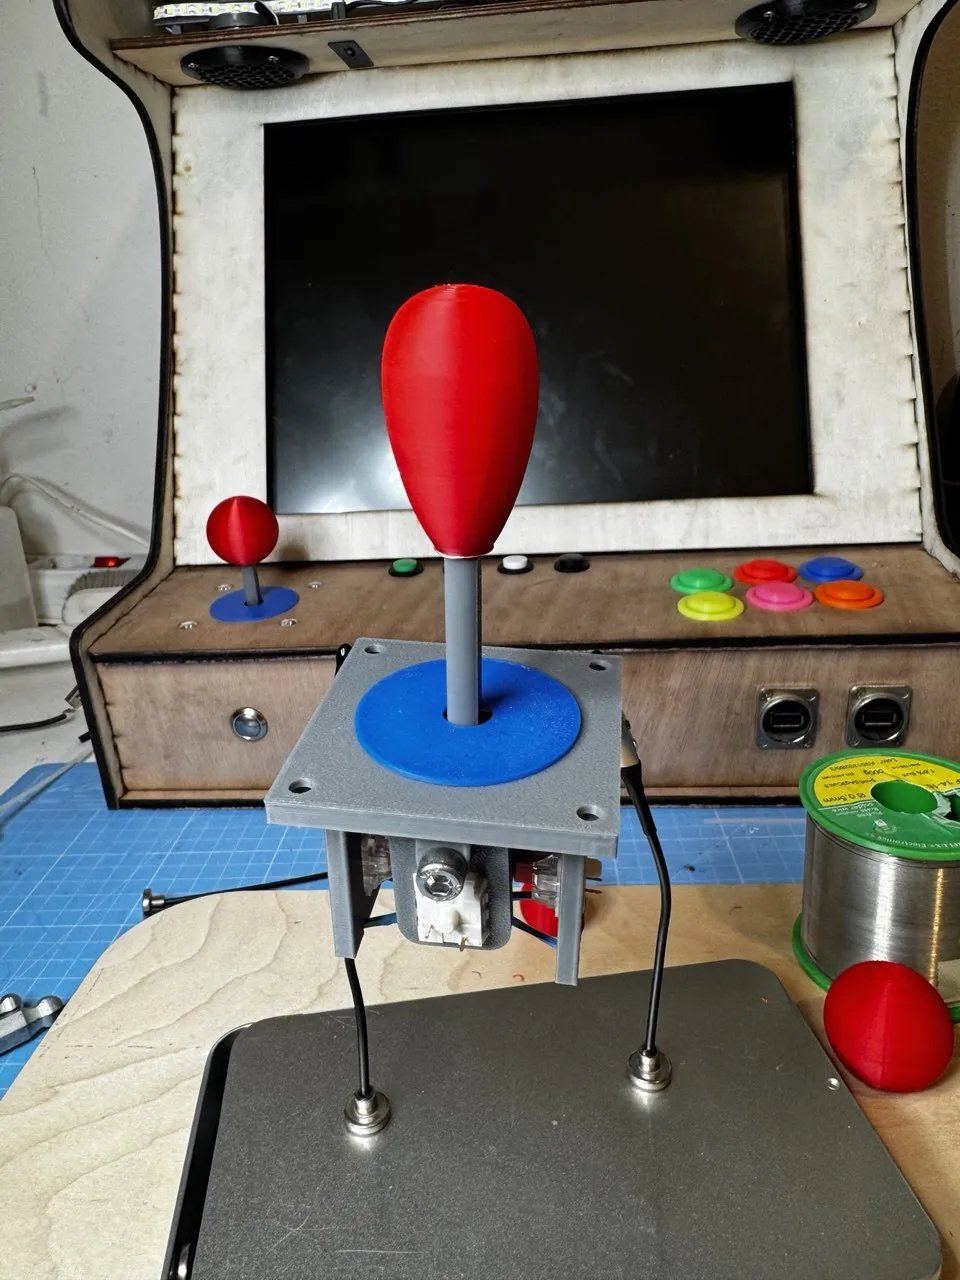
If you've made it this far, I'm happy, my effort has not been in vain. I hope you like it and have fun with this object made from leftover materials and at a relatively low cost.
Here you can find the buttons for the arcade cabinet.
https://makerworld.com/en/models/1168333-arcade-button-for-keyboard-keys#profileId-1176192
Boost Me (for free)
Boost me for more content like this pls! I need to buy H2D
License

You shall not share, sub-license, sell, rent, host, transfer, or distribute in any way the digital or 3D printed versions of this object, nor any other derivative work of this object in its digital or physical format (including - but not limited to - remixes of this object, and hosting on other digital platforms). The objects may not be used without permission in any way whatsoever in which you charge money, or collect fees.


Comment & Rating (3)