
Purfling Miter Cutter - Luthier Guitar Build Tool
Print Profile(2)


Bill of Materials


Description
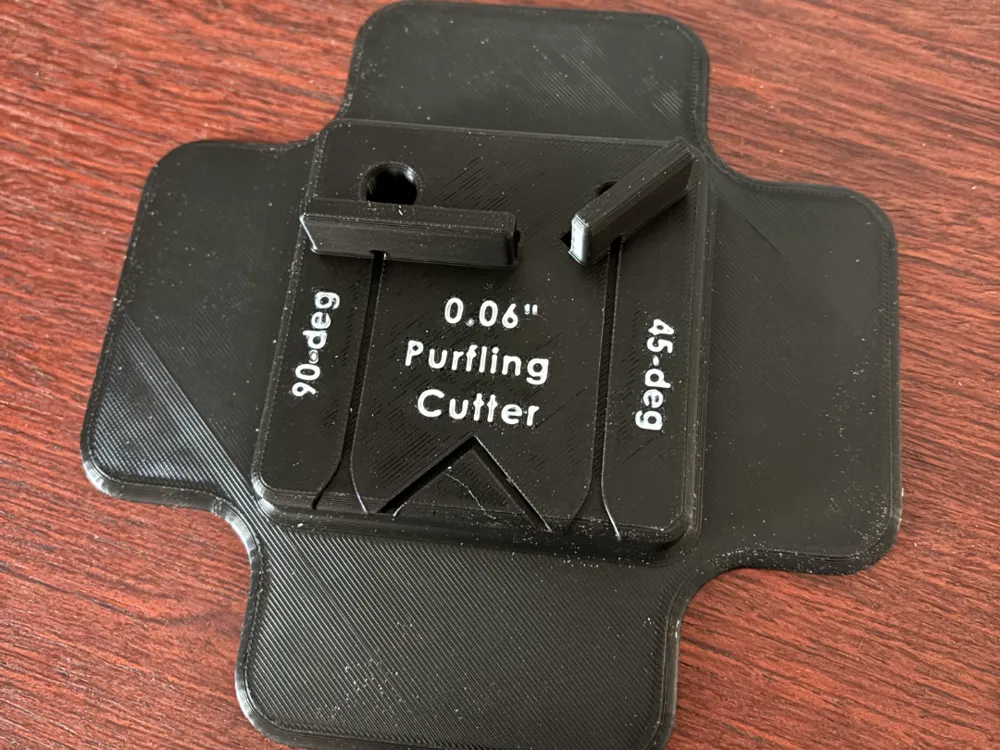
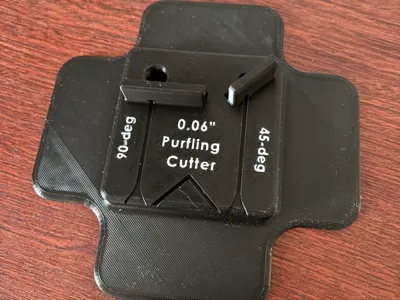
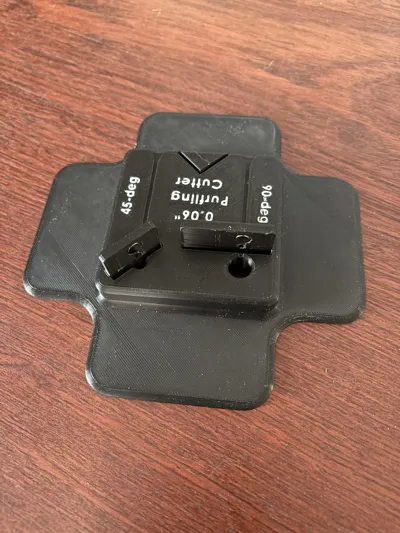
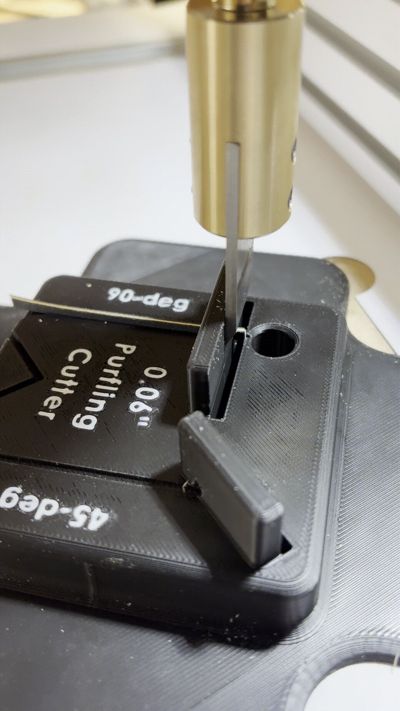
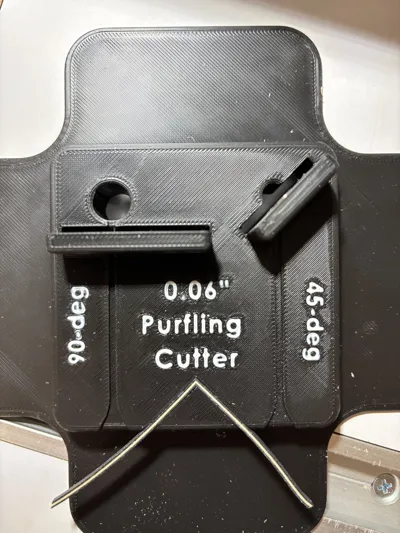
Getting good mitered corners on purfling is very difficult… even just cutting purfling to length can be a challenge! Many luthiers use a chisel and the reflection method to approximate 45-degrees, but I find it difficult to do this accurately. Stewmac's solution was to offer a Miter Blade for Binding (part number 0360) which chucks into a drill press for cutting binding and purfling. However, even the pictures on their website show someone approximating it by eye. This jig takes out the guesswork and lets you cut perfect 90-degree and 45-degree angles on purfling.
This jig is sized for 0.060" purfling (Stewmac part number 1765 and 1028). I will add other print profiles for different sizes over time.
Optional Accessories for the Jig:
- Miter Blade for Drill Press can be purchased here: https://www.stewmac.com/luthier-tools-and-supplies/types-of-tools/chisels-and-knives/stewmac-miter-blade-for-binding/?queryid=0973148046e89e33b0bc142ced0be646
- If you want to do it by hand with a chisel instead, it would need to be ~0.100" thick. If you need a deeper slot let me know.
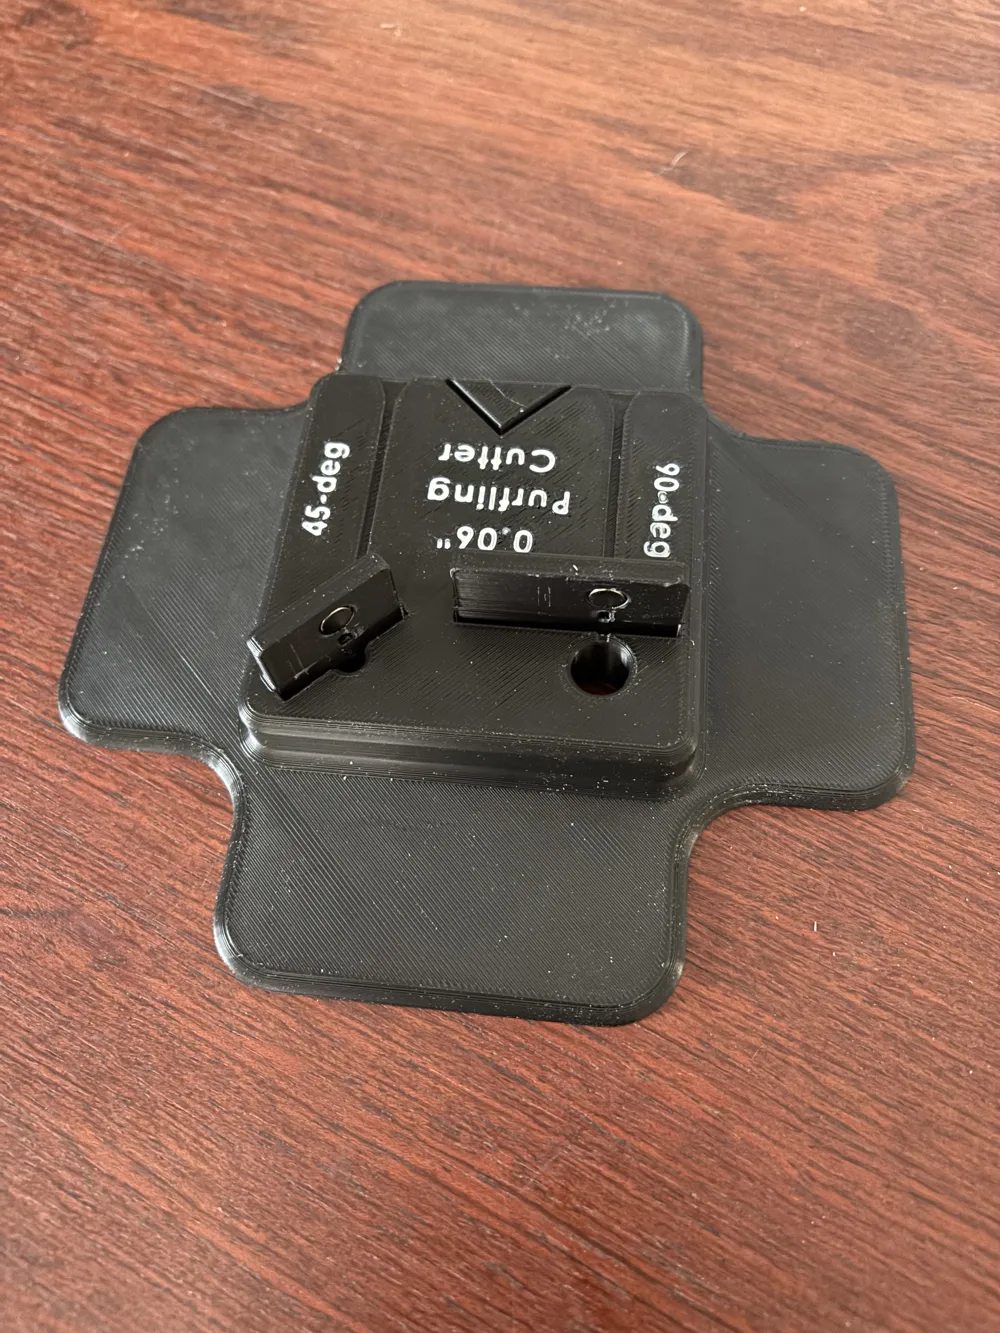
- The guides are fitted for 6x3 magnets. These aren't strictly necessary, but help insure the jig is held against the blade.
- The flanges on the jig are meant for holding down with a clamp on your drill press table. Using this isn't necessary as they also make it easier to hold by hand.
Instructions for Use:
- Press fit the 6x3 magnets (if using).
- Mark the purfling with a line or cut (preferred for accuracy) to represent the far end of the mitered corner.
- Rough cut the purfling to length with a chisel or scissors. Make sure not to splay out the end too bad and get it within 0.25" of your desired length.

- Using the 90-degree slot, feed in the purfling until your mark is flush with the guide wall.
- Bring the blade down with slow, but constant force. Best practice is to take off as little as possible, so you may want to sneak up on your line.
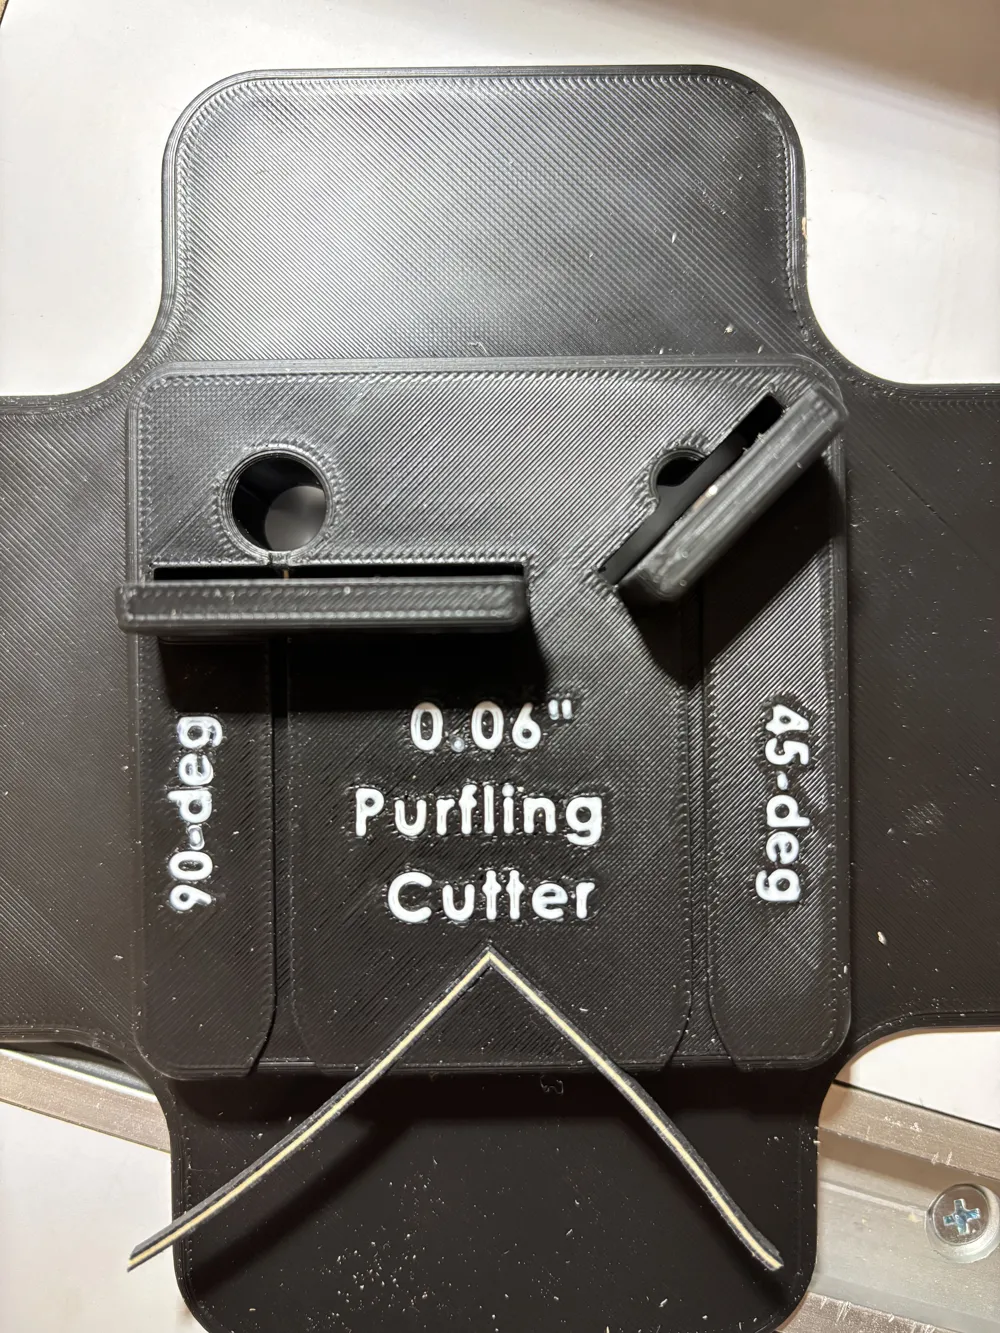
- Move the purfling piece over to 45-degree side and feed in until the corner you want to keep is flush with the guide wall.
- Bring the blade down again with slow, but constant force. Again, I recommend taking off as little as possible to avoid blow-outs on the bottom.
- Use the provided center section to test for fit and verify your 45-degree corner looks like you want.
Let me know if you think of improvements! I'm toying with adding another 45-degree wall that is the opposite orientation so the “down” side of the purfling can always be down.
Boost Me (for free)
Boost me for more Guitar Building Tools!
License

You shall not share, sub-license, sell, rent, host, transfer, or distribute in any way the digital or 3D printed versions of this object, nor any other derivative work of this object in its digital or physical format (including - but not limited to - remixes of this object, and hosting on other digital platforms). The objects may not be used without permission in any way whatsoever in which you charge money, or collect fees.


Comment & Rating (3)