
MDR Terminal—Micro Data Refinement
Print Profile(2)


Description
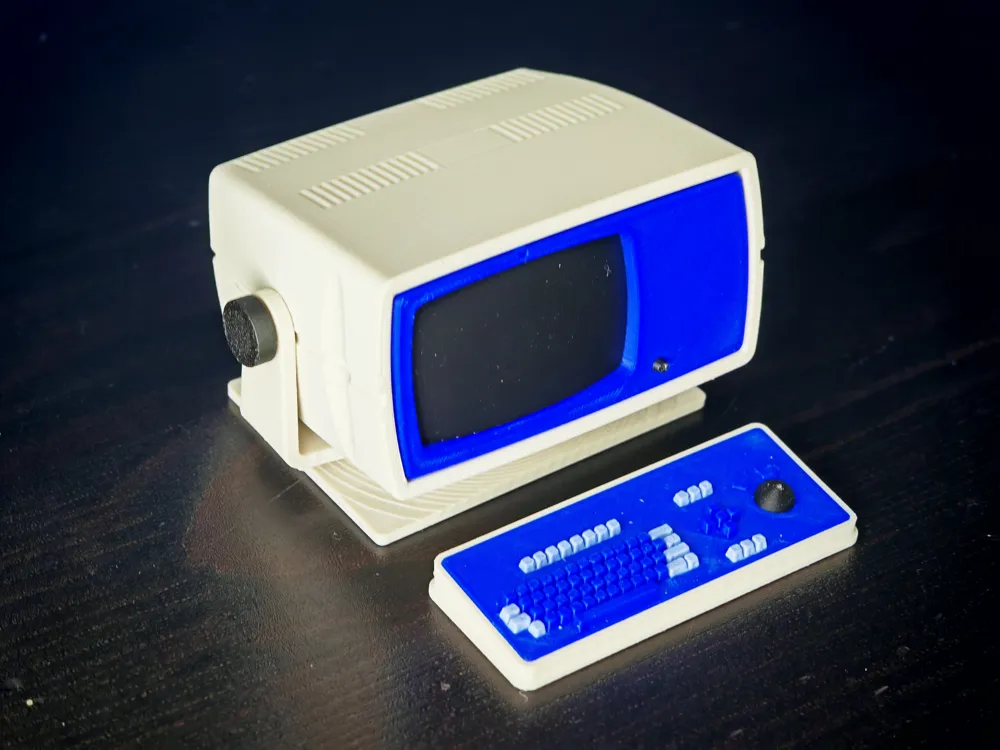
After making a 1/10 retro PC, I felt this was a good next step.
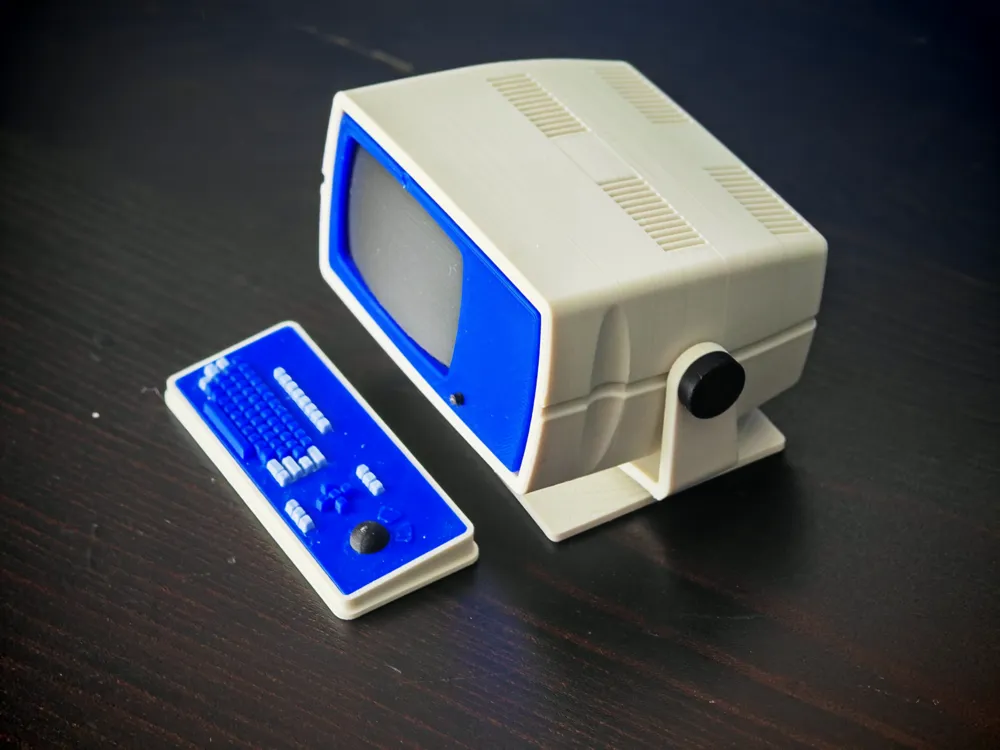
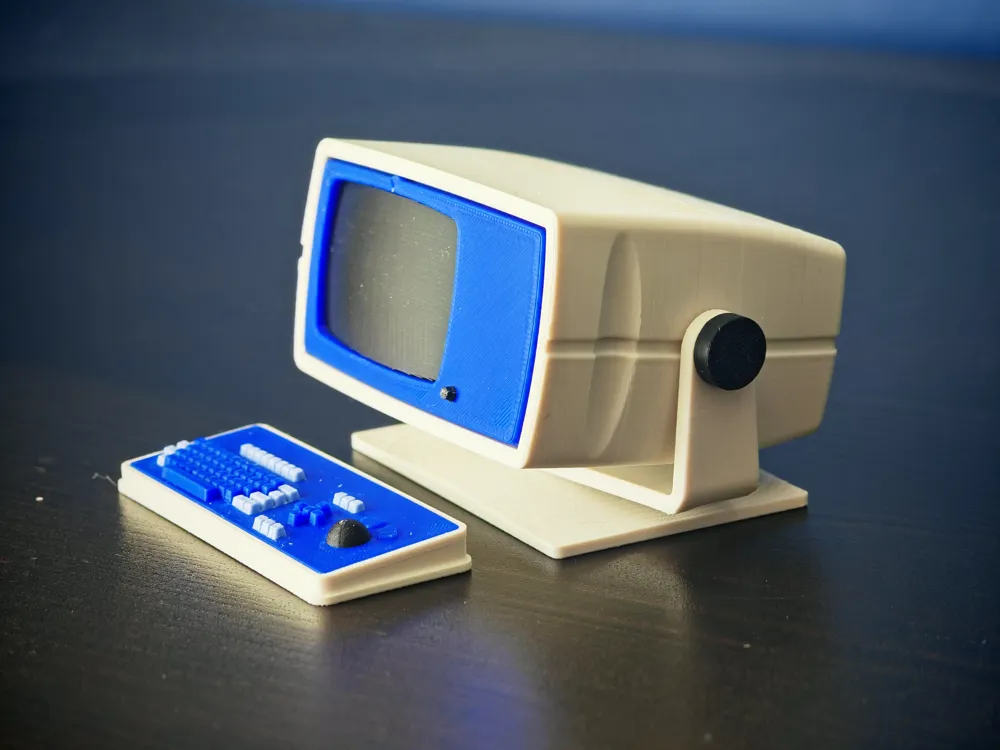
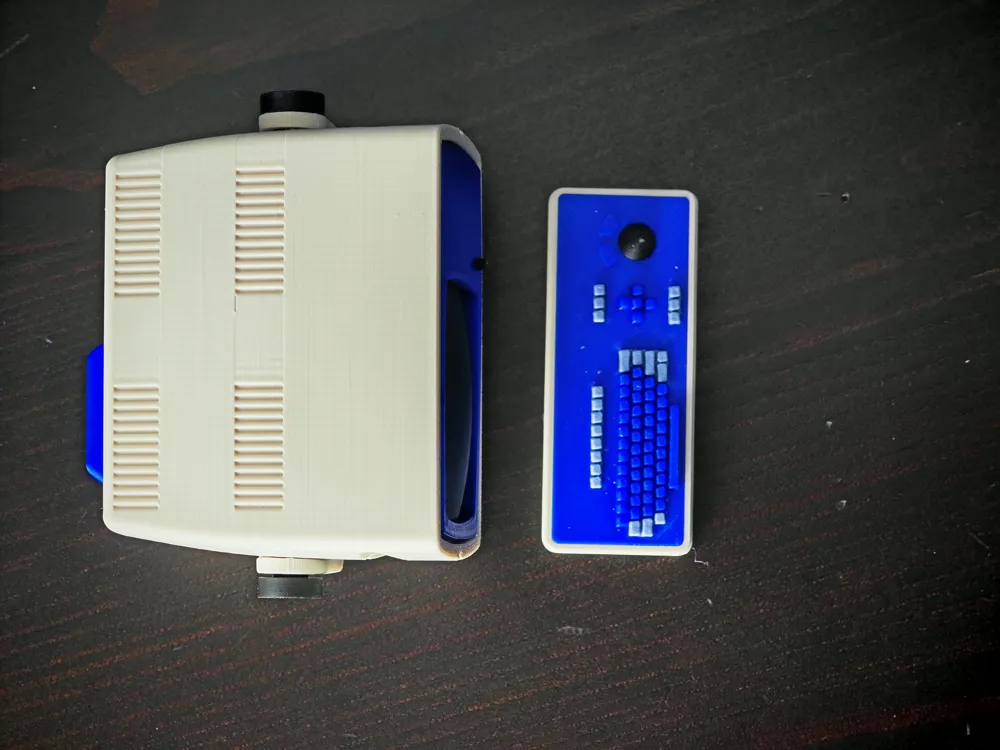
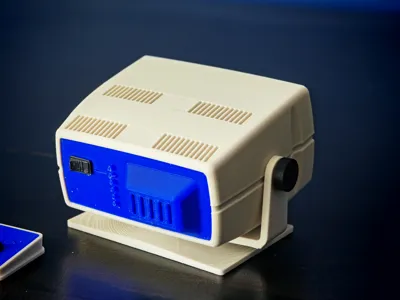
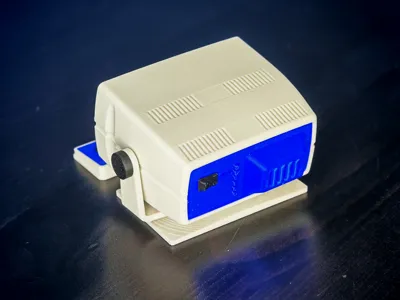
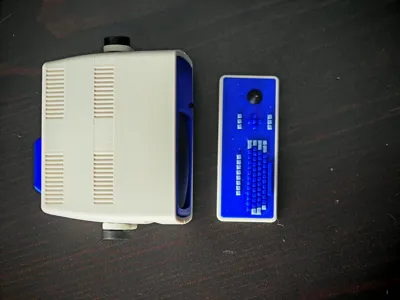
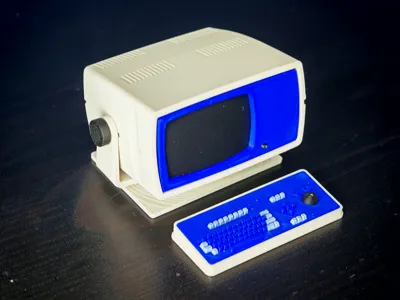
A 1/10 Dasher D2 terminal as used in Severance for the Lumon MDR terminals. This is all push fit so glue shouldn't be needed, and all the parts are designed to use single colours where practical.
I used Bambu Bone White PLA for the case and stand, Bambu basic blue and black for the rest, apart from the lighter coloured keys where I used another gradient filament I had that looked right.
For ease of building I recommend these steps:
1 The U shaped stand frame to be pushed on to the base
2 The terminal case lined up with the side holds and a side knob pushed in (easier to have one finger inside the case and squeeze the parts together
3 Insert the opposite side knob. You should be able to turn and tilt the case on the stand.
4 Push the screen into the front panel from behind. It prints the right way up, there's no lip on the bottom edge of the screen part.
5 Push the front panel into place.
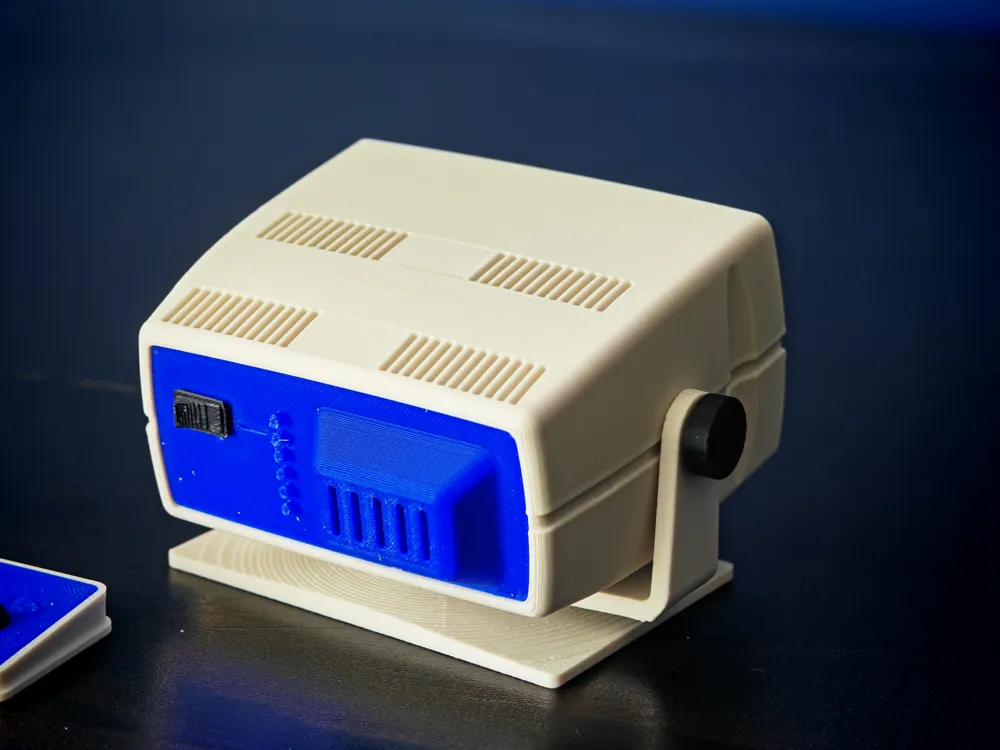
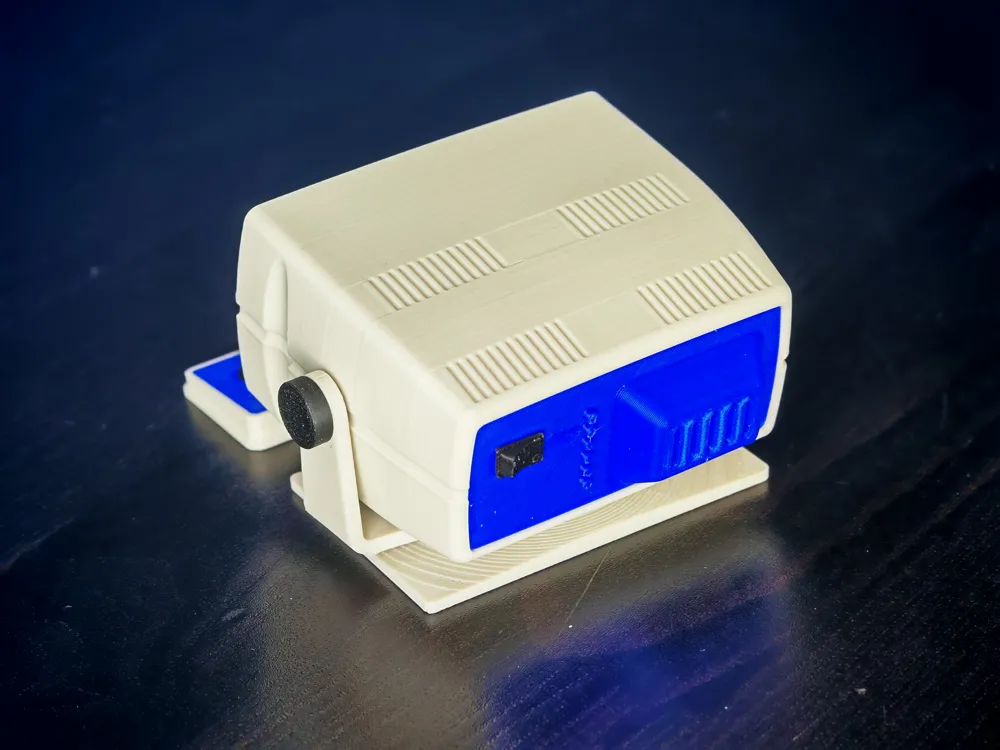
6 Push the power switch into the rear panel, push the rear panel in.
For the keyboard - push the light coloured keys in from the underside of the main keyboard plate. You will need to push down around each set of light coloured keys to get them all level. Push the plate into the keyboard base. Insert the trackball
License

You shall not share, sub-license, sell, rent, host, transfer, or distribute in any way the digital or 3D printed versions of this object, nor any other derivative work of this object in its digital or physical format (including - but not limited to - remixes of this object, and hosting on other digital platforms). The objects may not be used without permission in any way whatsoever in which you charge money, or collect fees.


Comment & Rating (12)