Ironing calibration for complex surface


Print Profile(2)


Description
Boost Me (for free)
If you find this is helpful, please consider giving me a boost.
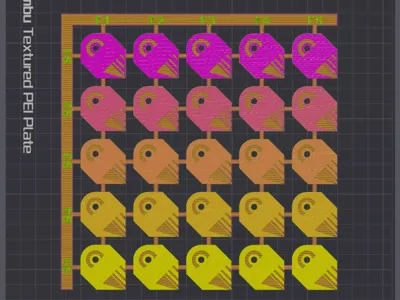
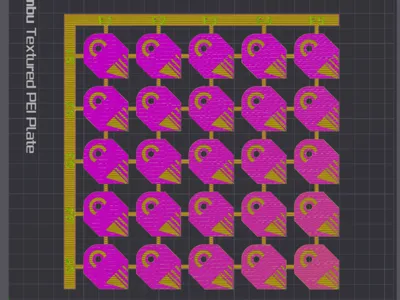
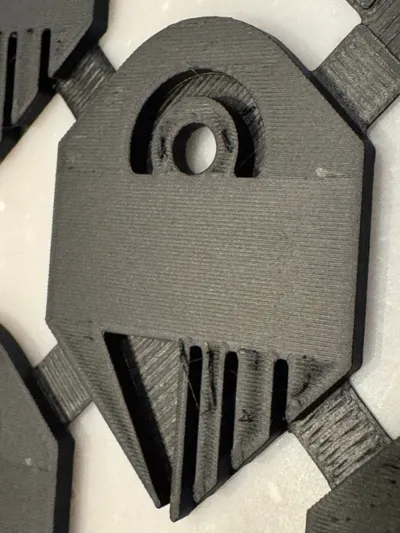
Ironing Flow Rate and Speed Test Design
I designed a new shape to evaluate ironing flow rate and speed. Below are the key features of this design:
- Rounded Area – Tests the effect of frequently changing ironing line lengths.
- Straight Rectangular Area – Tests the quality of long, straight ironing lines.
- Short Line Area – Tests the quality of short, individual ironing lines.
- Connected Areas – The three test areas are linked to help identify inconsistencies in line length. If adjacent lines have mismatched lengths, an obvious partition line will appear.

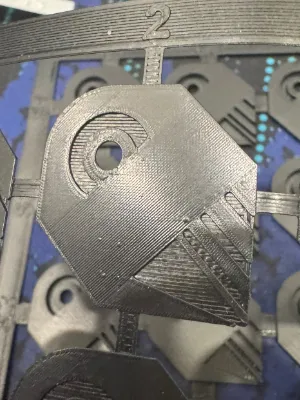
Using the Test Print in Bambu Studio
- Ensure the Advanced toggle is always turned on.
- The uploaded file includes a preset test pattern with:
- Flow Rate: F1: 10%, F2: 20%, F3: 30%, F4: 40%, F5: 50%
- Speed: S1: 30mm/s, S2: 60mm/s, S3: 90mm/s, S4: 120mm/s, S5: 150mm/s
- When testing with Bambulab PETG HF White/Black, I found these presets to be a good starting point.
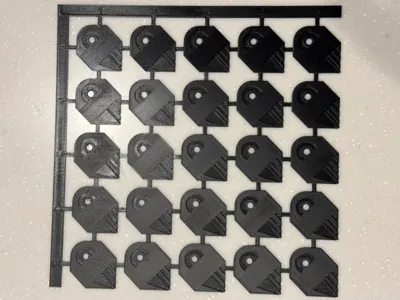
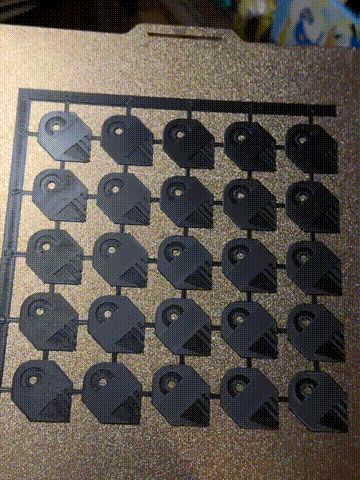
- Two Versions Available:
- 0.6mm, 3 Layers – Material-saving and faster to print.
- 2mm, 10 Layers – Results are closer to a real print, as the number of top shell layers can sometimes affect the outcome.
Customizing Speed, Flow Rate and Labels
To test your own speed and flow rate settings, follow these steps:
- In Prepare Mode, go to the Process tab.
- Change from Global Mode to Objects Mode.
- Under IroningCalibrationEditable, find the modifier you want to adjust:
- Flow1-5 – Adjusts flow rate for each column.
- Speed1-5 – Adjusts speed for each row.
- e.g.

- For example, if you want to refine testing between 20% and 40%, set:
- Flow1: 20%, Flow2: 25%, Flow3: 30%, Flow4: 35%, Flow5: 40%.
- The text labels in the test grid can be edited.
- Right-click on the text label in the list and select Edit Text to update the displayed values.

- e.g.:

- Then you can use "Save As" to save the edited labels to a local file and reuse it later. You can name the file something like IroningCalibration_S30-S150_F10-F50.3mf for easy reference.
My Experience with the Test result
1.Fine tune for small areas:
Sometimes the rectangular area doesn’t show much difference. In that case, take a closer look at the small test areas—they can help you pick a flow rate and speed that work well for both detailed and larger surfaces.
| Not perfect in small lines | Good in most edge cases |
 |  |
2. Different Top Shell Layers Can Produce Different Results
| 0.6mm(3 top shell layers) | 2mm(5 top shell layers) |
 |  |
The photo above shows prints using the same Bambu Lab PETG HF filament, with identical ironing flow rate and speed settings—but different top shell layer counts.
As you can see, the results from the 0.6mm height version are noticeably different compared to the 2mm height version, even though all other settings are the same.
If your model includes areas that don’t use the full number of top shell layers, you may want to create an additional ironing setting specifically for those thinner sections to maintain consistent surface quality.
3.Filament type and color matters
| Bambu PETG HF | Bambu PLA Matte | Bambu PLA Matte(no light) | |
| Black | 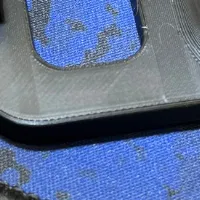 |  |  |
| White |  |  | X |
Here are the results from testing two different materials on a real model:
PETG tends to show more noticeable partition lines, while PLA Matte delivered the best results in my tests.
Darker colors also tend to be more reflective, making partition lines easier to spot. For example, white PLA Matte under direct lighting shows almost no visible partition lines!
My recommendation: If you're tuning settings for a specific material type, start with black—it's the most unforgiving and will highlight any issues. Once dialed in, you can adapt those settings for other colors of the same material.
⚠️ Double check the ironing direction before printing
The test pattern is designed so that the top surface ironing lines should be at a 45-degree angle.
A closer look at the top:

In Bambu Studio, this is controlled by using the objects property Infill direction
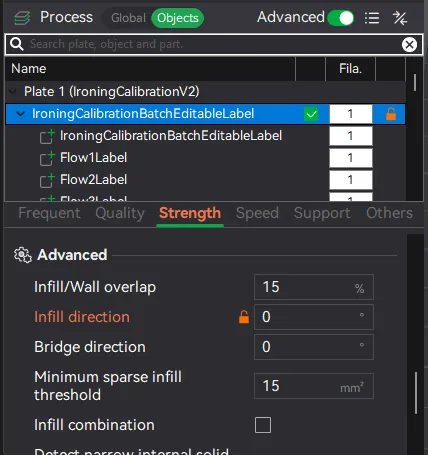
In OrcaSlicer, you can use Ironing angle to controll it.
Note that the the direction changes every layer, so it's better to change it in the objects mode.

Membership
Get a commercial license to sell prints!
License
You shall not share, sub-license, sell, rent, host, transfer, or distribute in any way the digital or 3D printed versions of this object, nor any other derivative work of this object in its digital or physical format (including - but not limited to - remixes of this object, and hosting on other digital platforms). The objects may not be used without permission in any way whatsoever in which you charge money, or collect fees.
Comment & Rating (103)