Sleek Modular Planetary Gearbox


Print Profile(7)


Bill of Materials


Description
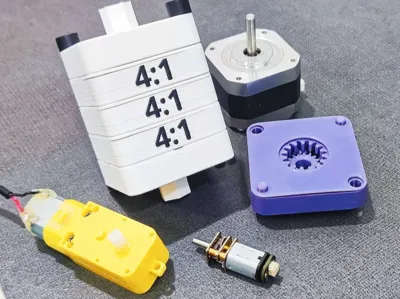
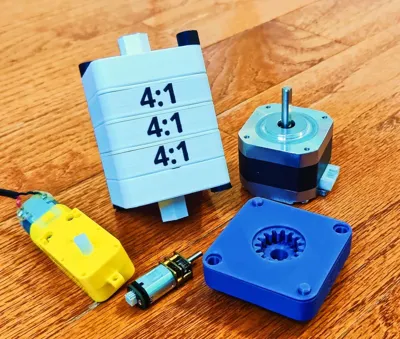
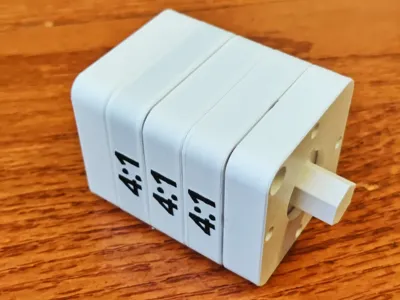
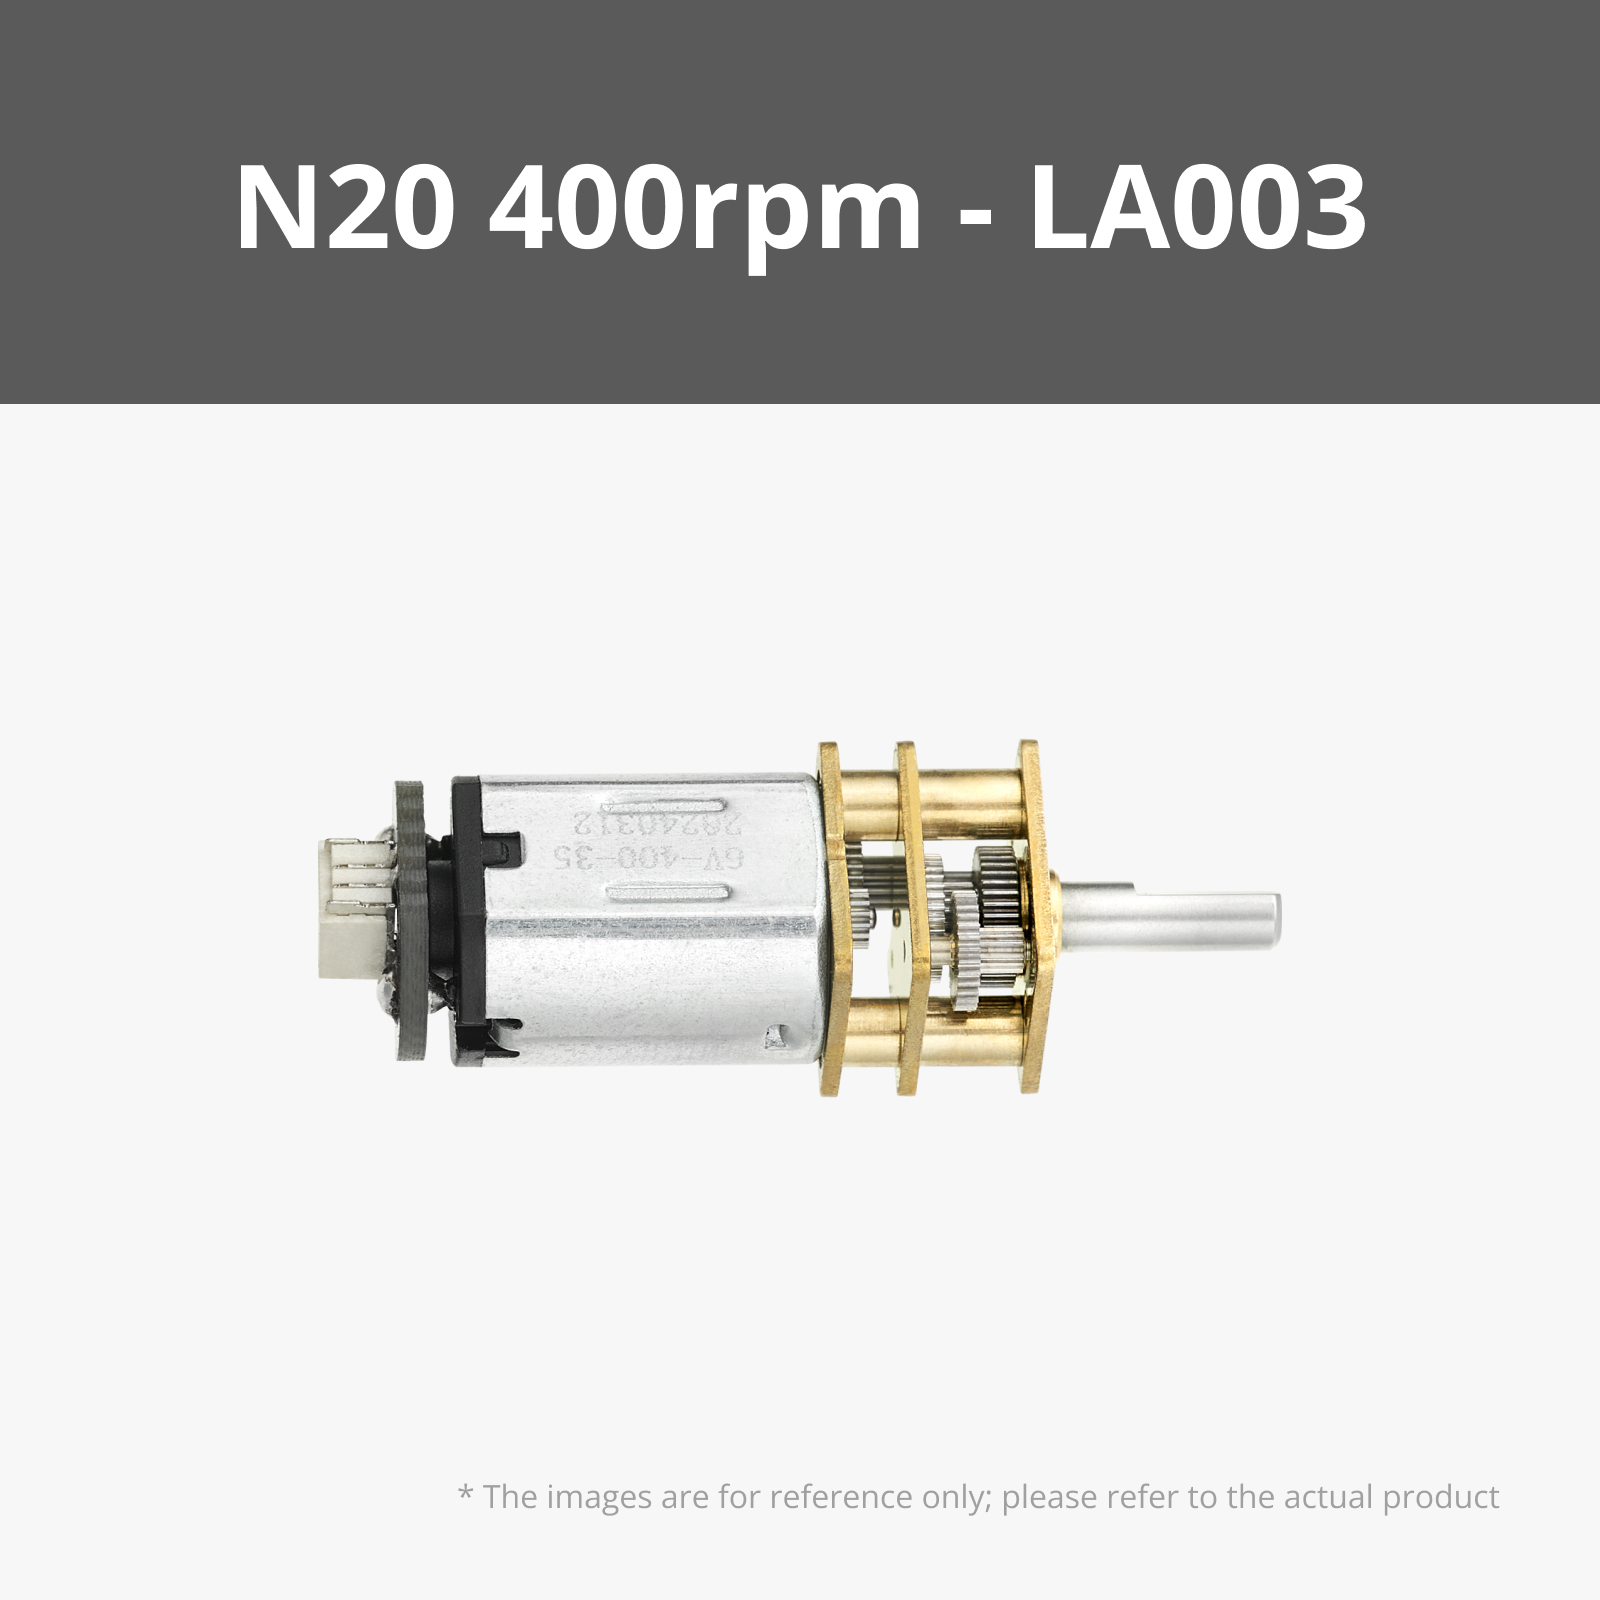
Have you ever needed a simple gearbox that is compatible with several common motors? Or even just a fun fidget toy or learning tool? If so, this is the model for you! You can use a N20 motor, stepper motor, TT motor, or even no motor at all to drive this planetary gearbox. Each stage is fully contained within itself to prevent the hassle of gears falling out when changing ratios. You can also easily swap the gear ratio in less than 30 seconds.
Each stage is half an inch thick and 2 inches wide which allows for easy packaging and modifications. The hex output shaft is also half an inch thick which allows for easy compatibility with other components.
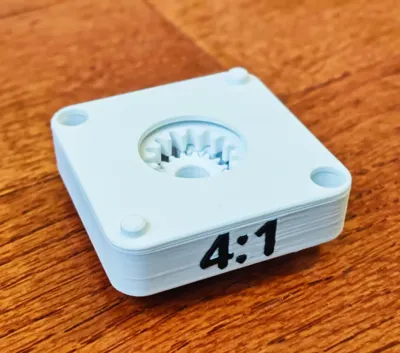
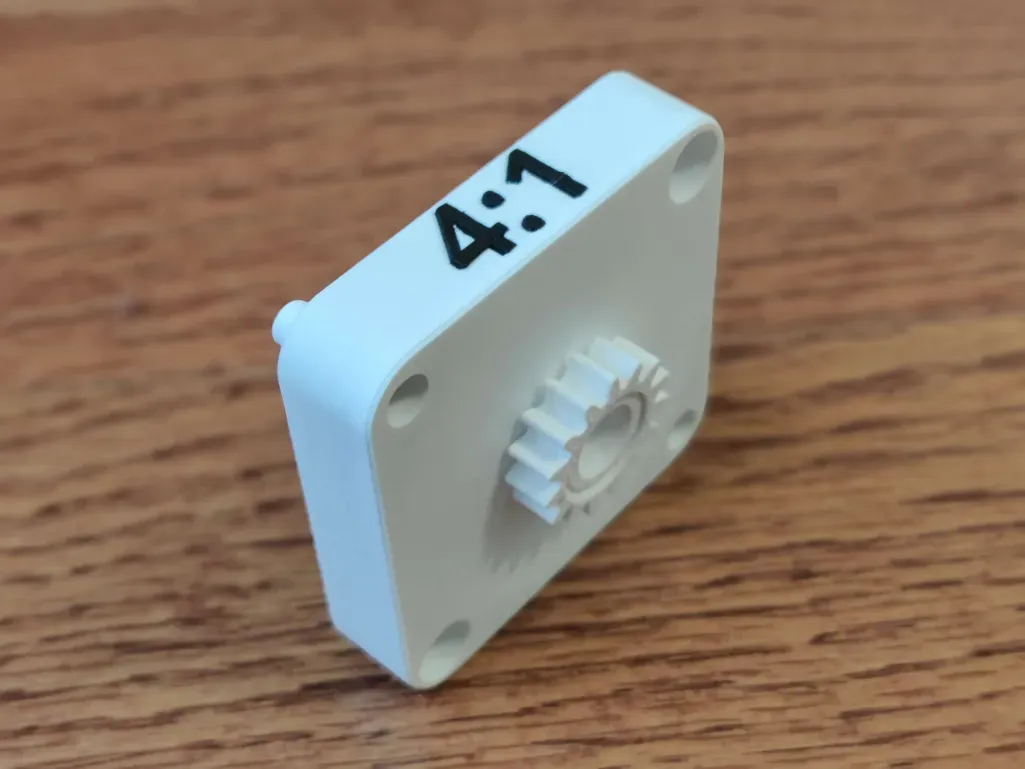
To assemble this gearbox, first print the Standard Single Stage print profile, this includes all the necessary components for one stage with a hex input and output. If you want a motor input, print any of the motor input profiles along with the Standard Single Stage.
The assembly guide below shows all the steps required to build a 3 stage gearbox but if you want a single stage the steps are the same.
Pass the threaded end of the sun gear through the ring gear and thread the adapter on. When doing this, I would recommend adding a small drop of glue if you plan on using this gearbox in higher torque applications. Next, place the 4 planetary gears on the carrier and then place the carrier into the ring gear face down. Lastly, you must press fit the retaining stage onto the cartridge. It may be hard to press on but this is intentional to prevent any gears from falling out. 


The next step is to thread the output shaft onto the output stage. I would also put a few drops of glue on this connection to prevent it from backing out under higher loads. You can now stack the cartridges onto the output stage.


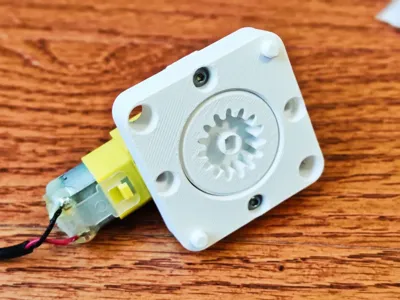
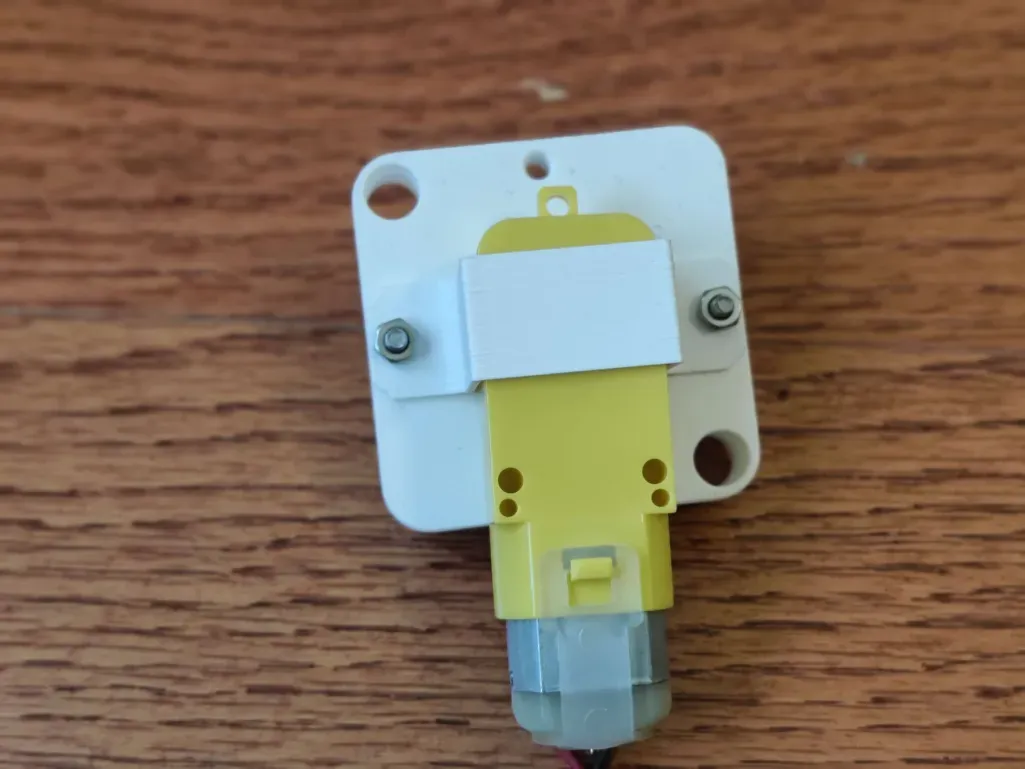
To assemble the input stage, first pick the adapter you would like to use. For the hex adapter, you simply need to push it onto the cartridge and snap on the input stage. For motor adapters, you will need to screw the motor or its retaining bracket onto the input stage using M3 nuts and bolts.


The very last step is to snap the whole assembly together and use the retaining pins and caps to lock everything in place! Do not over tighten the caps otherwise the pin will break along its layer lines. At this step, you can also use regular long bolts instead of the retaining pins.

If you would like to use a motor to back drive the gearbox, there is a print profile with the required files. To assemble you just remove the original output shaft and mount the adapter, spacer stage, and additional input stage.
Boost Me (for free)
If you liked this model, consider gifting me a boost!
License
You shall not share, sub-license, sell, rent, host, transfer, or distribute in any way the digital or 3D printed versions of this object, nor any other derivative work of this object in its digital or physical format (including - but not limited to - remixes of this object, and hosting on other digital platforms). The objects may not be used without permission in any way whatsoever in which you charge money, or collect fees.
Comment & Rating (30)